Waffle Flower Simple Stem Hugs

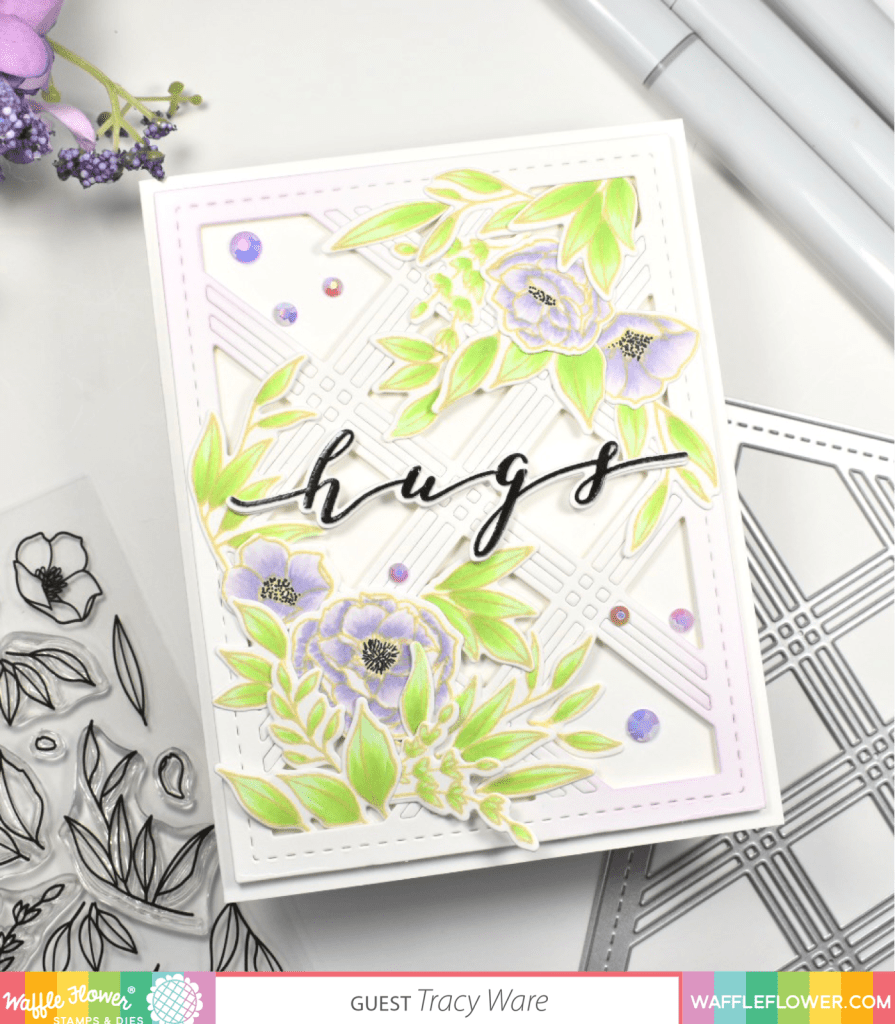
Hello Crafty Friends! I can’t even tell you how excited and honored I am to be joining Waffle Flower for their April 2021 Release Day! I had an absolute blast playing with the products! This month, the Waffle Flower release is full of stamps, dies, and stencils that celebrate the hope and joy of Spring! For my project, I’m featuring the Simple Stems stamp and coordinating die, along with the Triple Line Diamond Panel Die. For today’s hop, Waffle Flower is giving away a $25 gift certificate to THREE lucky winners! Details at the bottom of this post, so keep your eyes peeled for that! Let’s get started!
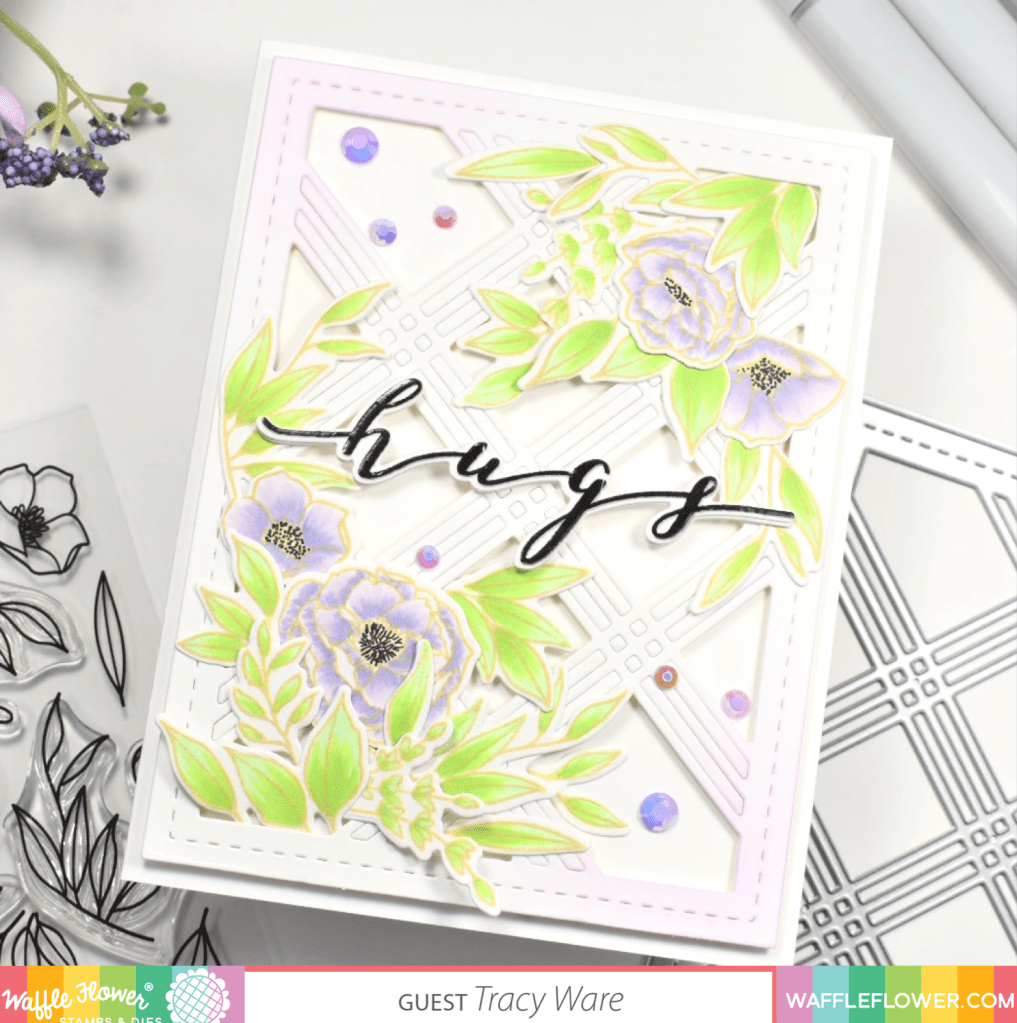
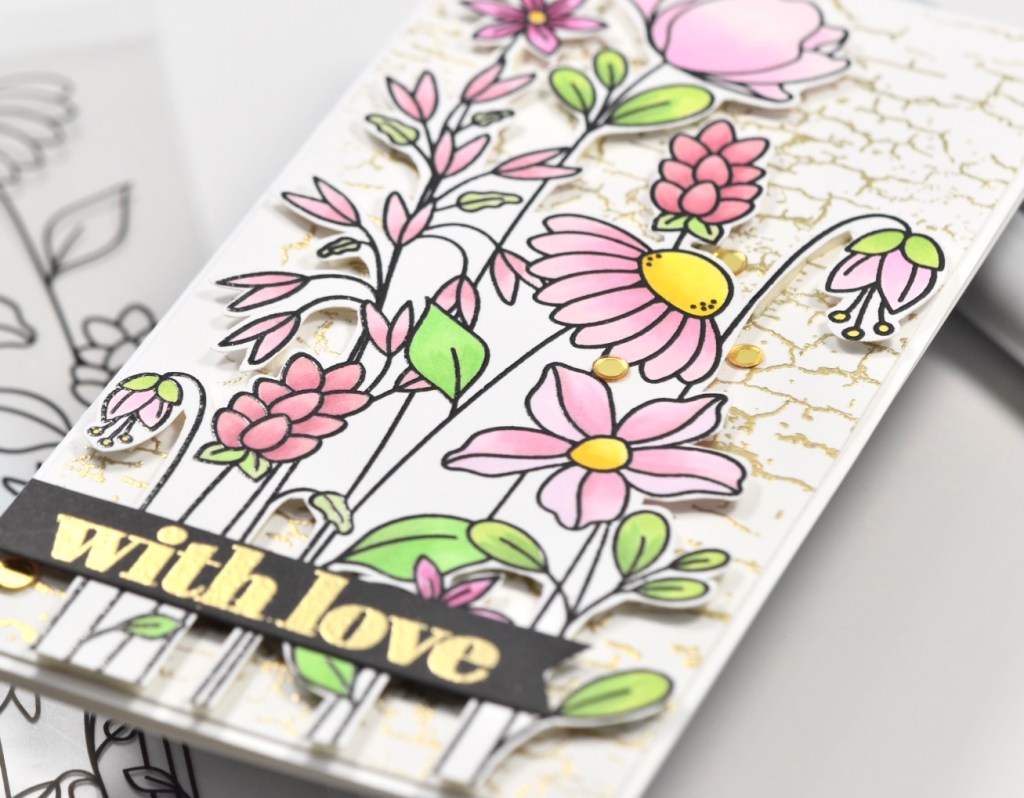
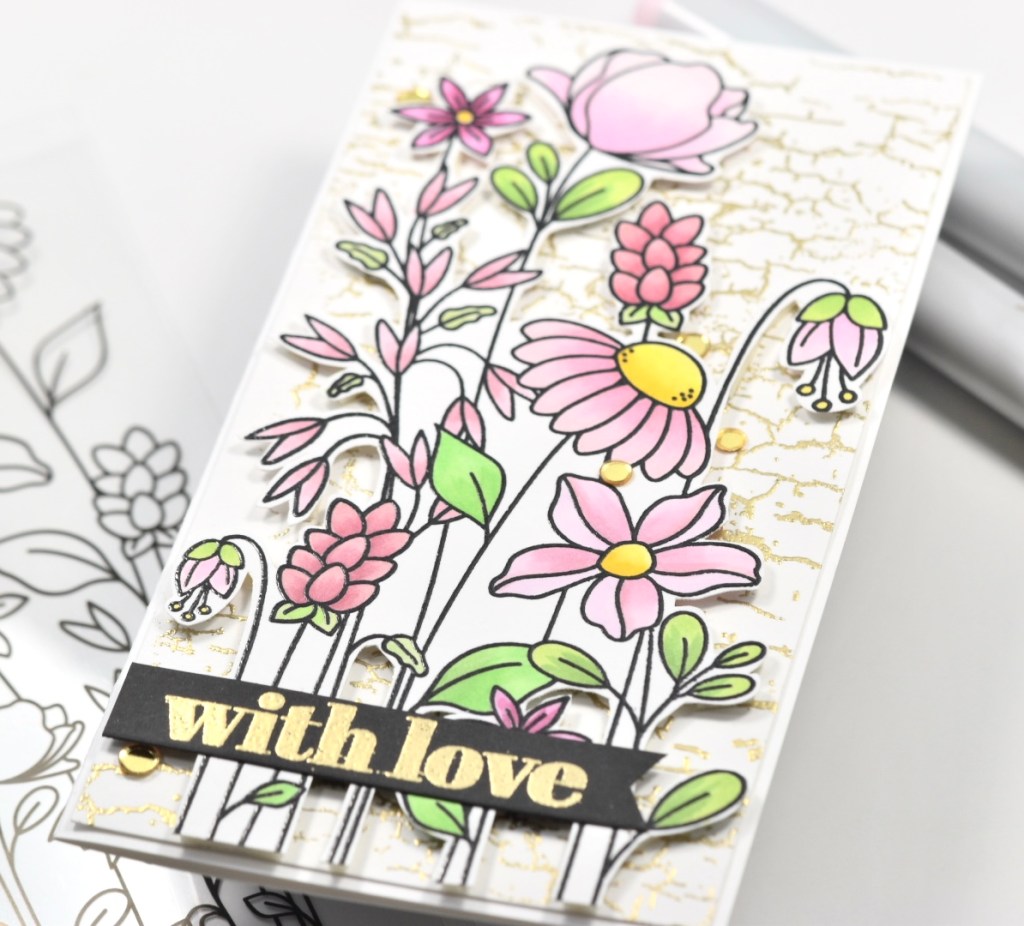
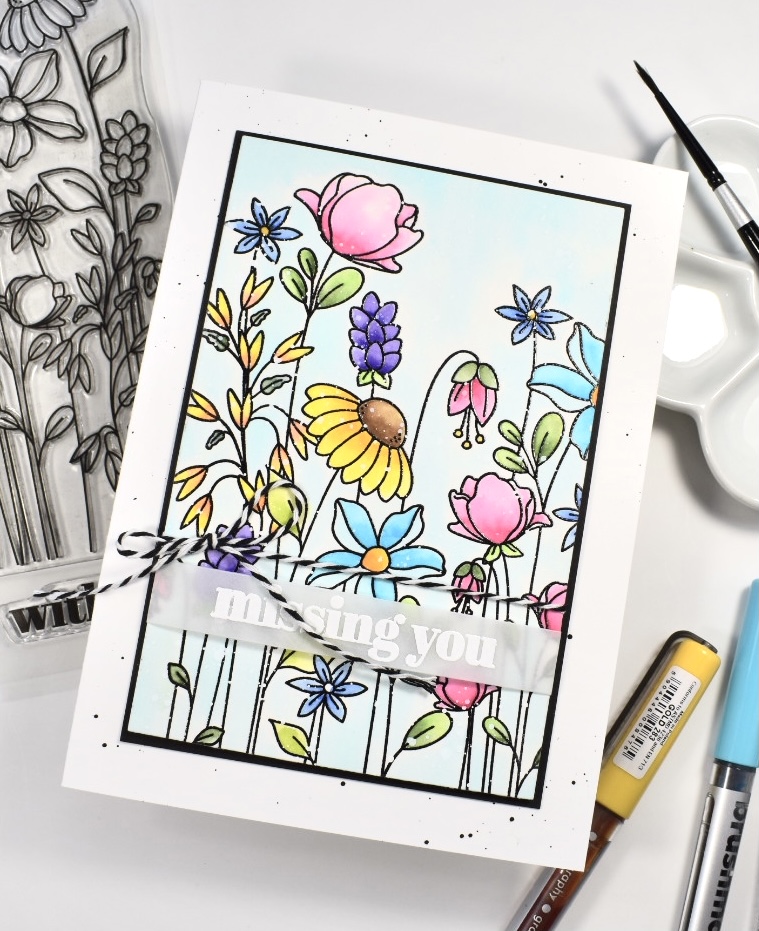
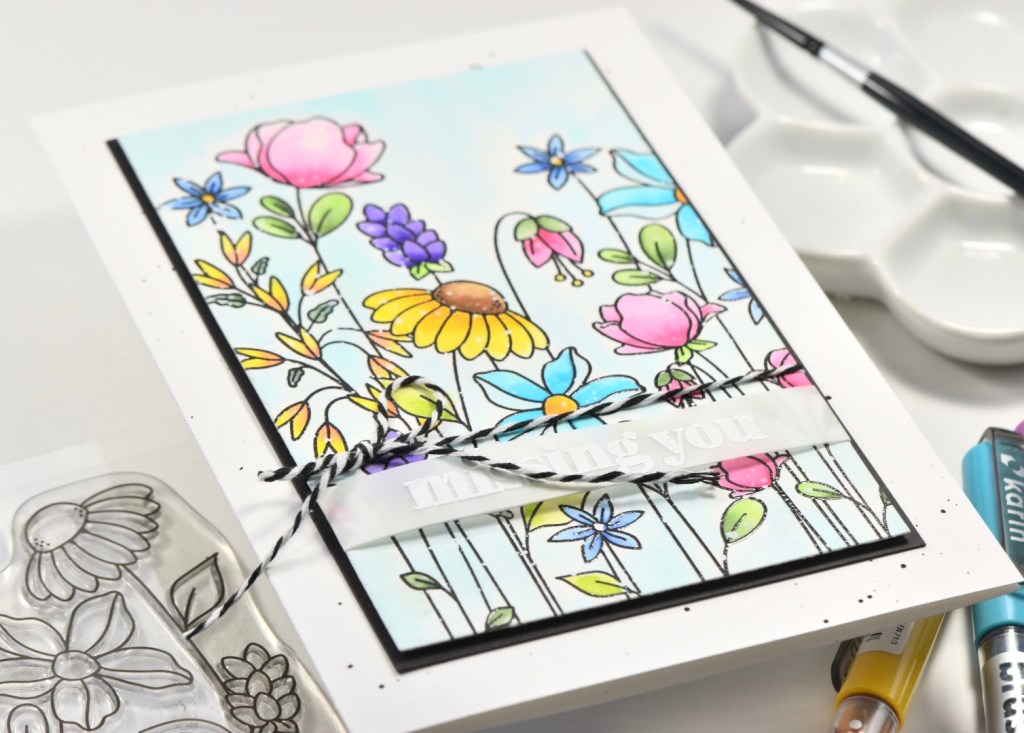
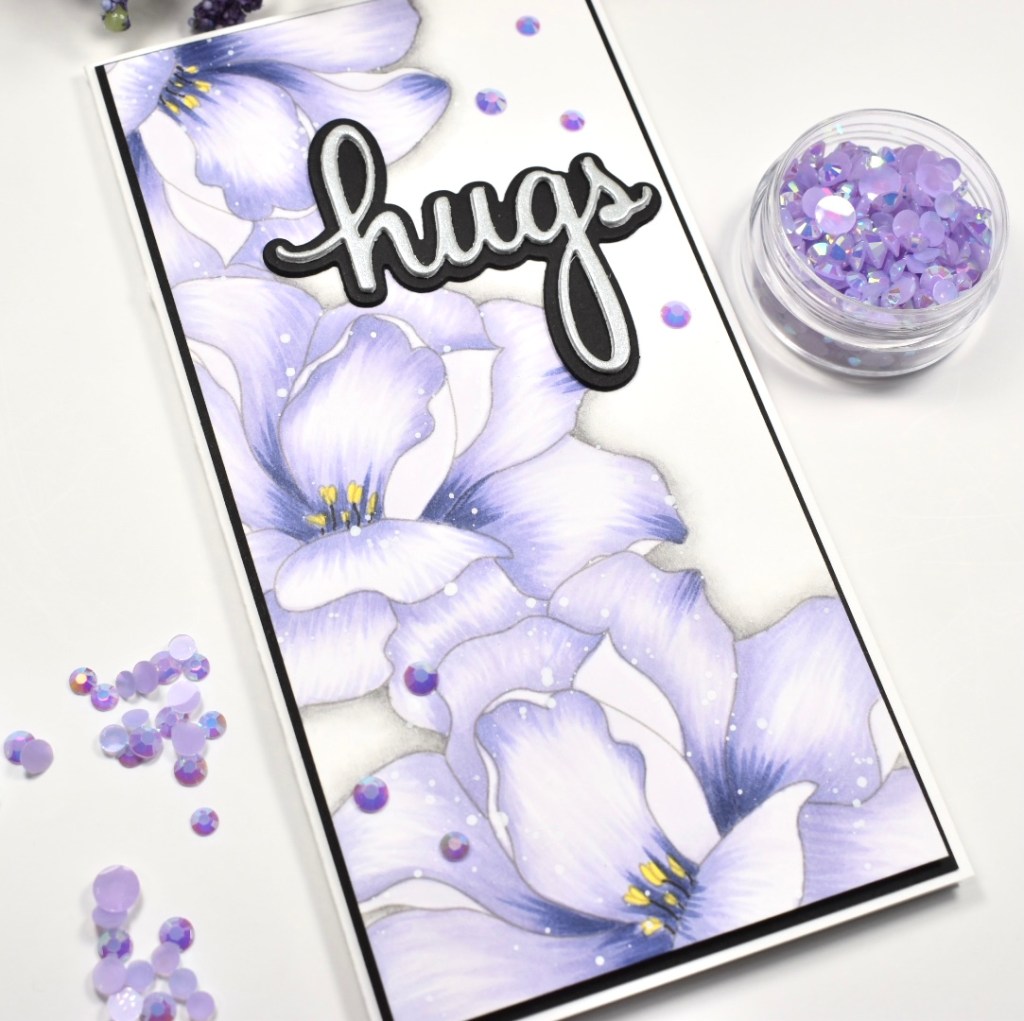
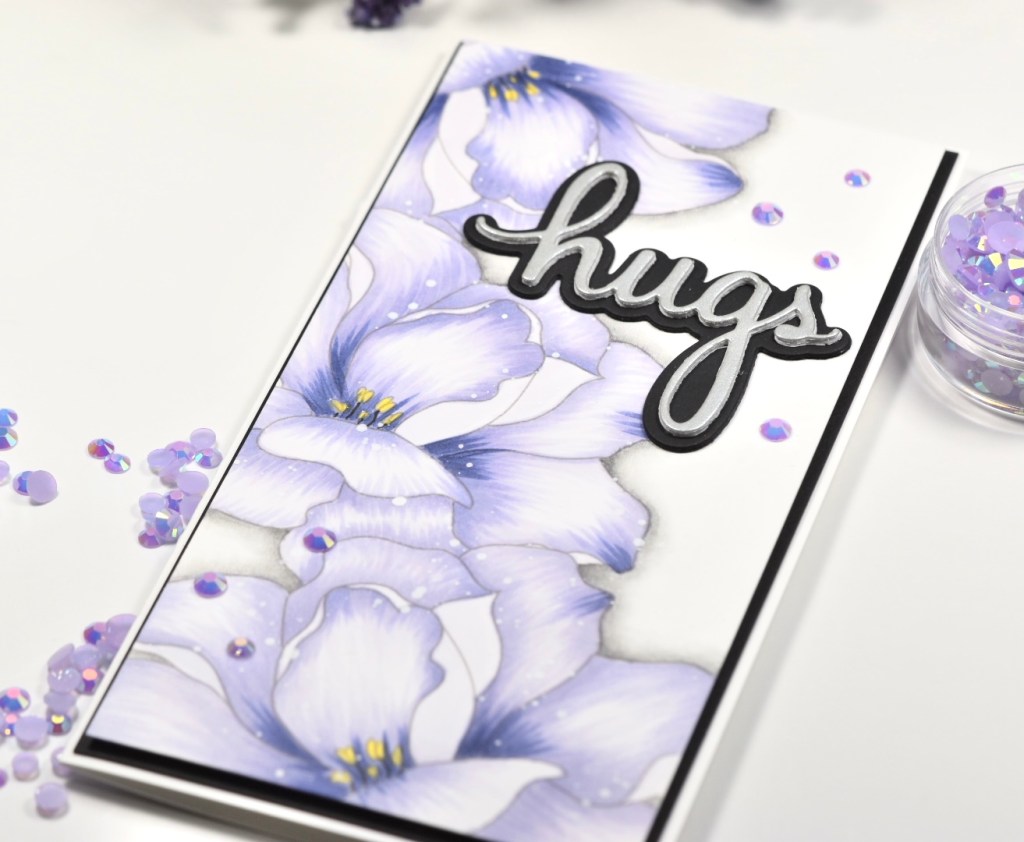
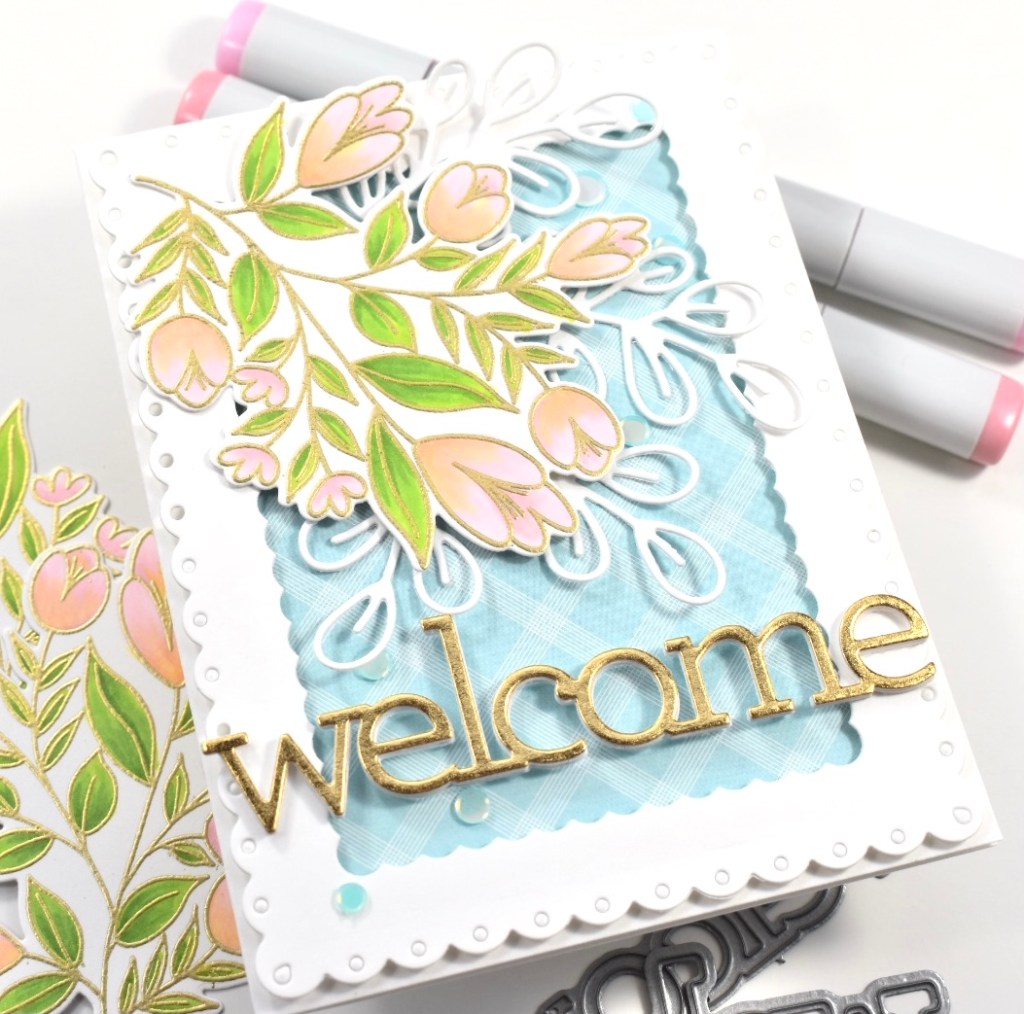
To begin, I stamped almost all of the images from the Simple Stems set onto Neenah Classic Crest 80lb cardstock using Distress Oxide Antique Linen. I then got busy coloring the flowers and the leaves using Copic Markers BV0000, BV000, BV00,BV01, YG11 and YG13. Once all the coloring was done, I used a Copic Multiliner 0.3 in black to add back in the center flower detail.
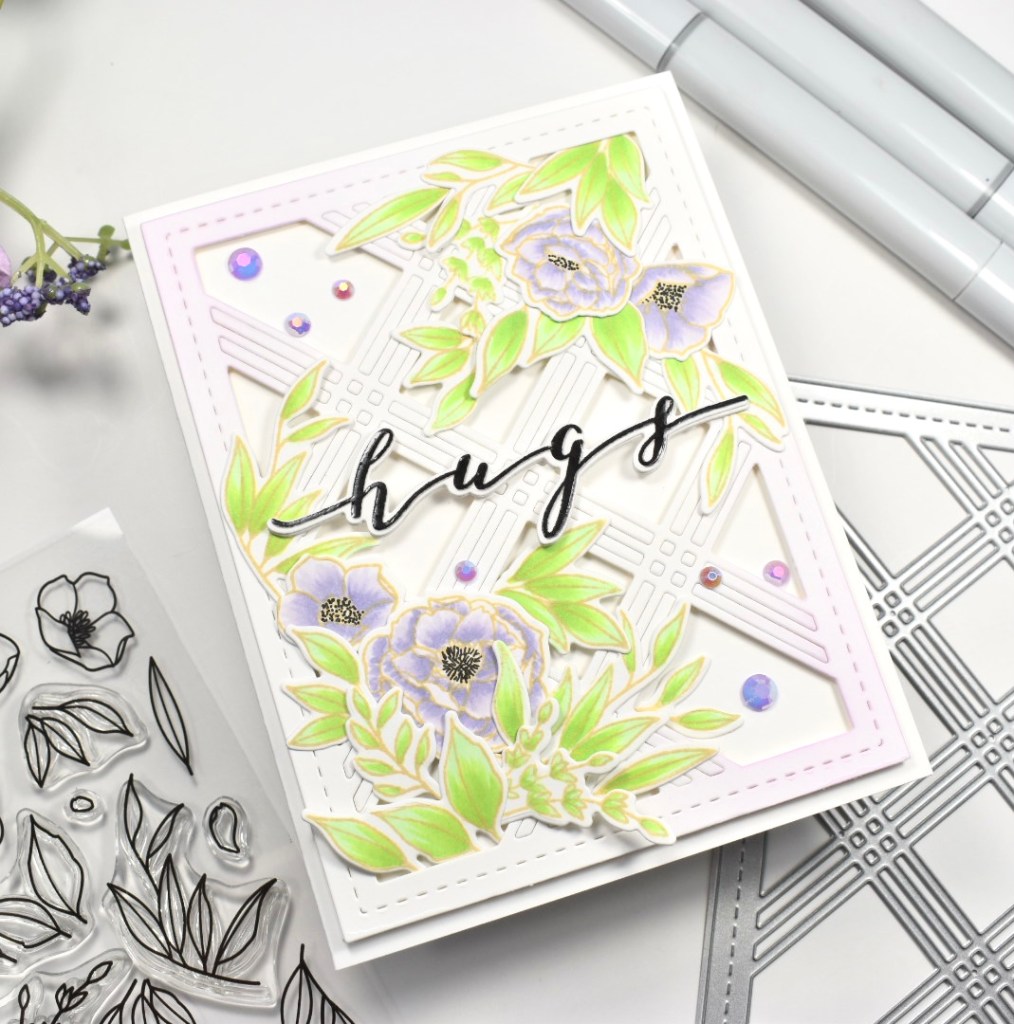
I then used the Simple Stem coordinating die to cut all of my pieces out. While I was already over at the machine, I went ahead and cut the Triple Line Diamond Panel Die once from Neenah Classic Crest 110lb cardstock. I love cover dies so much, because they add so much to your card design, and this one is super beautiful!

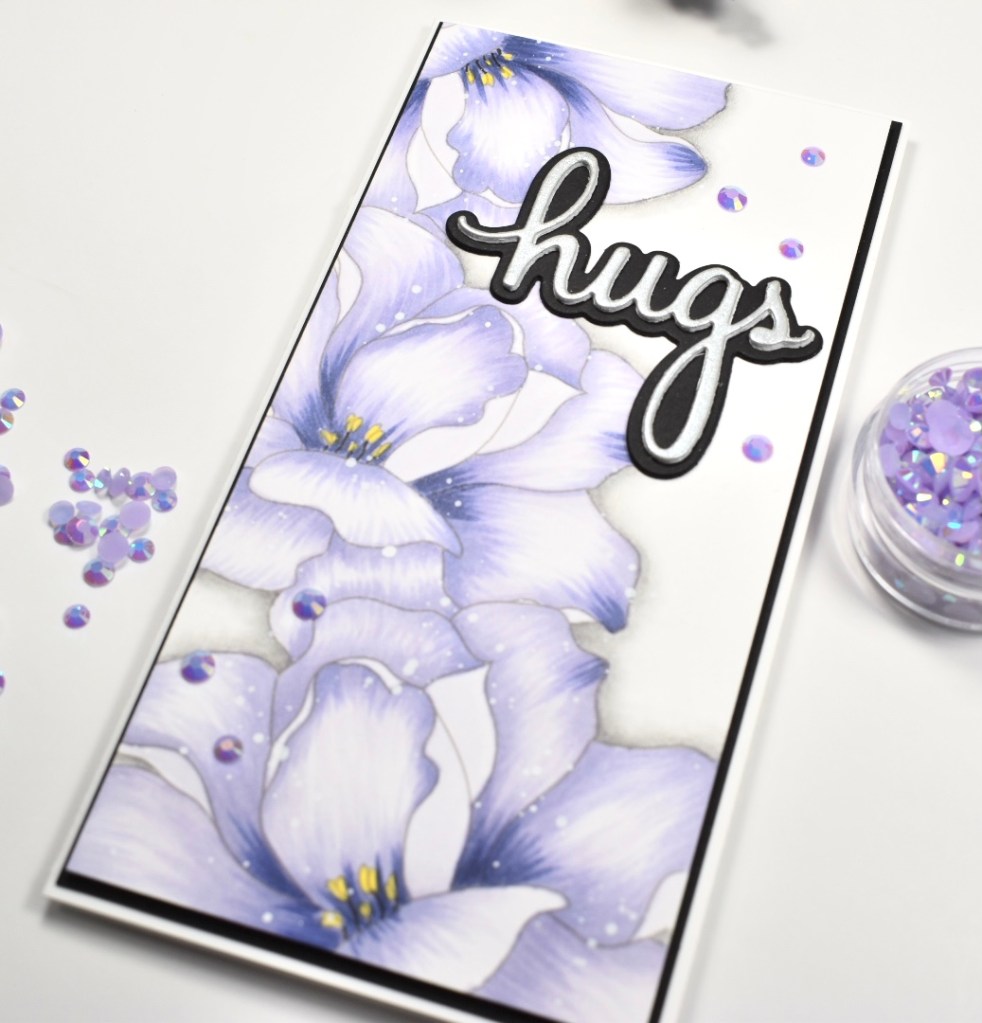
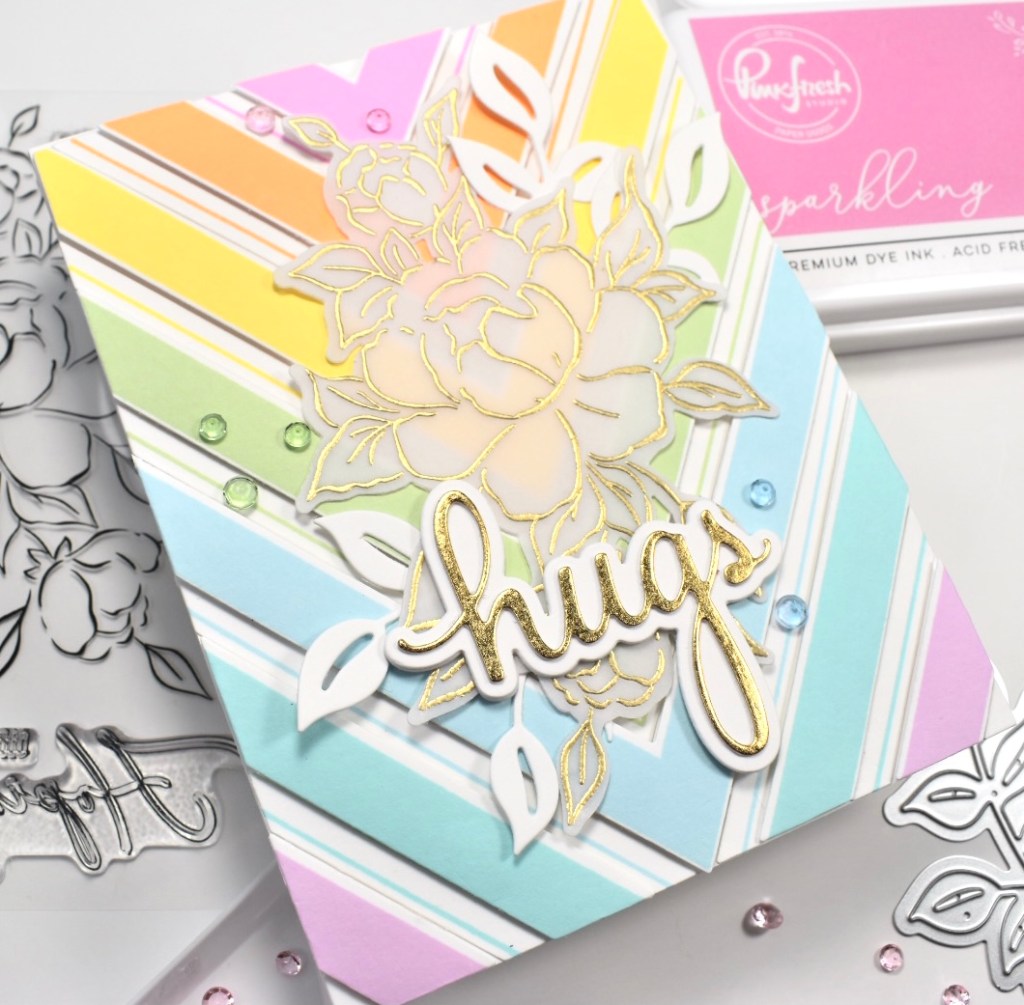
I wanted to add just a smidge of color to the cover die, so I lightly ink blended some PinkFresh Studio Lavender ink just around two edges. It might even be hard to see in the pics. I trimmed another piece of 80lb cardstock just smaller than the cover die and adhered those together using 3M Foam Tape. You all know how I love foam tape and dimension!

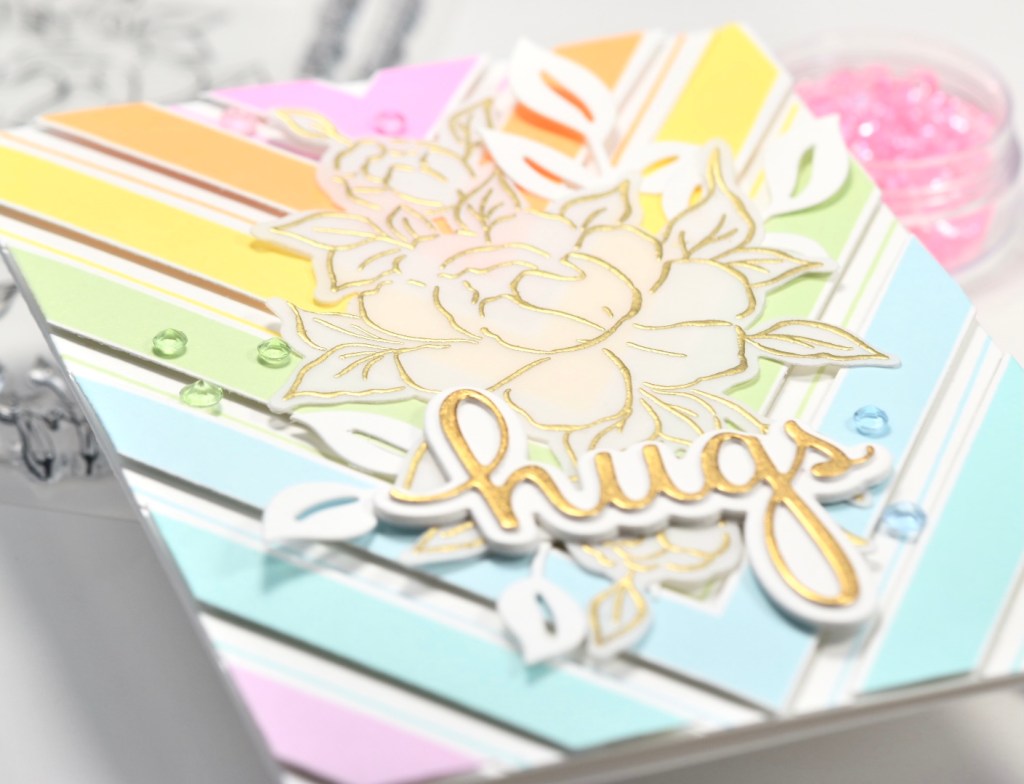
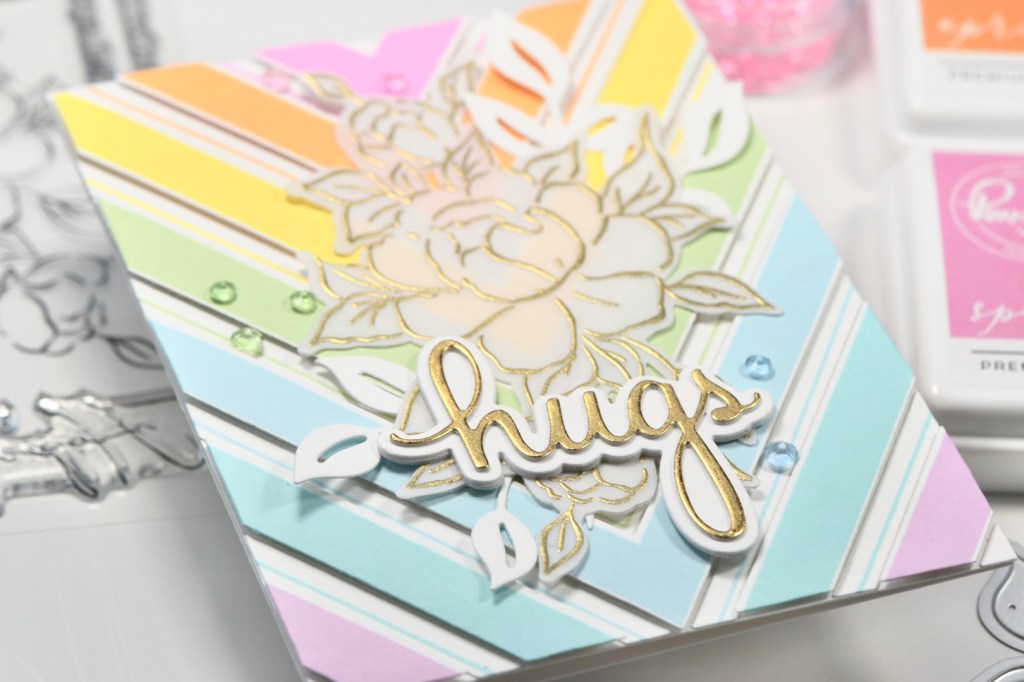
Once those were adhered together, I began playing with the placement of the flowers and leaves, and deciding on a sentiment based on the amount of space that I had to work with. I decided on the Hugs sentiment from the Waffle Flower Simply Said 1 stamp and die set. I stamped the Hugs on 110lb cardstock using VersaFine ink and heat embossed it using Ranger Clear Embossing Powder. I then put that back in the Misti and stamped it again using VersaMark ink and heat embossed it another time using the same powder to achieve that high gloss sheen. I cut the Hugs sentiment two more times from 110lb cardstock and stacked all of those together. You might be wondering why I stamped the Hugs the second time in VersaMark ink .. I do this because the paper warps a little after the first heat embossing, and if I stamped it again in black, it might not line up EXACTLY the same. You wouldn’t necessarily see that it didn’t line up perfectly if it’s stamped with the VersaMark. I hope that makes sense.
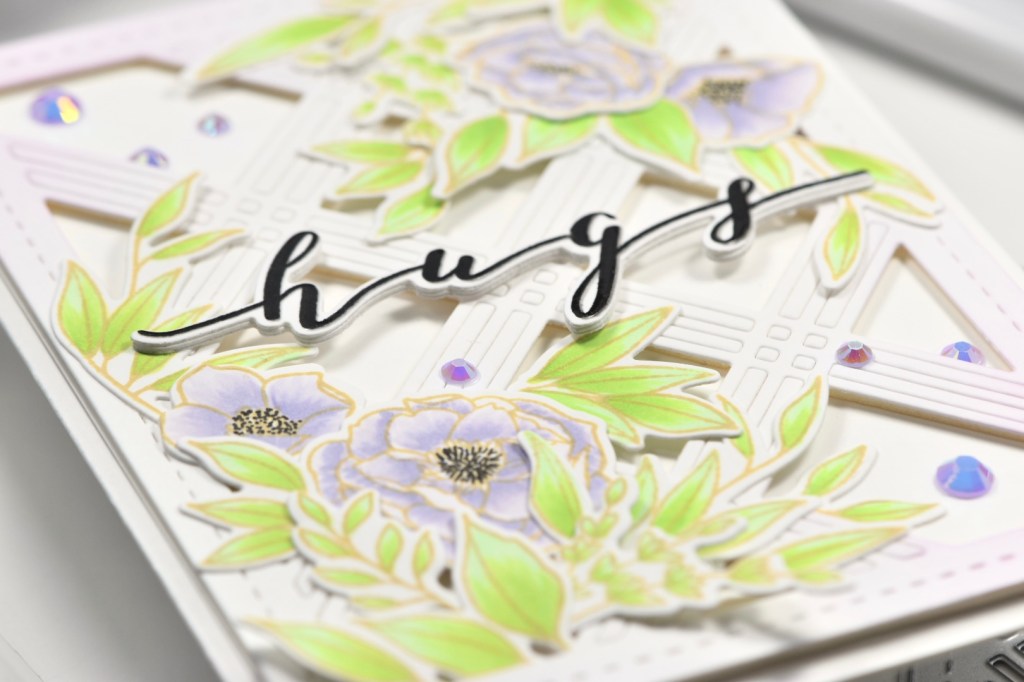
I began attaching the flowers and leaves using both foam tape and Craft Tacky Glue. Some needed the support of the foam tape to prevent bending. I glued my sentiment directly on top of the leaves and cover die. That whole panel was then adhered to my card base, which is Neenah Classic Crest 110lb, using glue as well.

And as I always say, no card is complete without some bling! Am I right?! I popped out my PinkFresh Studio Jewels Mix and added some purple jewels, and they matched perfectly! It was meant to be!
That does it for today’s project! I hope you enjoyed it, and I hope it inspires you to get crafty! Thank you so much to Waffle Flower for inviting me to join them for this super awesome release!
Don’t forget to stay awesome friends!
Giveaway Details:
For today’s hop, Waffle Flower is giving away $25 gift certificate to THREE lucky winners. You can leave a comment on this blog and along the hop by 11:59pm EDT on Monday April 12th, 2021 for your chances to win. Winners will be chosen at random from the comments left on any of the posts in this blog hop and will be announced on the Waffle Flower Blog on 2/14/2021. There are more giveaways to enter on our Instagram! Follow us at @waffleflowercrafts so you don’t miss out!
Specials: From now until April 7th, 2021, all orders placed at waffleflower.com will receive a mysterious gift (No code required!).
For those of you who are new to Waffle Flower, they have a Last Chance section on their website that lists many goodies for 25% off until they are gone! This would be a great place to start your collection!
Blog Hop:
- Waffle Flower Blog
- Amanda Korotkova
- Arjita Singh
- Cathy Zielske
- Channin Pelletier
- Galina Filippenko
- Jeanne Jachna
- Jessica Frost-Ballas
- JJ Bolton
- Keisha Charles
- Laura Bassen
- Lydia Fielder
- Michele Ferguson
- Rachel Arribas
- Rebecca Keppel
- Sidnie Des Jardins
- Svitlana Shayevich
- Tracy Ware (You are Here)
- Vicky Papaioannou
Supply List:
- Waffle Flower Simple Stems Stamp, Die, Combo Set
- Waffle Flower Triple Line Diamond Panel Die
- Waffle Flower Simply Said 1 Stamp, Die, Combo Set
- Copic Markers: BV0000, BV000, BV00, BV01, YG11, YG13
- Copic Multiliner Black 0.3
- Neenah Classic Crest 80lb Cardstock
- Neenah Classic Crest 110lb Cardstock
- Distress Oxide Antique Linen Ink
- PinkFresh Studio Lavender Ink
- VersaFine Ink
- VersaMark Ink
- Ranger Clear Embossing Powder
- PinkFresh Studio Jewels Mix
- 3M Foam Tape
- Craft Tacky Glue
- Misti
- Anti-Static Tool
- Marvy Jewel Picker
- Gemini Jr.
*Affiliate links used at no additional cost to you. Thank you for your support!
Latest Posts
- Simon Says Stamp Grateful Heart

- Simon Says Stamp Braided Greetings

- Together By Design Color Cube Floral

- Simon Says Stamp Cute Duckling

- Simon Says Stamp Watercolor Wild Rose