Simon Says Stamp Thankful Laurel Leaves

Hello Crafty Friends! Thanks so much for stopping by today to check out my post featuring the brand new Laurel Leaves Background Plate from Simon Says Stamp’s new release, Peace on Earth! What a beautiful plate, and what a beautiful release! Let’s go through the details for today’s project!

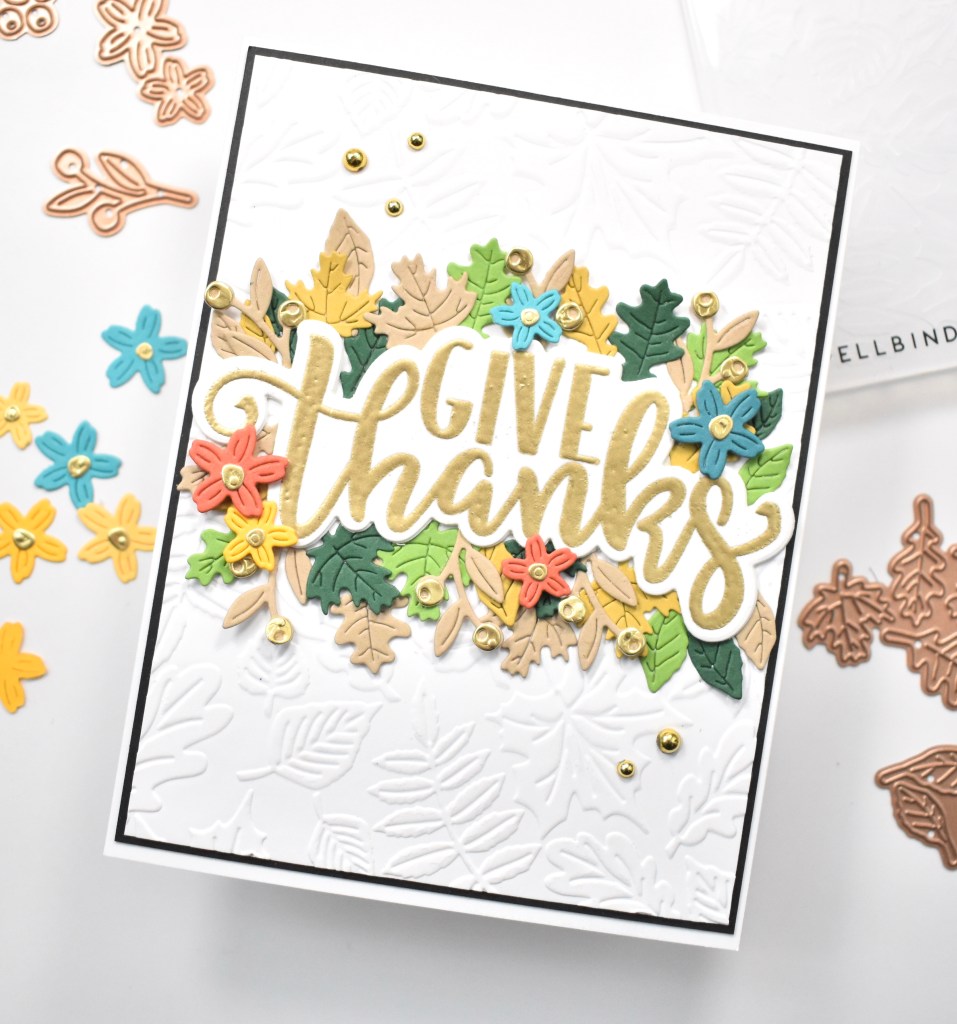
I first die cut the SSS Laurel Leaves Background Plate from Sunshine cardstock and did a little bit of ink blending using Distress Oxide inks in Mustard Seed, Spiced Marmalade and Walnut Stain. I just wanted to give the leaves a little bit of color and depth.

Next, I found a piece of patterned paper that I thought would work good with this design. This piece happens to be from Simple Stories Cozy Days set, and was in a Simon card kit last fall. I adhered the laurel leaves panel to the patterned paper using liquid glue, while only applying glue to the outer edges and stems of the leaves.

I die cut the SSS Thankful 1 die once from mirror gold cardstock and cut the shadow three times from black cardstock and glued all of those together. I wanted to add a sub-sentiment, so I rummaged through my SSS Sentiment Strips to find one that worked.

Once I found the sentiment strip, I ran it through the Minc using gold foil. I trimmed it down to size and adhered it to the card panel using foam tape, and glued the thankful sentiment just above it.
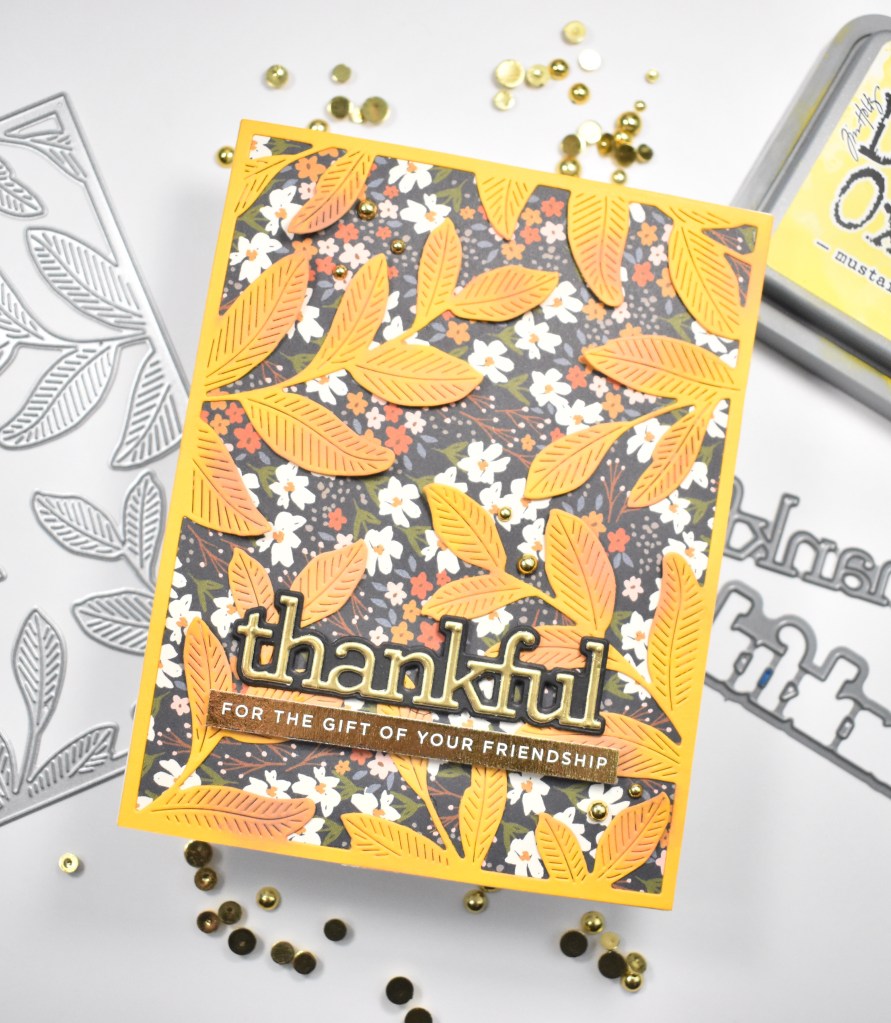
To finish up, I added the panel to the card base, which is Neenah Classic Crest 110lb cardstock and added a few PinkFresh Studio Gold Metallic Pearls to pull it all together! I like the gold with the Sunshine cardstock and that added interest with the patterned paper! There are so many beautiful things in this Peace on Earth release, and I hope you’ll stop by and check them out! Have a wonderful day and don’t forget to stay awesome!
Supply List:
- SSS Laurel Leaves Background Plate
- SSS Thankful 1 Dies
- SSS Sentiment Strips
- SSS Sunshine Cardstock
- Distress Oxide Inks: Mustard Seed, Spiced Marmalade, Walnut Stain
- Minc Gold Foil
- Simple Stories Cozy Days Paper
- PinkFresh Studio Gold Metallic Pearls
- Neenah Classic Crest Solar White 110lb Cardstock
- Black Cardstock
- Mirror Gold Cardstock
- Blender Brushes
- Bearly Art Glue
- 3M Foam Tape
- Studio Katia Embellishment Wand
- Minc
- Gemini Jr.
* Affiliate links used at no cost to you. Thank you so much for your support!
- Simon Says Stamp Tattered Florals

- Simon Says Stamp Amazing Floral

- Simon Says Stamp Friendly Butterflies

- Simon Says Stamp Graceful Hugs

- Simon Says Stamp Hello Butterflies