Simon Says Stamp Hello Butterflies

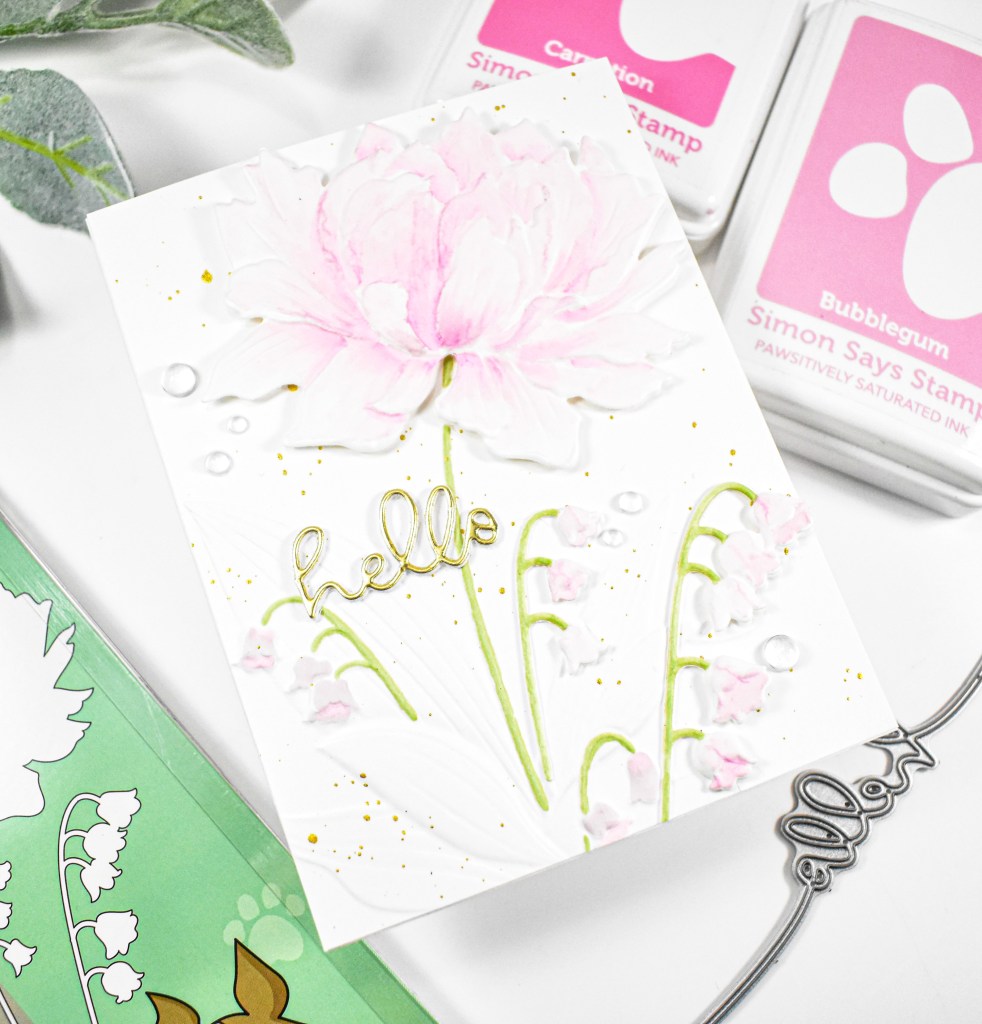
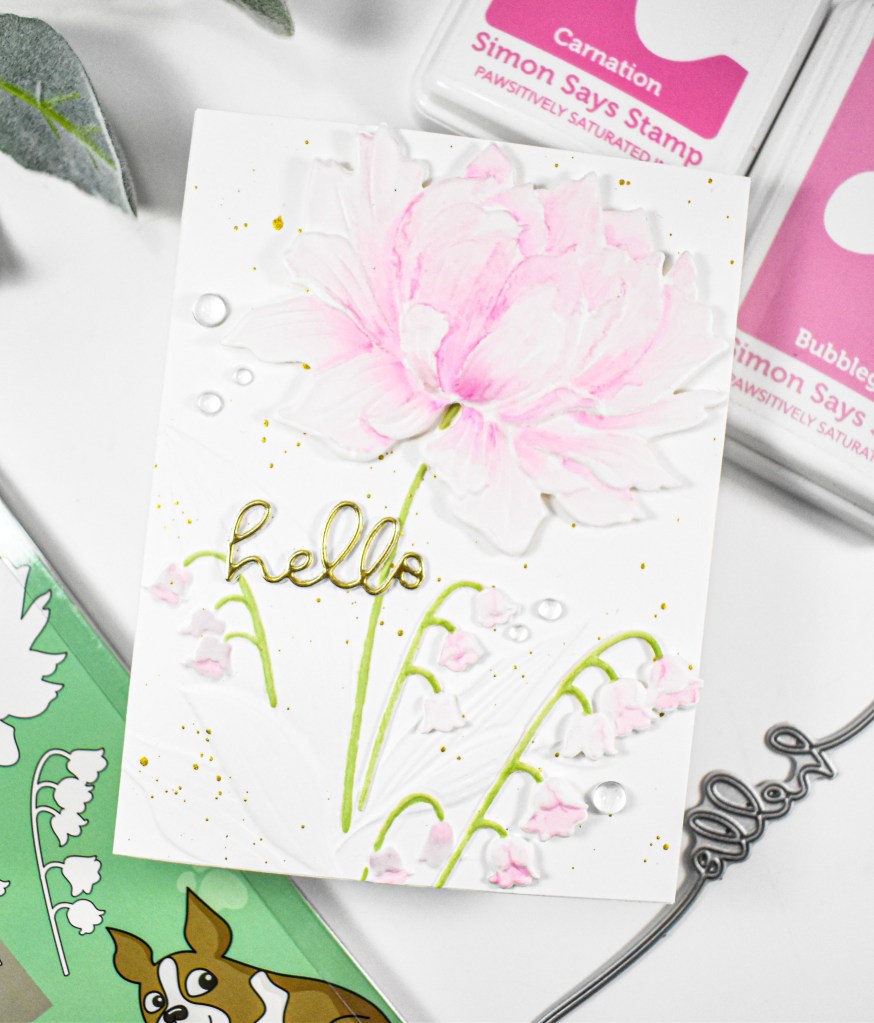
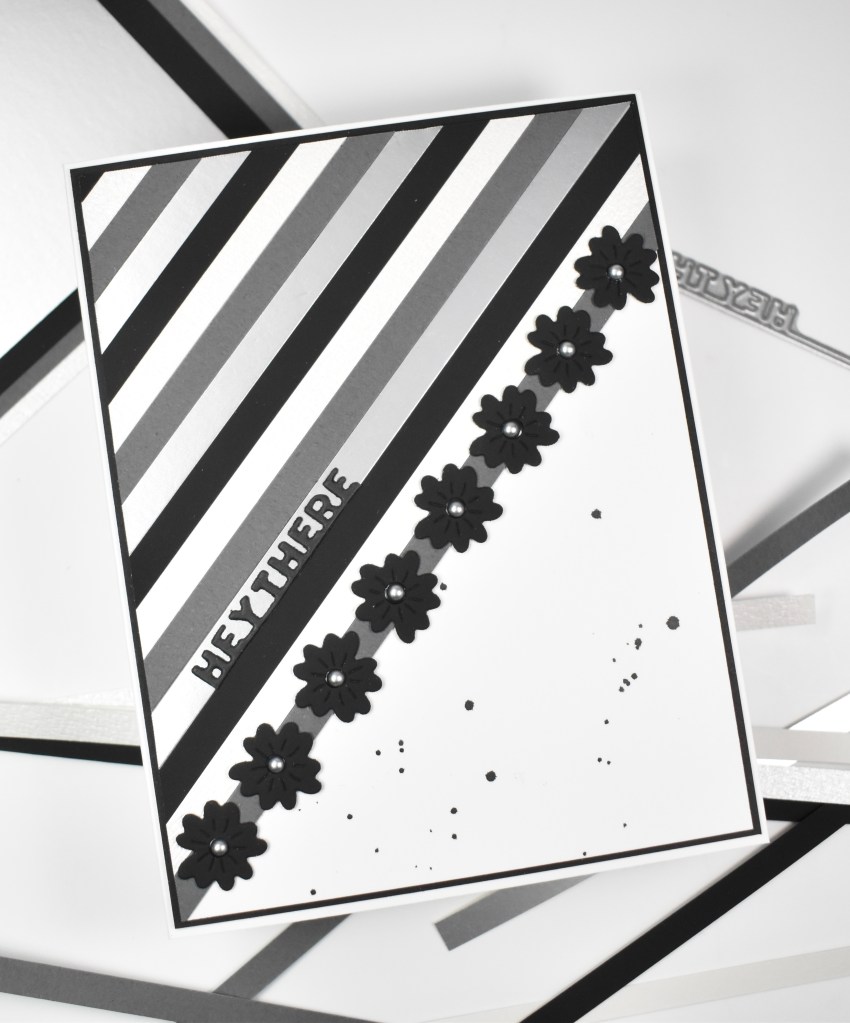
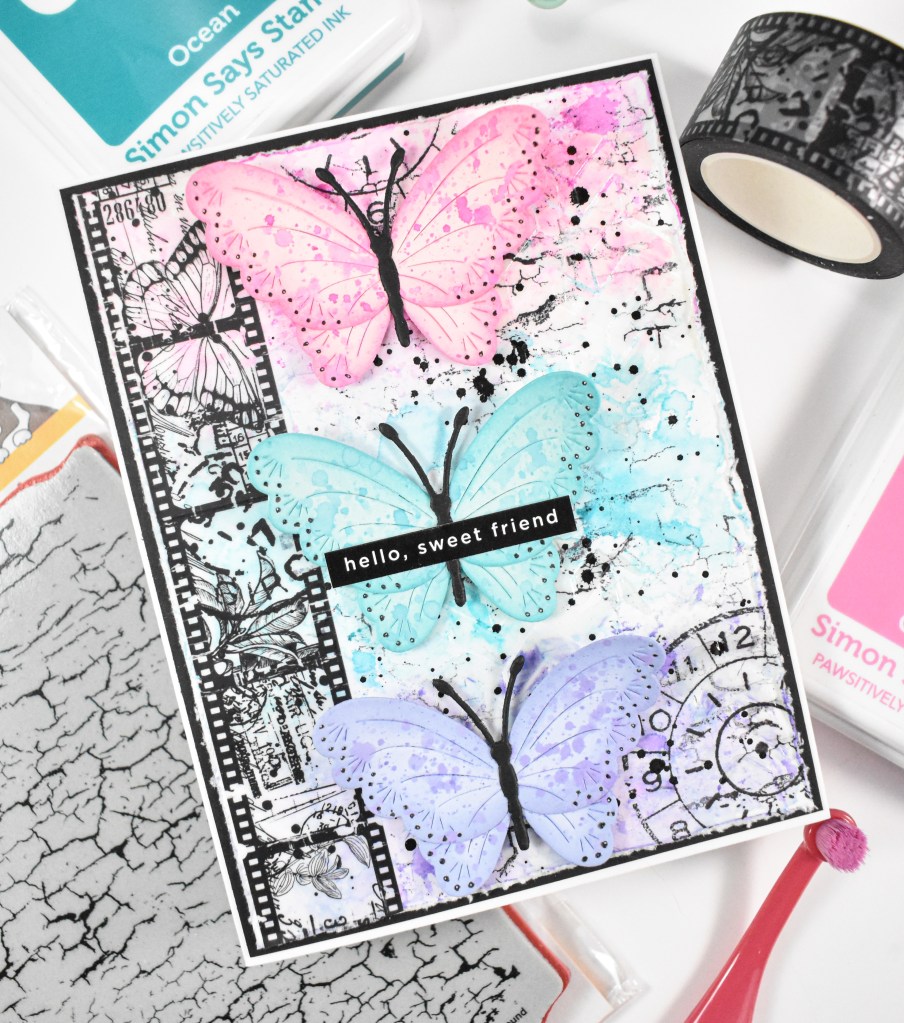
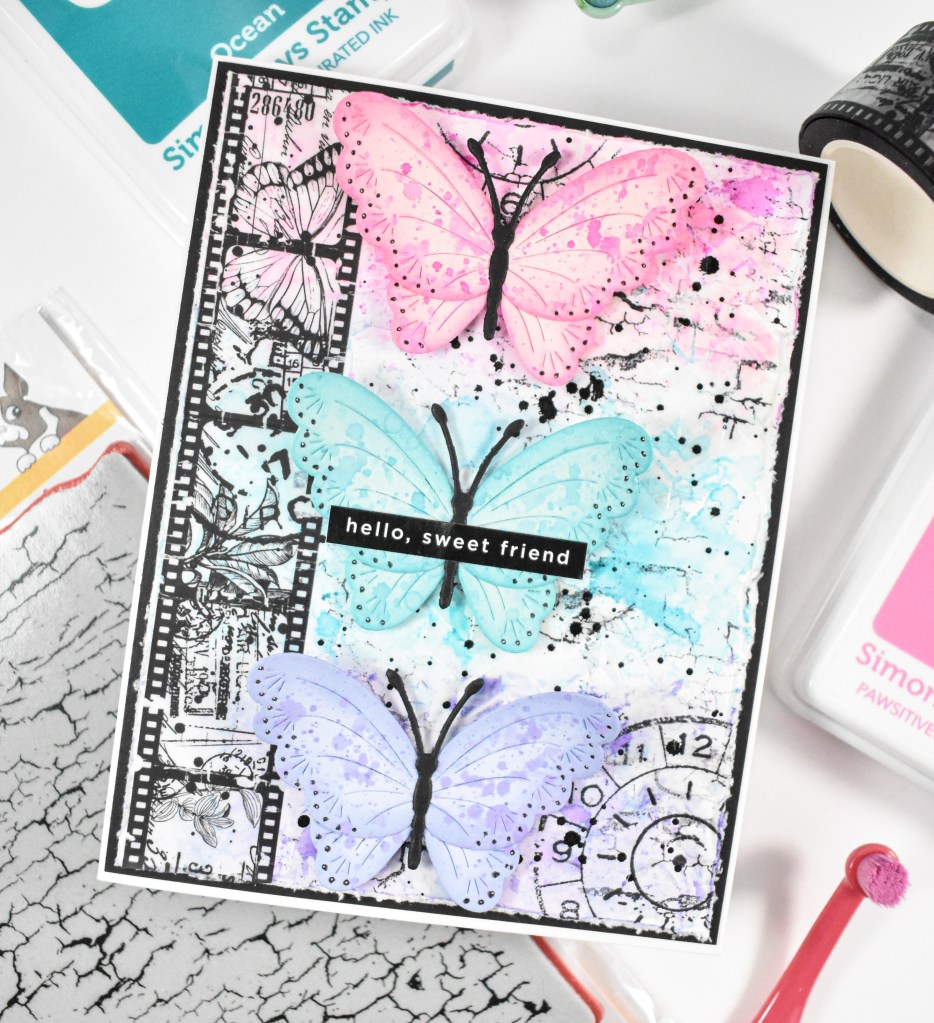
Hello Friends, and welcome back! I got myself into a grungy, creative mood, so I created another card featuring the Dewpierce Butterfly from Simon’s latest release, Always There. There’s quite a bit going on, so let’s jump right in to it!
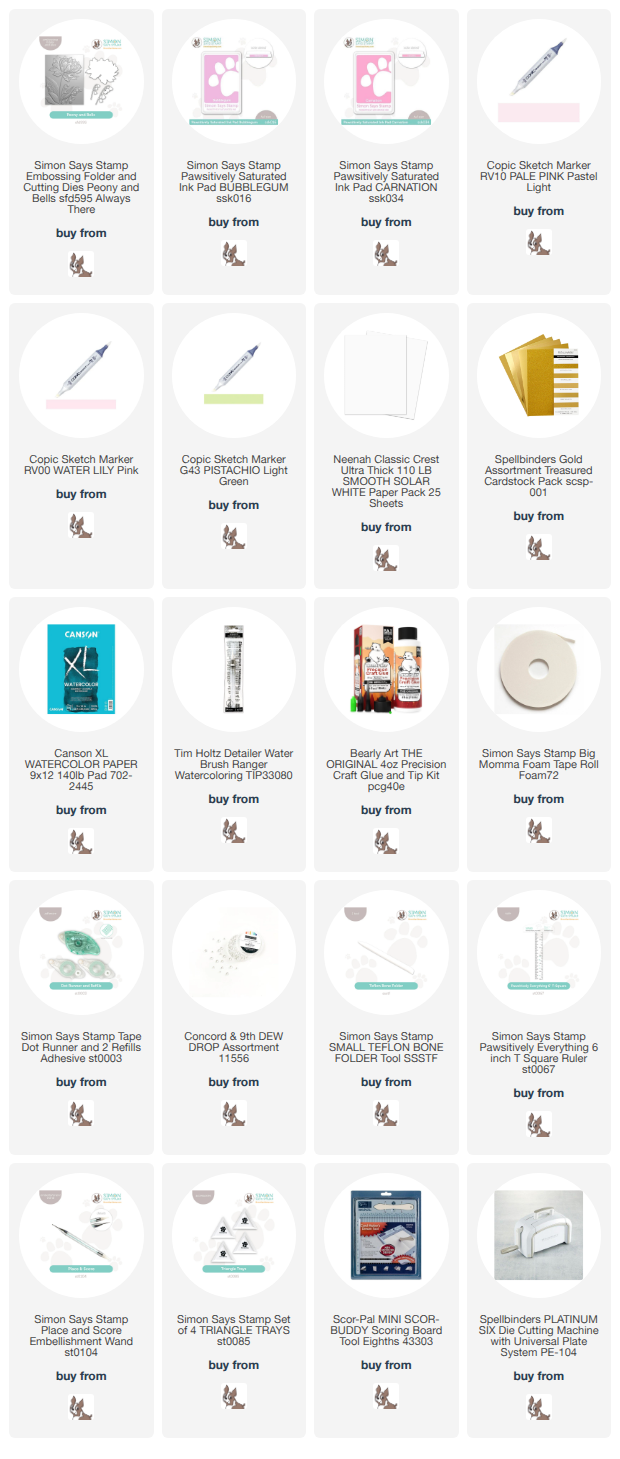
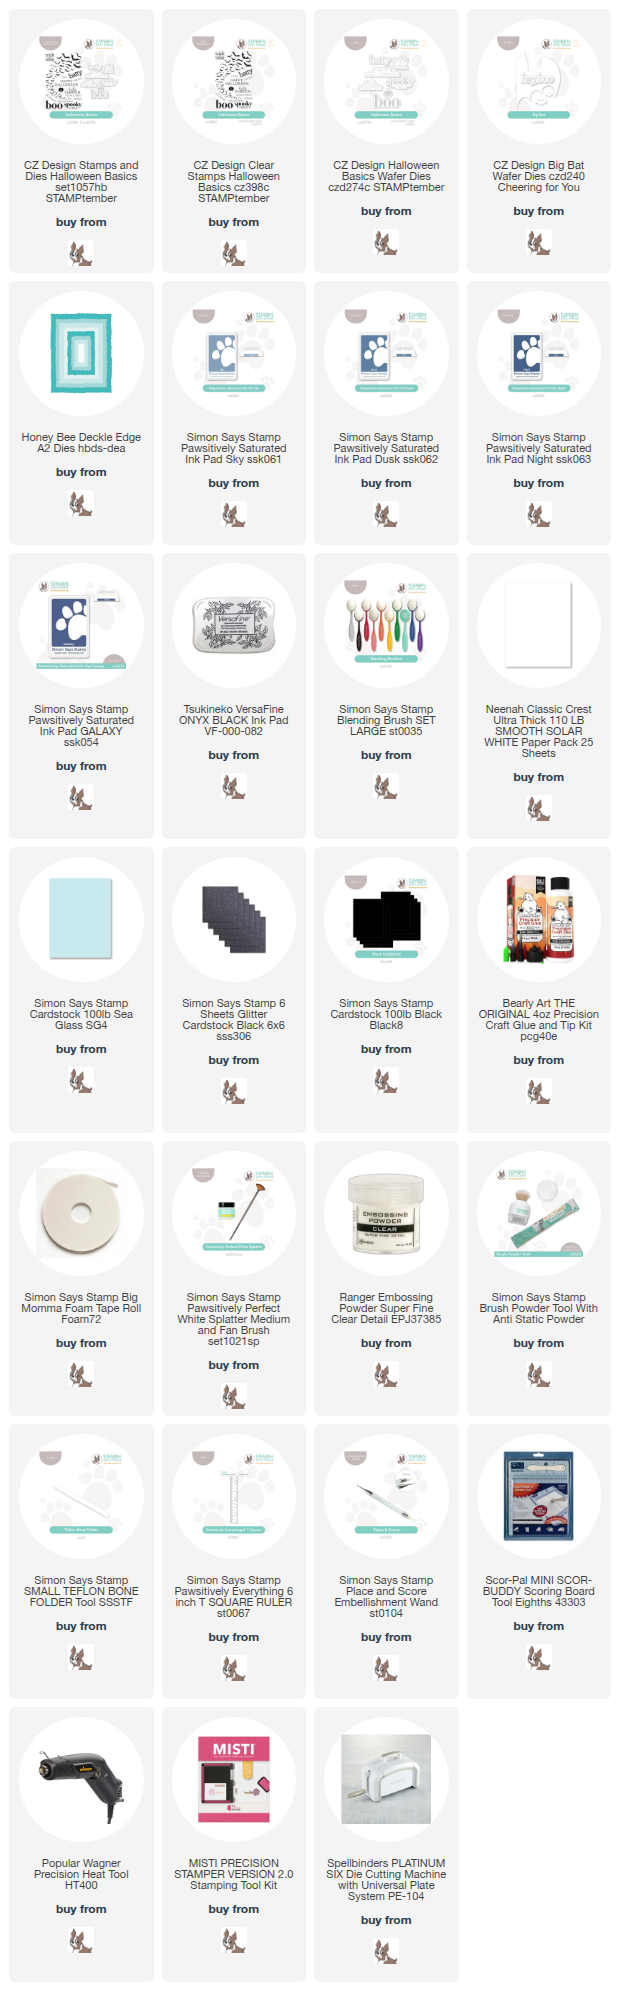
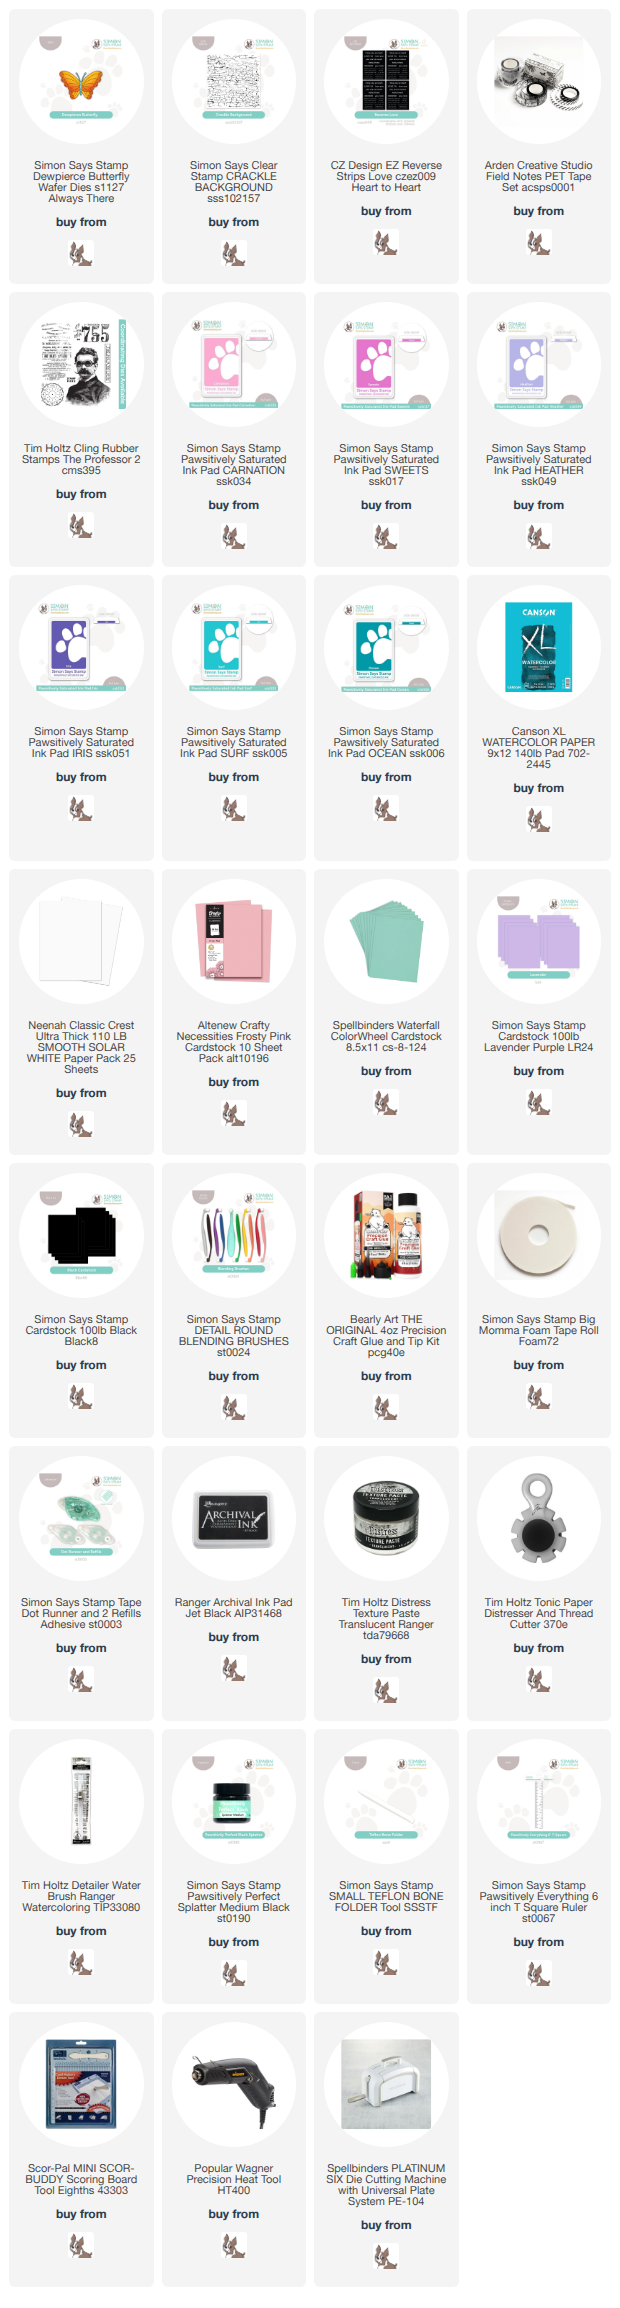
NOTE: all supplies are linked n the thumbnails at the end of this blog post.
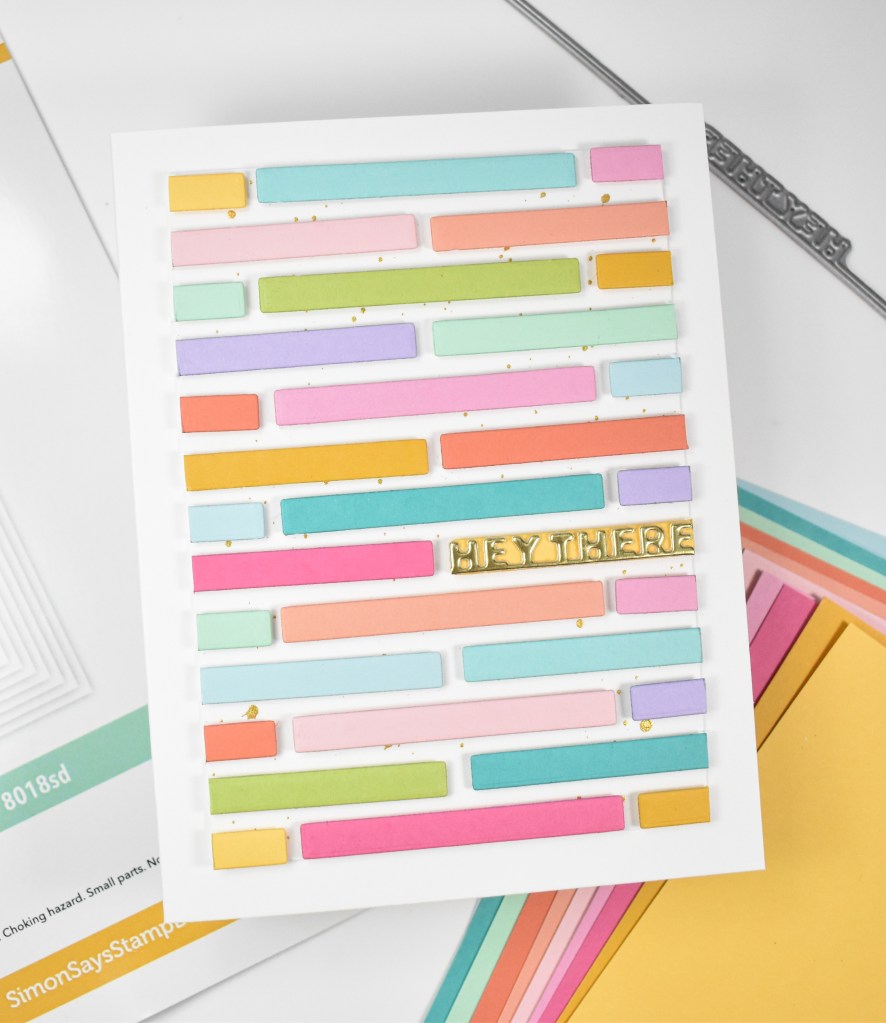
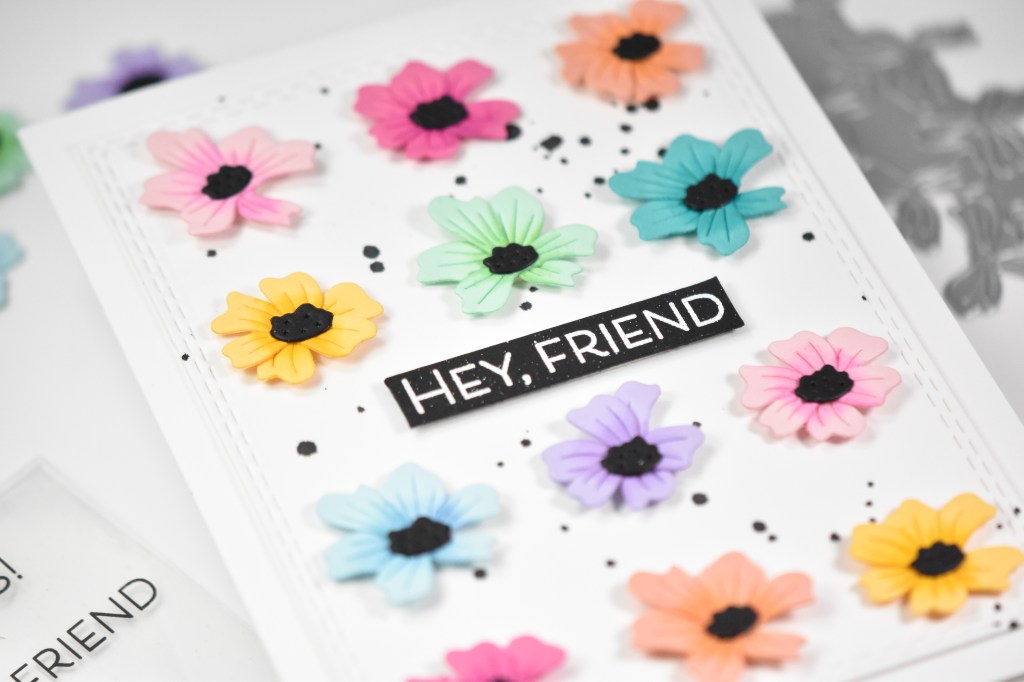
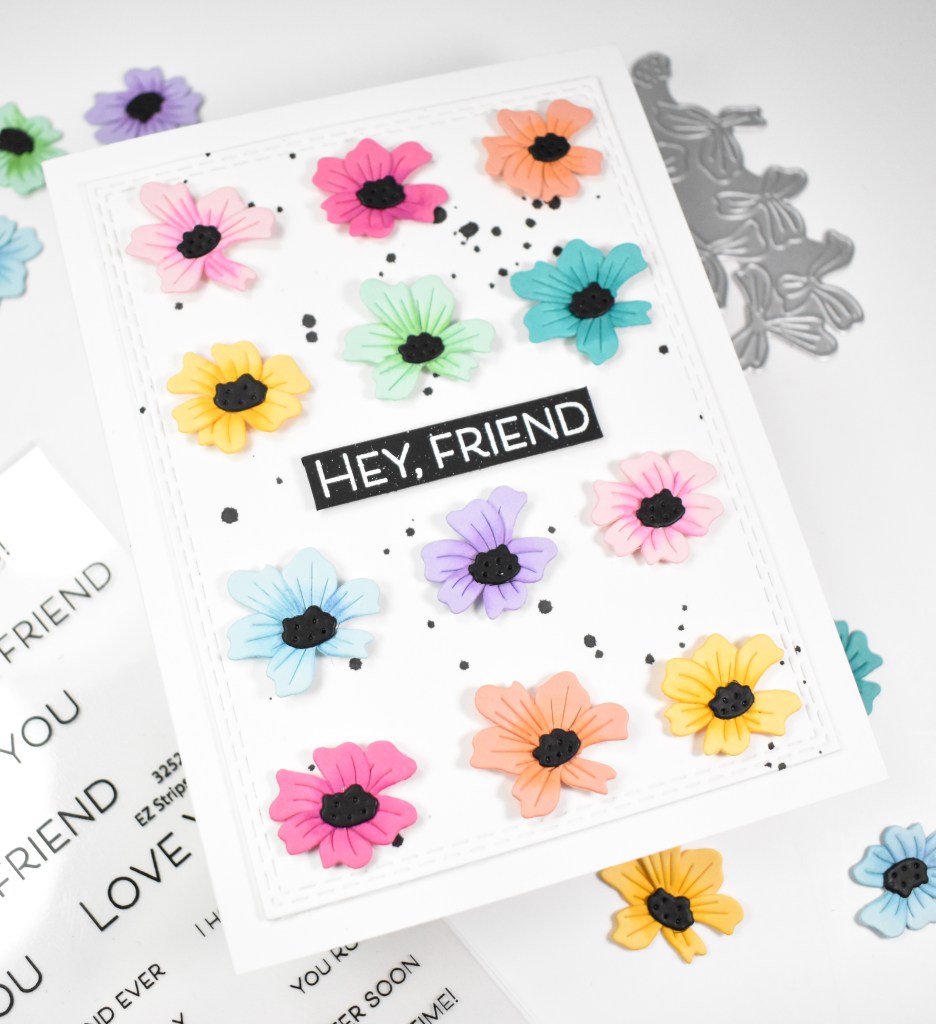
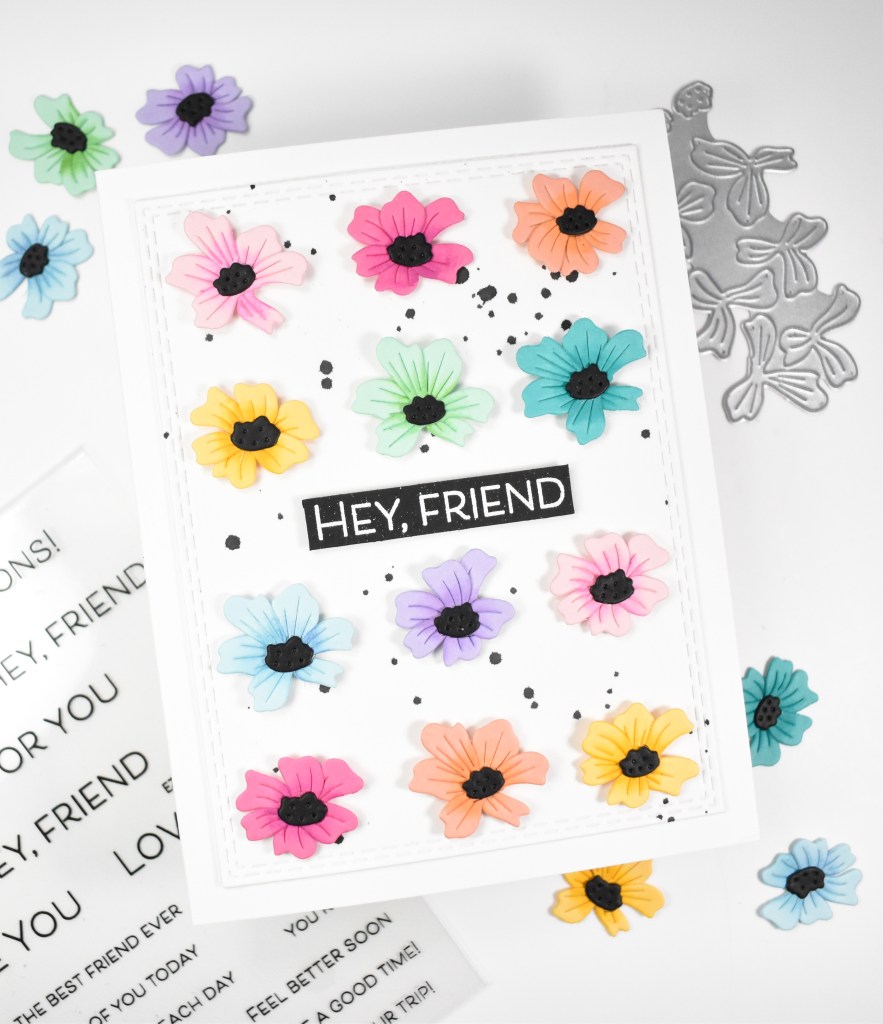
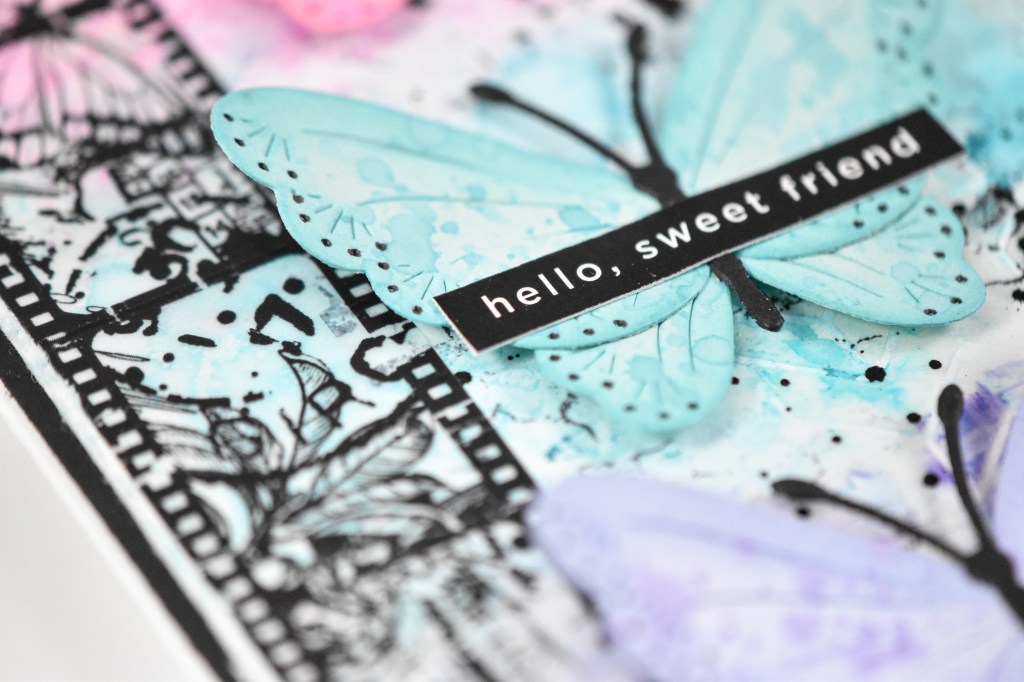
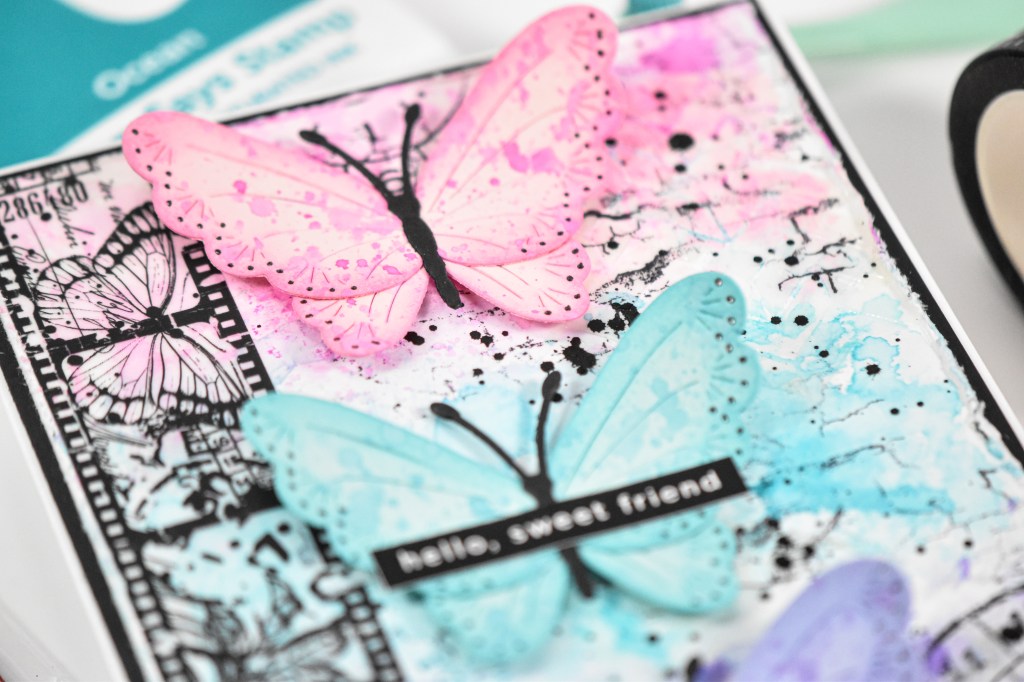
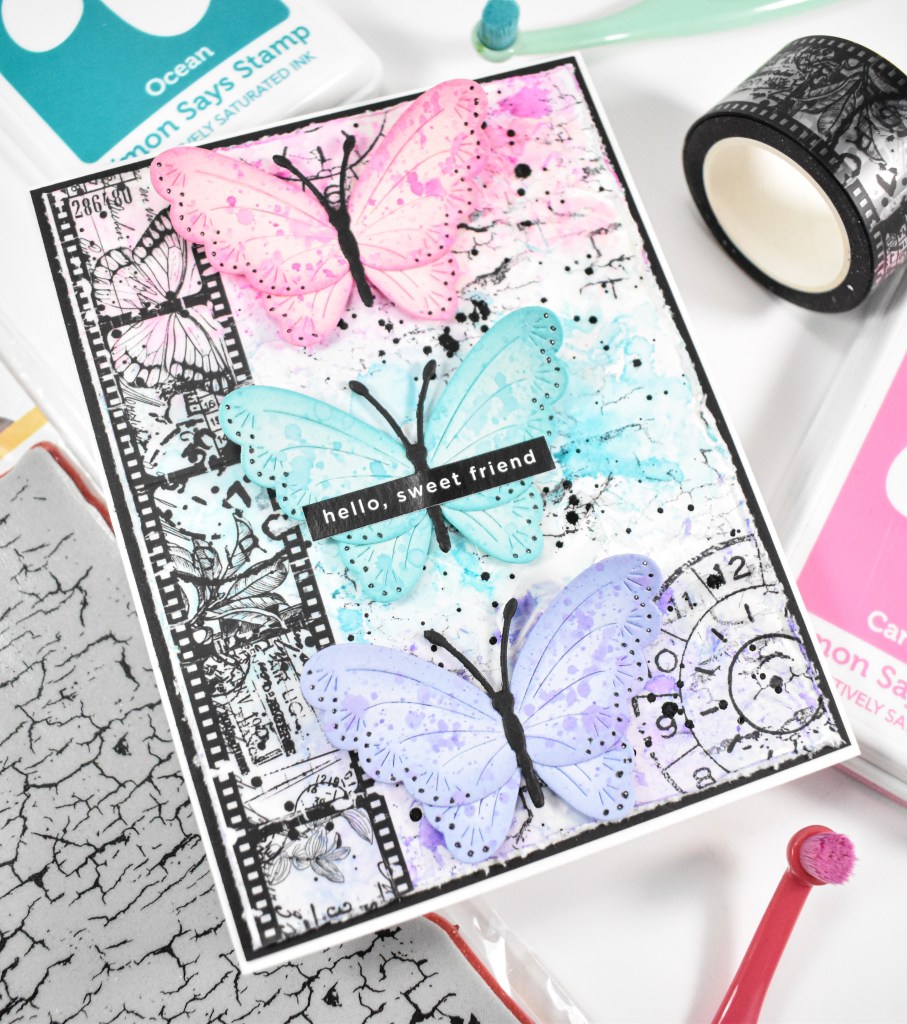
I began by die cutting the butterfly once from pink, aqua and purple cardstock and die cutting the body from black. I did some ink blending on the edges of the butterflies using Carnation, Heather and Surf inks. Those were then assembled using liquid glue and set aside while I worked on the rest of the card.
I pulled a panel of watercolor paper and a water brush and loosely added those same inks to the panel I just smooshed the ink onto my glass mat and added it from there. No paints were involved, just ink pads. I dried the panel using my heat tool and then did some stamping using Archival Black ink and the Simon Crackle Background, as well as the Tim Holtz Professor 2 set. A healthy dose of black splatter was also added before distressing the edges of the paper.
Now, here’s the part that I’m not so happy with, but it is what it is. I pulled the Simon Large Chevron Stencil, which is discontinued, along with some Translucent Gloss Crackle Paste and applied that to my panel in three different areas. As far as I can tell, it did not crackle, it just added some clear gloss. I guess in hindsight, it would have been better to maybe use opaque crackle paste .. I’m not sure, I’ll have to try it again at some point.
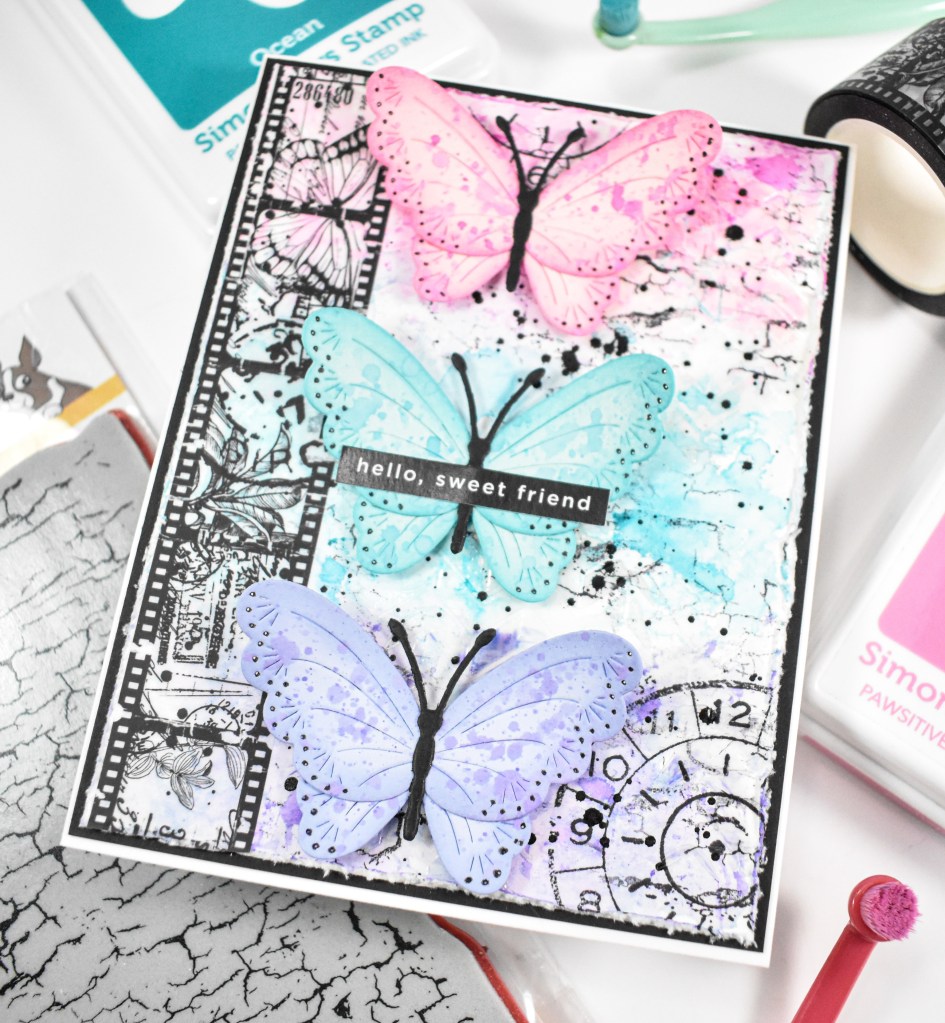
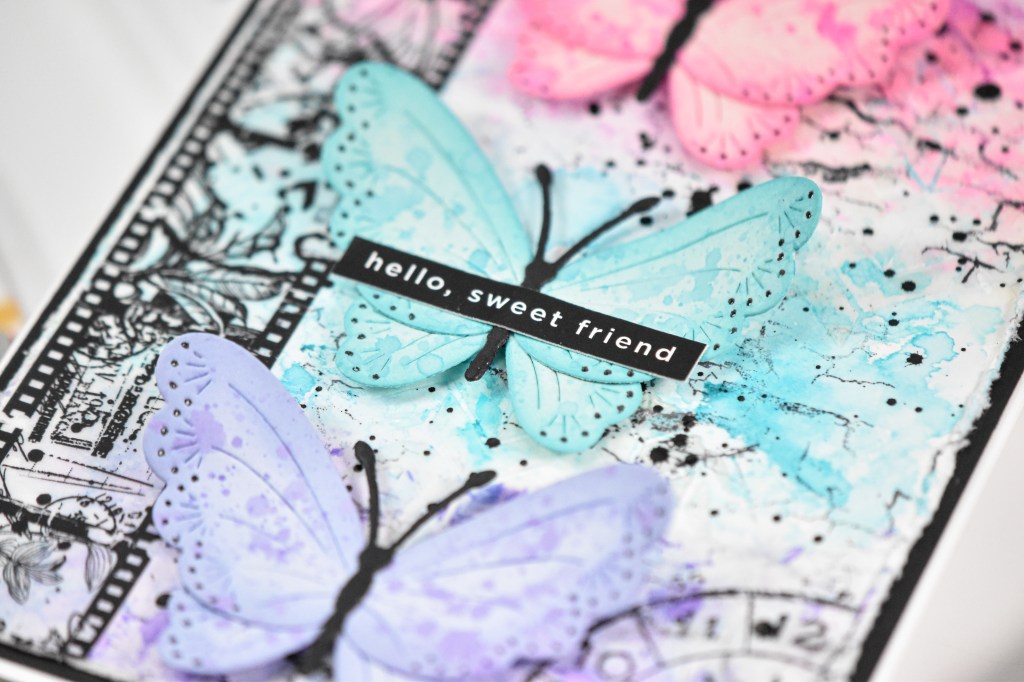
Some PET Tape was added to one side of the panel for some added visual interest, as well as to bring all of the black elements together. I decided that I wanted some darker ink on the panel, so I pulled Sweets, Iris and Ocean inks. The same smooshing on the glass mat occurred, and I dabbed a plastic bag, with a wadded up paper towel inside, into some water and then into the ink and lightly smooshed that onto the panel. The butterflies needed a bit of splatter too, so I used those same darker inks and splattered those with a paintbrush before being adhered to the card with foam tape. A sentiment strip was added to the middle to finish up this project.
That does it for this one! I hope you enjoyed it as much as I did! I’ll try a different paste next time to see if I get better results. Thanks so much for stopping by, and I hope you have an awesome day!
Supply List
Affiliate links used at no cost to you. What does this mean? If you use the links within this post to make a purchase, I receive a small commission, which allows me to continue to post crafty content for your enjoyment. I truly appreciate your support!
Latest Posts
- Simon Says Stamp Tattered Florals

- Simon Says Stamp Amazing Floral

- Simon Says Stamp Friendly Butterflies

- Simon Says Stamp Graceful Hugs

- Simon Says Stamp Hello Butterflies

Latest Instagram Posts