Simon Says Stamp Paper Hug Leafy Cluster

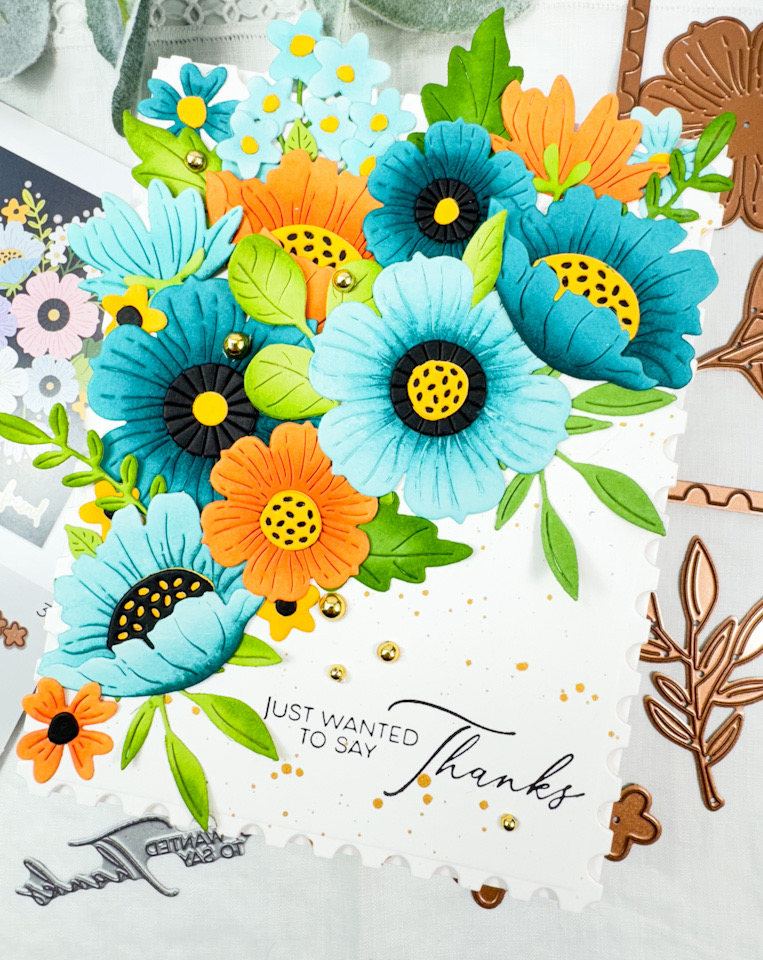
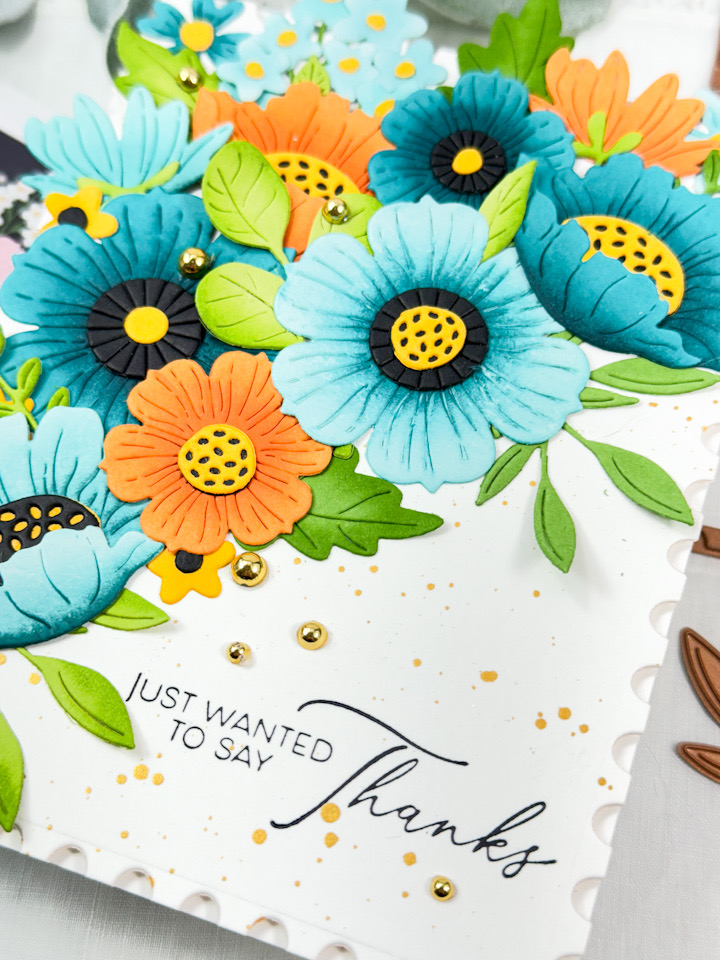
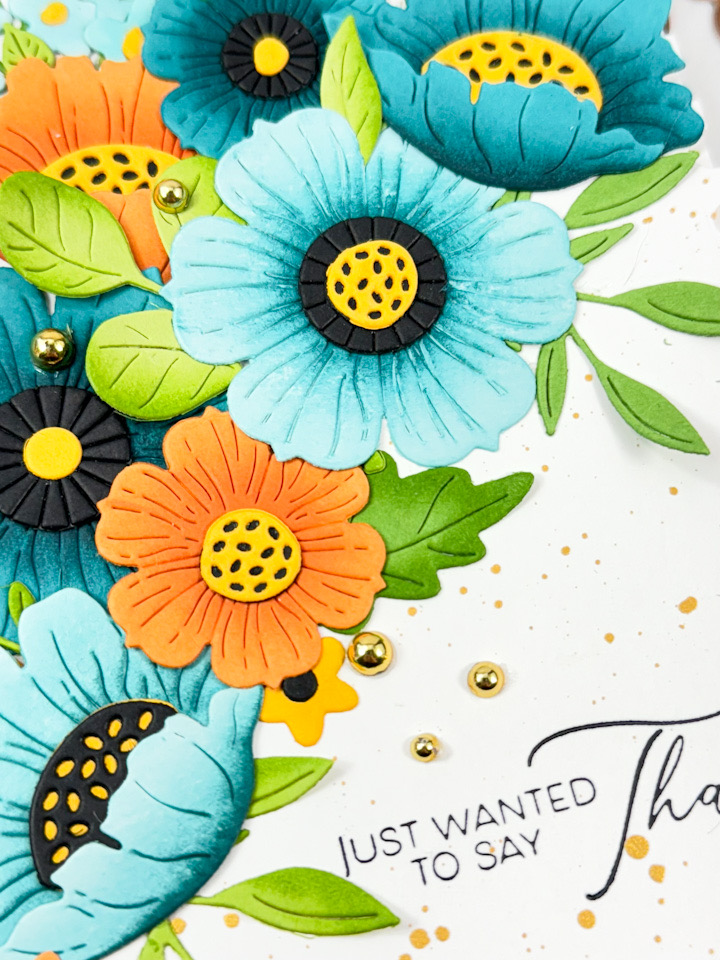
Hello Crafty Friends, and welcome back to my blog! I appreciate you stopping by to check out today’s project featuring the new Bad Day, Good Vibes stamp set, from Simon’s latest release, Sunny Vibes. I’m pairing it with the Friendship Leafy Cluster product suite, which is a favorite of mine. Let’s go ahead and get to the details!

Main Products:
- SSS Bad Day, Good Vives Stamp, Die, Bundle
- SSS Friendship Leafy Cluster Stamp, Die, Stencil, Bundle
- SSS Mini Slimline Falling Dots Hot Foil Plate (Similar Product – See note below)
- SSS Postage Stamp Edge Frames

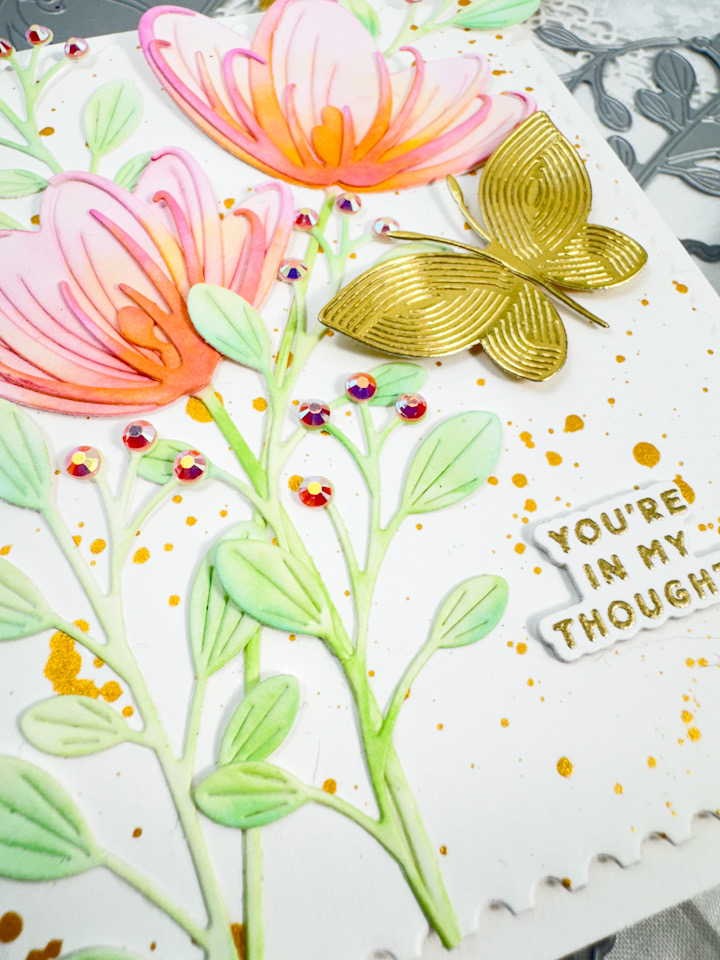
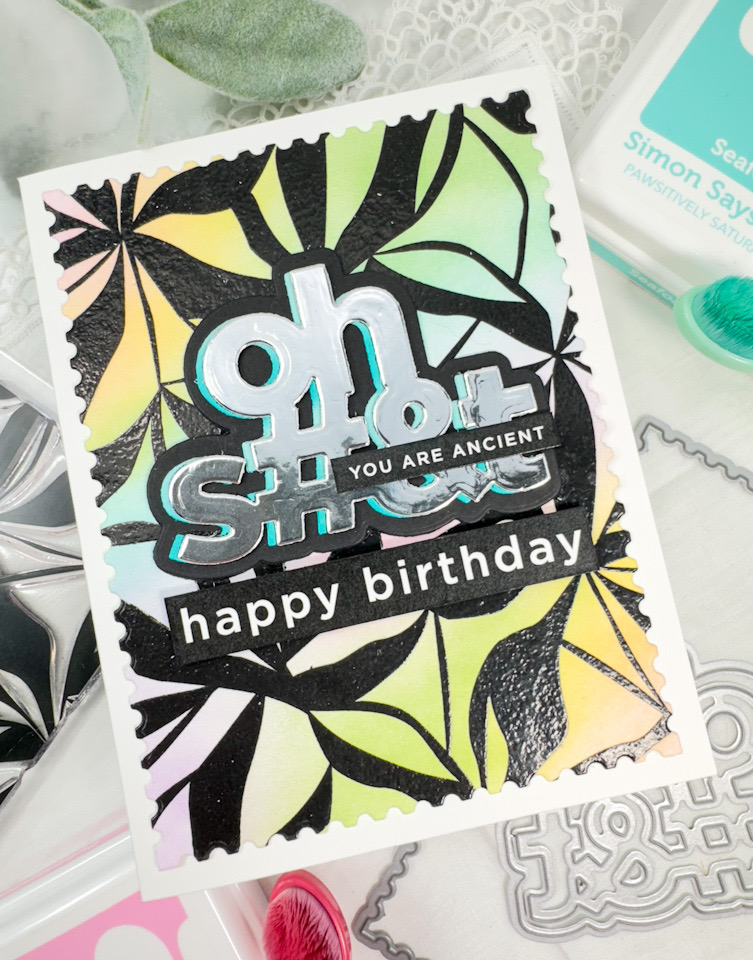
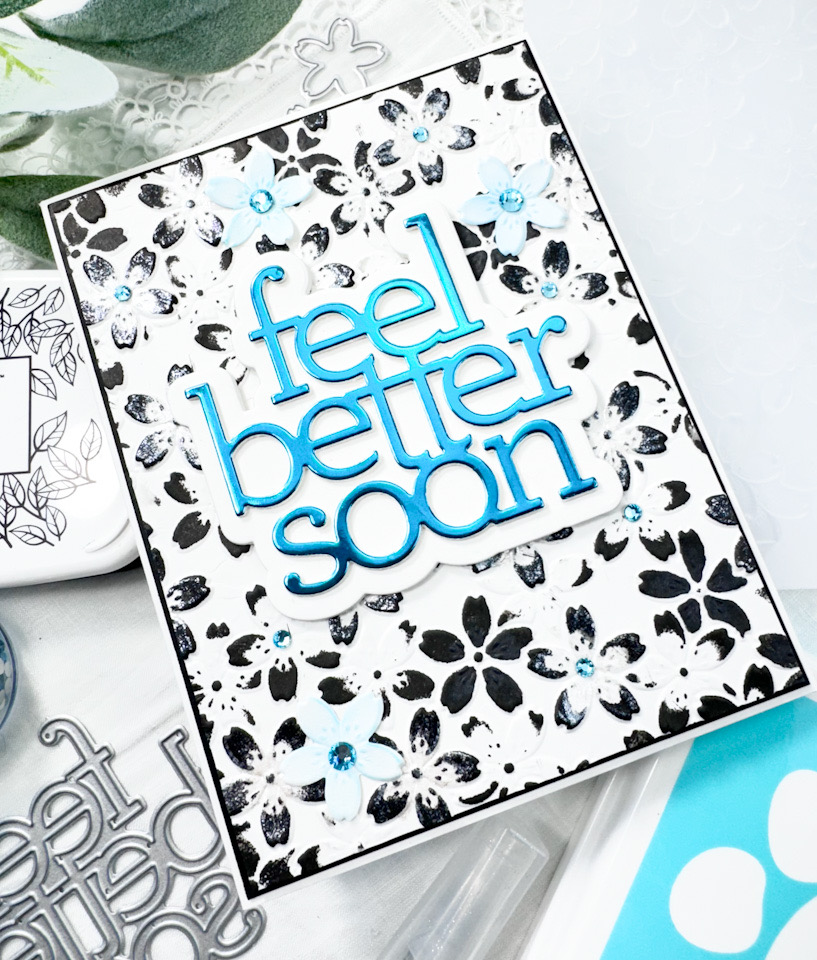
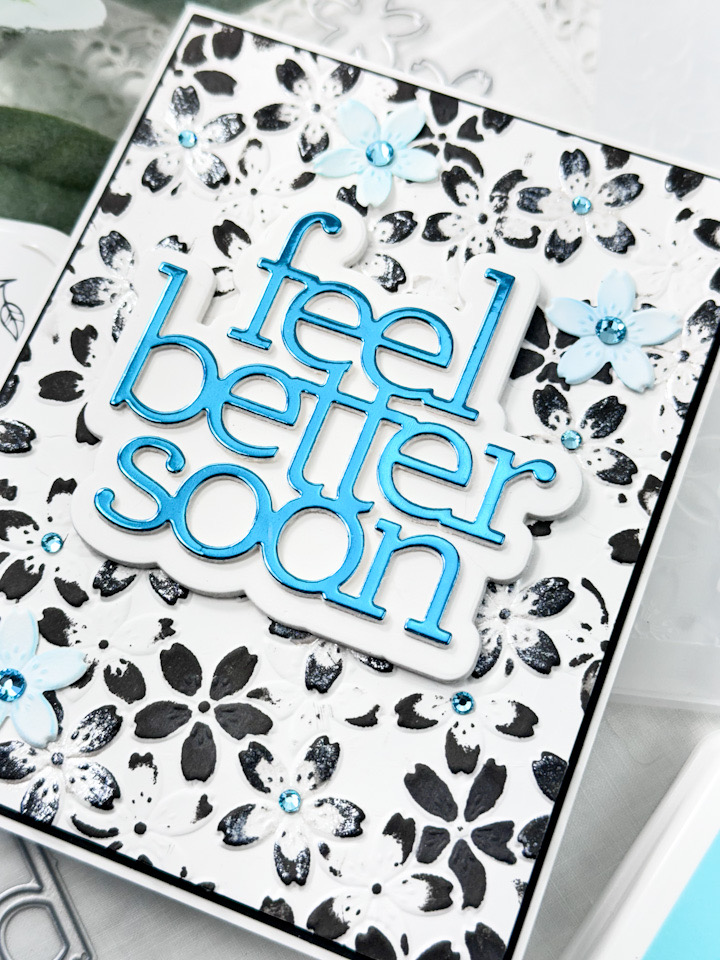
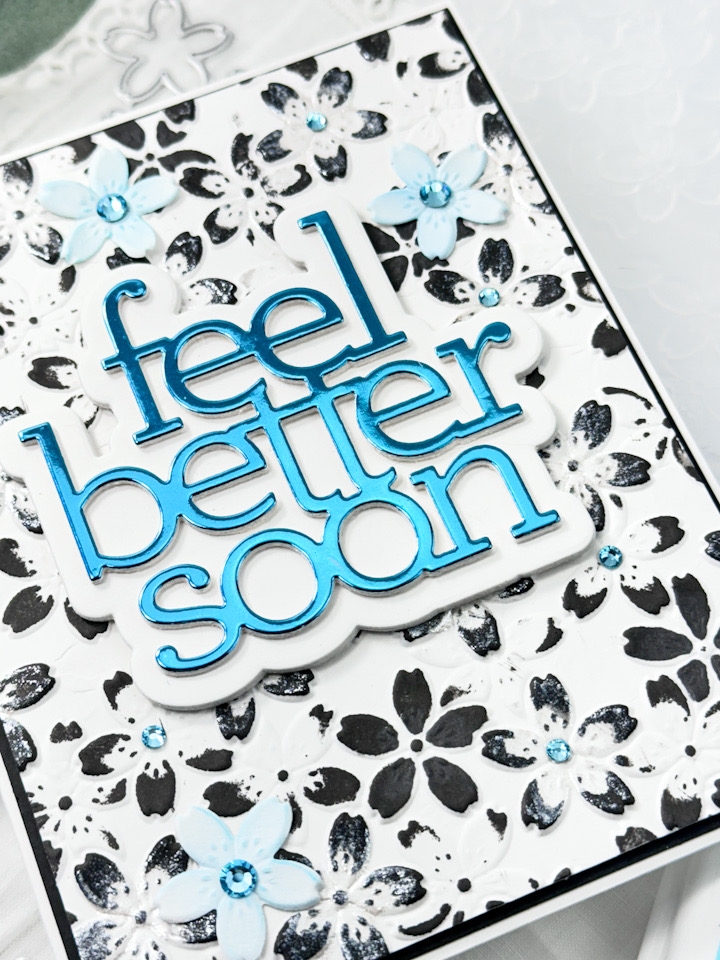
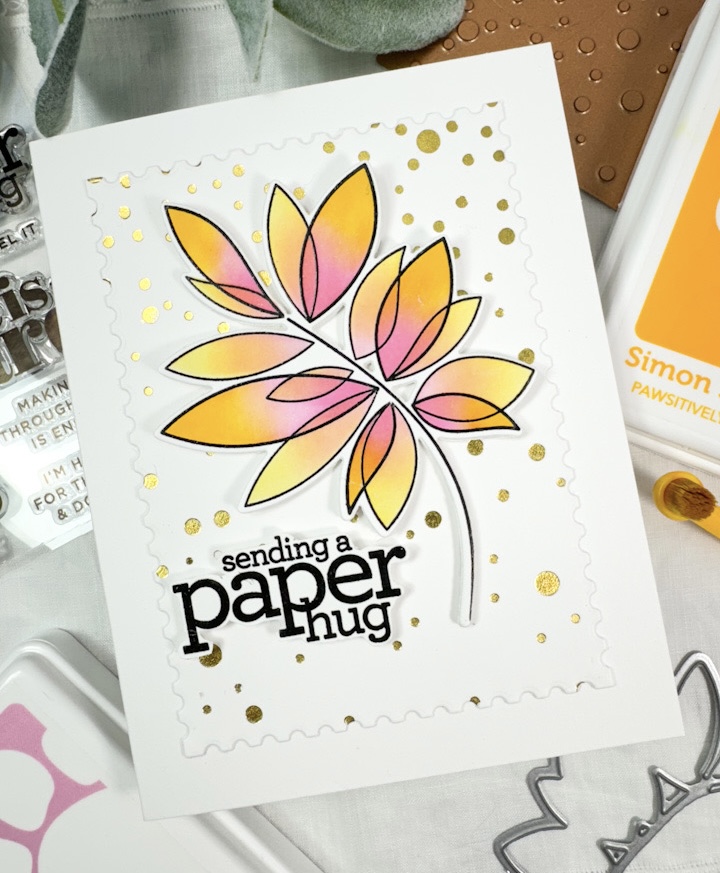
I began this project by stamping the leaves from the SSS Friendship Leafy Cluster set onto a panel of Neenah 110lb cardstock using VersaFiny Onyx Black ink and heat setting it using Ranger Clear Embossing Powder. I did stamp several leaves, because I really wasn’t sure where this card was going. Once the stamping was done, I used the coordinating stencil to add color using SSS Pawsitively Saturated Inks in Bubblegum, Carnation, Lemonade and Citrine.

Once satisfied with the ink blending, I used the coordinating die to trim out the leaves. I did cut five more leaves from Neenah 80lb cardstock and adhered all of those together with the ink blended leaf with liquid glue for LOTS of dimension! Next, I took a panel of Neenah 110lb cardstock and foiled the SSS Mini Slimline Falling Dots Foil Plate. Unfortunately, I believe Simon must have discontinued this plate, because I was unable to locate it on their website. My apologies for that .. I will link to a similar product. I did have to foil the panel twice to cover the size of panel that I wanted. I then used the SSS Postage Stamp Edge Frames to trim it down.

I stamped this super cute sentiment from the new SSS Bad Day, Good Vibes set using the same Onyx black ink and the same embossing powder and used my Brother Scan n Cut to trim it out. I adhered the foil panel to the card base using SSS Dot Tape Runner, and the leaf was glued directly to the panel, while the sentiment was adhered using SSS 3D Foam Strips to match the thickness of the leaf.
That does it for this one! I love this leaf, and I love the colors along with the cute foiled dots! Like I said, this set is a definite favorite of mine. I hope you enjoyed this project too, and I hope it inspires you to get crafty in your space. Thanks again for stopping by, and I hope you have a fabulous day!
Other Products:
- SSS Pawsitively Saturated Ink: Bubblegum, Carnation, Lemonade, Citrine
- SSS Blender Brushes
- SSS 3D Foam Strips
- SSS Place and Score Embellishment Wand
- SSS Bone Folder
- SSS Anti-Static Brush Powder Tool
- SSS Dot Tape Runner
- VersaFine Onyx Black Ink
- Ranger Clear Embossing Powder
- Tim Holtz Craft Pick
- Neenah Classic Crest Solar White 110lb Cardstock
- Neenah Classic Crest Solar White 80lb Cardstock
- Wagner Heat Tool
- Bearly Art Glue
- Scor-Buddy
- Misti
- Spellbinders Gold Foil
- Spellbinders Glimmer Hot Foil System
- Spellbinders Platinum 6
* Affiliate links used at no cost to you. What does this mean? If you use the links within this post to make a purchase, I receive a small commission, which allows me to continue to post crafty content for your enjoyment. I truly appreciate your support!
Latest Posts
- Simon Says Stamp Tattered Florals

- Simon Says Stamp Amazing Floral

- Simon Says Stamp Friendly Butterflies

- Simon Says Stamp Graceful Hugs

- Simon Says Stamp Hello Butterflies