Simon Says Stamp Birthday Organic Leaves

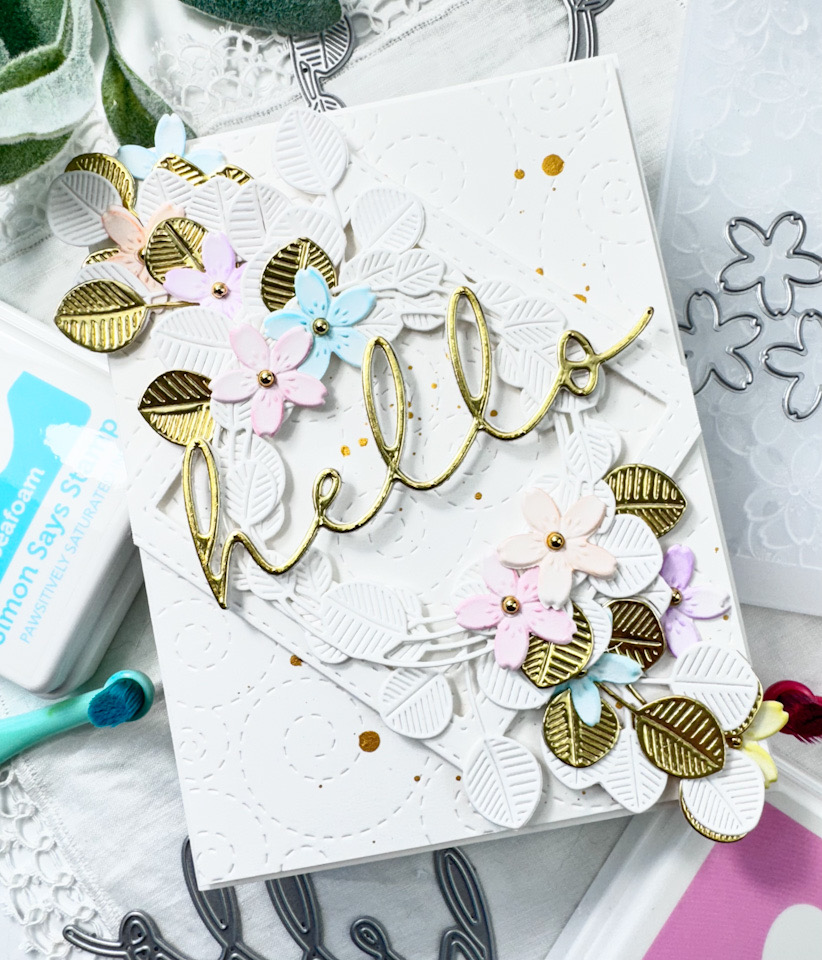
Hello Crafty Friends, and welcome back to my blog! I’m so glad that you stopped by to check out today’s project featuring the new Organic Leaves stamp from Simon’s latest release, Celebrate. This is such a great stamp because there’s so many different things and mediums to use with it. For example, ink blending over it, watercoloring around it, or even using some of the pigment powders and water with it. I have some other ideas that I want to try, but need to find the time! Anyhoo, let’s go through the details for this one!
Main Products:

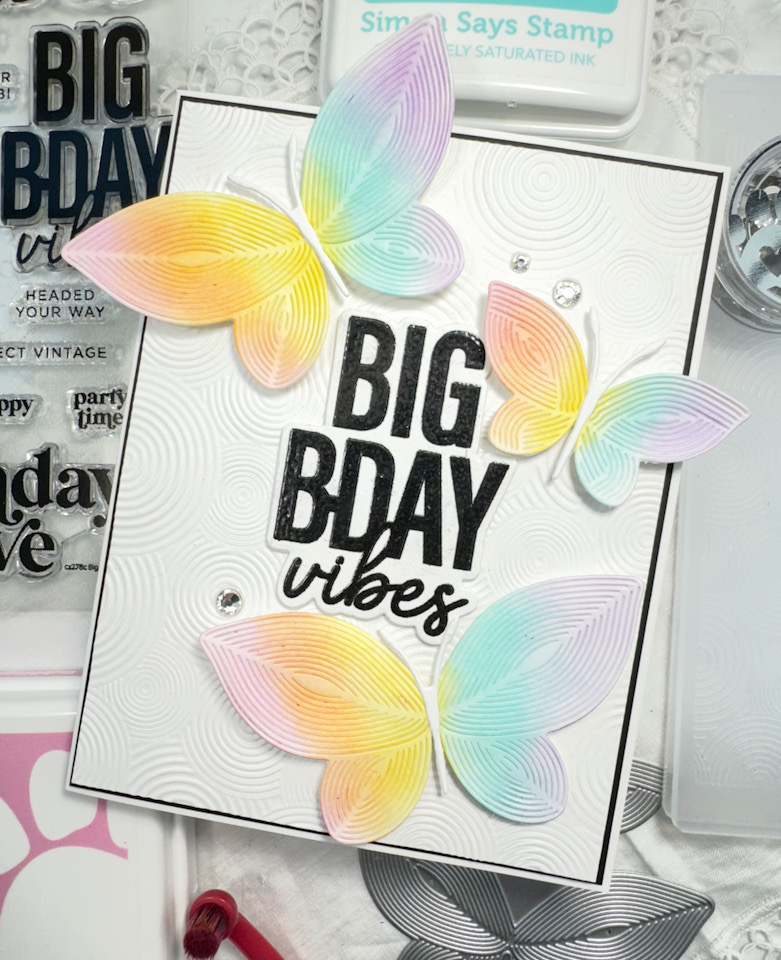
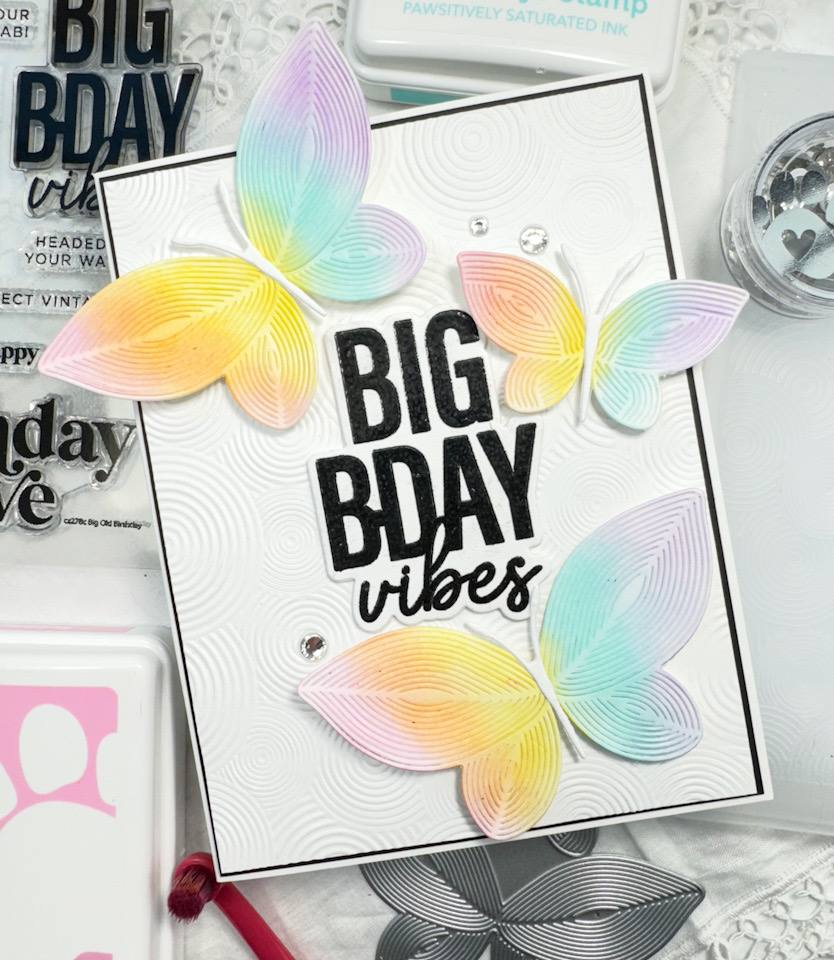
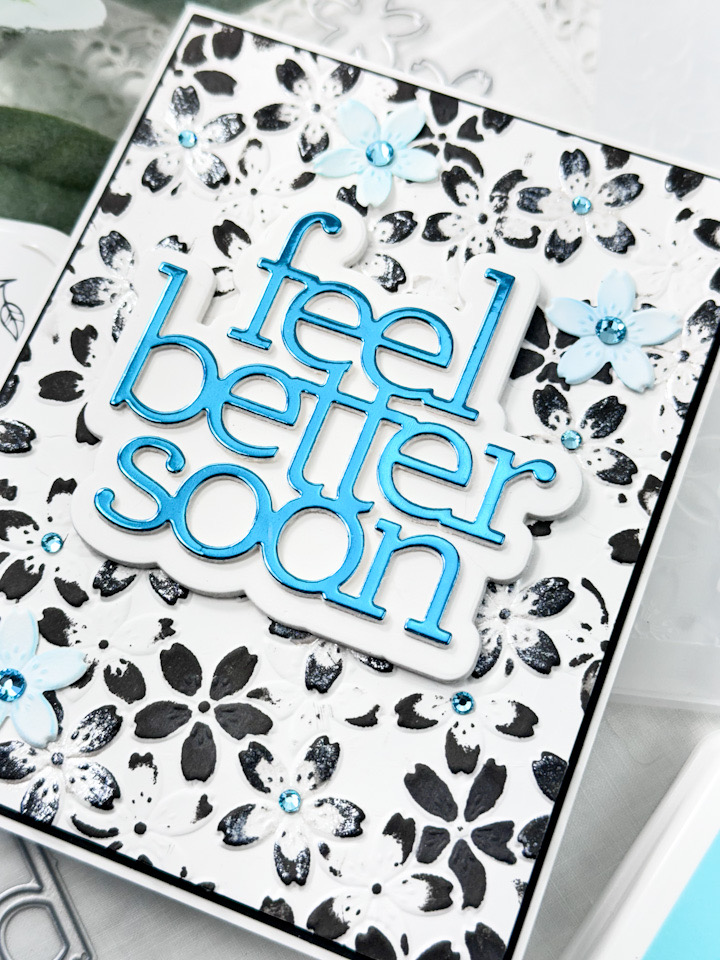
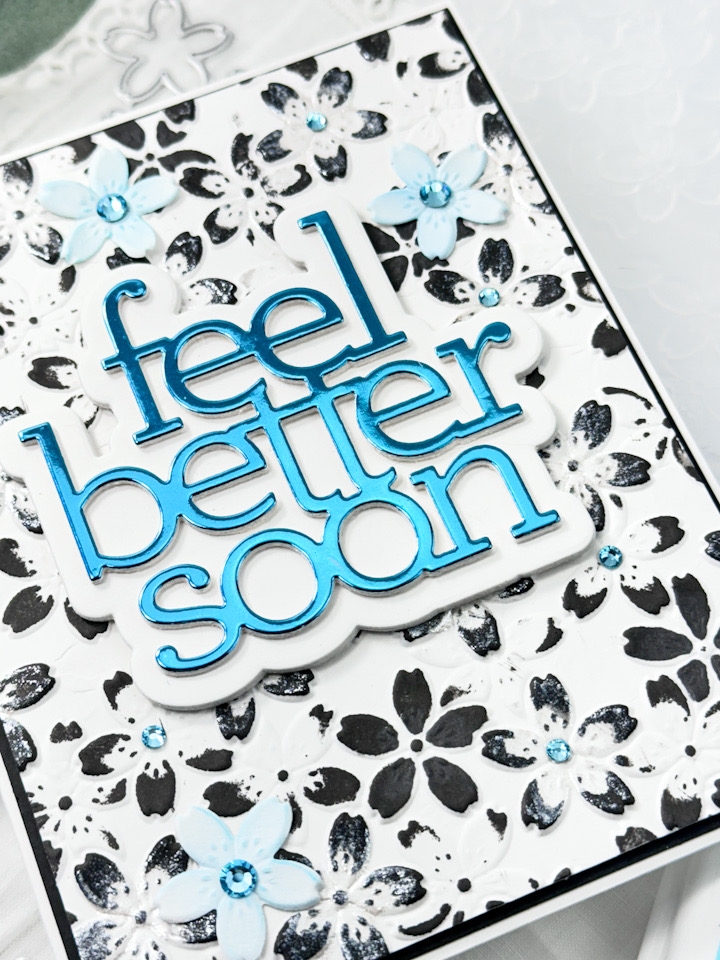
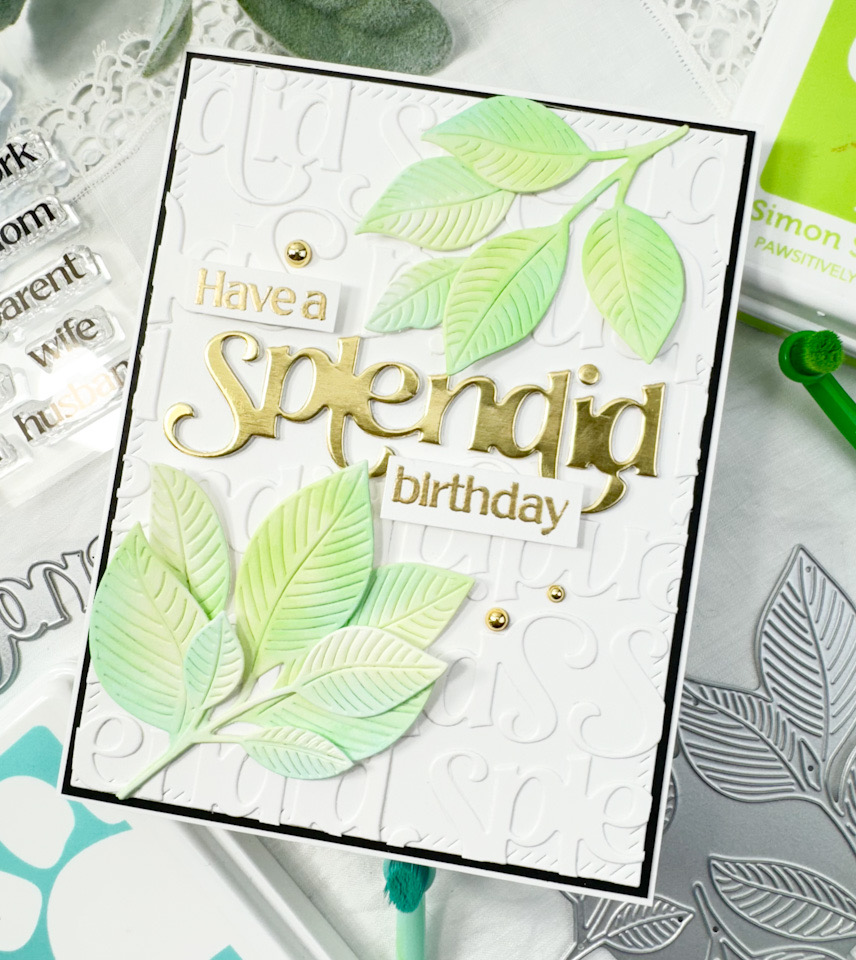
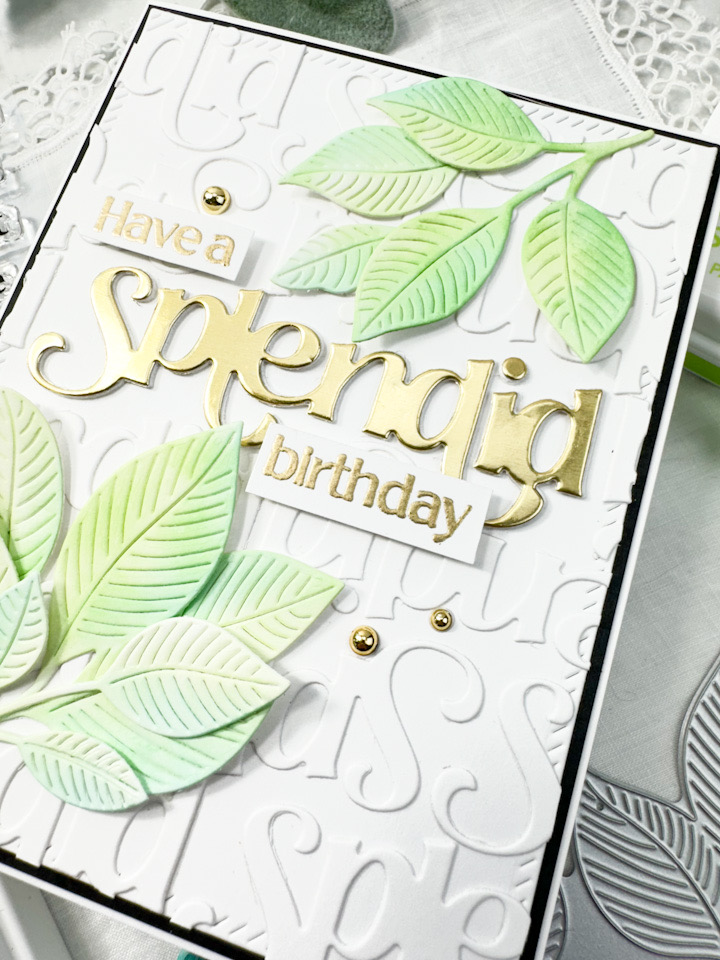
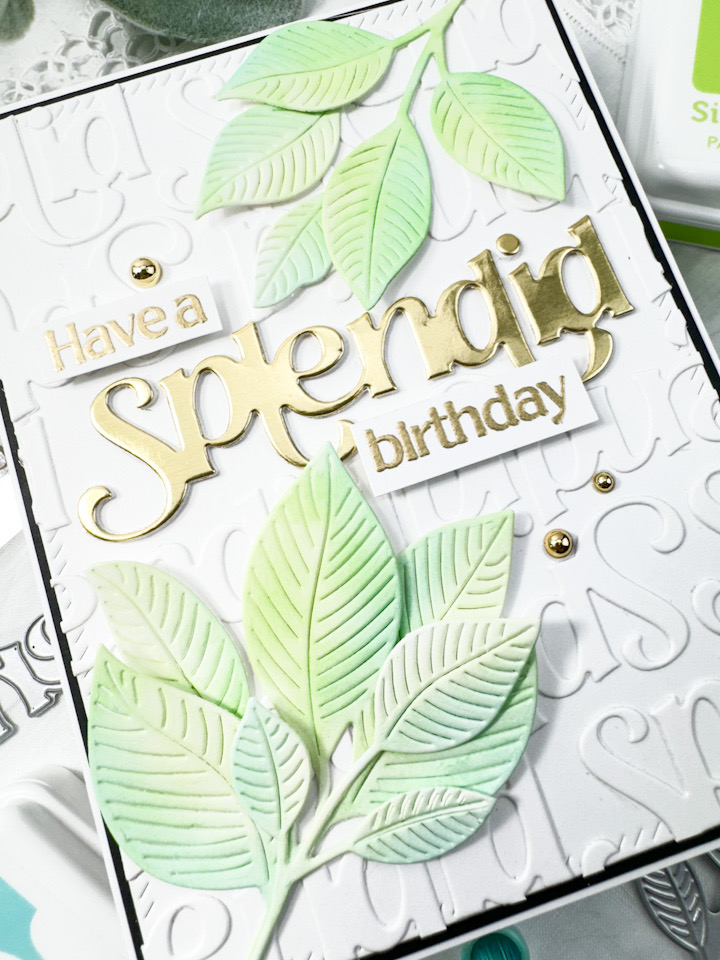
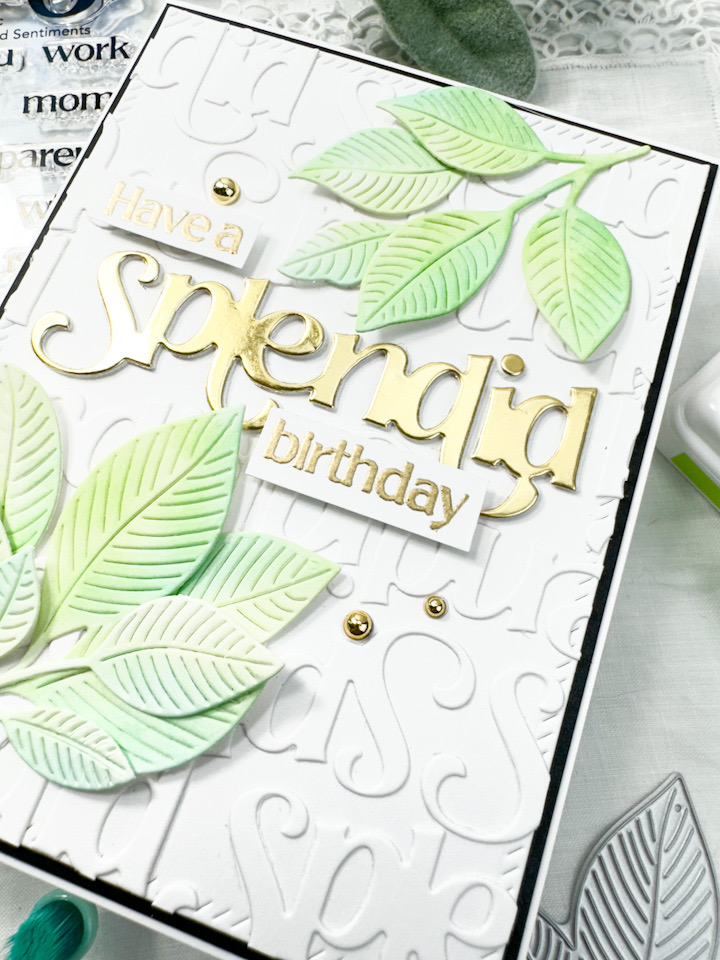
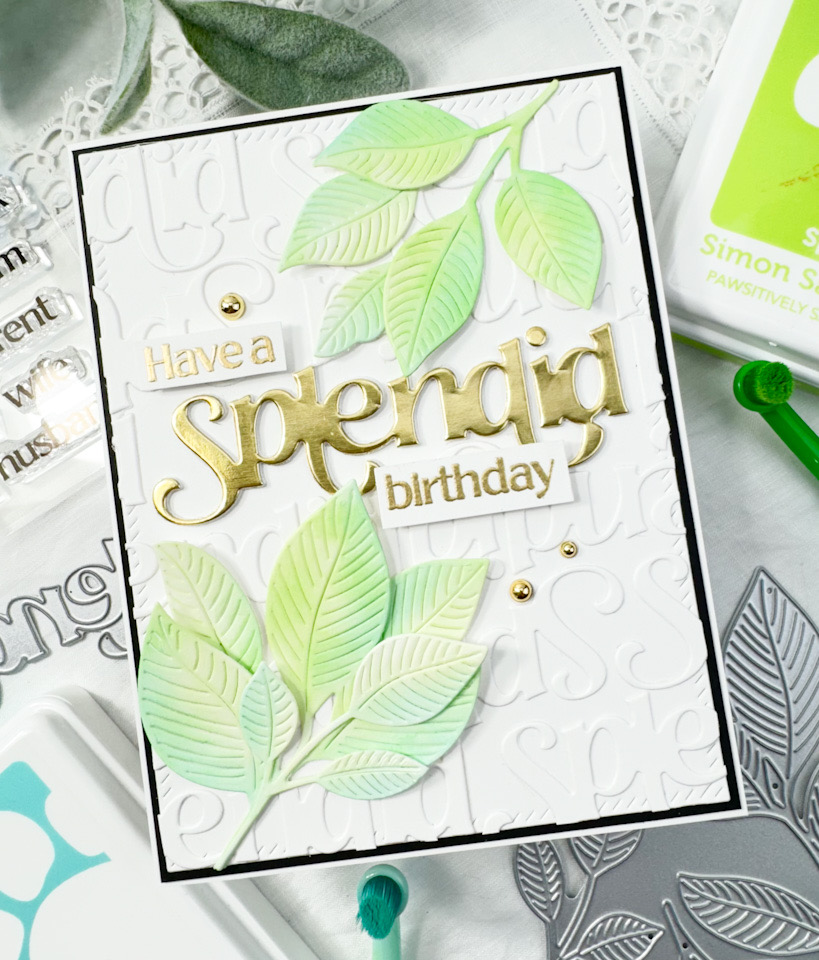
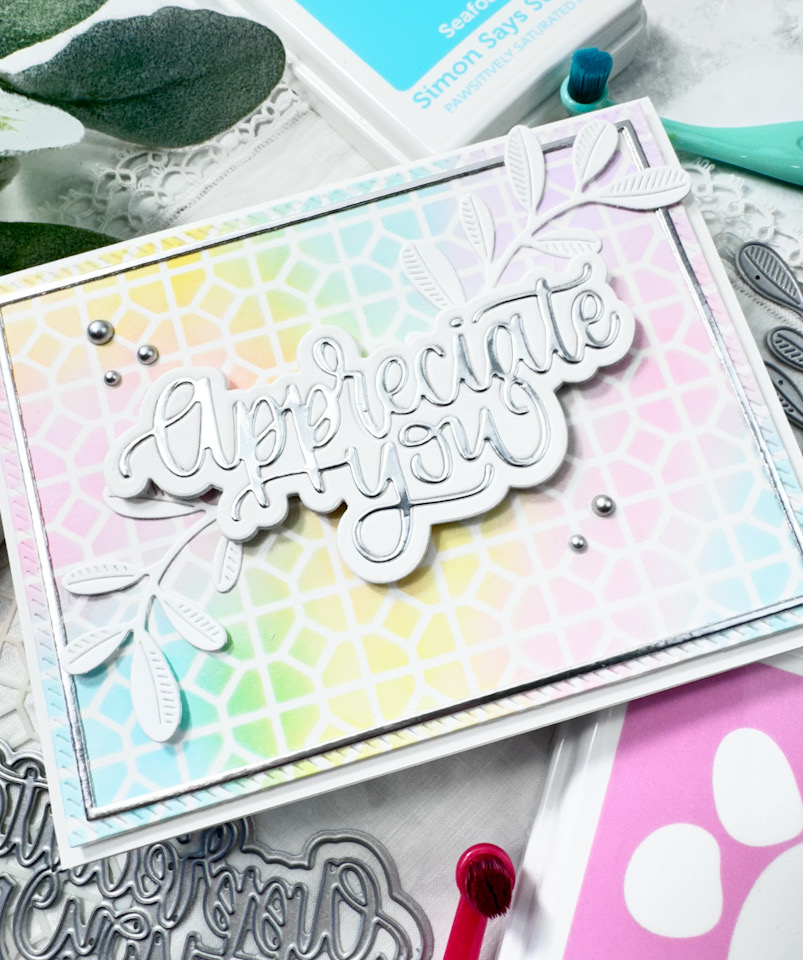
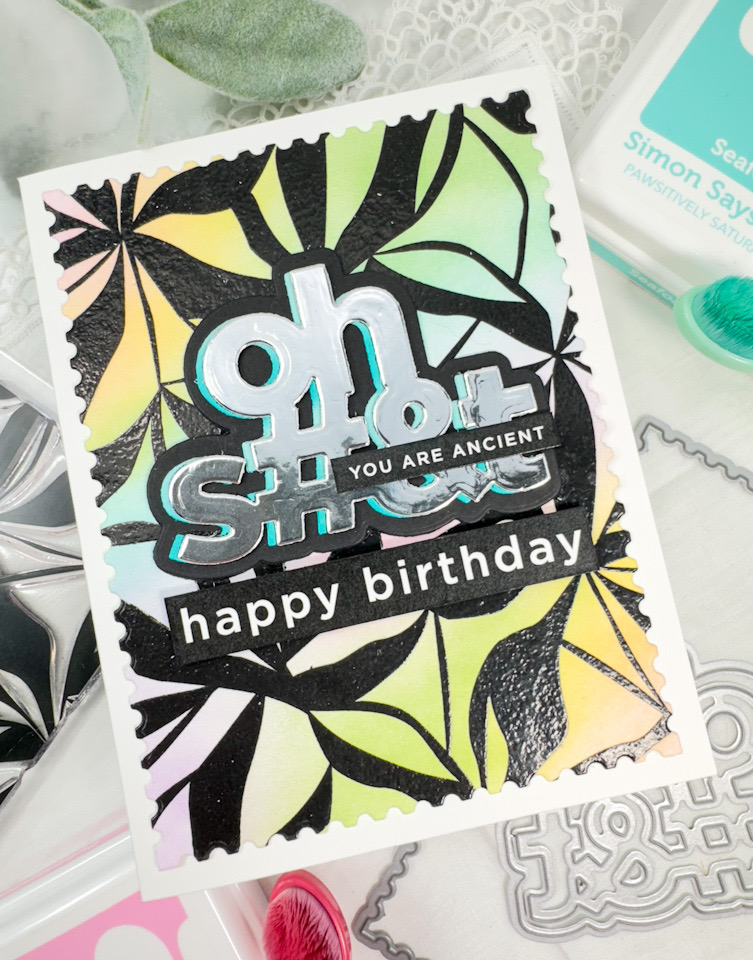
I began by stamping the SSS Organic Leaves onto a panel of Neenah 110lb cardstock using VersaFine Onyx Black ink and heat setting it using Ranger Clear Embossing Powder. I then did some ink blending over the panel using SSS Pawsitively Saturated Inks in Bubblegum, Lemonade, Celery, Seafoam and Lilac. Once the ink blending was done, I took a cloth and wiped over the stamped leaves to remove the ink sitting on top.

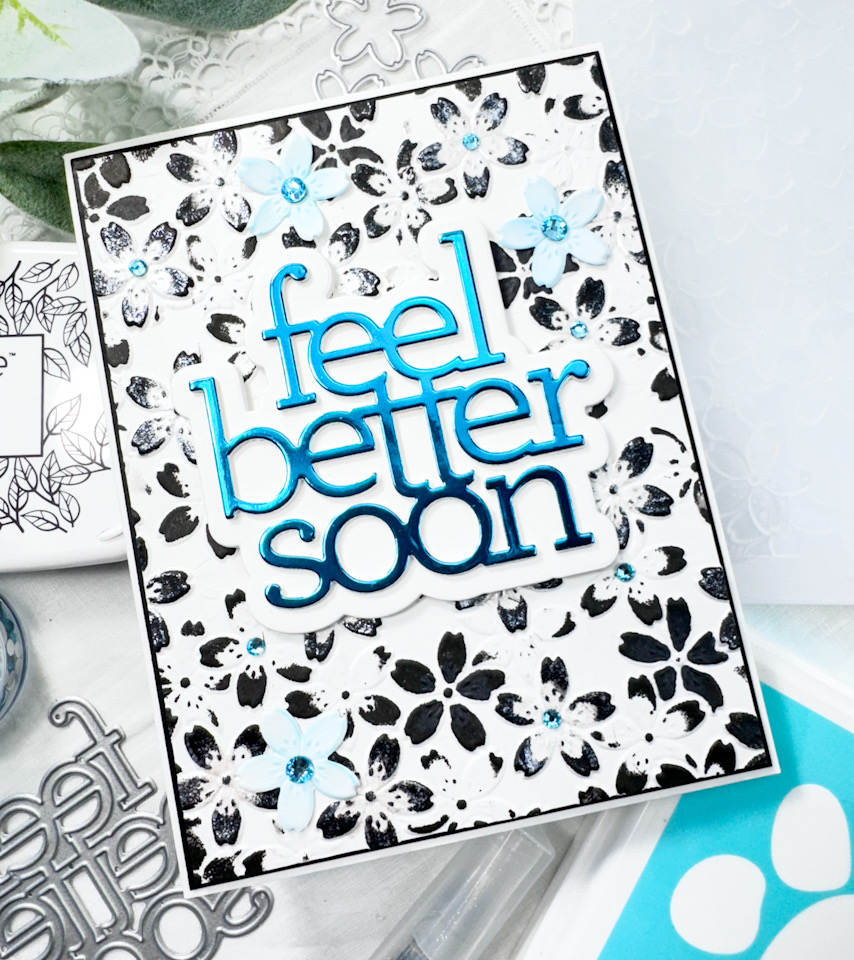
I love decorative edges, so I used the SSS Postage Stamp Edge Frames to trim the panel down. The SSS Oh Expletive was cut once from silver cardstock and once from aqua cardstock, while the shadow portion was cut twice from black cardstock. Before adhering all of these pieces together with liquid glue, I did some ink blending on the aqua portion using Ocean ink, and then glued this directly to the stamped panel.

The sub-sentiments are from the SSS Reverse Sassy Birthday Sentiment Strips. The smaller sentiment was glued directly atop the main sentiment and the larger strip was adhered with SSS 3D Foam Strips for a little added dimension. The finish panel was then adhered to the card base to finish up.

I have a sassy personality and a sassy sense of humor, so this main sentiment is right up my alley! Don’t forget to check out the entire Celebrate release over on Simon’s website. Thanks again for stopping by, and I hope you have a wonderful day!
Other Products:
- SSS Reverse Sassy Birthday Sentiment Strips
- SSS Pawsitively Saturated Inks: Bubblegum, Lemonade, Celery, Seafoam, Lilac, Ocean
- SSS Blender Brushes
- SSS Place and Score Embellishment Wand
- SSS Bone Folder
- SSS 3D Foam Strips
- SSS Dot Tape Runner
- SSS T-Ruler
- SSS Anti-Static Brush Powder Tool
- VersaFine Onyx Black Ink
- Ranger Clear Embossing Powder
- Wagner Heat Tool
- Neenah Classic Crest Solar White 110lb Cardstock
- Silver Cardstock
- Black Cardstock
- Aqua Cardstock
- Bearly Art Glue
- Misti
- Scor-Buddy
- Spellbinders Platinum 6
* Affiliate links used at no cost to you. Thanks so much for your support!
Latest Posts
- Spellbinders Dear Santa Floral Letter
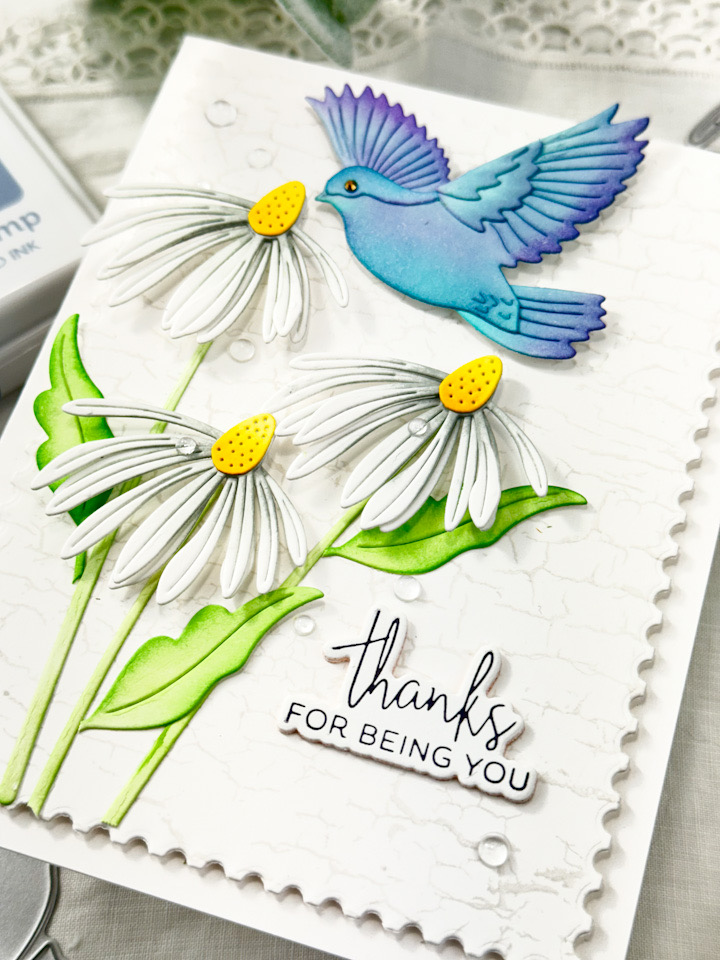
- Simon Says Stamp Grungy Dewdrop Daisy

- Simon Says Stamp Pastel Birthday Wishes

- Simon Says Stamp Best Fish

- Simon Says Stamp Circle Thanks