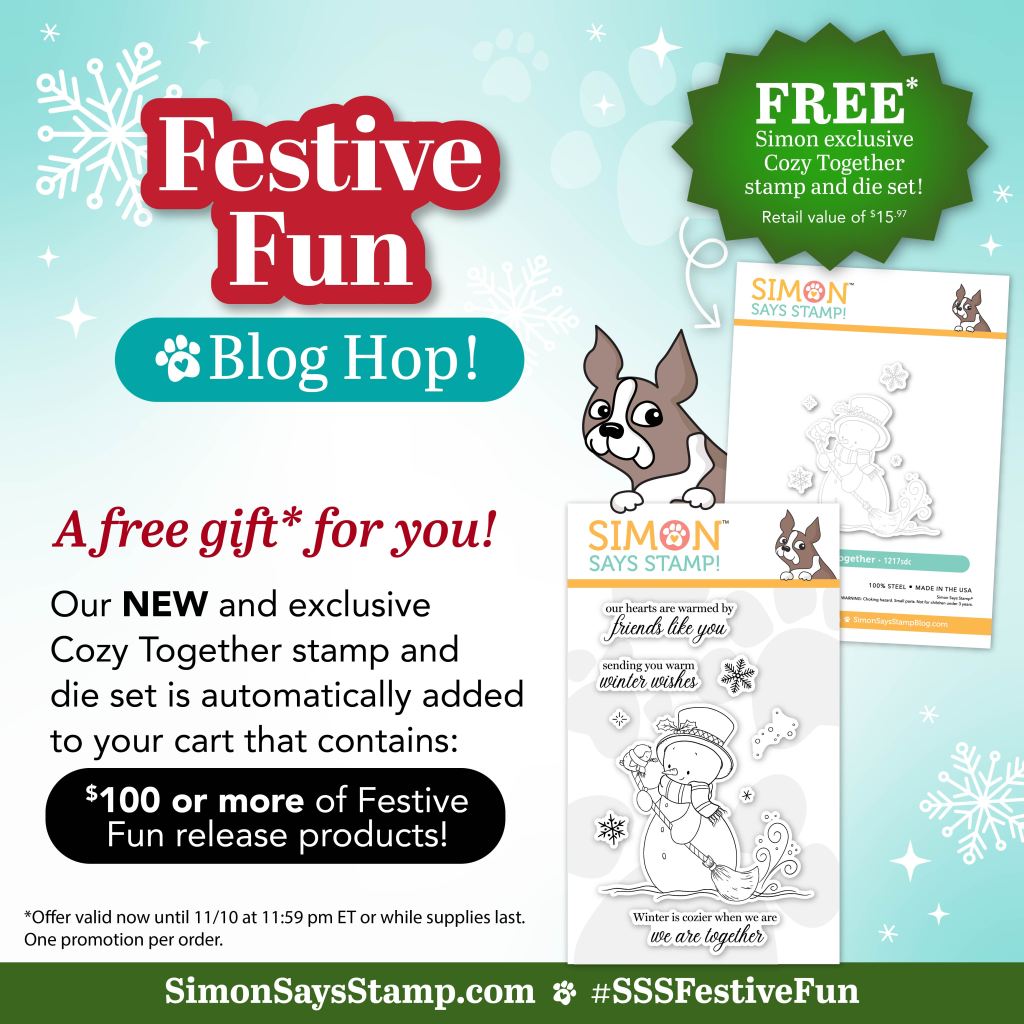
Simon Says Stamp Festive Fun Release Blog Hop – Day 2

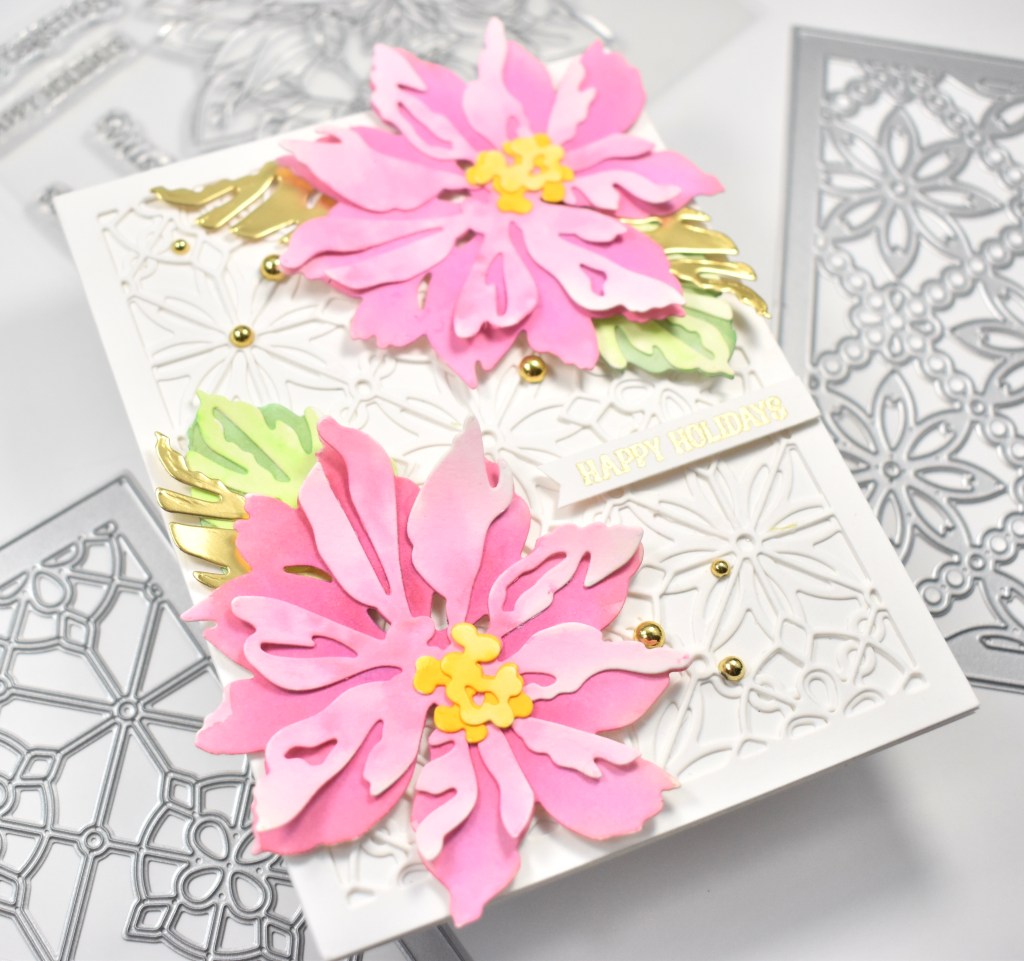
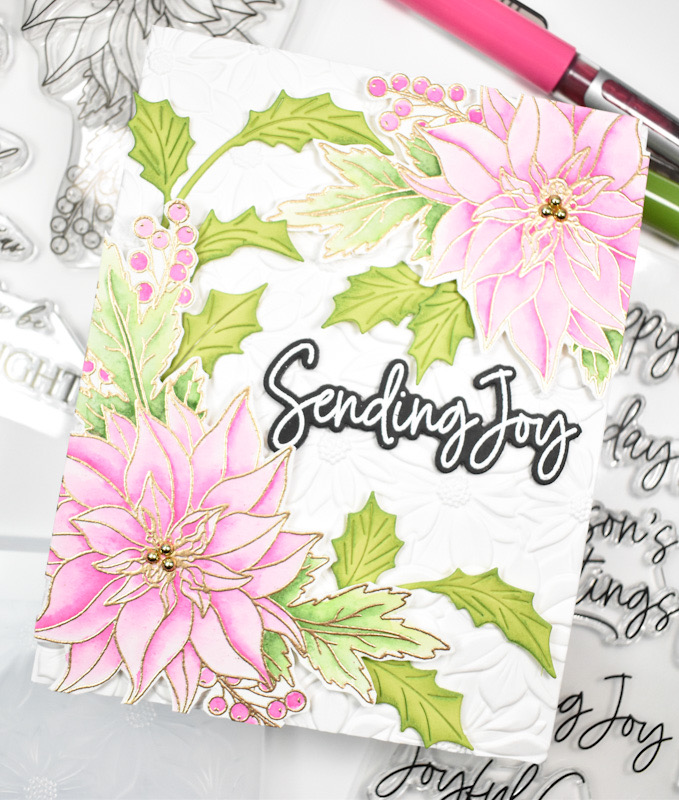
Hello Friends, and welcome to day 2 of the Festive Fun Blog Hop! You’ll want to be sure to begin the Hop at Simon’s website, which will be linked below, and don’t forget to check out the Festive Fun Gallery where you can check out tons of inspiration from lots of designers! Be sure to comment along the Hop, as Simon is giving away a $25 coupon to a random commenter at each stop! You can also check out Day 1 of the Hop for more inspiration and more chances to win! To continue the celebration, Simon is offering the Cozy Together stamp and die set free with a $100 purchase! No code necessary, it will automatically be added to your cart. My project for today is featuring the new Poinsettia Swag. This is a really pretty stamp, and I enjoyed giving it a soft feel with watercoloring. Let’s dive into the details, shall we?
NOTE: all supplies are linked in the thumbnails at the end of this blog post.
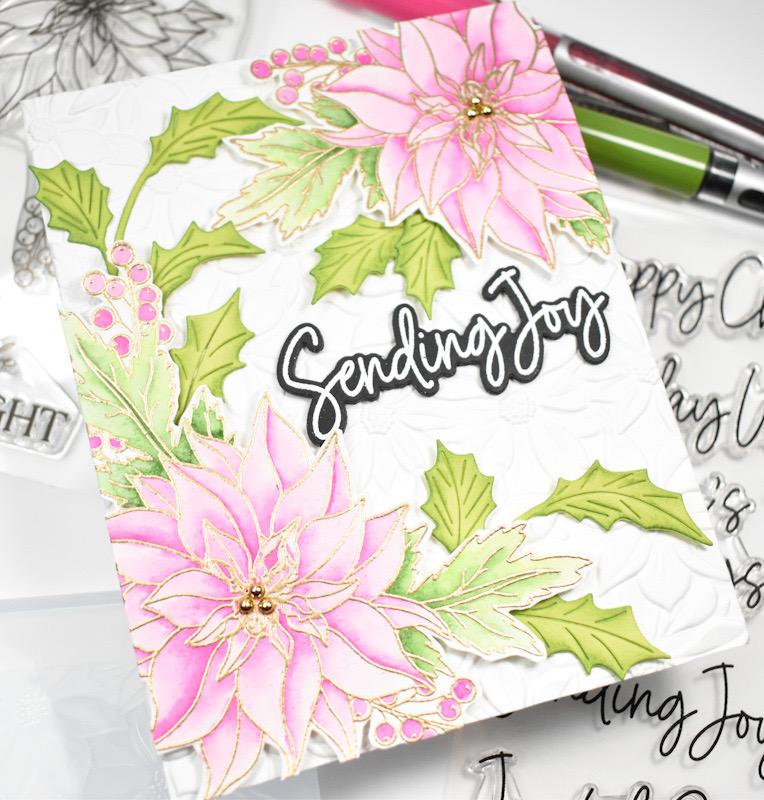
I began this project by stamping and gold embossing the floral twice onto a panel of watercolor paper. My style of watercoloring is very simple, mainly because I don’t really know any other way. I used Karin Brushmarkers and scribbled the color onto my glass mat and used a water brush to add the color to the image. Where I wanted more color, I just added more concentrated ink. Nothing fancy at all.

Once the watercoloring was complete, I fussy cut the images and set those aside while I worked on the other elements of the card. My background texture was created using the Poinsettia Field Embossing Folder. As always, I needed more leaves so I used the Holly Sprigs and cut those from green cardstock. I did end up using Artichoke ink to add some shading to the additional leaves.
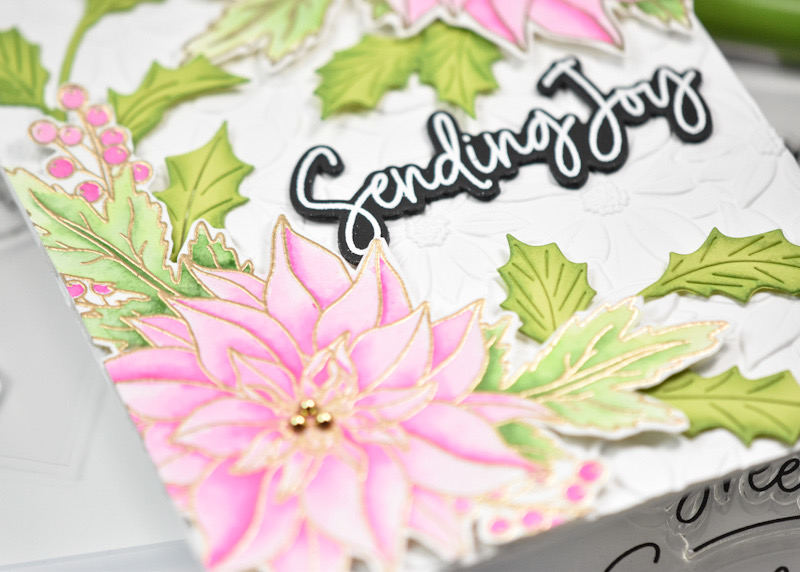
This sentiment, which is from the Big Holiday Words set, was stamped using VersaMark ink and heat set using Detail White Embossing Powder. I trimmed it out using the coordinating die, along with two additional cuts for a stacked sentiment. The green leaves were adhered to the panel using liquid glue, while the florals were adhered using foam tape. The sentiment was glued to the panel and I added a few gold metallic pearls to finish up.

That does it for this project. I hope you enjoyed it, and I hope it inspires you to get crafty in your space! Don’t forget to check out the entire Festive Fun release over on Simon’s website. Thanks again for hanging out with me, and I hope you have an awesome day!

Blog Hop Order
Supply List
Affiliate links used at no cost to you. What does this mean? If you use the links within this post to make a purchase, I receive a small commission, which allows me to continue to post crafty content for your enjoyment. I truly appreciate your support!
Latest Posts
- Simon Says Stamp Braided Greetings

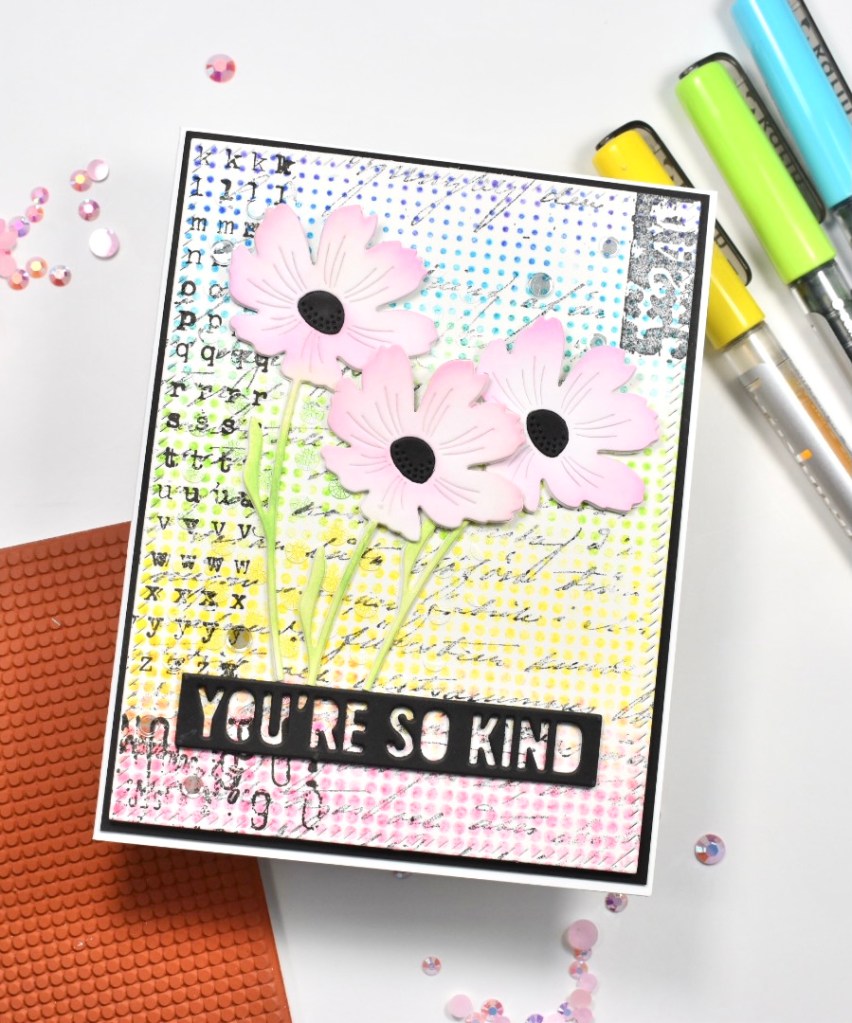
- Together By Design Color Cube Floral

- Simon Says Stamp Cute Duckling

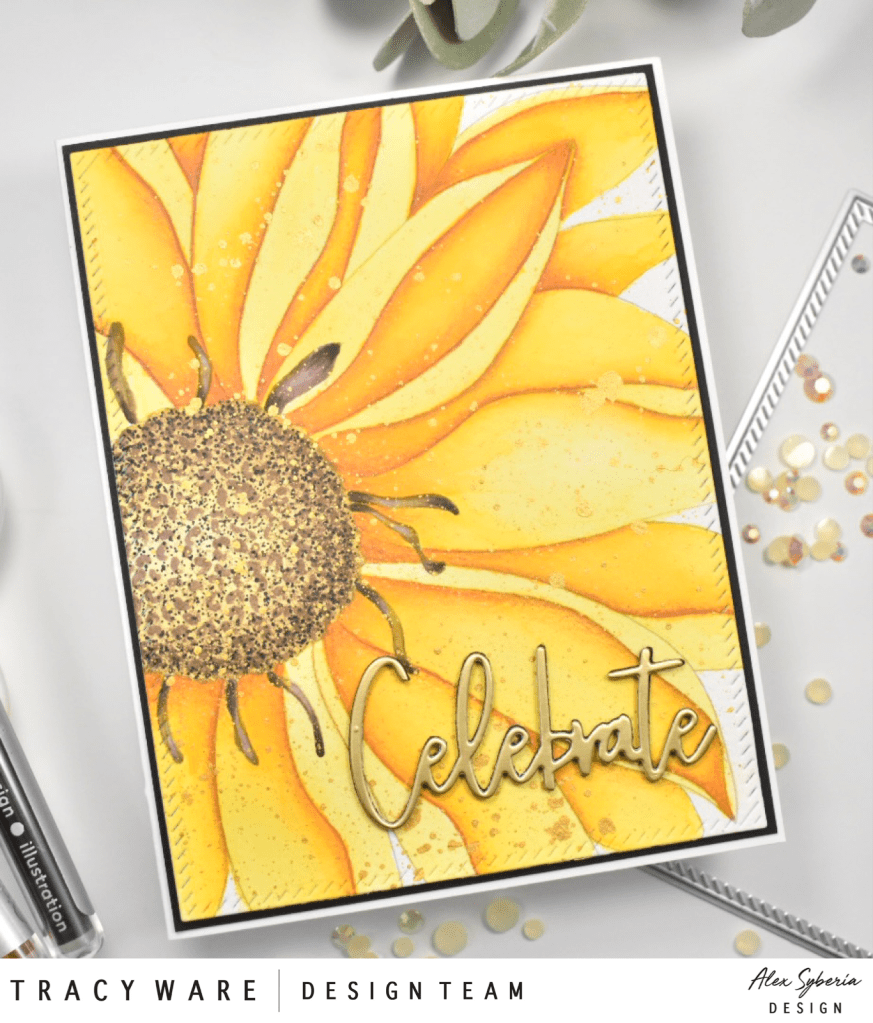
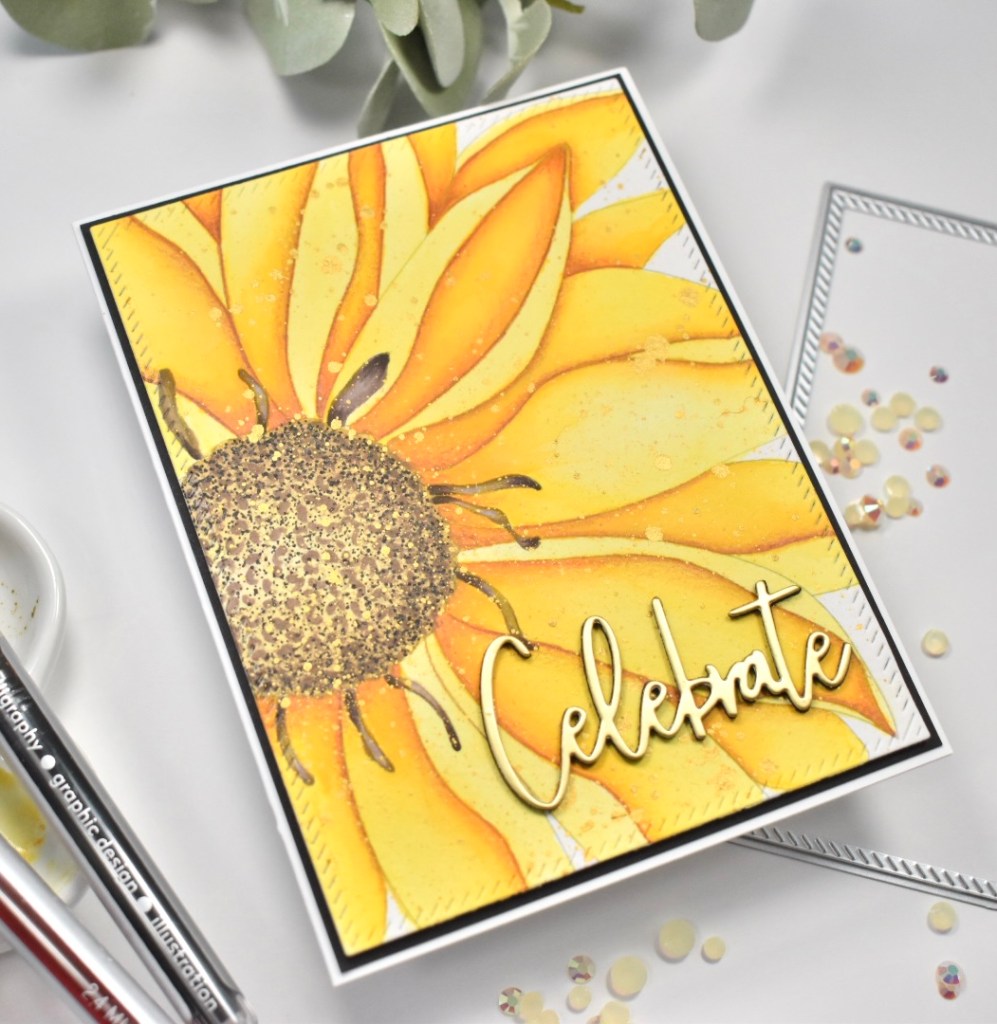
- Simon Says Stamp Watercolor Wild Rose

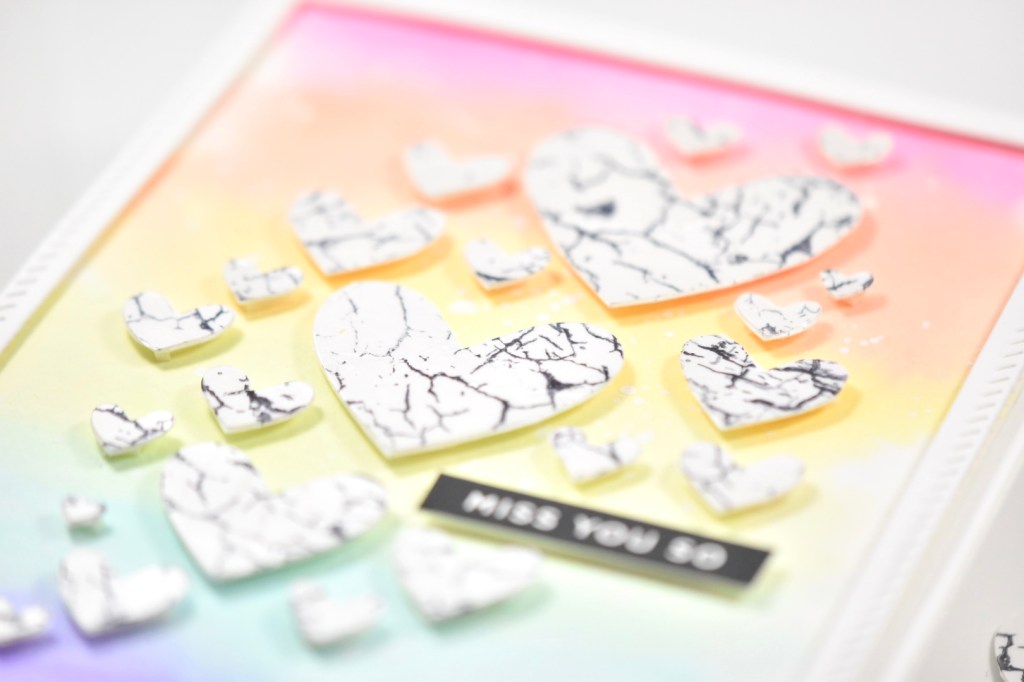
- Simon Says Stamp Striped Missing You