Simon Says Stamp Let’s Celebrate Halftone Square Background

All the Feels Release
Let’s celebrate! What are we celebrating? Simon’s new release, All the Feels! Why are we celebrating? Because we can .. and because it’s just AWESOME! Have you checked it out yet? What are your favorites?
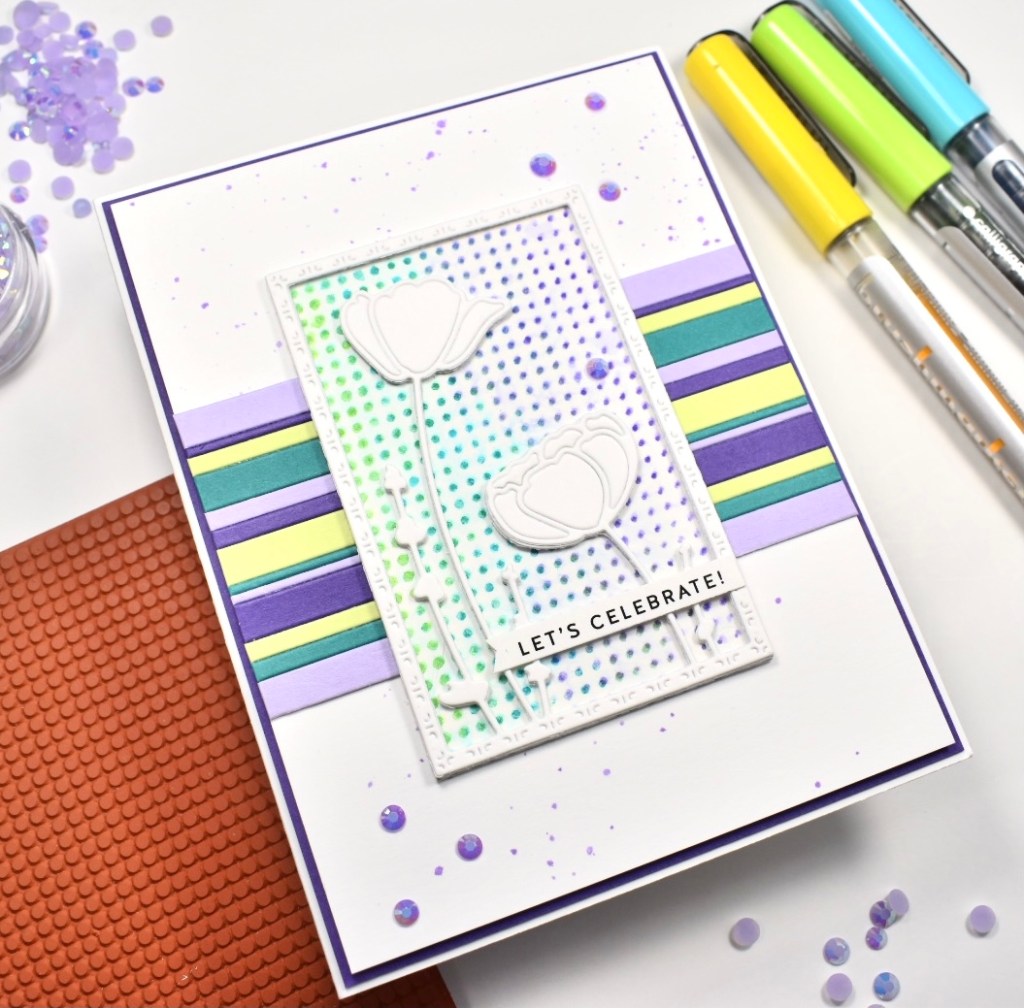
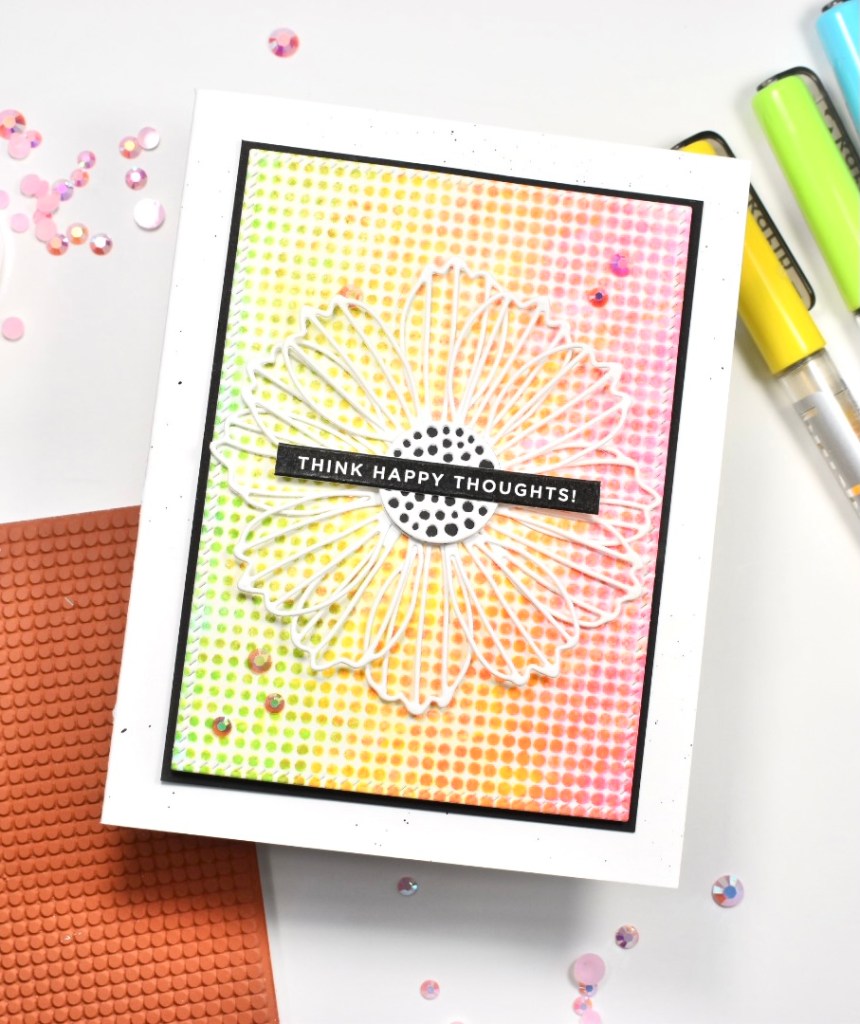
I’m using the new Halftone Square Background stamp on today’s project. When I initially stamped this image, I stamped it twice because, I mess up sometimes and I wanted to have an extra just in case ya know .. I’m sure no one else messes up, but I sure do! By stamping it twice, that allowed me to make three projects from those panels .. hence, seeing multiple projects with the same technique. I think the panels turned out super fun, AND it was a super easy technique. So, if you haven’t seen the other projects, I’ll let you know how I created them.
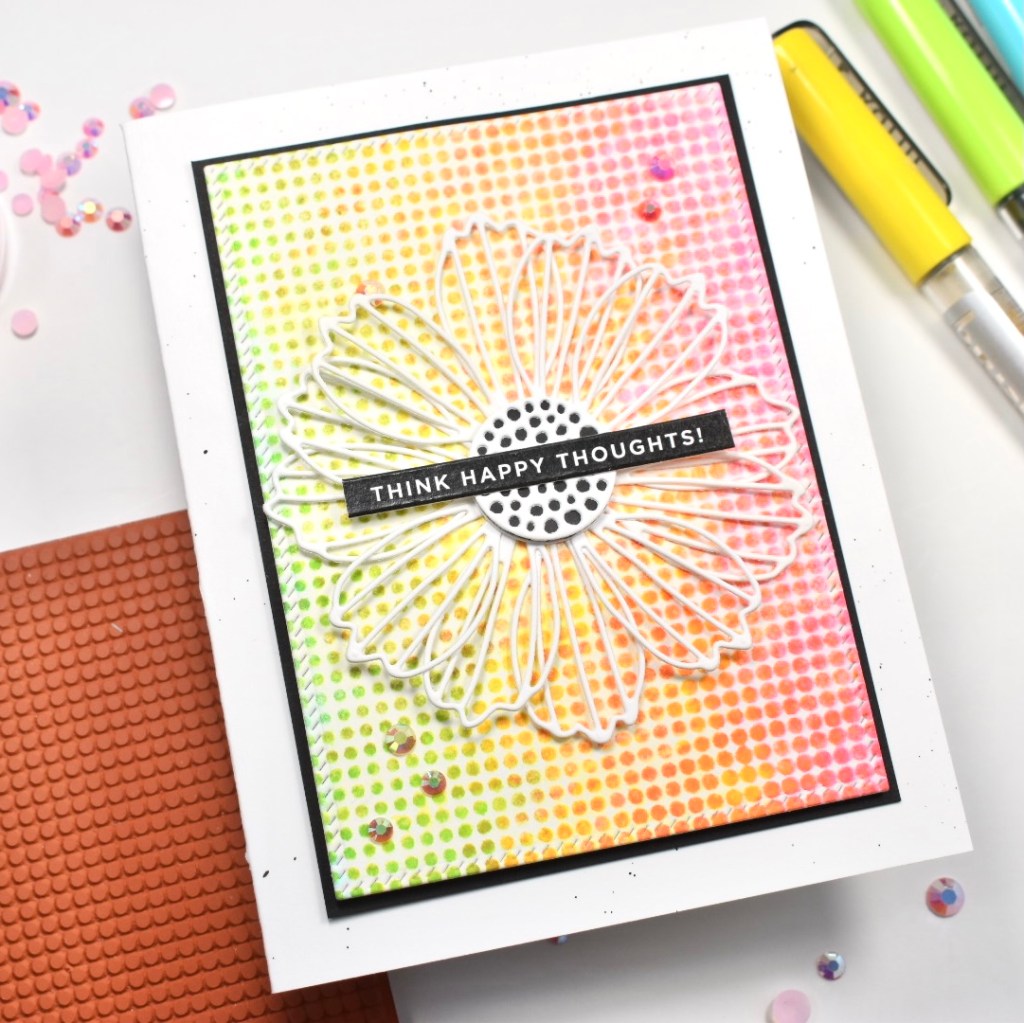
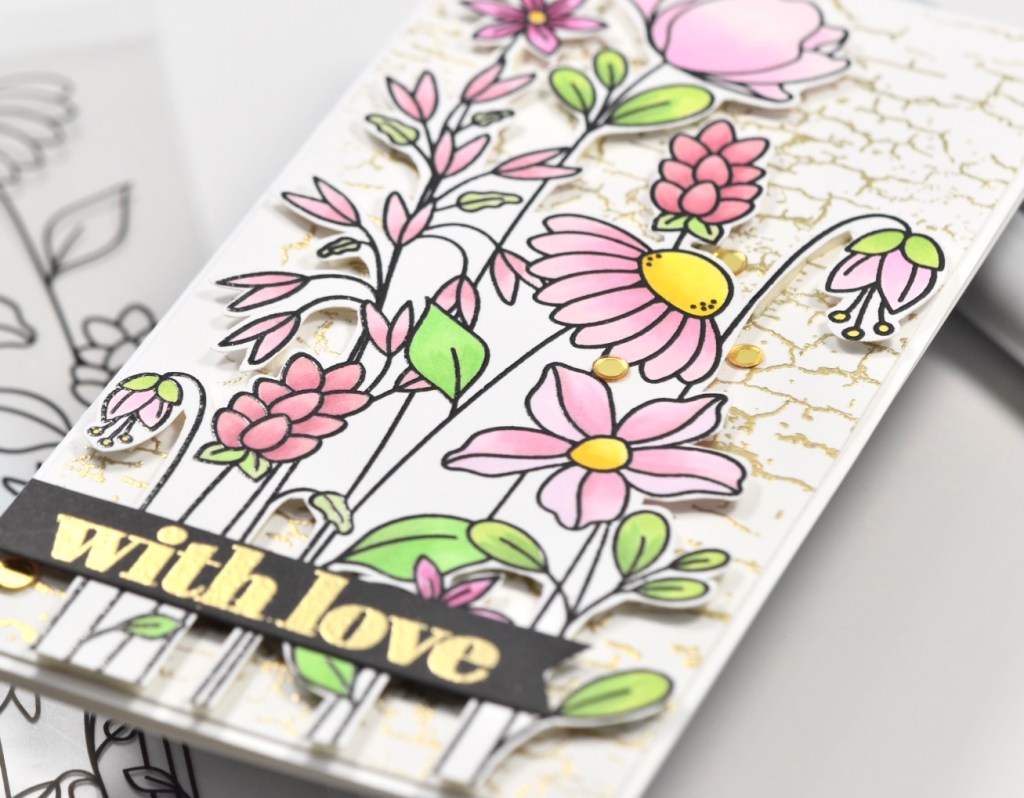
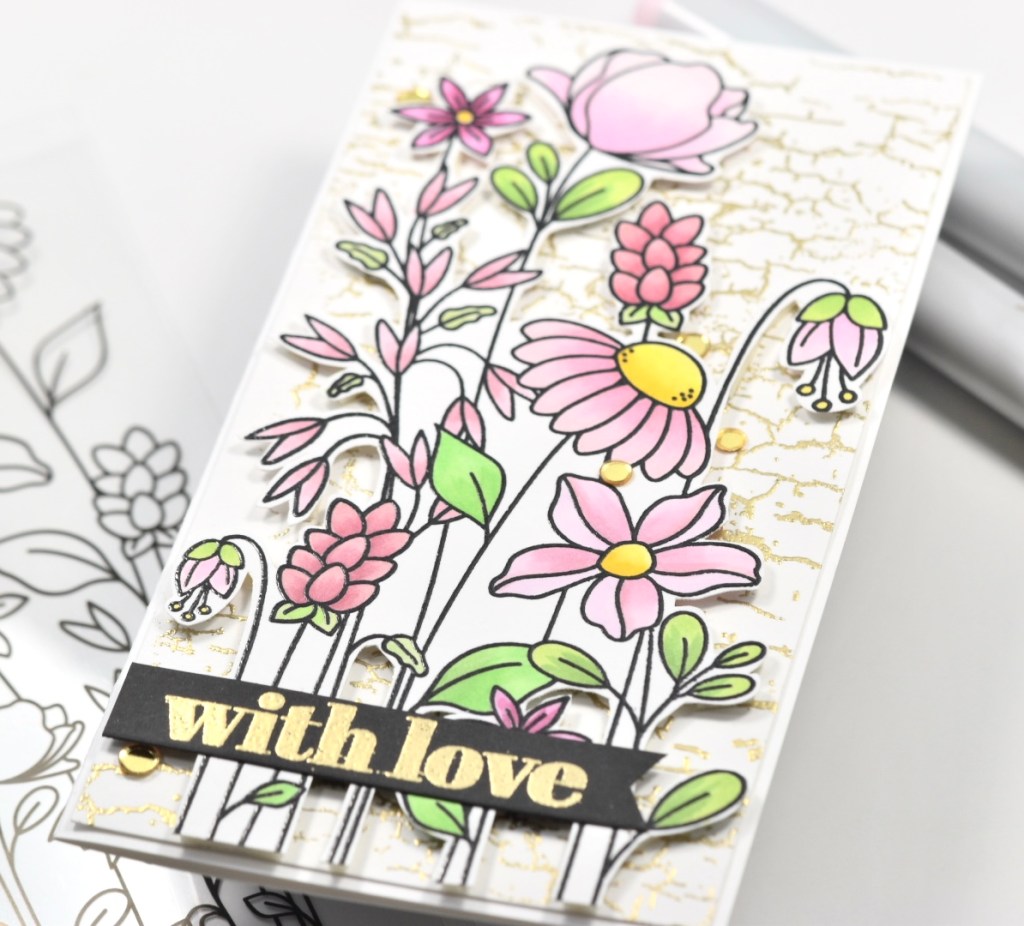
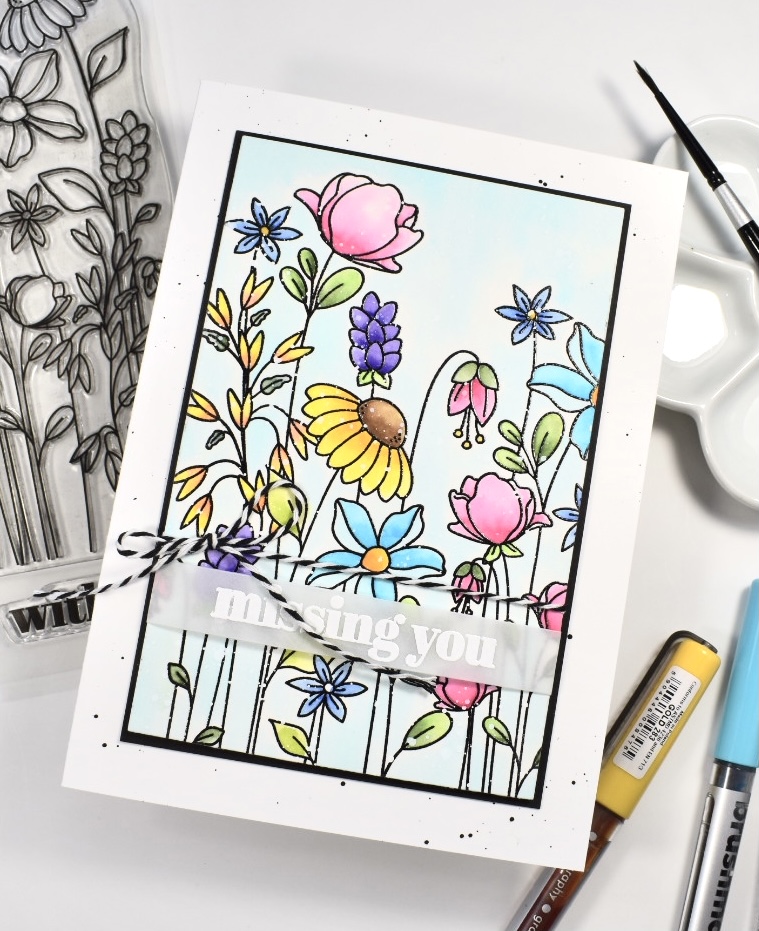
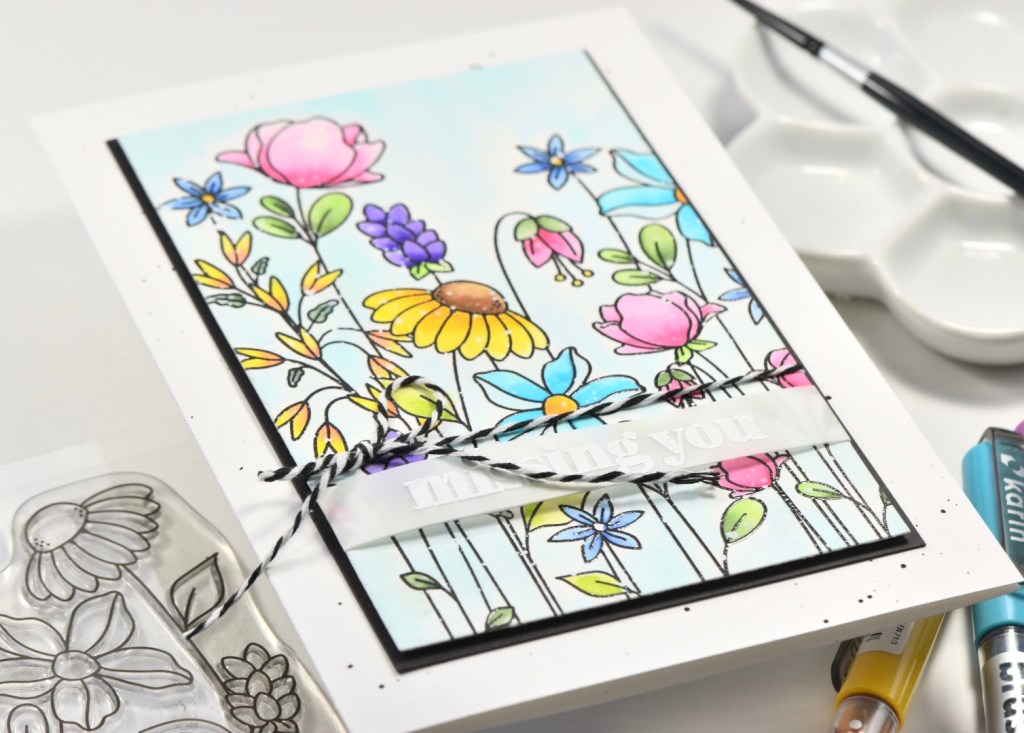
I began by putting a piece of Fluid Hot Press Watercolor paper in my Misti. I’m using this brand of watercolor paper because it’s what I have. I pulled out some rainbow colors from my Karin Brushmarkers set, and used one marker to scribble directly on the stamp, spritzed it with water and stamped it. I repeated that process with the remaining colors, which ended up being five colors. I left that panel to dry overnight.
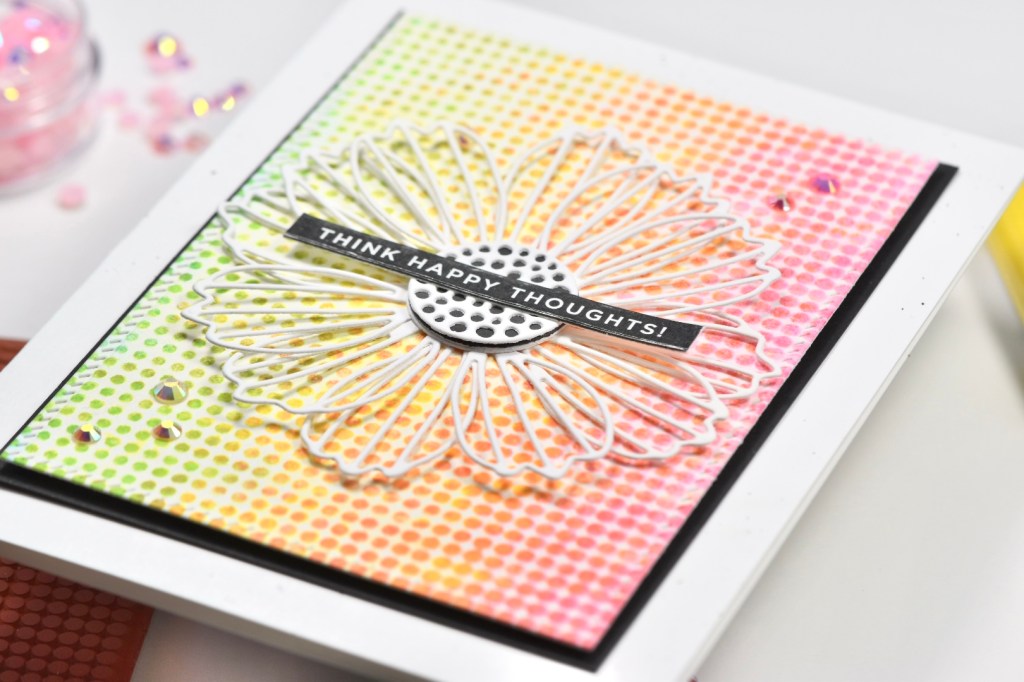
The watercolor panel on this particular project was a left over piece from another project .. I couldn’t let that go to waste, right?! The Simon Says Stamp Poppy Frame was the perfect size for this left over piece, so I die cut that frame three time from Neenah Classic Crest 110lb cardstock, and adhered them together using Craft Tacky Glue. I then glued those frame pieces to my small watercolor piece.
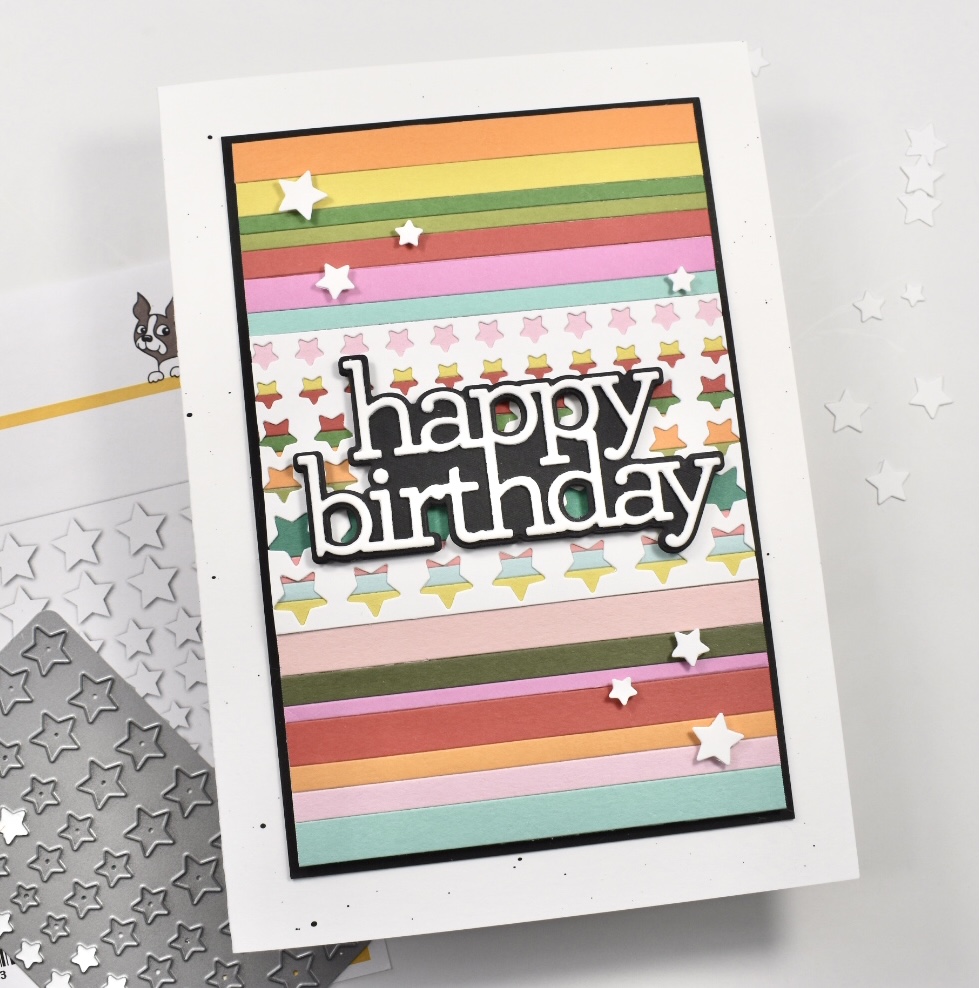
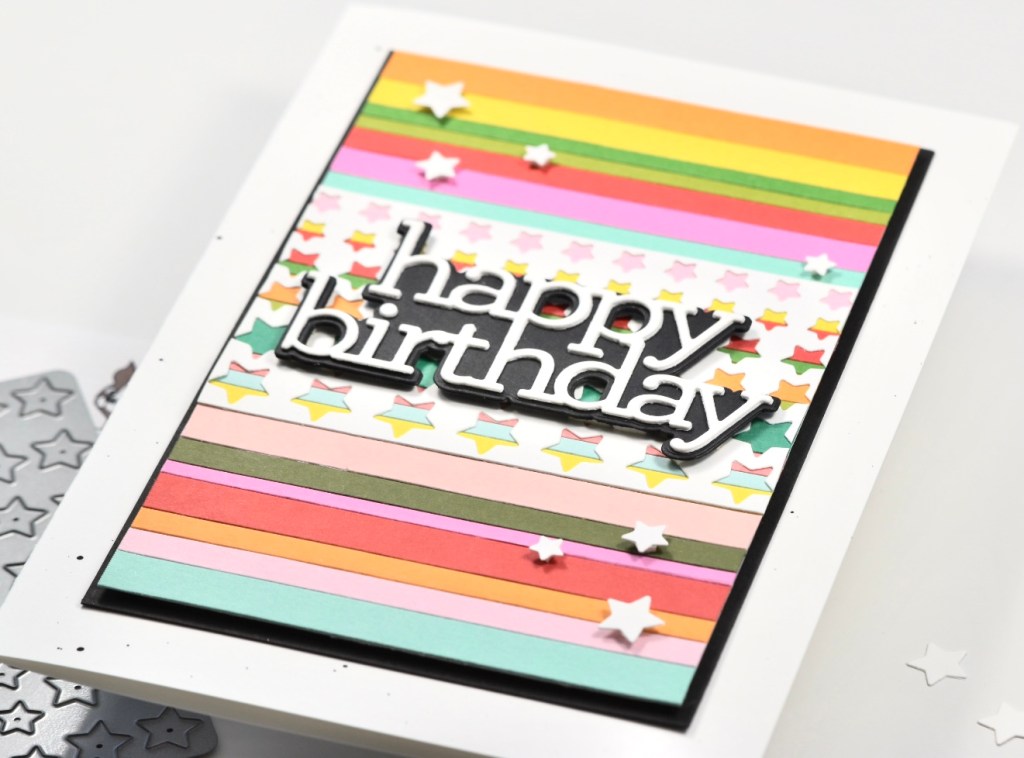
Okay, so my card was needing something in addition to my watercolor frame panel, so I decided to make a little striped panel using matching colored cardstock. I think most of this cardstock is Simon, but there might also be a piece from Concord and 9th as well. To make the striped panel, I used the Pretty Pink Posh Simple Strips to cut the colored cardstock. I then used a tape runner to lay down some adhesive on some thin paper and positioned the strips atop that, and trimmed it to fit my card panel.
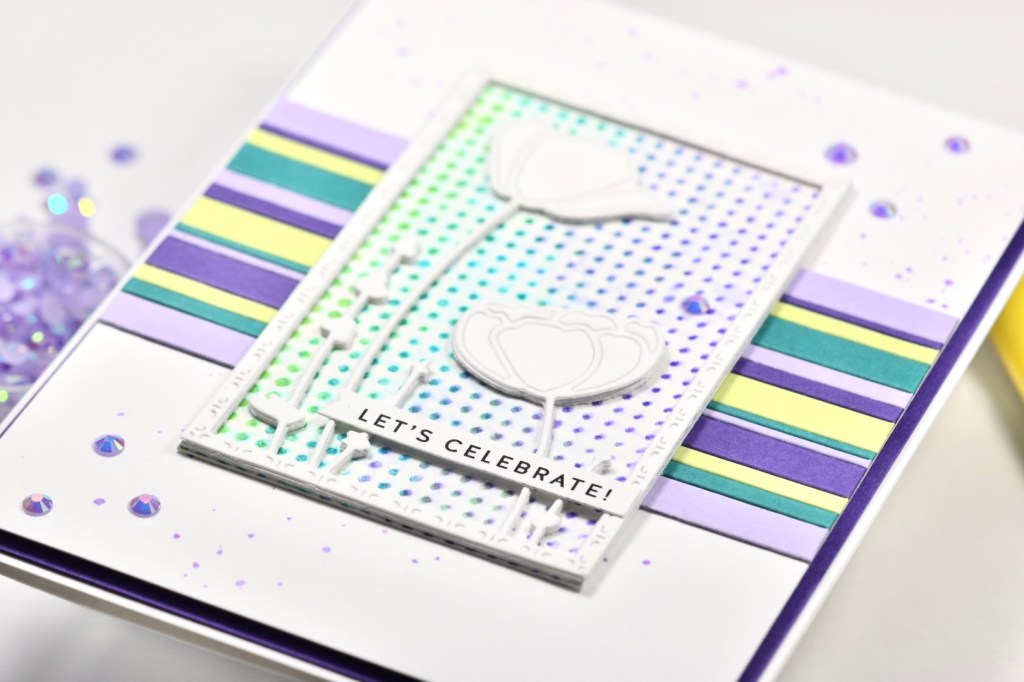
Before adhering anything to my card panel, I splattered it with a purple Karin Brushmarker mixed with some water. I then adhered my striped panel using Craft Tacky Glue and then adhered my frame panel using the same. I chose a Simon Says Stamp Sentiment Strip to add and trimmed it out using their Sentiment Labels Die. That was then glued to my frame.

And what do I always say? All projects need bling! I used the PinkFresh Studio Jewels Mix to add some coordinating purple jewels. I adhered my card panel to a coordinating purple panel using 3M Foam Tape, because dimension is life! Everything was then adhered to my card base, which is Neenah Classic Crest 110lb cardstock.

That finishes up today’s project! I’m so glad that you stopped by! Give this scribbling technique a try and tag me over on Instagram! I would love to see your creation! Check out Simon’s new release, All the Feels, as well!
Stay awesome .. always!
Supply List:
- Simon Says Stamp Halftone Square Background
- Simon Says Stamp Poppy Frame die
- Simon Says Stamp Sentiment Labels die
- Simon Says Stamp Sentiment Strips
- Pretty Pink Posh Simple Strips die
- PinkFresh Studio Jewels Mix
- Fluid Hot Press Watercolor Paper
- Karin Brushmarkers
- Neenah Classic Crest 110lb Cardstock
- Gina K Tape Runner
- Craft Tacky Glue
- 3M Foam Tape
- Colored Cardstock .. Simon, Concord and 9th
- Tim Holtz Scissors
- Misti
- Gemini Jr.
*Affiliate links used at no cost to you. Thank you for your support!
- Simon Says Stamp Grateful Heart

- Simon Says Stamp Braided Greetings

- Together By Design Color Cube Floral

- Simon Says Stamp Cute Duckling

- Simon Says Stamp Watercolor Wild Rose