Simon Says Stamp Masculine Outline Hearts

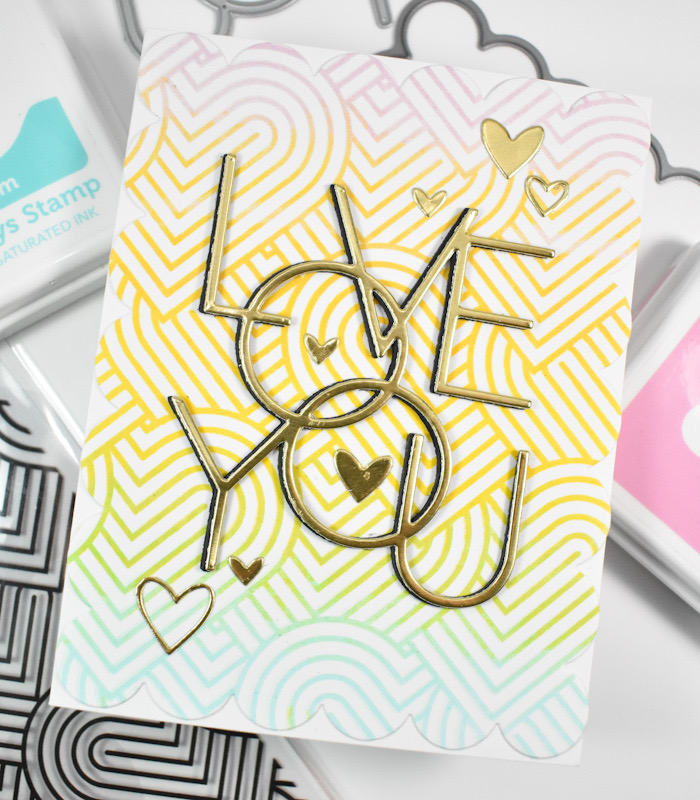
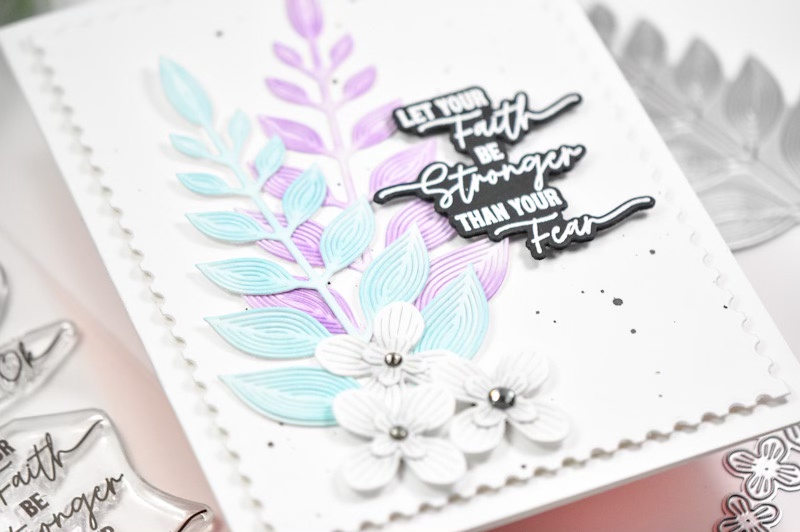
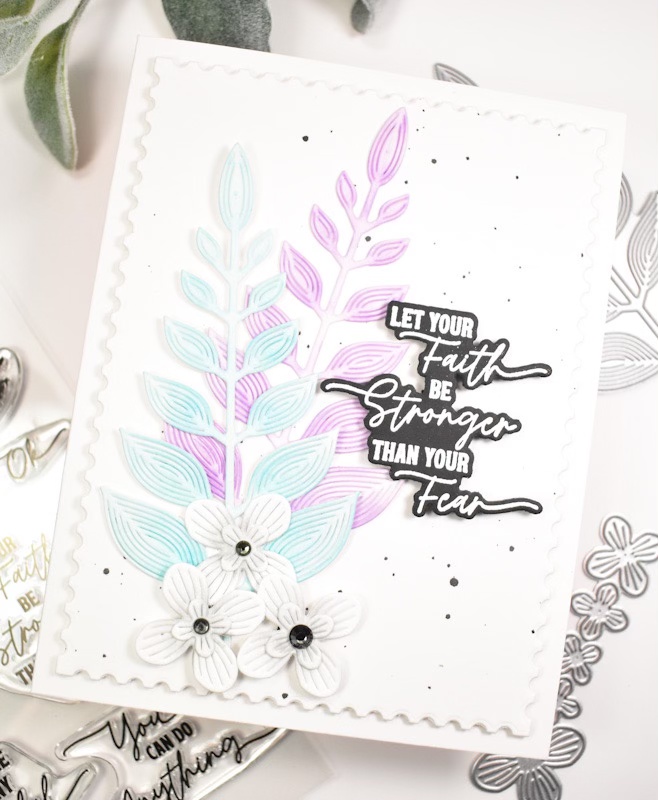
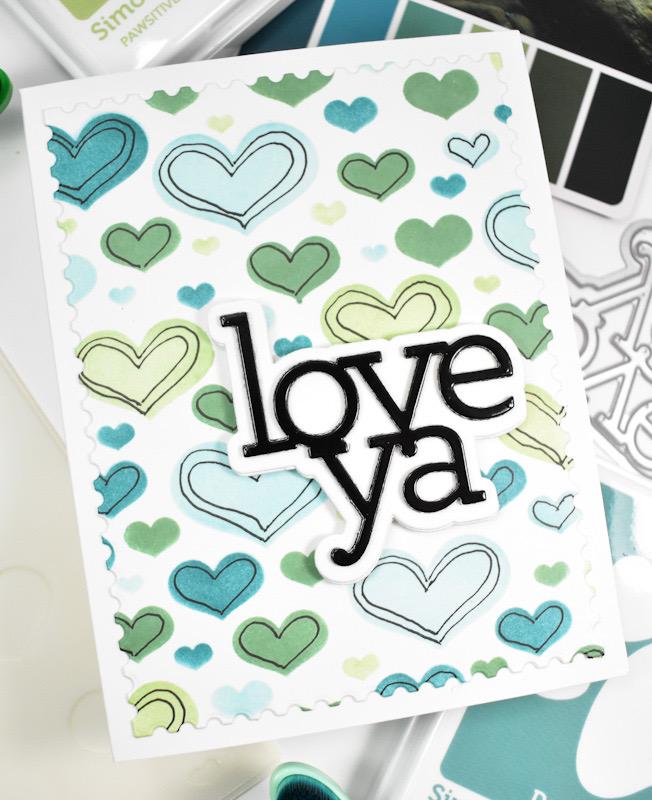
Hello Friends and thanks for stopping by! Today’s project is featuring the Outline Hearts Stencil from one of Simon’s latest releases, To Love. This is a super simple project, so let’s get right to it!

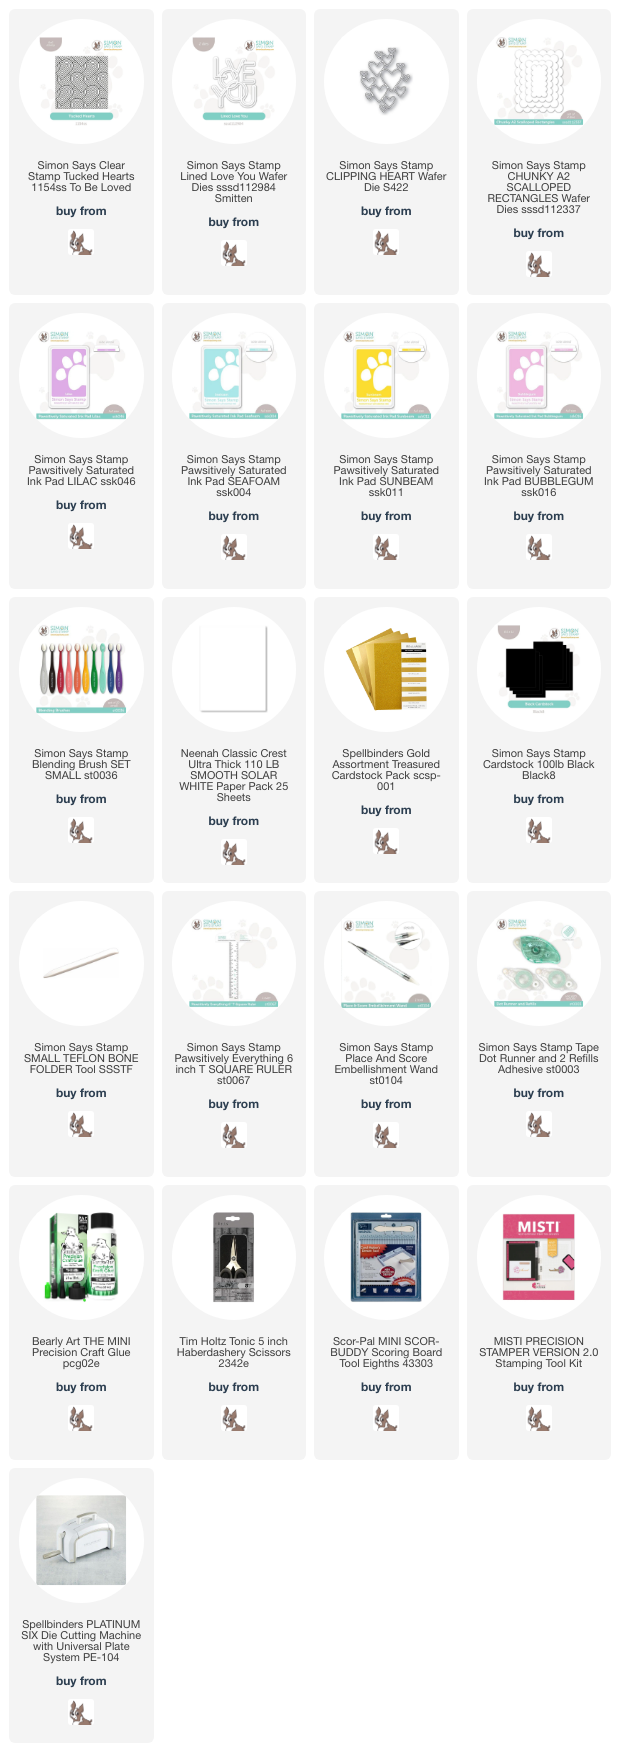
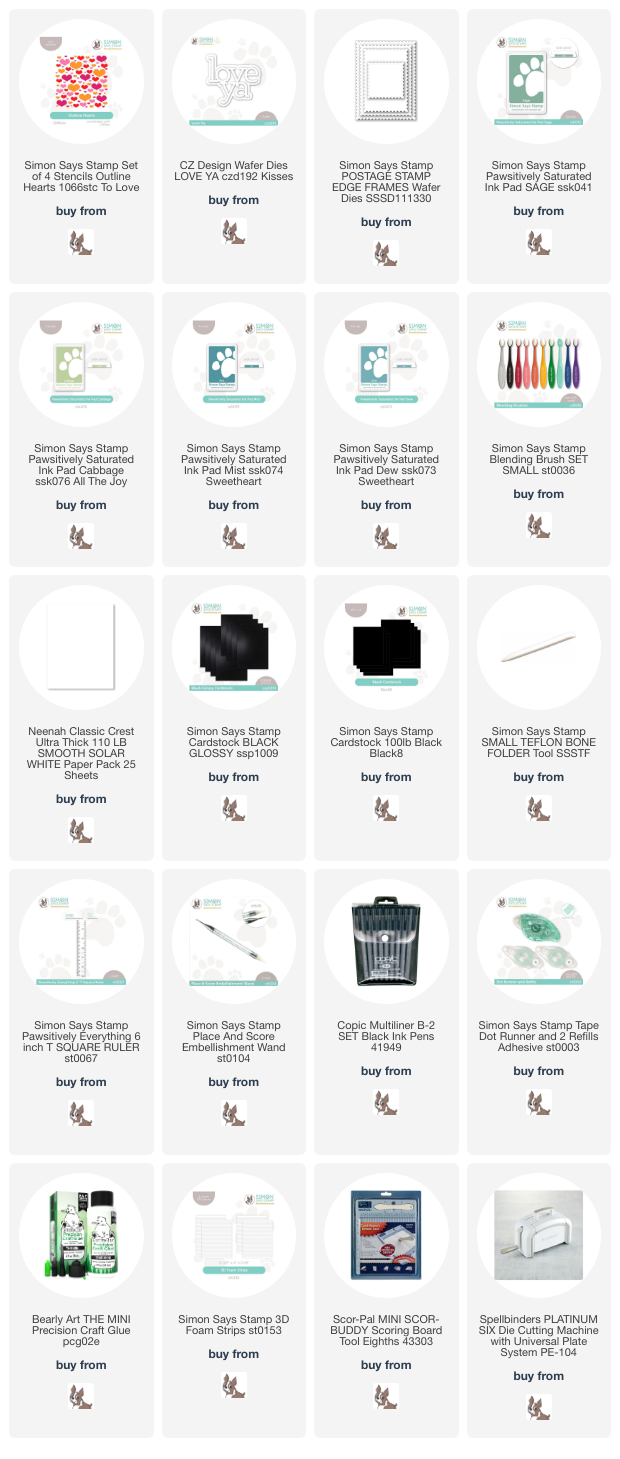
NOTE: all supplies are linked in the thumbnails at the end of this blog post.

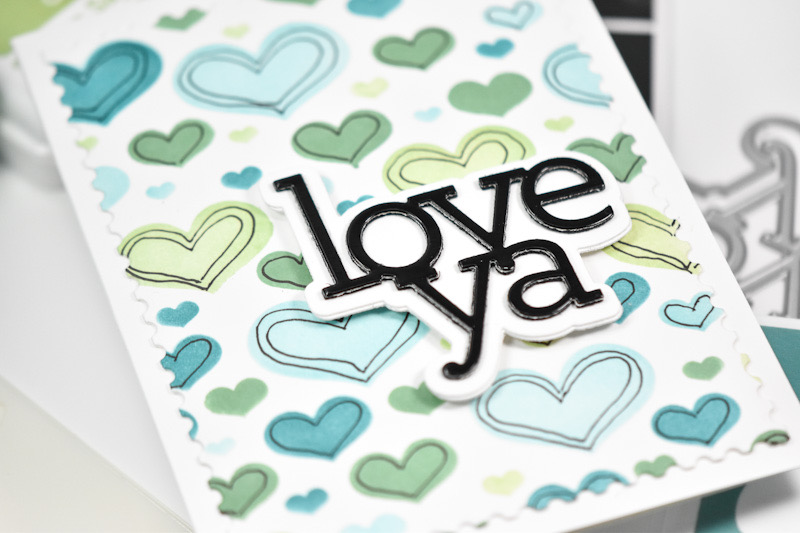
I began this project by deciding on a color scheme using a card from The Color Cubes. Once that was decided, I pulled some inks that best matched and those ended up being Dew, Mist, Cabbage and Sage. I used a Copic Multiliner to add heart doodles before trimming it down using the Postage Stamp Edge Frames.
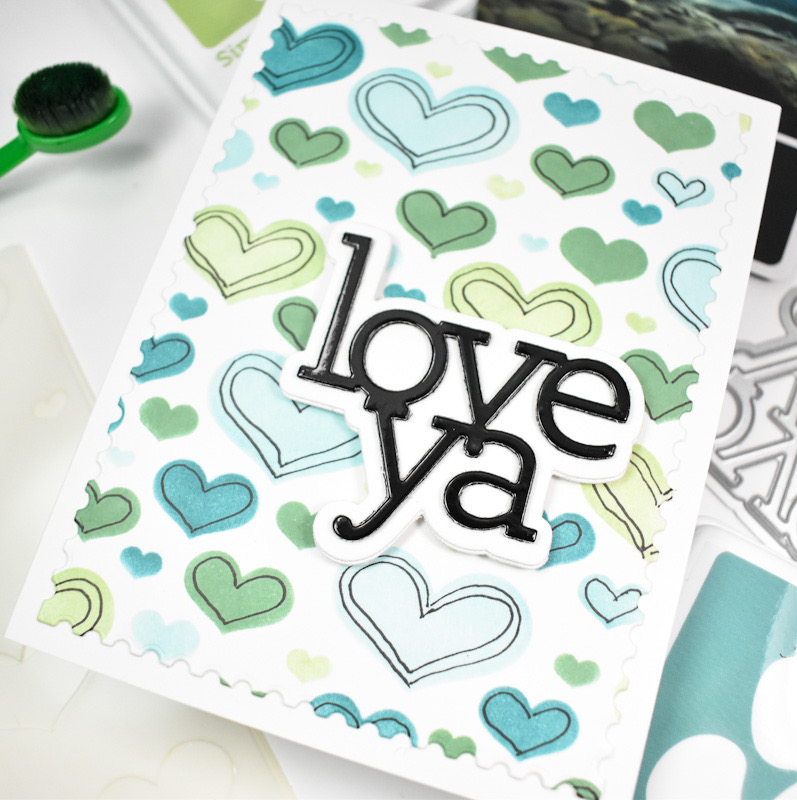
The Love Ya sentiment was cut once from Black Glossy cardstock and twice from black cardstock, while the shadow was cut twice from Neenah 110. All of those pieces were adhered together before adding them to the heart panel using foam strips. This was then added to the card base to finish up.
That does it for this project! I hope you enjoyed it! It was a quick and easy one, but I absolutely love this color scheme! Don’t forget to check out the To Love and To Be Loved release over on simon’s website. Thanks again for joining me, and I hope you have an awesome day!

Supply List
Affiliate links used at no cost to you. What does this mean? If you use the links within this post to make a purchase, I receive a small commission, which allows me to continue to post crafty content for your enjoyment. I truly appreciate your support!
Latest Posts
- Simon Says Stamp Groovy Birthday

- Simon Says Stamp Amazing Scattered Leaves

- Simon Says Stamp Beautiful Friend Floral

- Together by Design Featuring Pinkfresh Studio

- Simon Says Stamp Basket Bunny

Latest Instagram Posts