Spellbinders Black Alder Christmas

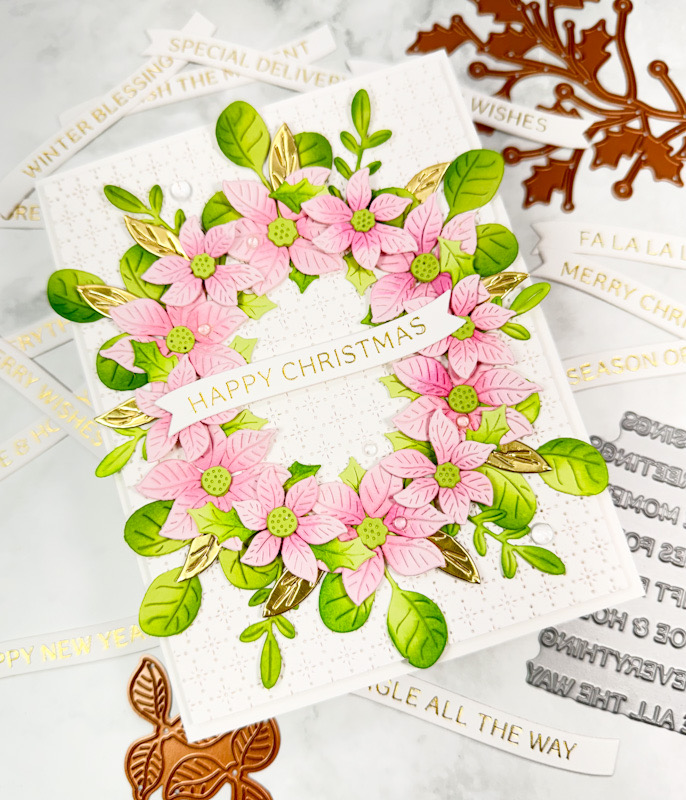
Hello Friends and thanks so much for stopping by! I’m back today with a project featuring the new Black Alder dies from the Spellbinders Winter’s Grace Garden Collection. This is a die set from Susan Tierney-Cockburn and it’s absolutely beautiful! She has a wonderful video over on the Spellbinders product page, so definitely check that out! Let’s go ahead and go through the details for my card!

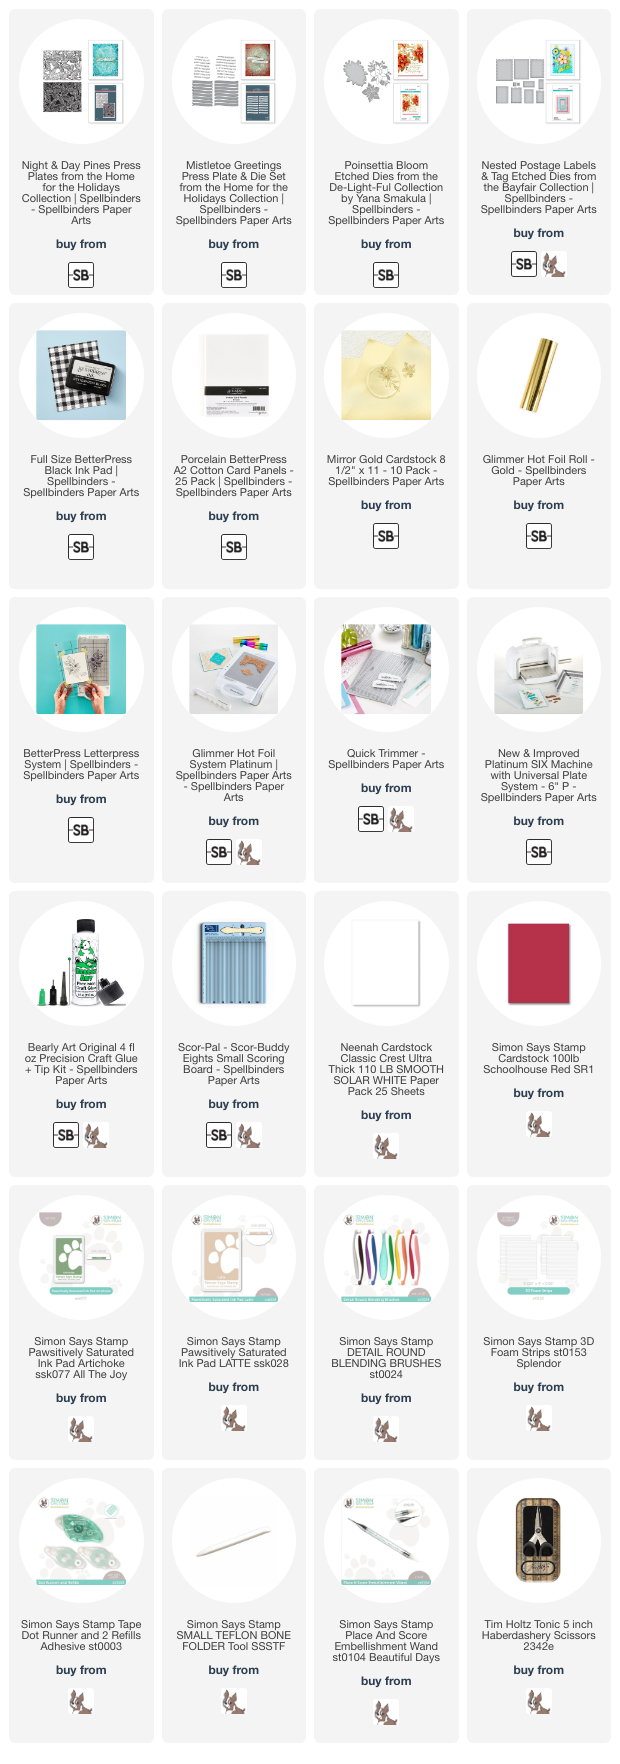
NOTE: all supplies are linked to multiple sources in the thumbnails at the end of this blog post.

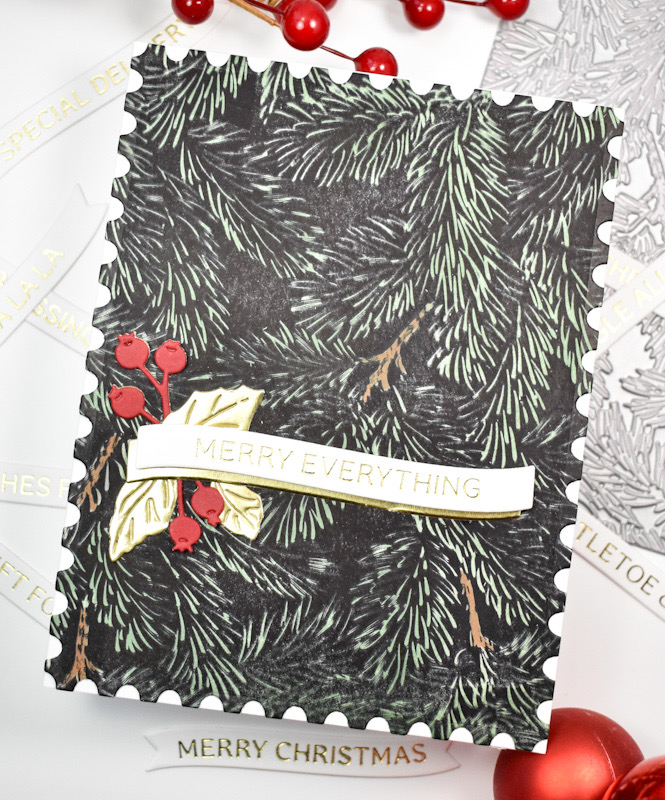
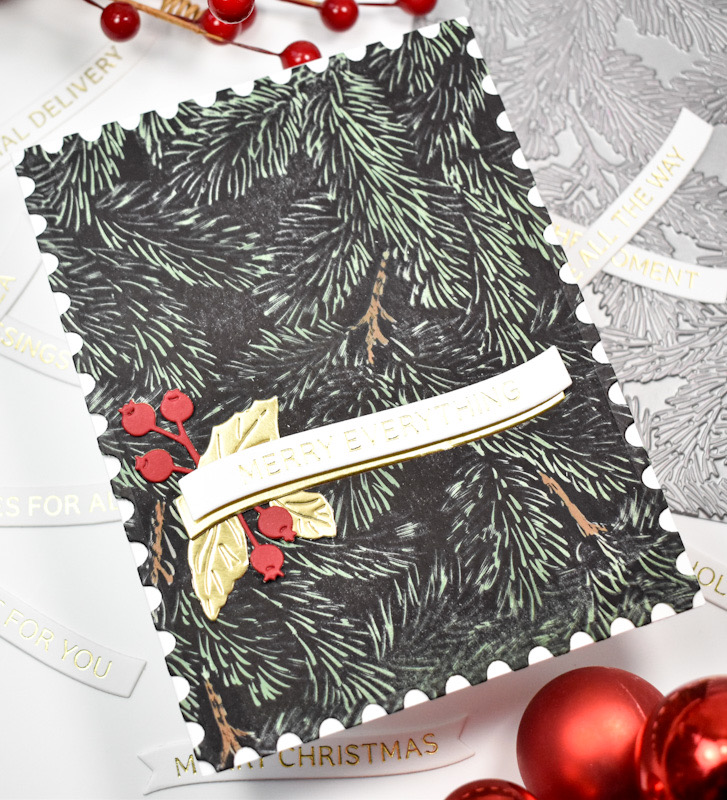
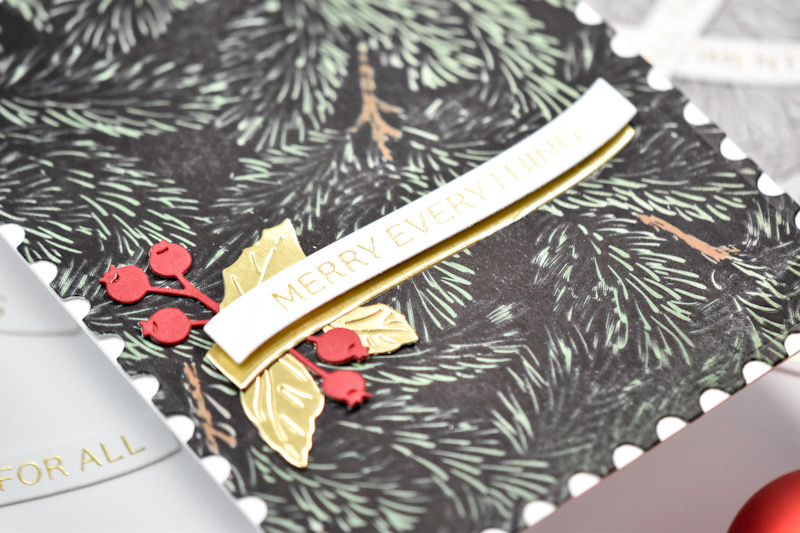
I began my card by doing all of my die cutting using green and red cardstock. Once that was done, I did some ink blending on the leaves using SSS Pawsitively Saturated Ink in Kale, and used Copic Marker E79 to color the stems. The Black Alder leaves are shiny, so I used some Nuvo Crystal Drops and painted the leaves to give them a shiny effect.

If you know me, you know that I love using jewels as berries, and that’s exactly what I did here! Yay for red jewels! In Susan’s video, she uses small foam balls that she colored, but I didn’t have any of those, so I used what was on hand! My background was created using the Argyle Plaid 3D Embossing Folder with a bit of gold splatter for added interest.

I adhered the panel to a card base and began adhering my leaves using liquid glue. I then adhered the berries in place and went to work on the sentiment, which is from the Mistletoe Greetings BetterPress set. I gold foiled the sentiment and trimmed it out using the included die, and I went ahead and also cut a gold banner and glued those together.

My sentiment was adhered to the panel with foam strips for some added dimension. I’m pretty pleased with how this card turned out! I love the glossy leaves, which is something that you don’t see too often.

That does it for this post! I hope you enjoyed it, and I hope it inspires you to get crafty in your space! Head on over to Spellbinders to check out all of the new September releases, you won’t be disappointed! Thanks again for joining me, and have a fabulous day!
Supply List
Affiliate links used at no cost to you. What does this mean? If you use the links within this post to make a purchase, I receive a small commission, which allows me to continue to post crafty content for your enjoyment. I truly appreciate your support!
Latest Posts
- Simon Says Stamp Braided Greetings

- Together By Design Color Cube Floral

- Simon Says Stamp Cute Duckling

- Simon Says Stamp Watercolor Wild Rose

- Simon Says Stamp Striped Missing You