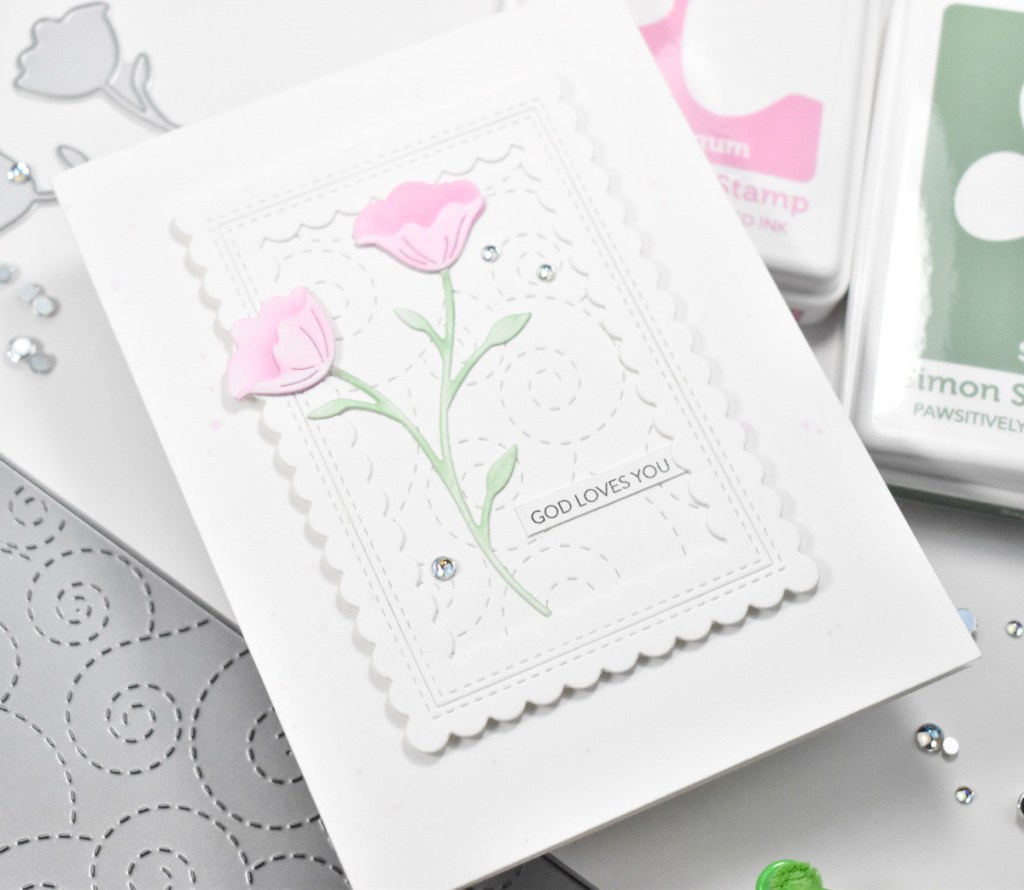
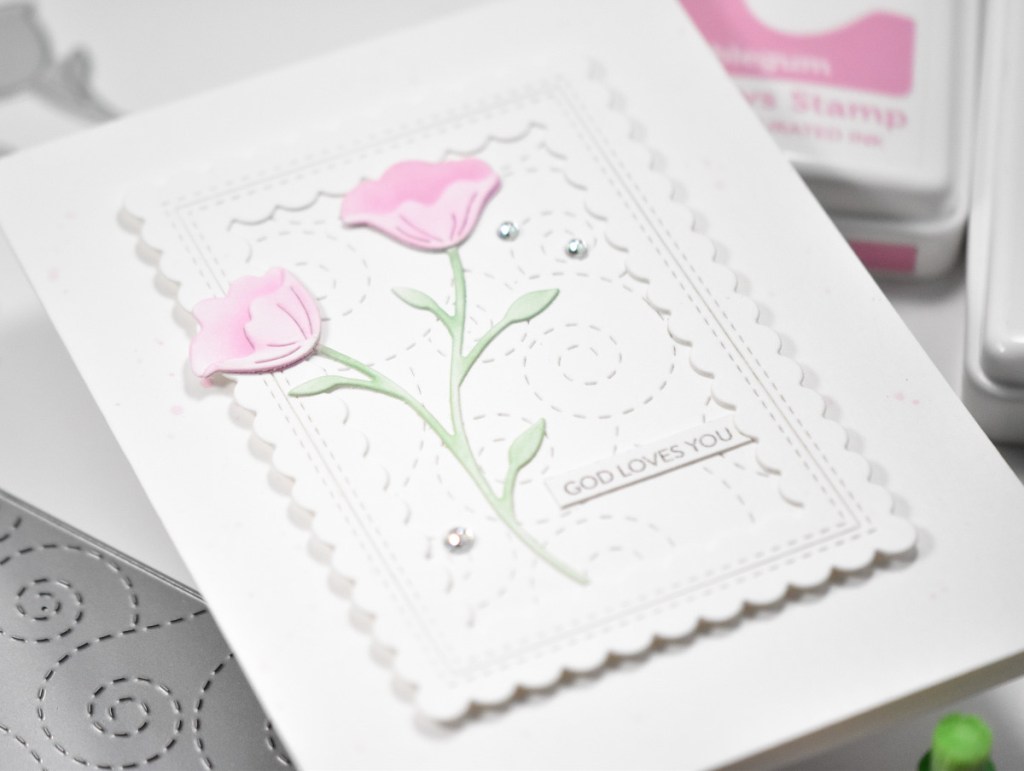
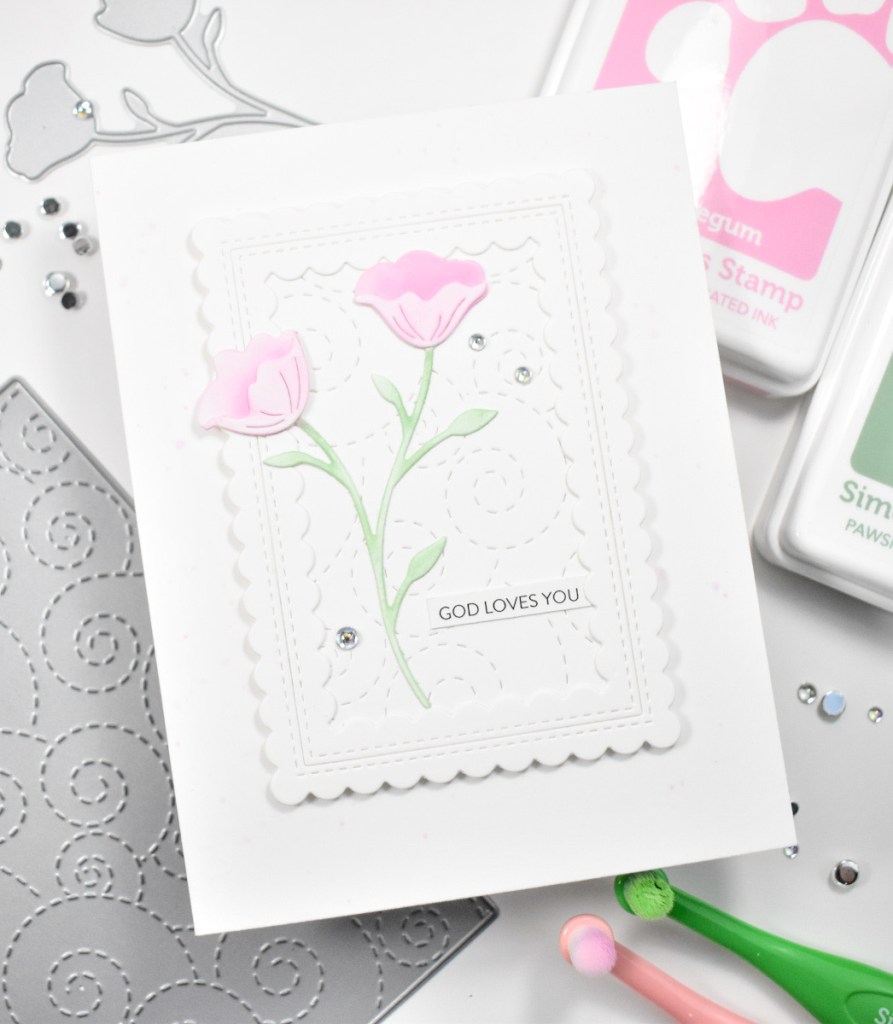
Framed English Garden

Hello Crafty Friends, and thanks so much for stopping by! I spent some time not too long ago playing with some PinkFresh Studio Washi Tapes, and today’s project is a product of that playtime! So, let’s run through the detail, shall we?

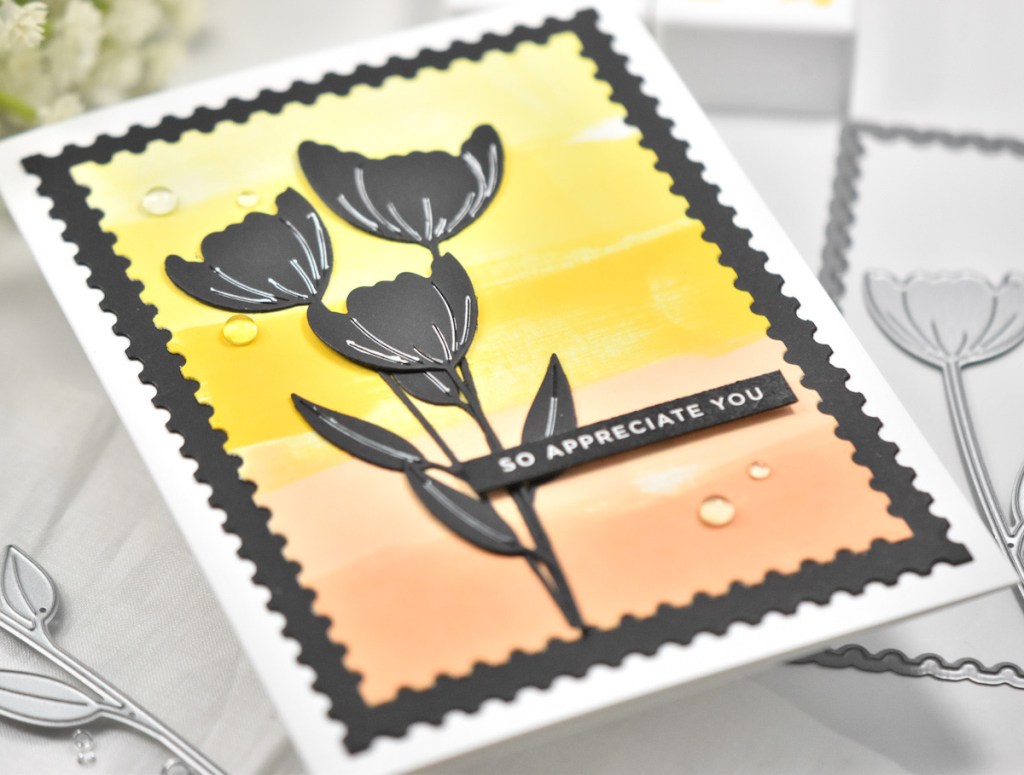
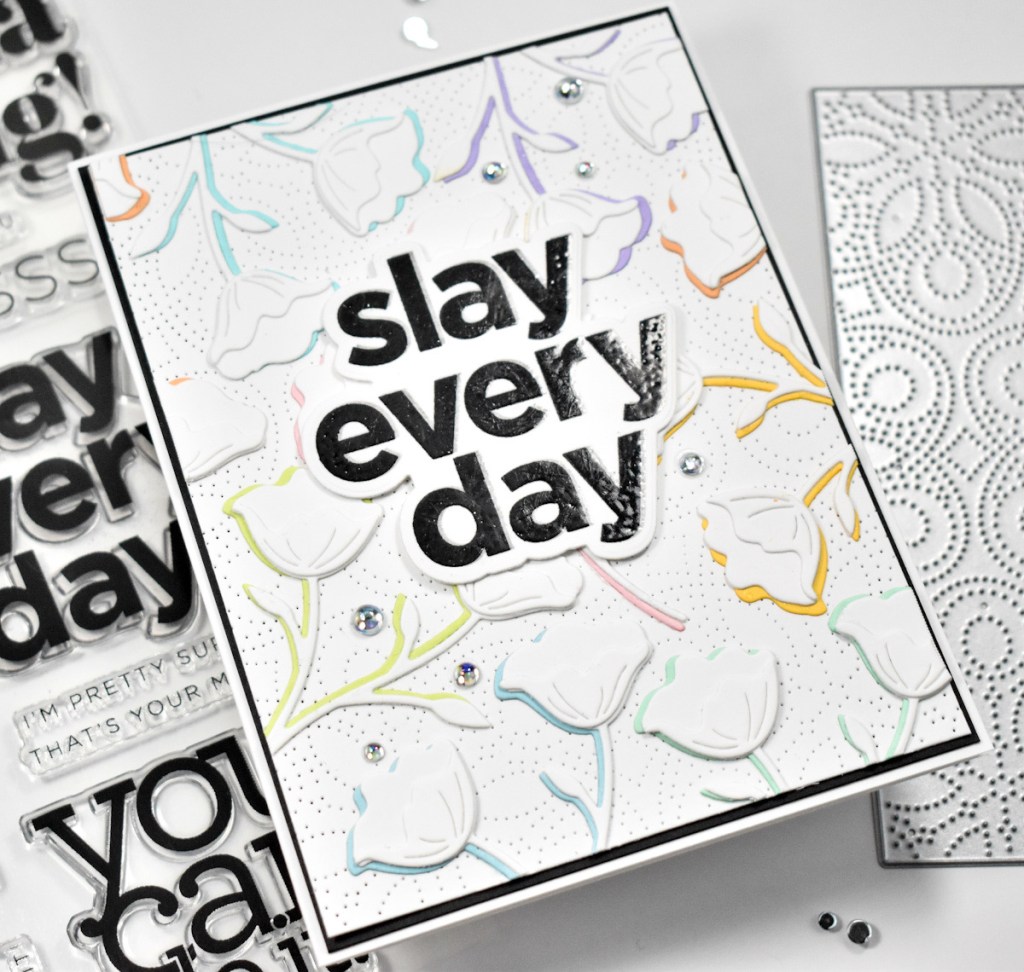
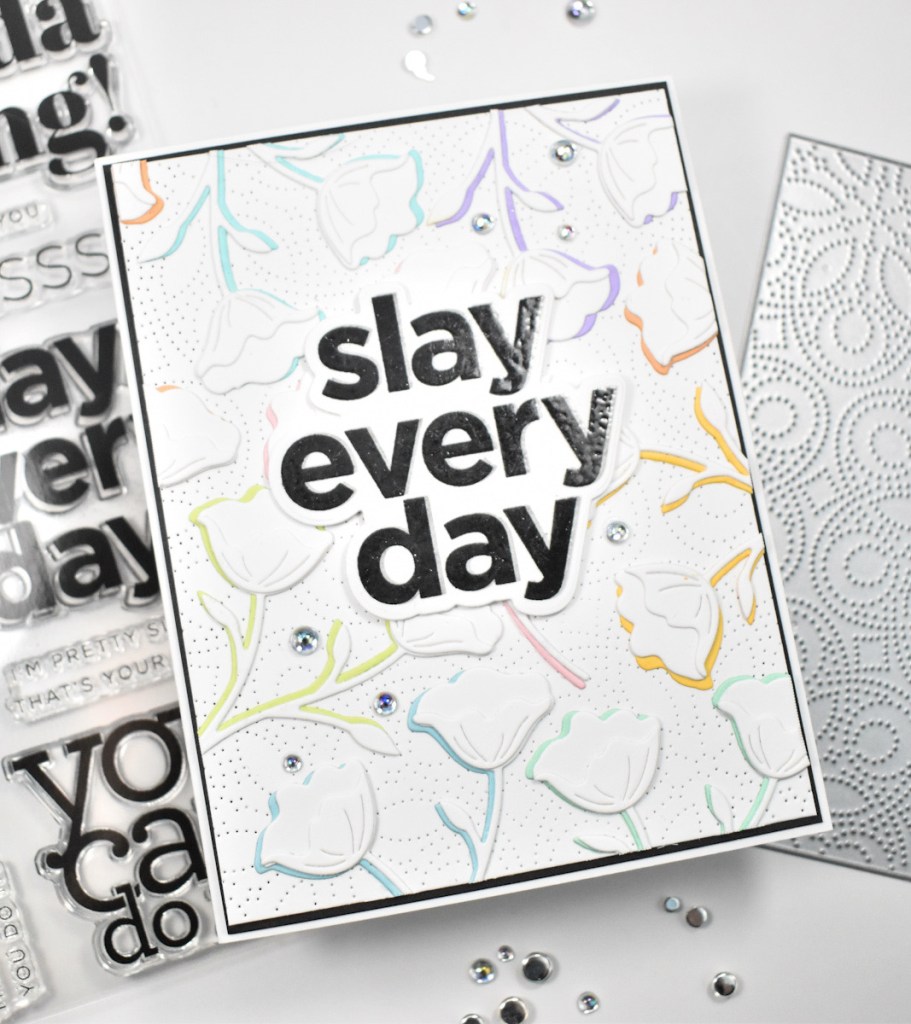
To begin, I adhered a portion of the PFS English Garden Washi Tape to a panel of Neenah 110lb cardstock and used the coordinating die to trim those pieces out. I then used the PFS Sparkling Diamonds cover plate to cut another panel of Neenah to use for the background.

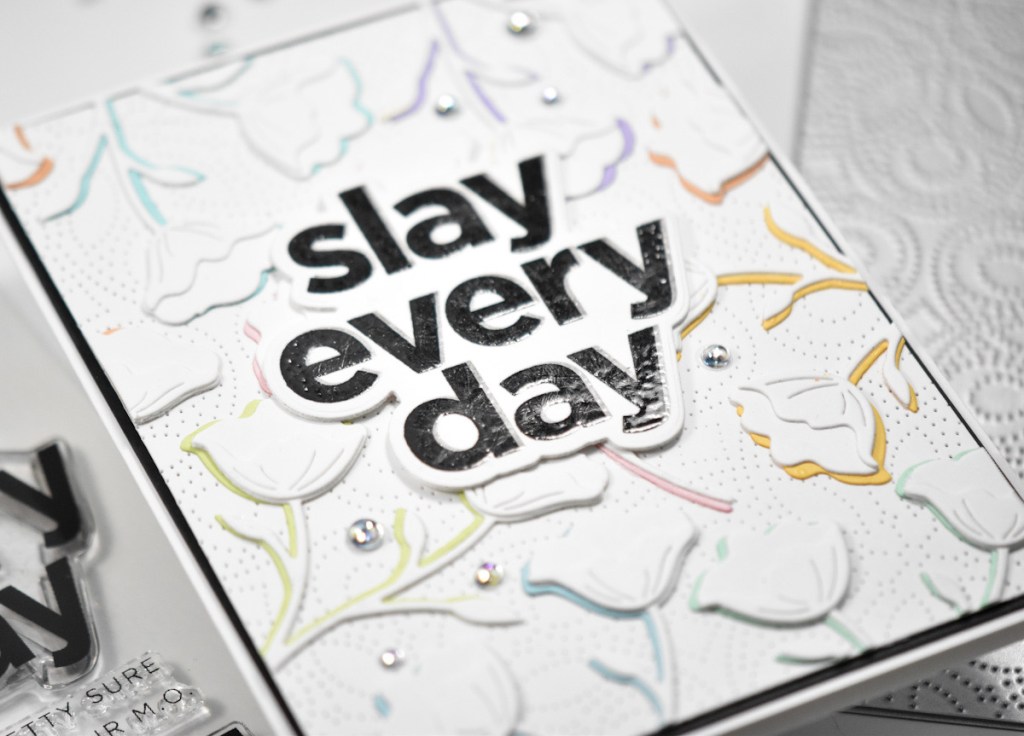
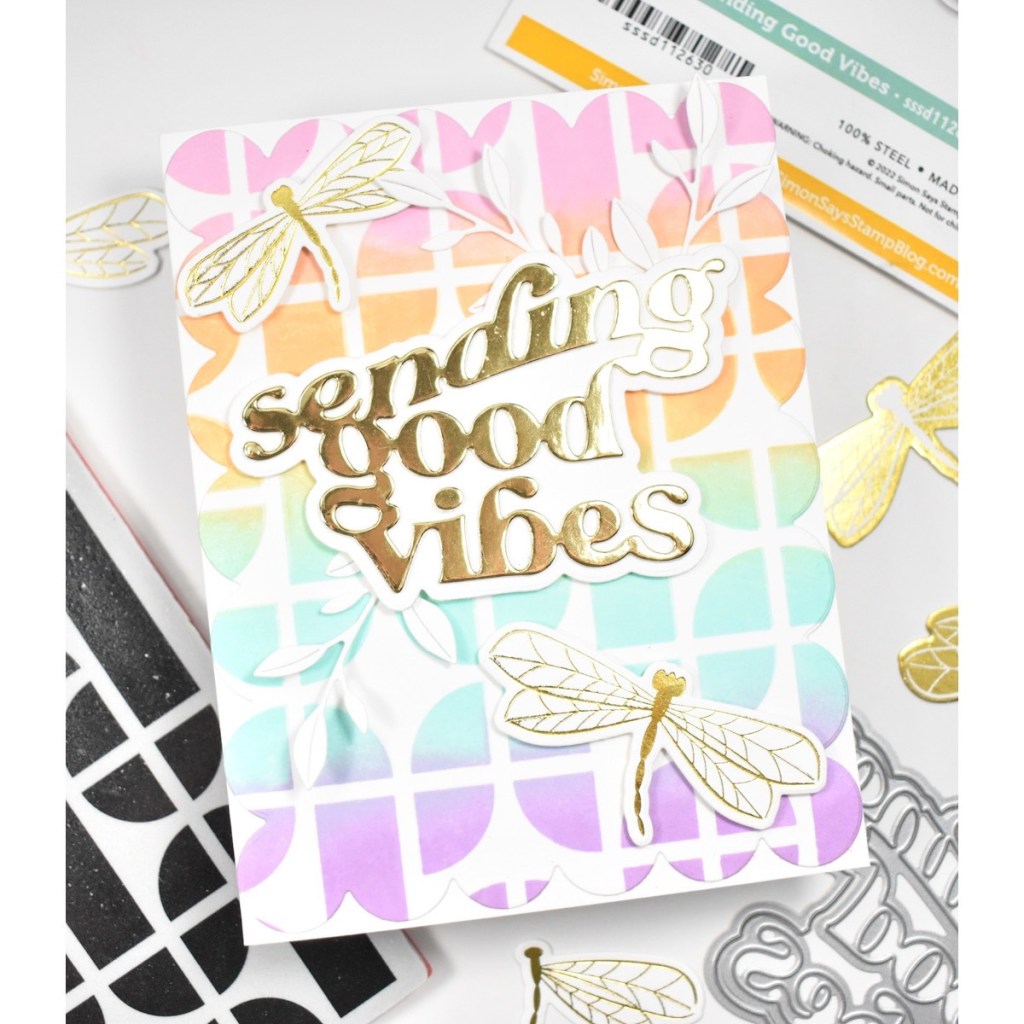
I also pulled out a scrap and used the PFS Stitched Scalloped Rectangles to cut one of the smaller rectangles from this set. I set all of these pieces aside while I worked on the sentiment, and for that I used the PFS Scripted Sentiments. I used gold hot foil to foil the sentiment and used the coordinating die to trim it out. I cut two additional sentiments and adhered those together to make it a bit more sturdy and to add more dimension.
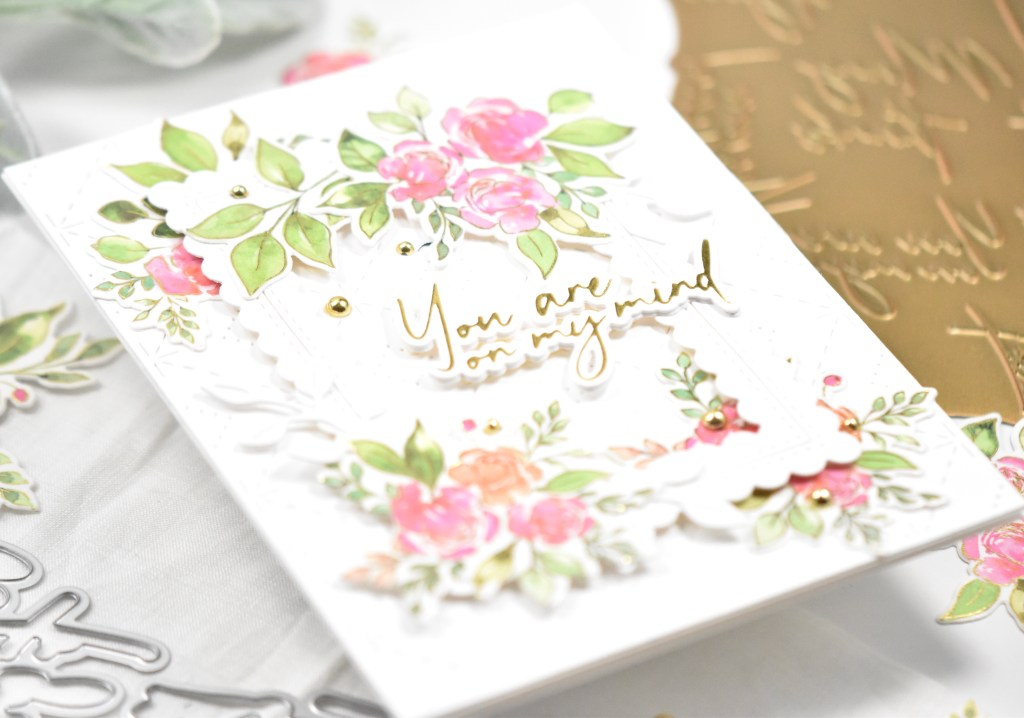
To assemble the card, I adhered the frame to the background panel using foam tape, placing some of the washi tape pieces underneath it. I adhered the additional pieces atop the frame using liquid glue. I decided that it needed some additional leaves, so I used the PFS Leafy Branch and cut a few from Neenah and tucked those behind the flowers, securing with glue.

I adhered the sentiment, offset from the frame just a little bit, using a combination of glue and foam tape. The panel was then adhered to the card base before adding a few PFS Gold Metallic Pearls to finish up.

I really enjoy working with the PinkFresh Studio washi tapes, because beautiful cards come together so effortlessly! They have so many to choose from and each one is gorgeous in its own way! I hope you enjoyed this project, and I hope it inspires you to get crafty in your space. As always, have a wonderful day and don’t forget to stay awesome!
Supply List:
- PinkFresh Studio English Garden Washi Tape
- PinkFresh Studio English Garden Die
- PinkFresh Studio Sparkling Diamonds Die
- PinkFresh Studio Stitched Scalloped Rectangles
- PinkFresh Studio Scripted Sentiments
- PinkFresh Studio Scripted Sentiments Die
- PinkFresh Studio Leafy Branch
- PinkFresh Studio Gold Metallic Pearls
- Spellbinders Gold Hot Foil
- Spellbinders Glimmer Hot Foil System
- Spellbinders Platinum 6
- Neenah Classic Crest Solar White 110lb Cardstock
- SSS Embellishment Wand
- SSS Dot Tape Runner
- SSS Triangle Trays
- Bearly Art Glue
* Affiliate links used at no cost to you. Thanks so much for your support!
Latest Posts
- Simon Says Stamp Grateful Heart

- Simon Says Stamp Braided Greetings

- Together By Design Color Cube Floral

- Simon Says Stamp Cute Duckling

- Simon Says Stamp Watercolor Wild Rose