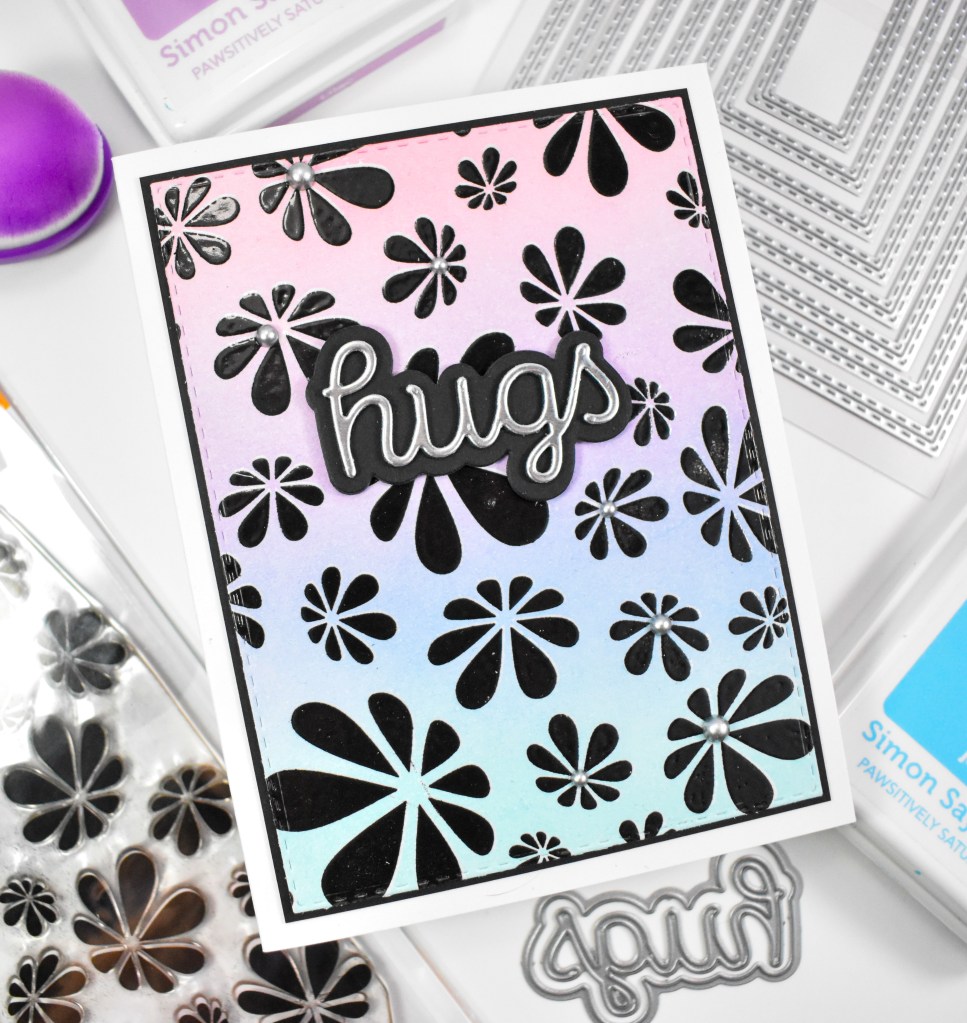
Simon Says Stamp Blended Daisies

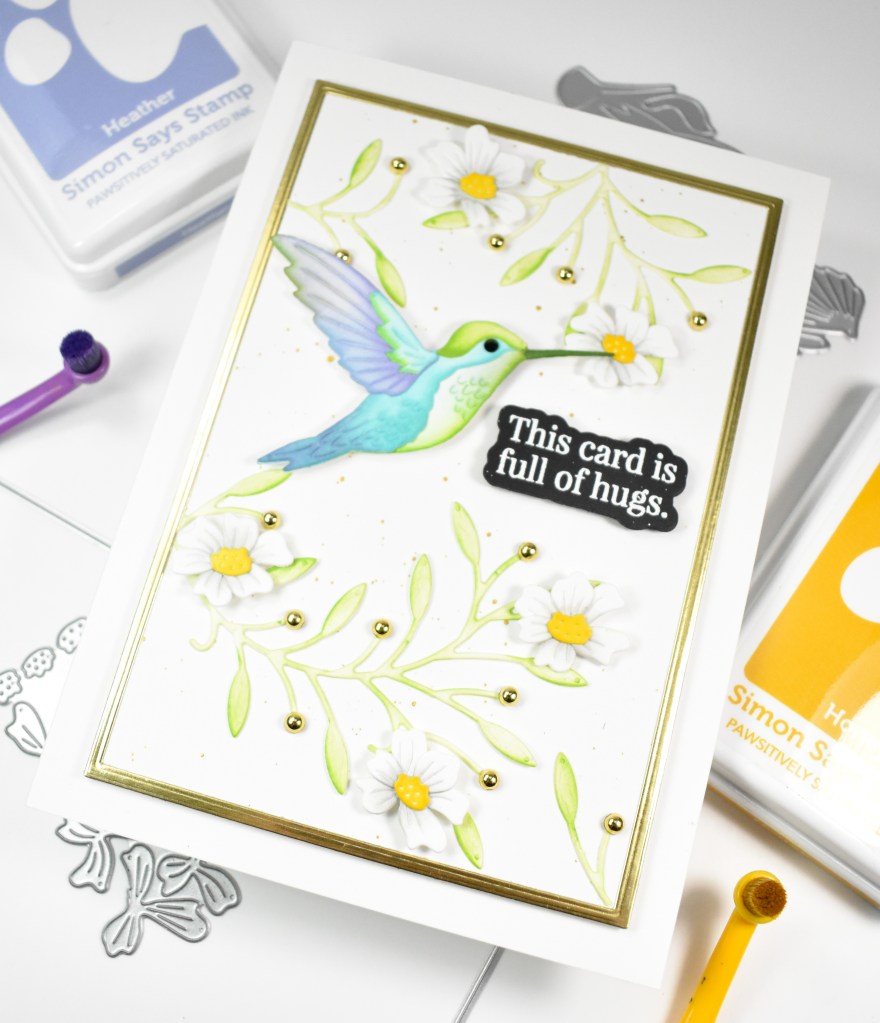
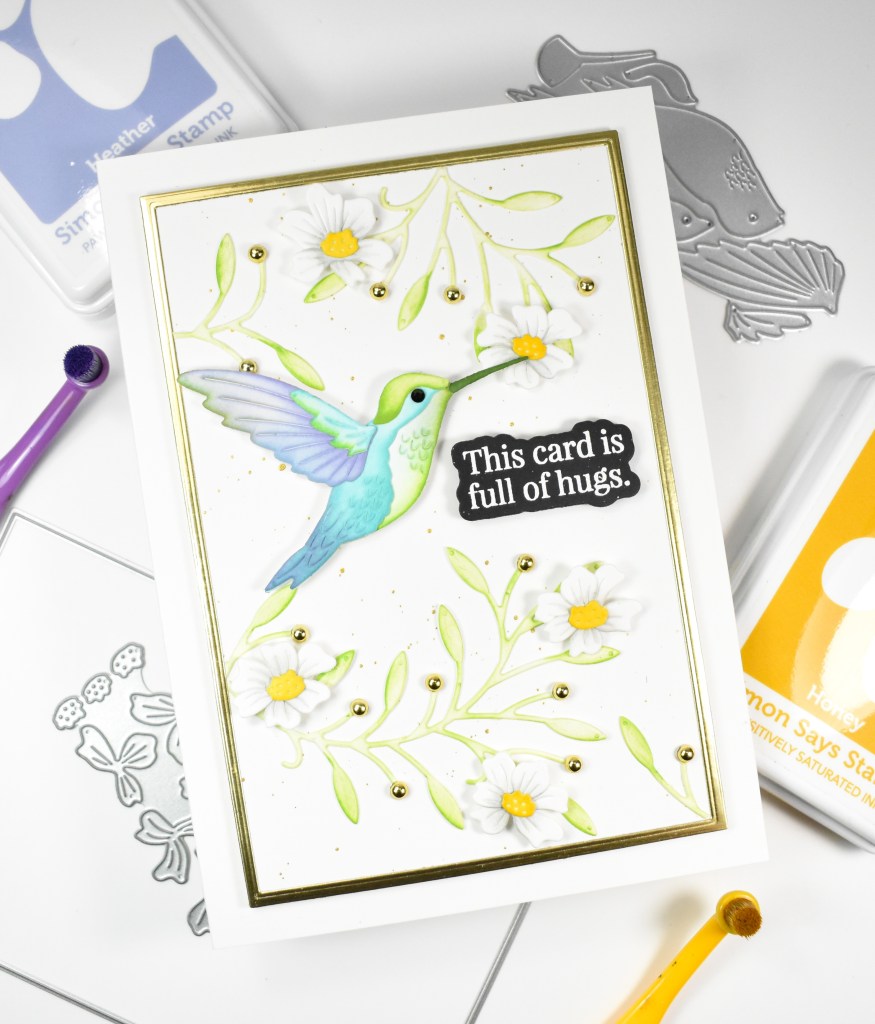
Hello Friends, and thanks for joining me! The Beautiful Moments release is live, and I’m back with a project featuring the new Groovy Daisies with a soft blend. Let’s go ahead and get into the details.
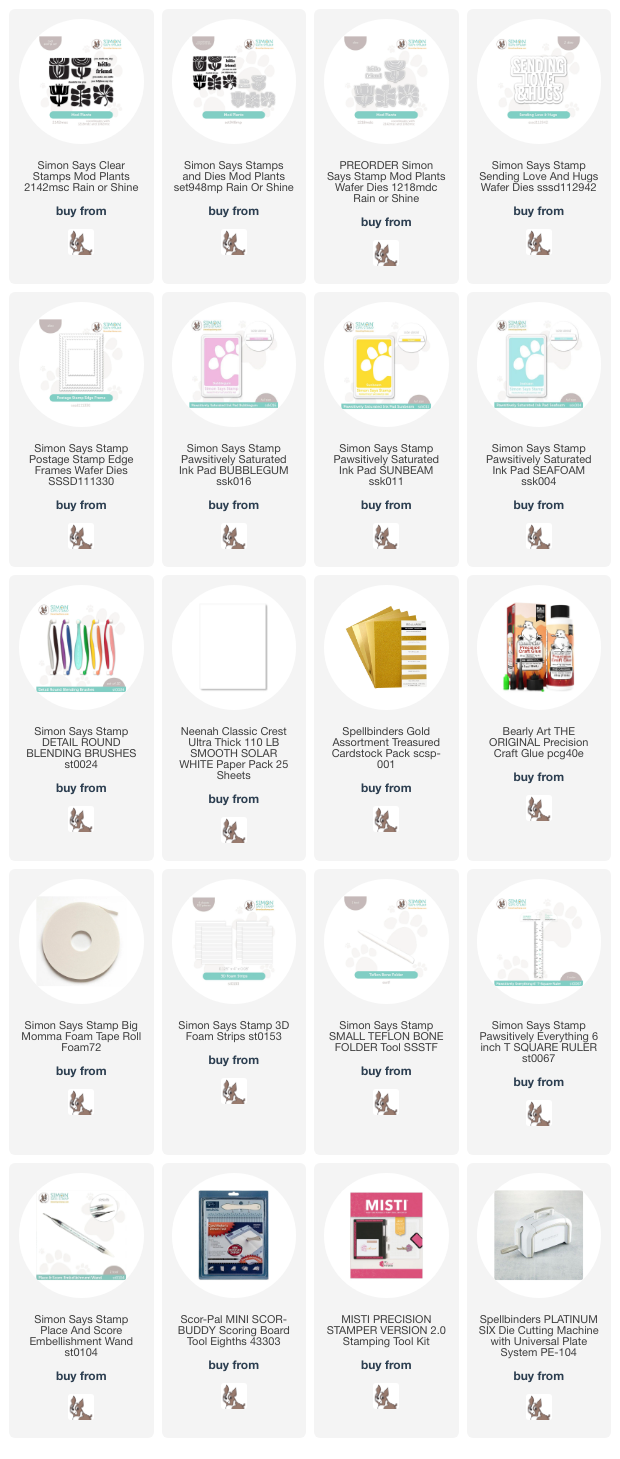
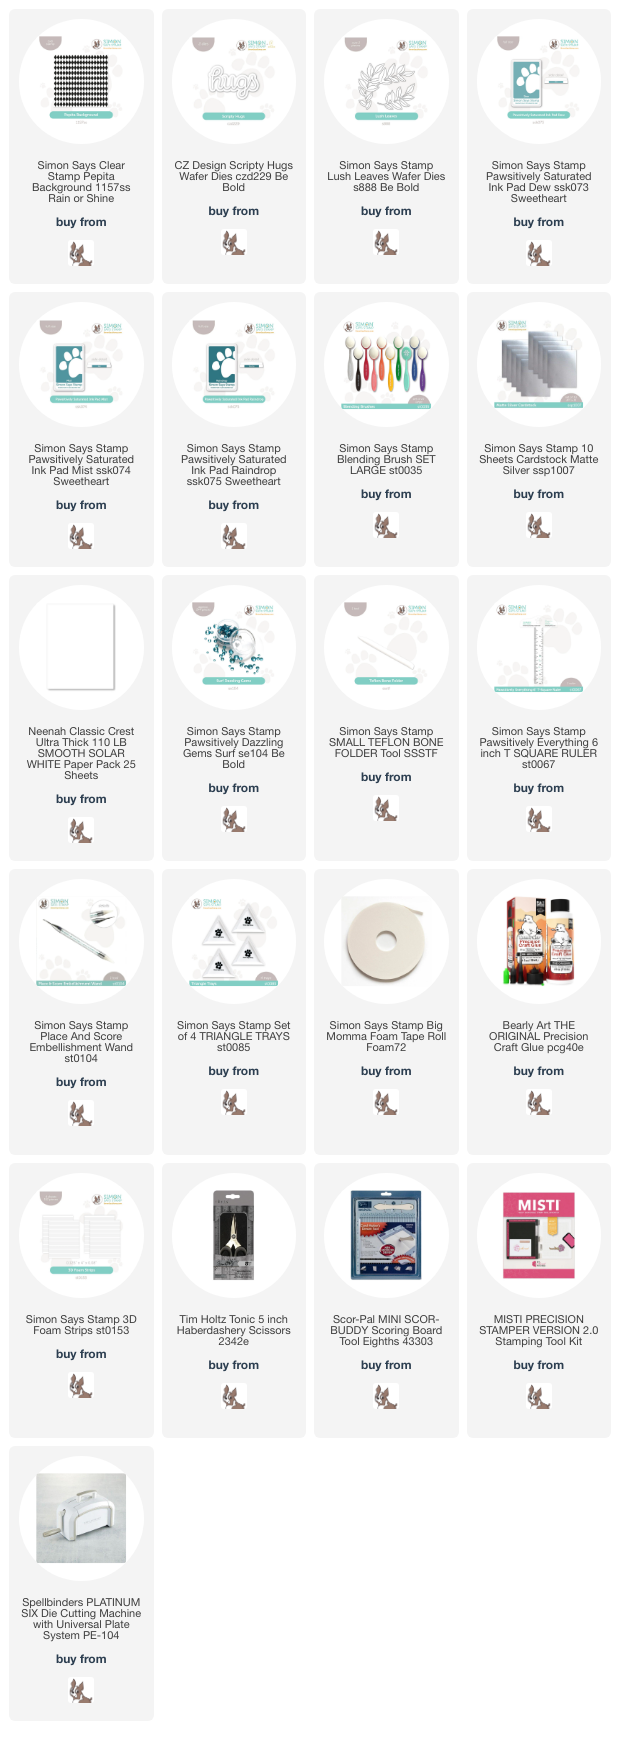
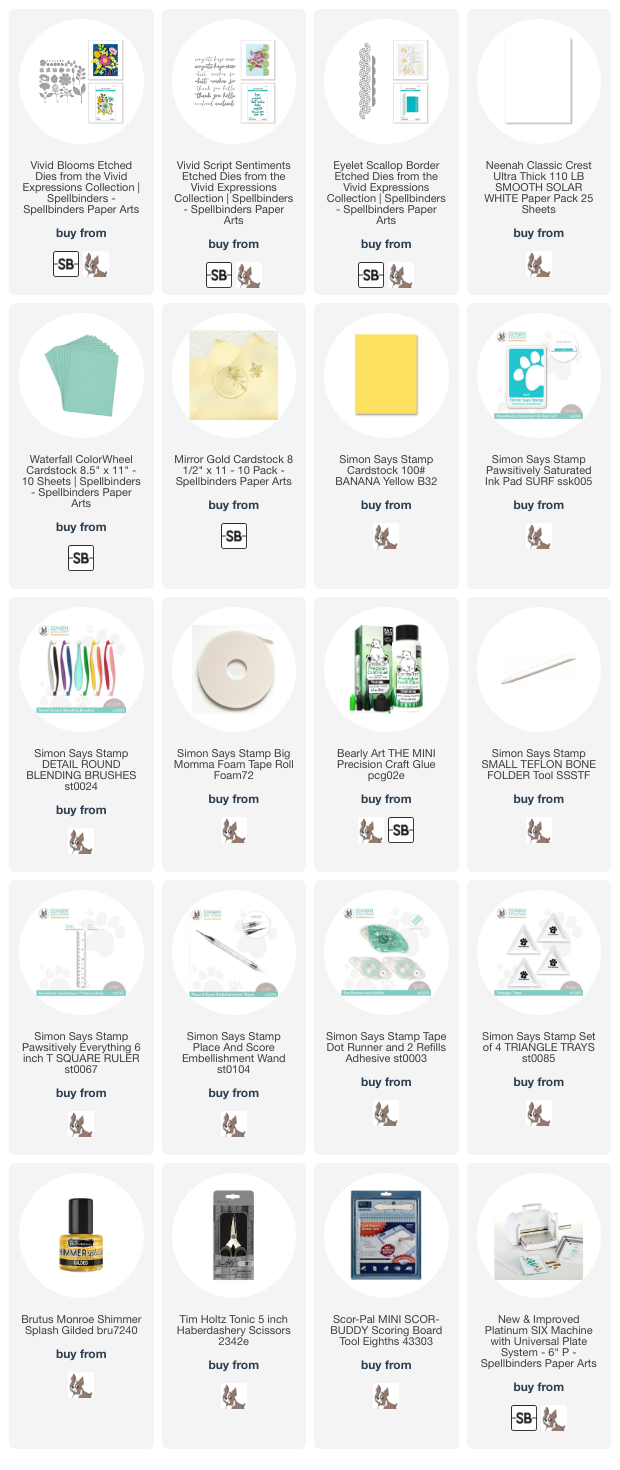
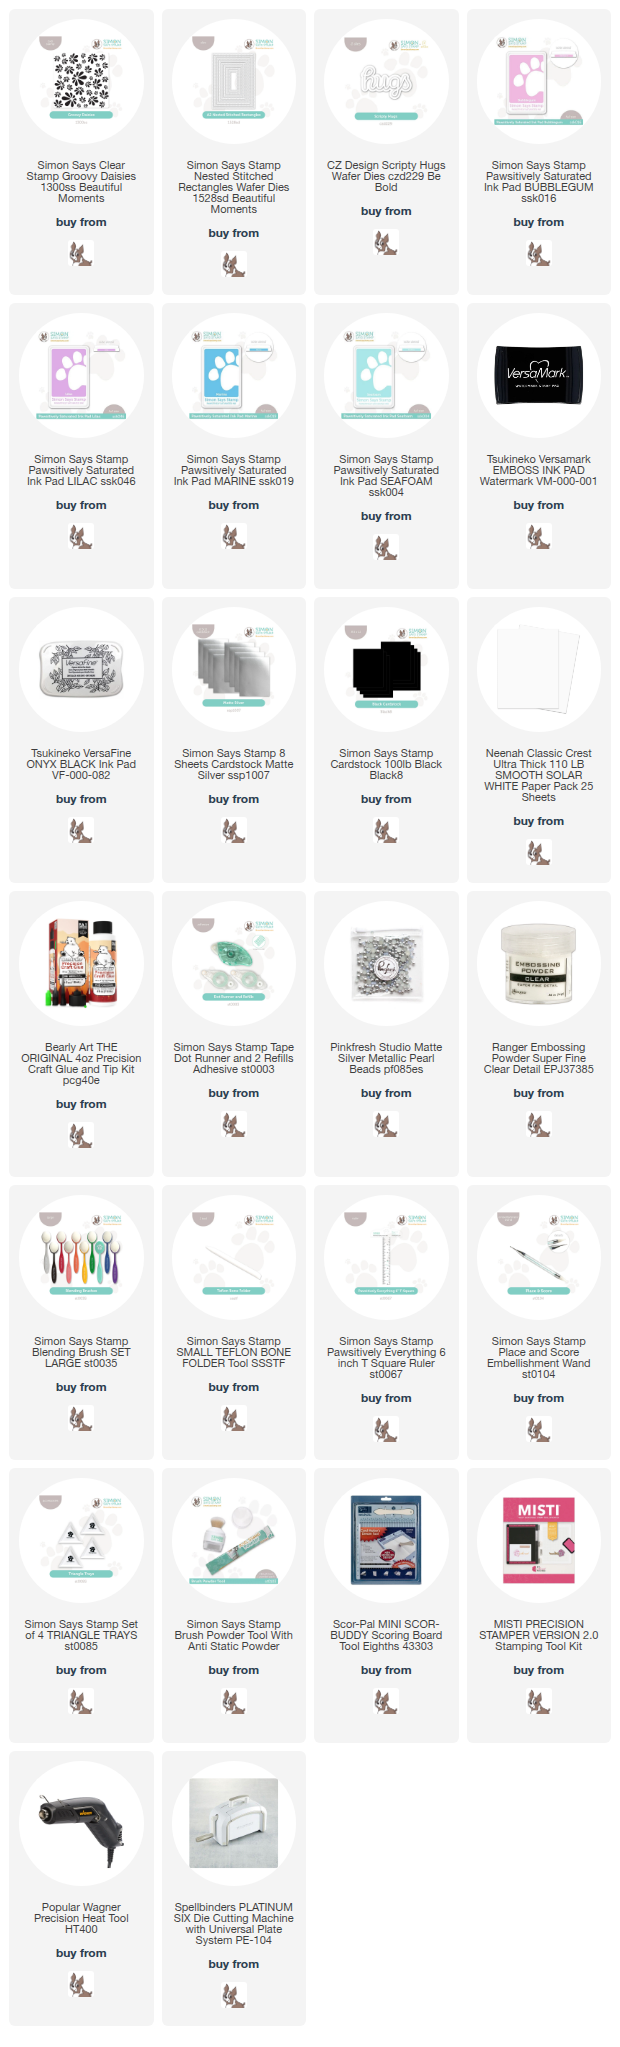
NOTE: all supplies are linked in the thumbnails at the end of this blog post.

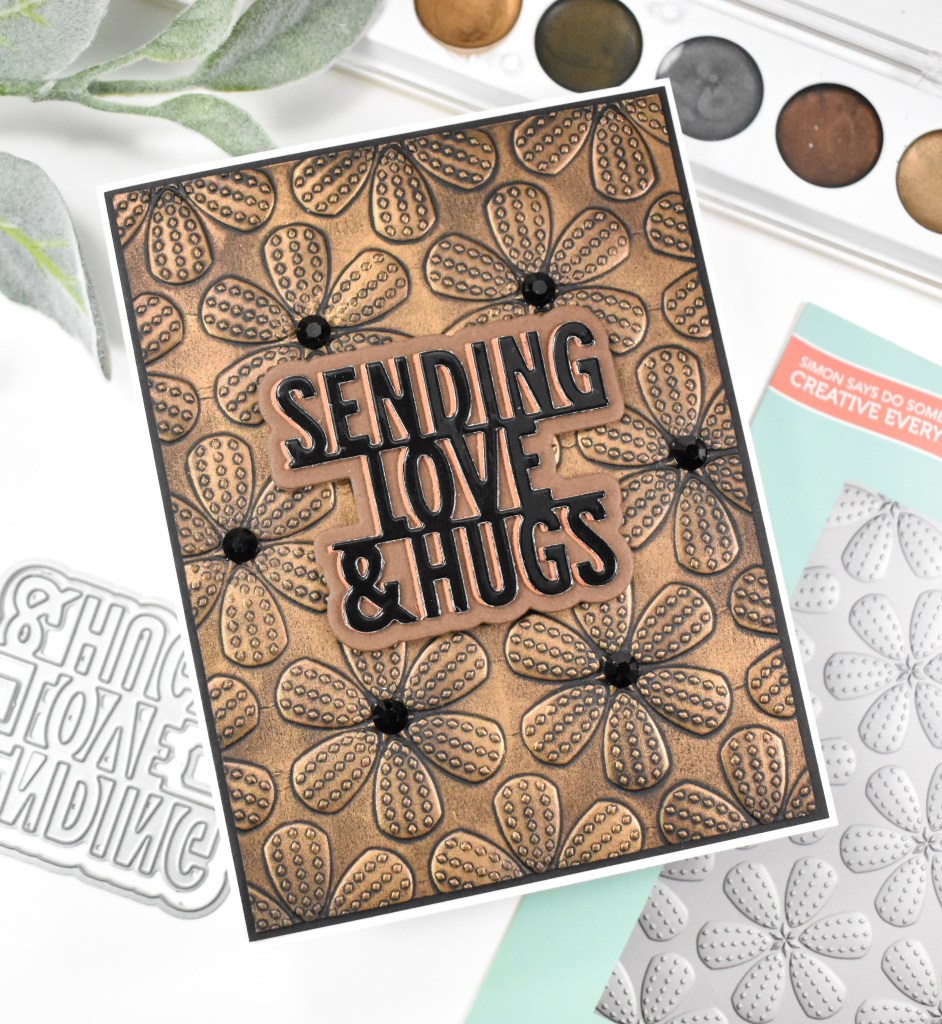
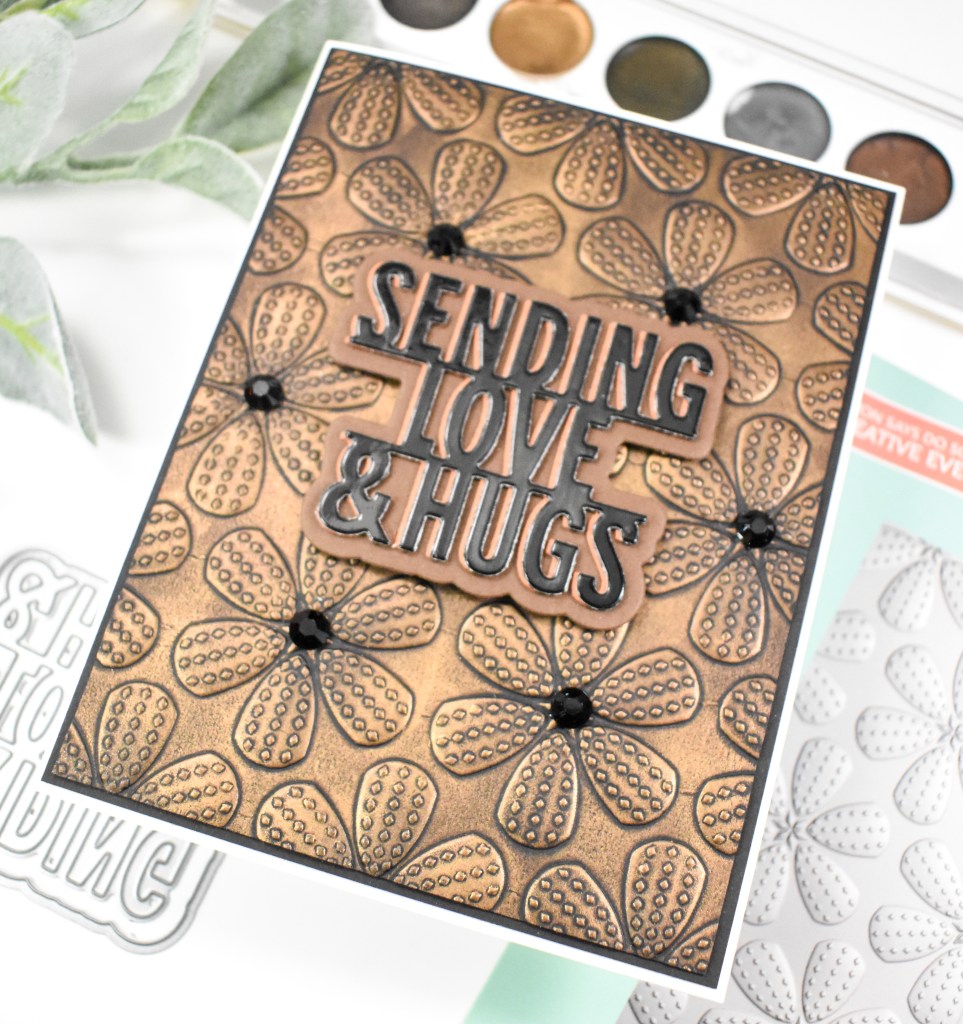
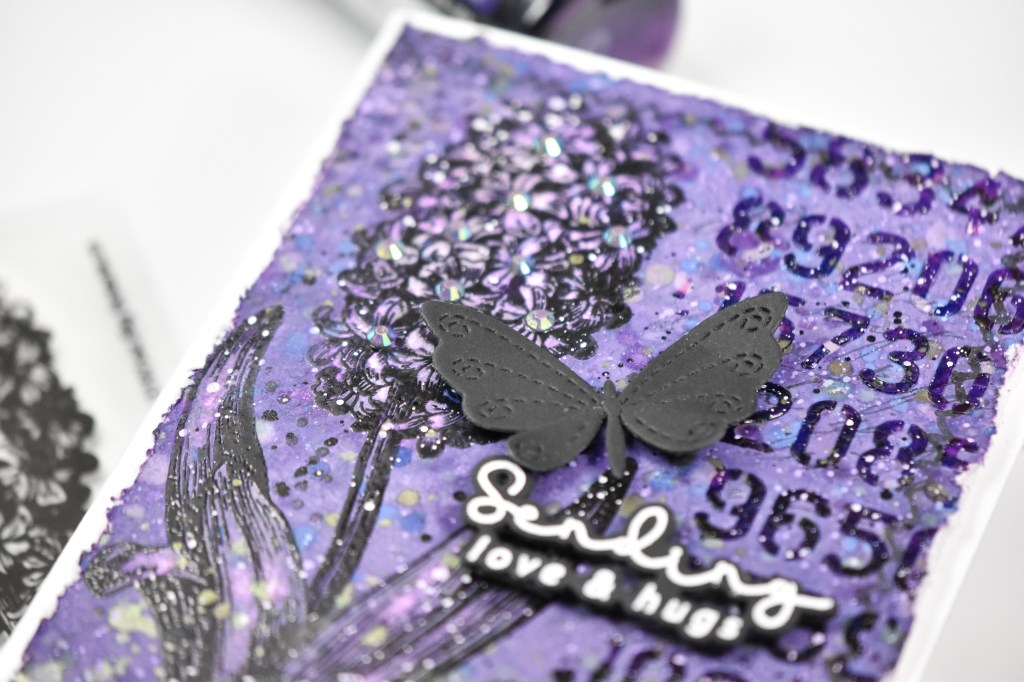
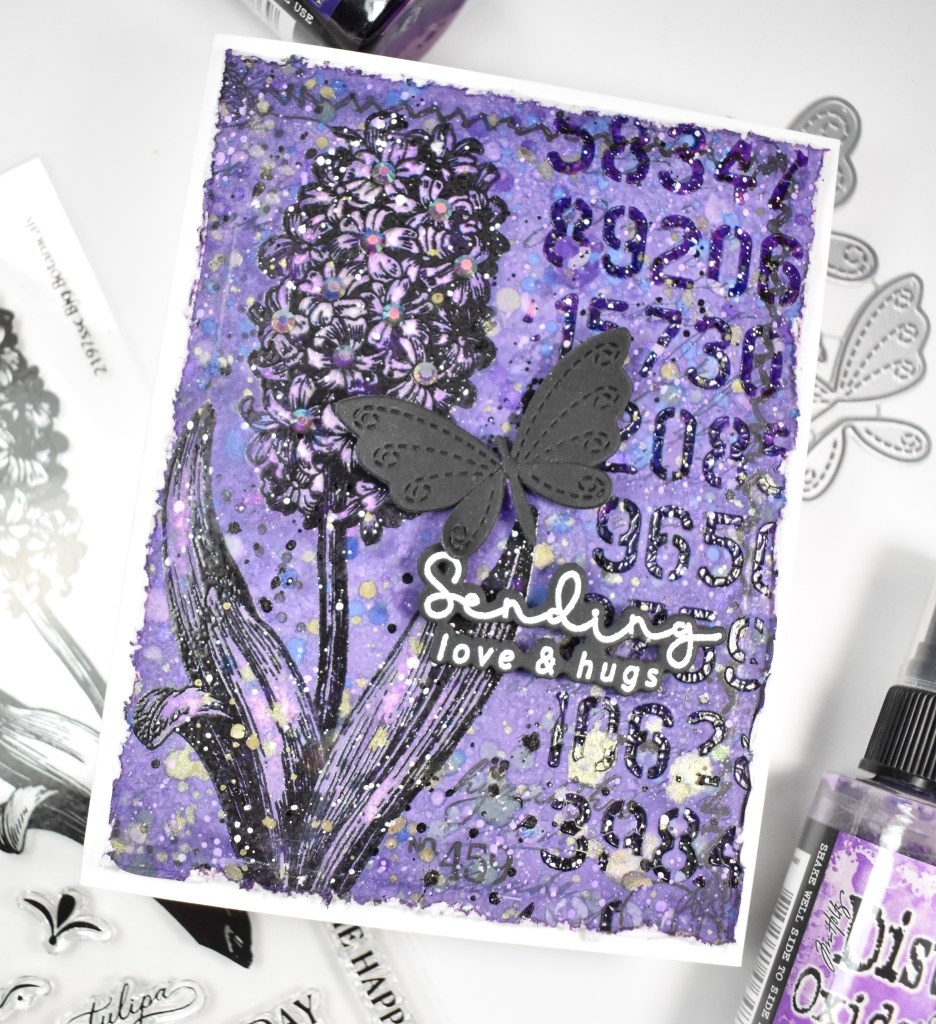
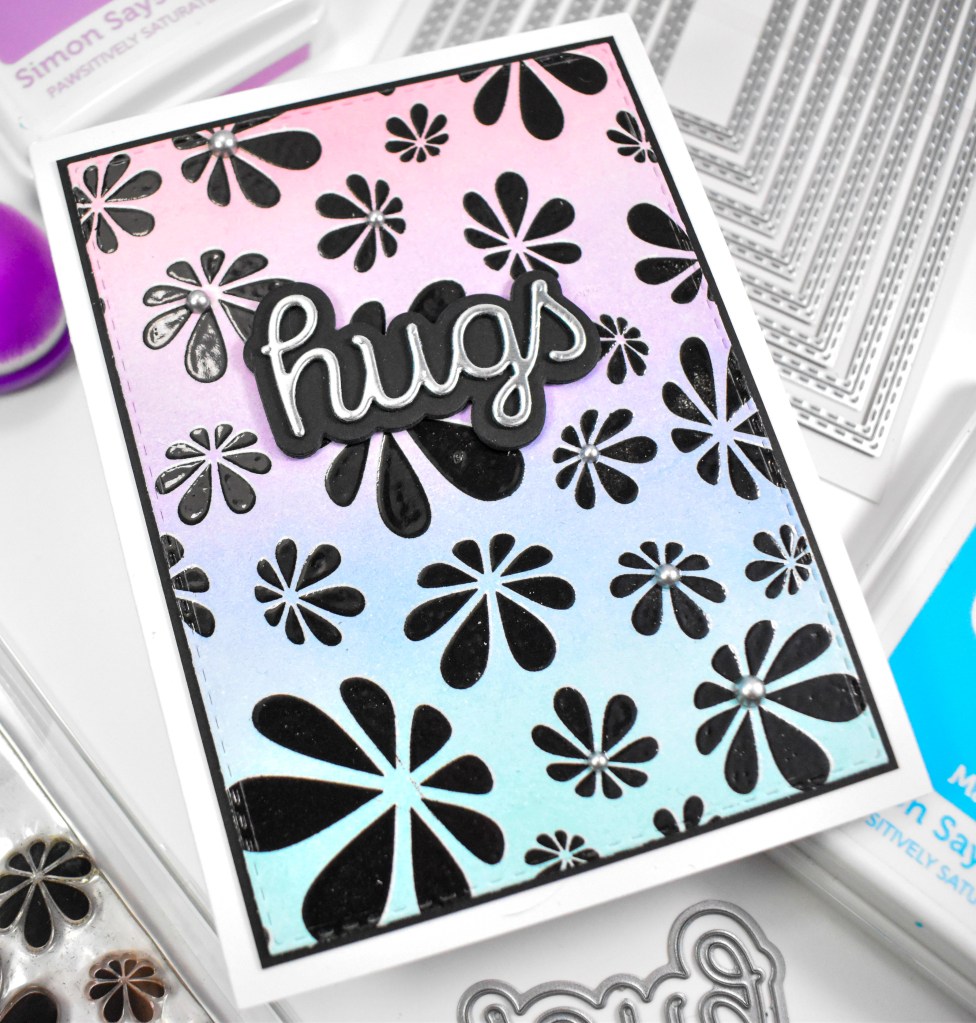
I began this project by stamping the Groovy Daisies onto a panel using VersaFine Onyx Black ink and heat embossing it using clear embossing powder. I knew that I wanted to double heat emboss, and when I do this, I stamp the second time with VersaMark ink and heat again using clear powder. I do this because, during the heating process, I find that the paper warps a tiny bit and if I stamp again in black, it can sometimes be slightly off. By stamping the second time with VersaMark, you don’t notice that.
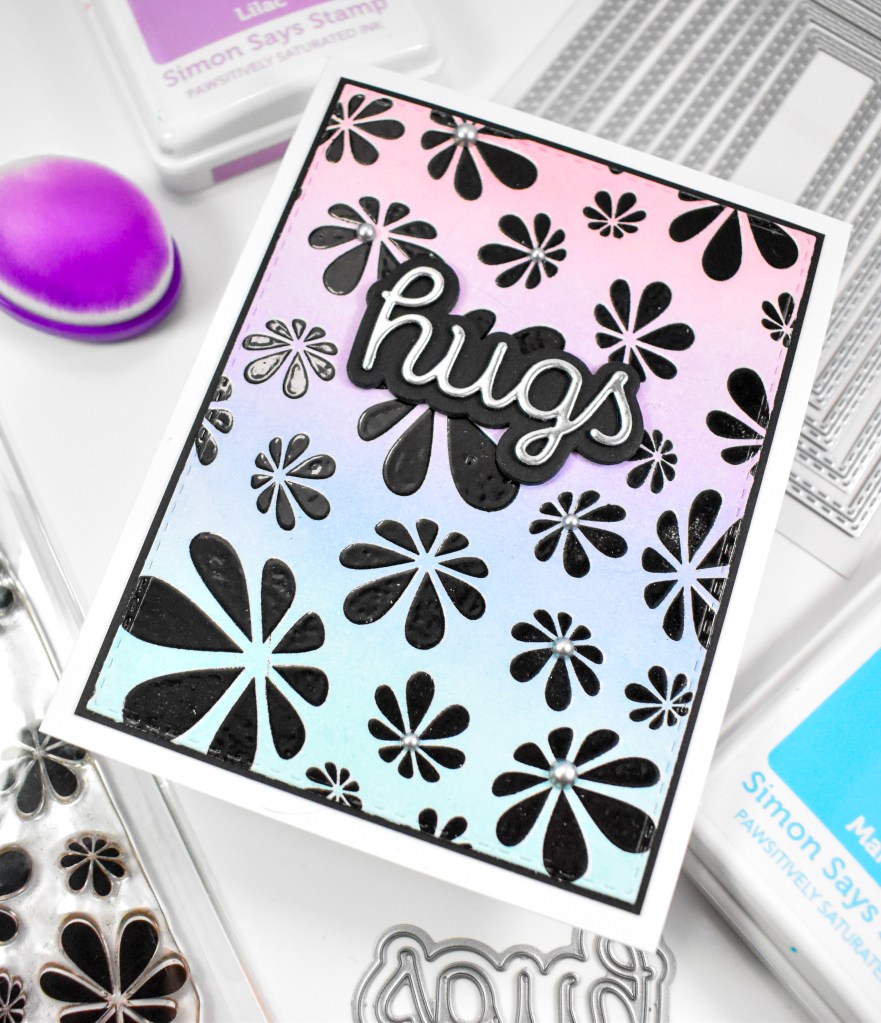
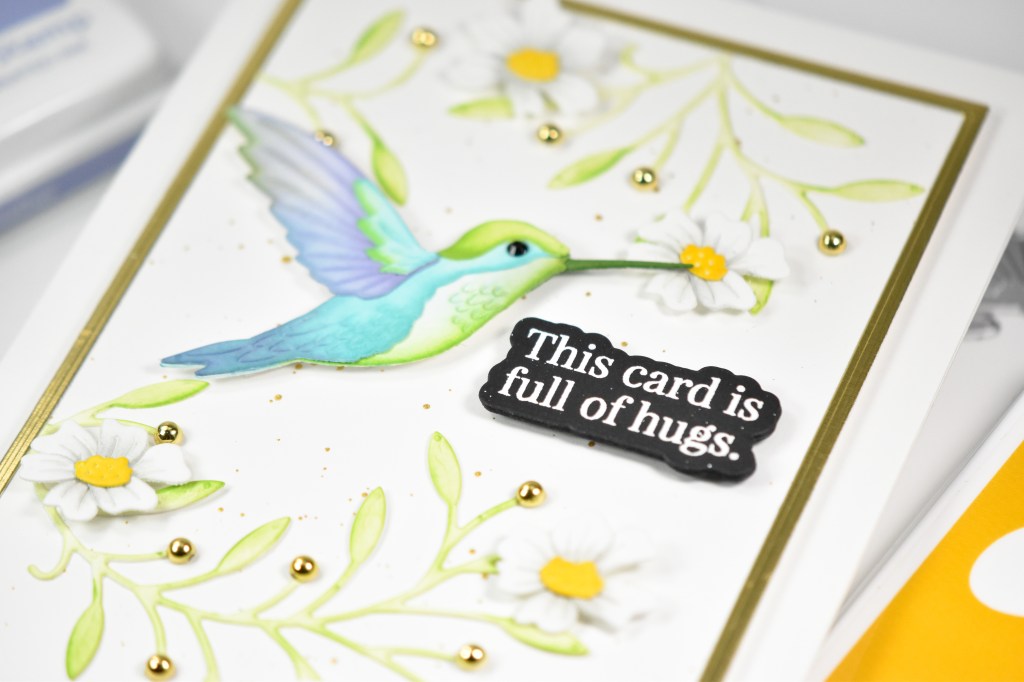
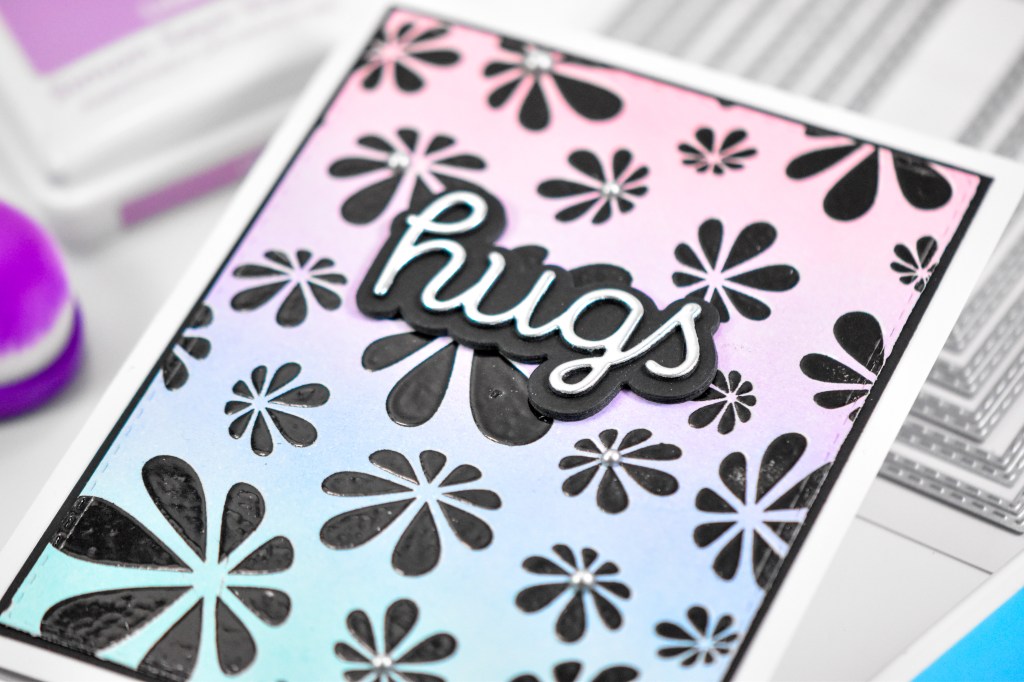
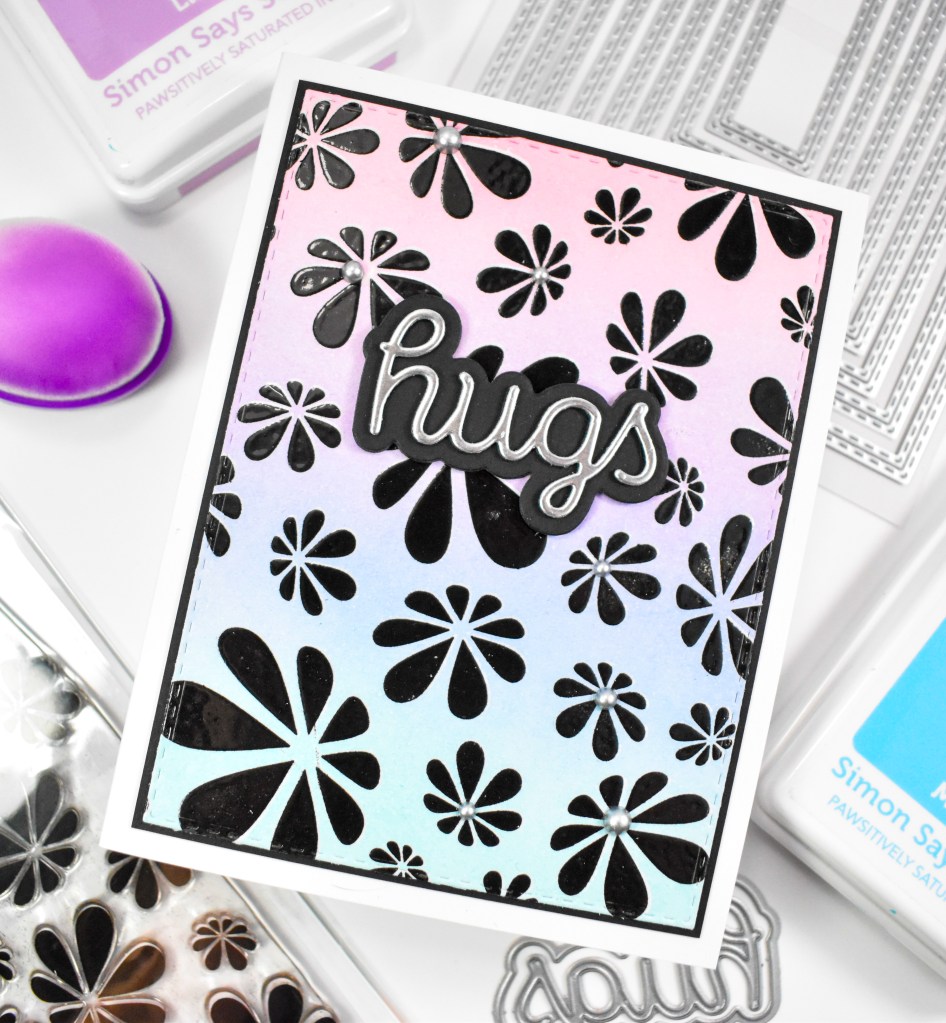
I really love how the ink blending turned out using Bubblegum, Lilac, Marine and Seafoam inks. Once done with the ink blending, I trimmed the panel down using the new A2 Nested Stitched Rectangles, and mounted it onto a black panel for contrast. The sentiment was cut once from Matte Silver cardstock and twice from black cardstock, while the shadow portion was cut four times. All of those were adhered together using liquid glue for a stacked sentiment. I added some matte silver pearls to the some of the flowers to finish up.
That does it for this one! I hope you like it, and I hope you’ll stop by and check out the entire Beautiful Moments release! Thanks again for swinging by, and I hope you have an awesome day!
Supply List:
Affiliate links used at no cost to you. What does this mean? If you use the links within this post to make a purchase, I receive a small commission, which allows me to continue to post crafty content for your enjoyment. I truly appreciate your support!
Latest Posts
- Simon Says Stamp Tattered Florals

- Simon Says Stamp Amazing Floral

- Simon Says Stamp Friendly Butterflies

- Simon Says Stamp Graceful Hugs

- Simon Says Stamp Hello Butterflies

Latest Instagram Posts