Spellbinders Best Friends

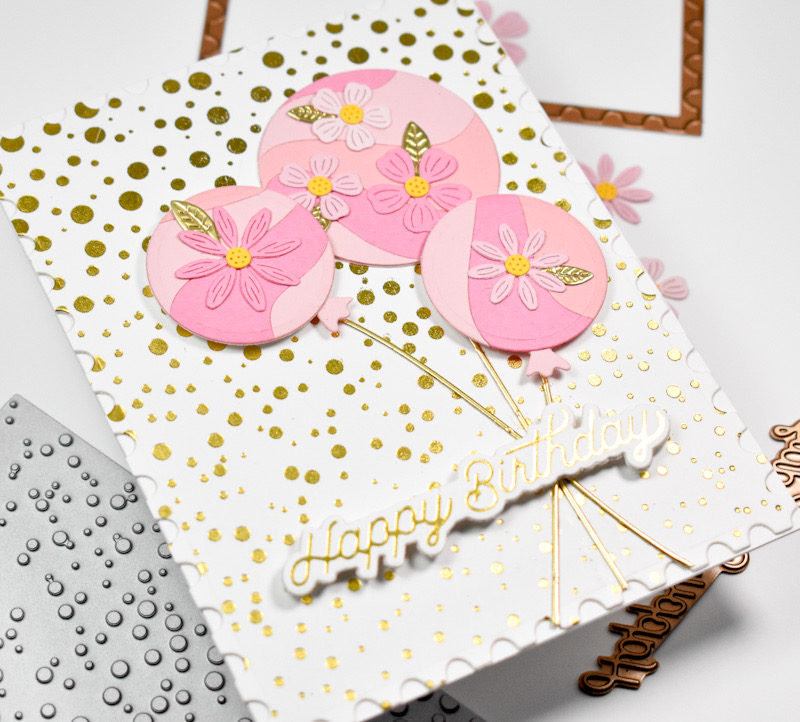
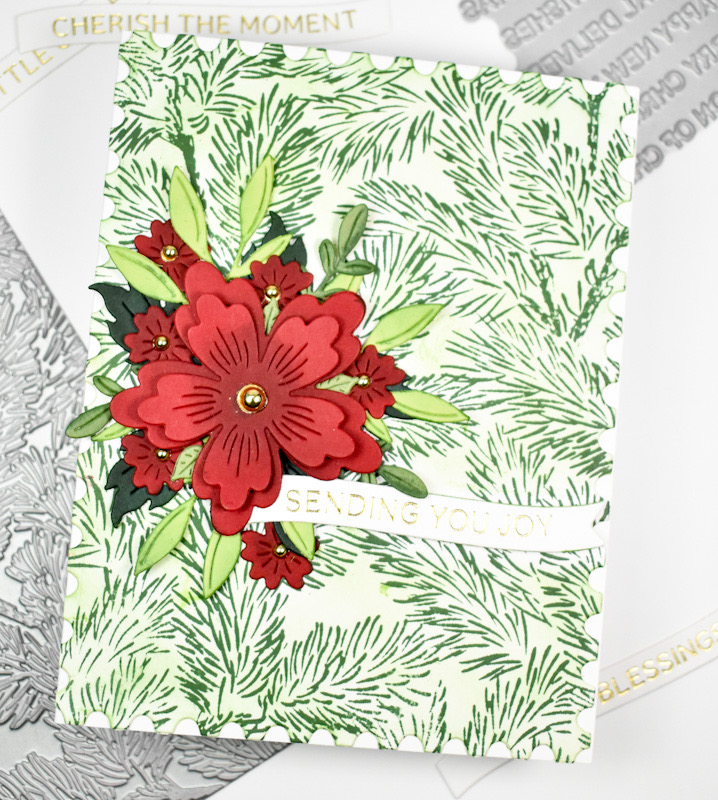
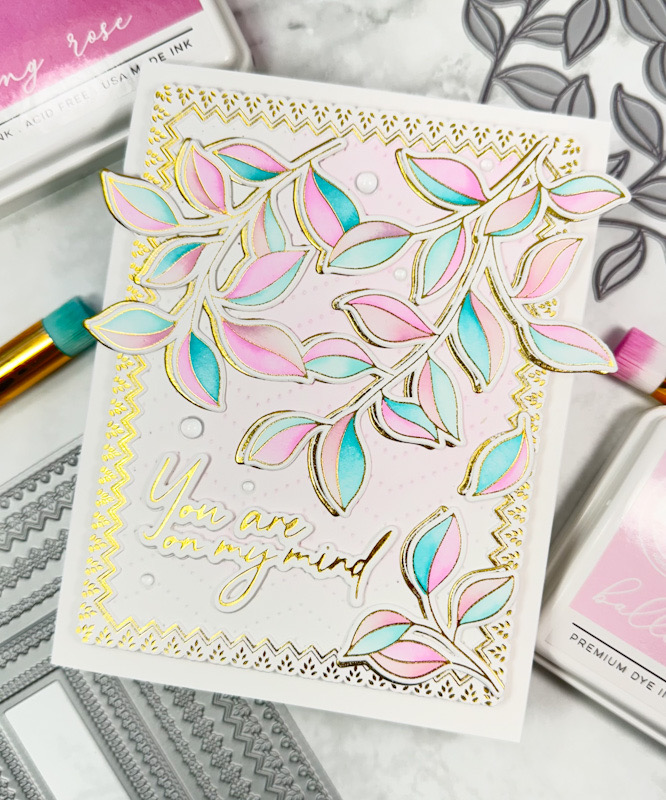
Hello Crafty Friends! I’m so glad that you stopped by! The Spellbinders August releases are live, and I’m back today with a card featuring the new All Seasons Spring BetterPress Press Plate. Let’s not waste time and go through the details!

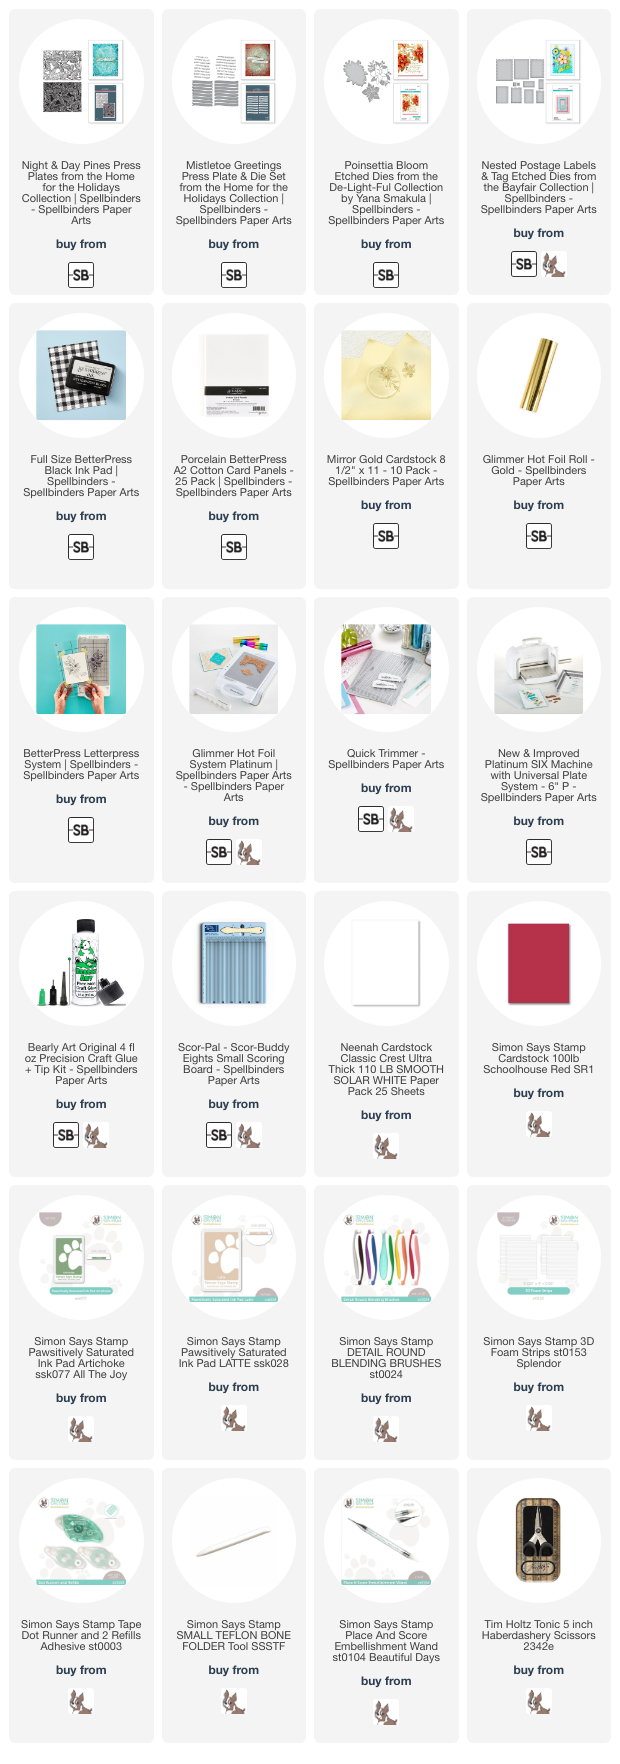
NOTE: all supplies are linked to multiple sources in the thumbnails at the end of this blog post.

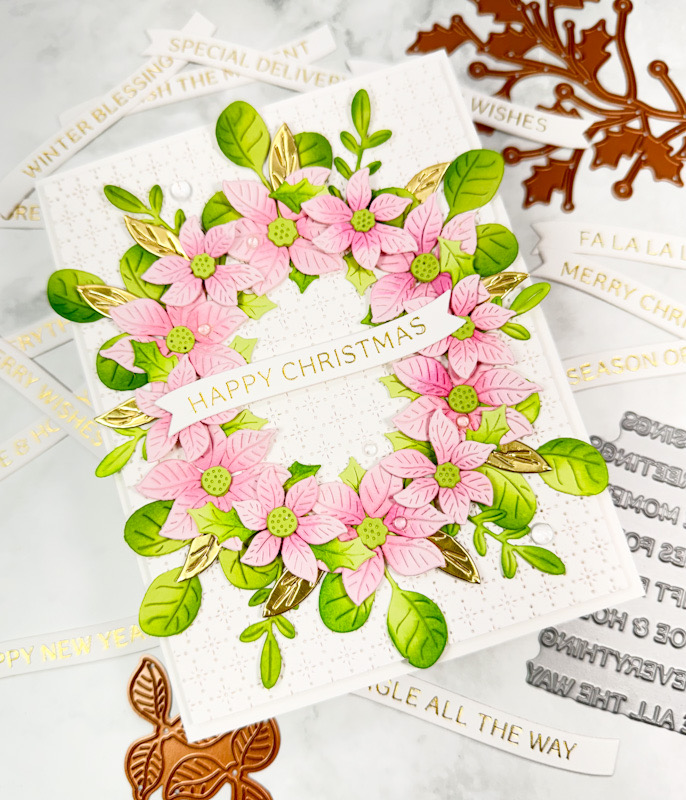
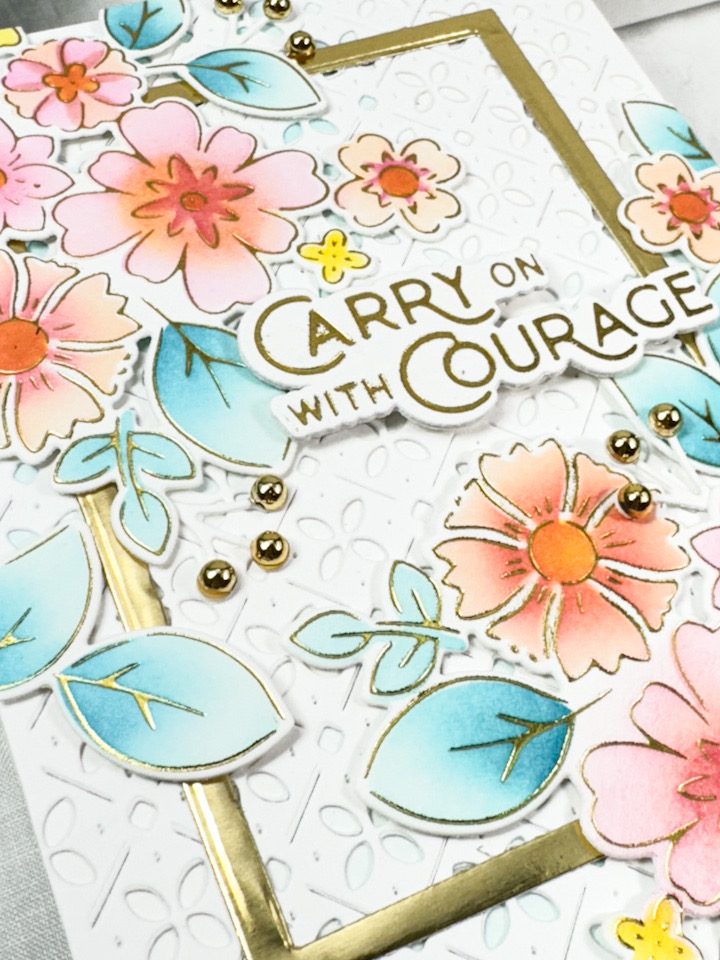
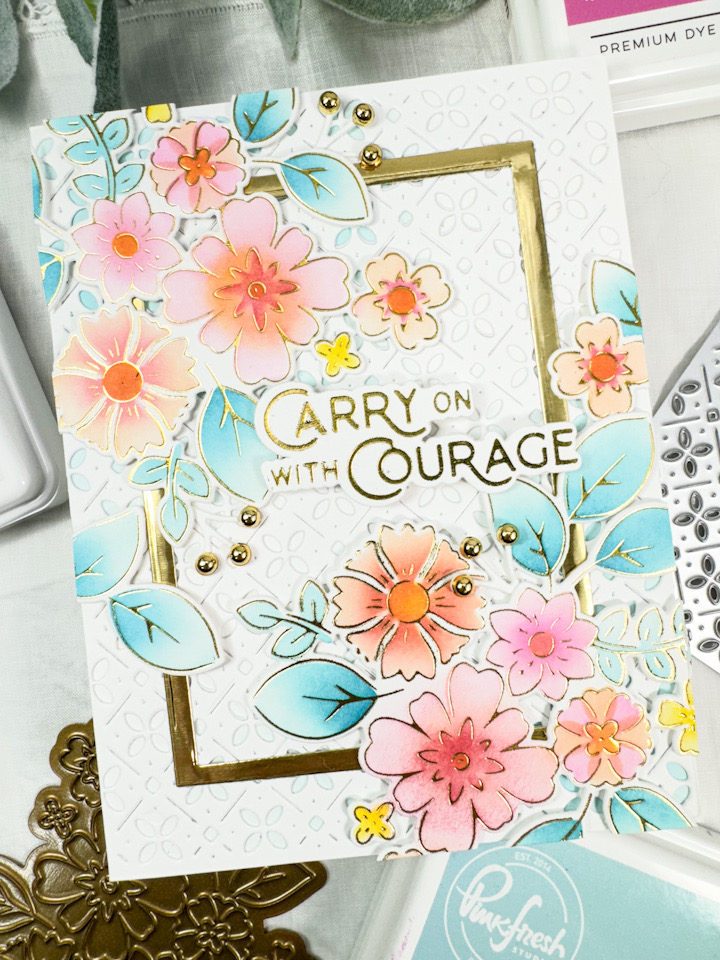
I look for any reason to create with Spellbinders flower sets, so having a new sentiment set was all I needed to pull them out. The Spellbinders All Season Spring set is great because it’s a single plate and a single die, so you’re able to create multiple sentiments in one pass! I love this so much, because it allows you to add so many sentiments to you stash for those times when you don’t have much time to create.
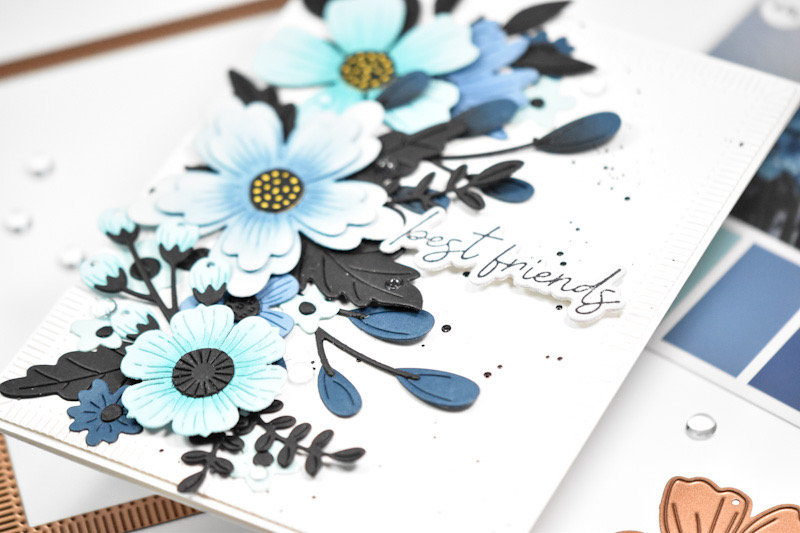
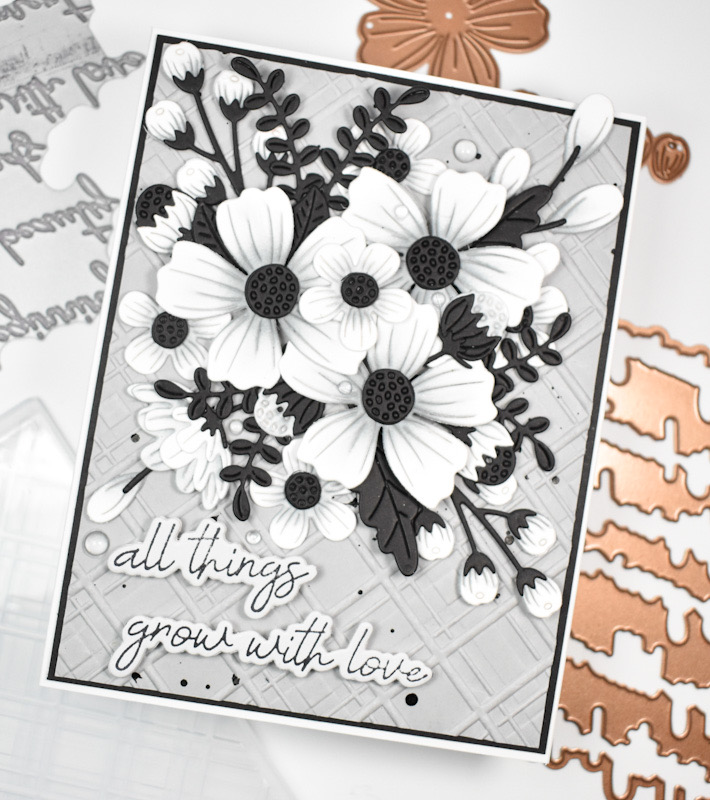
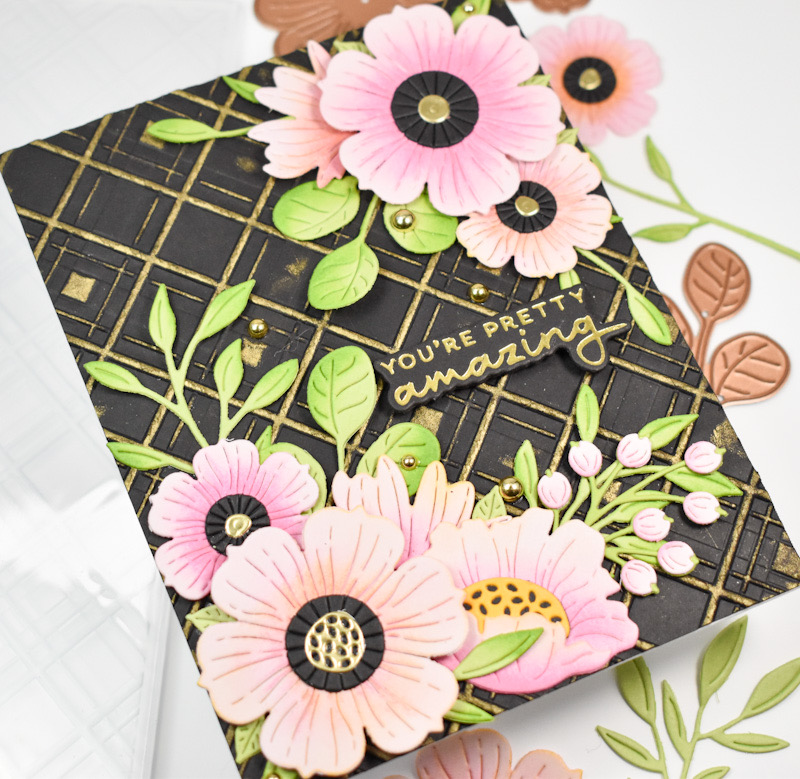
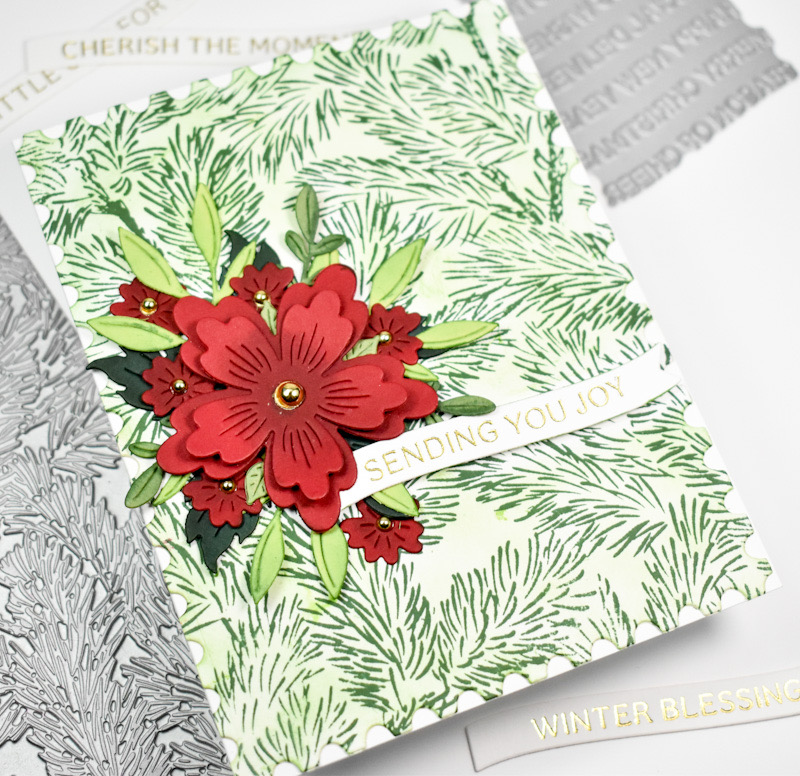
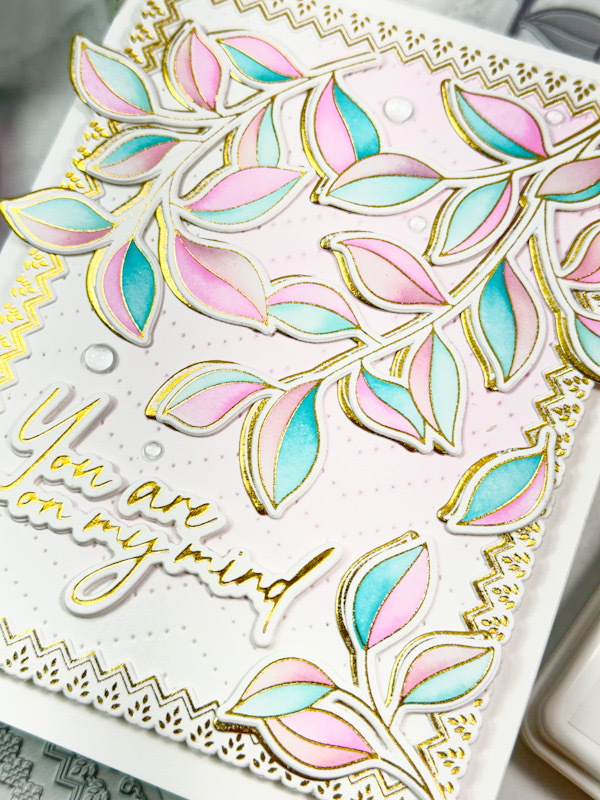
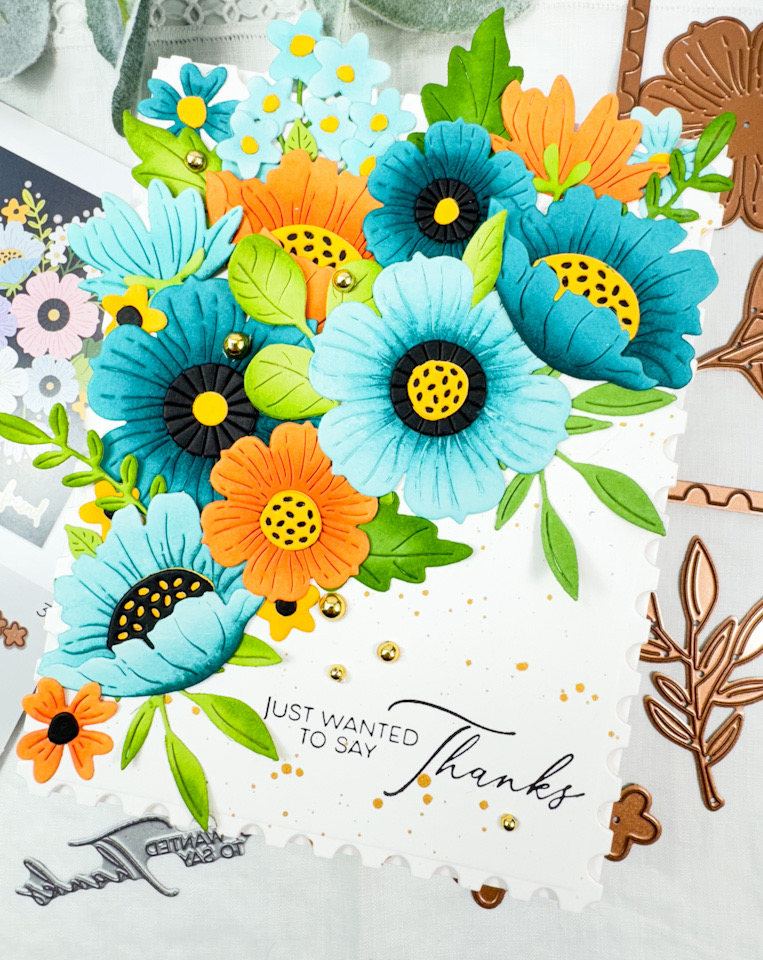
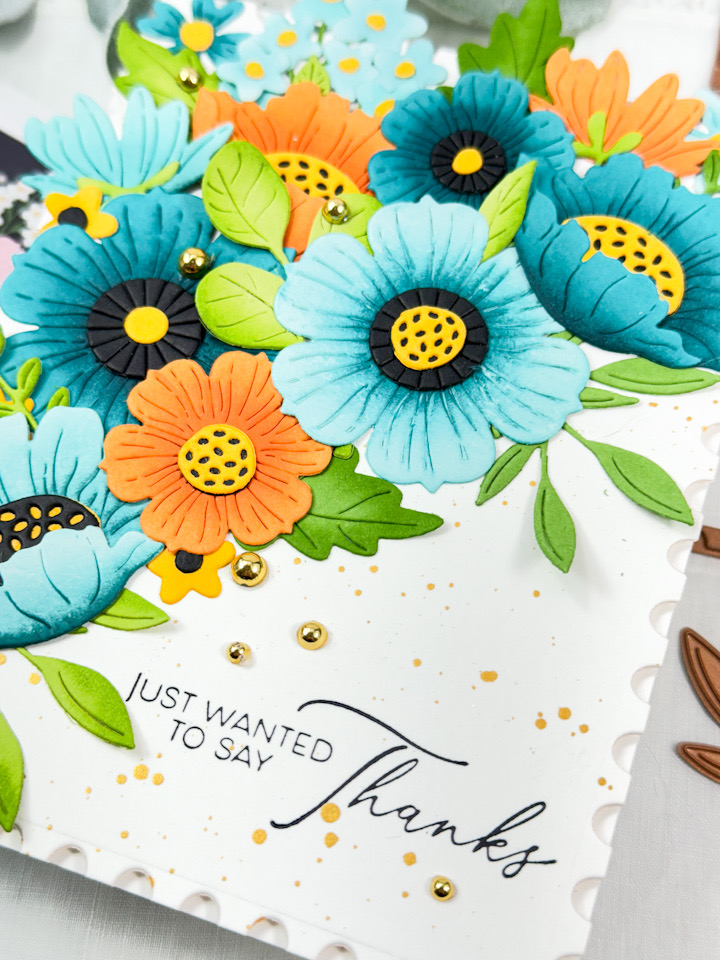
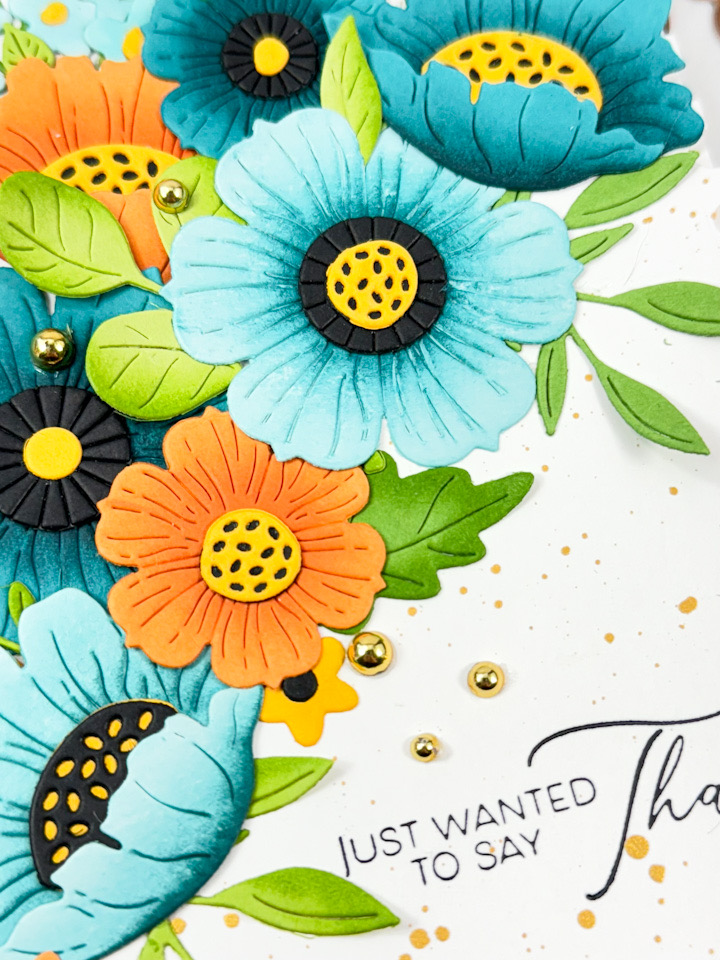
I began this card by pulling an inspiration card from the Color Cubes and die cutting a bunch of flowers and leaves from aqua, various shades of blue, yellow and black cardstock using several sets from Spellbinders. I’ll link to those sets below for your reference. Once those were cut, I did some ink blending on the flowers using SSS Pawsitively Saturated Inks in Seafoam, Morning and Dusk, before adhering the pieces together using liquid glue.

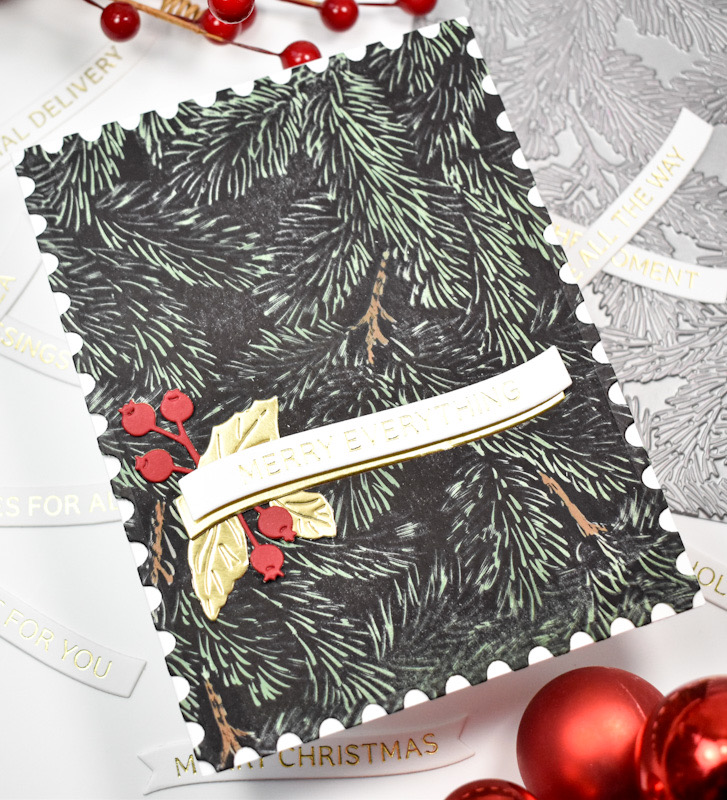
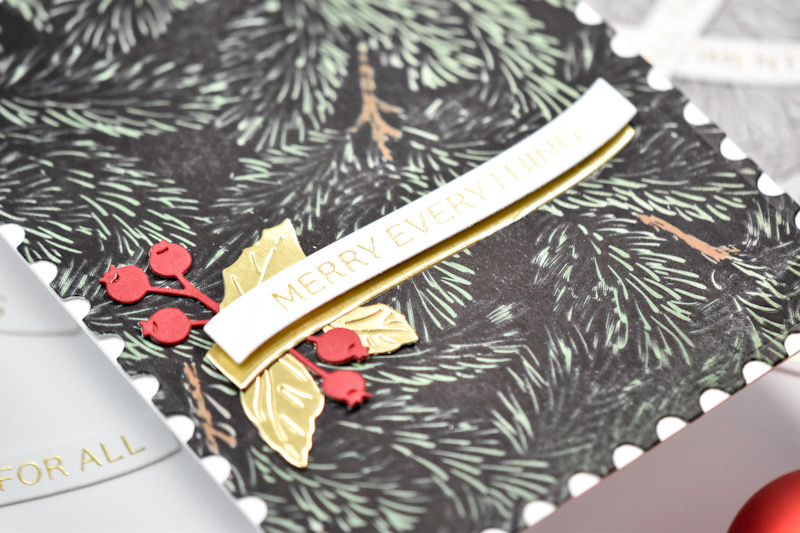
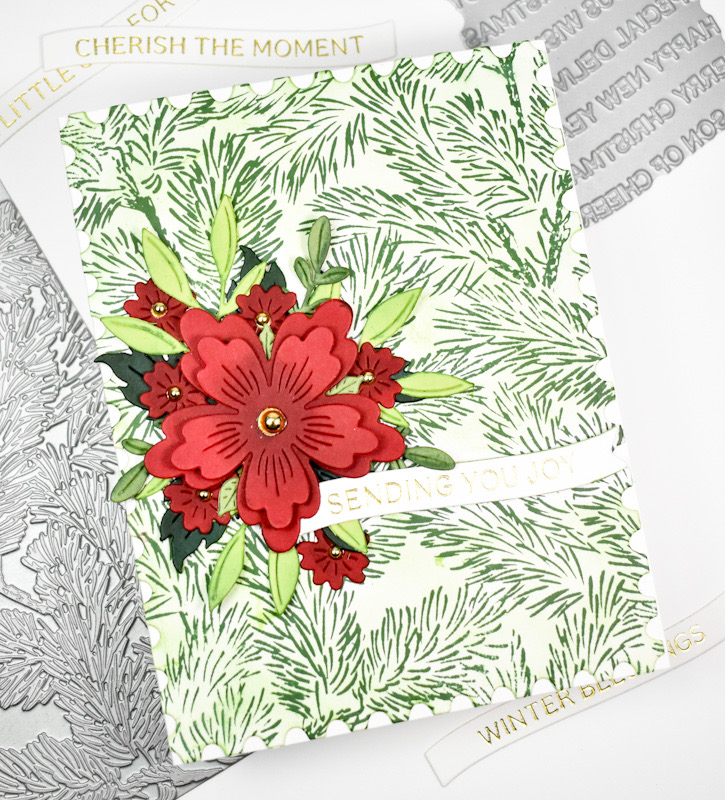
For my background panel, I used the Spellbinders Fluted Classic Rectangles and splattered that with black acrylic ink. While that was drying, I prepared my sentiment by using BetterPress Black Ink onto Grey BetterPress Paper. I did cut the sentiment several times for a stacked sentiment for added dimension.
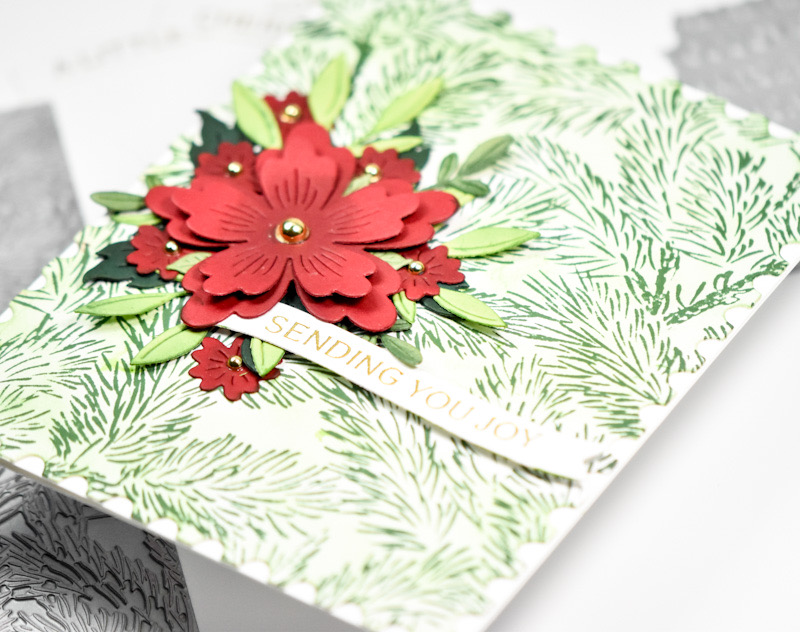
I began adhering the leaves to my panel using glue, along with the lower level flowers. Once I reached the main flowers, those were adhered with foam strips, as well as the sentiment. To finish up, I did add some clear drops for a little shine.

That does it for this one! I hope you enjoyed it as much as I did! I really can’t get enough of creating beautiful flowers! Thanks again for stopping by, and don’t forget to head over to the Spellbinders site to check out all of the new August releases! Have yourself a wonderful day!
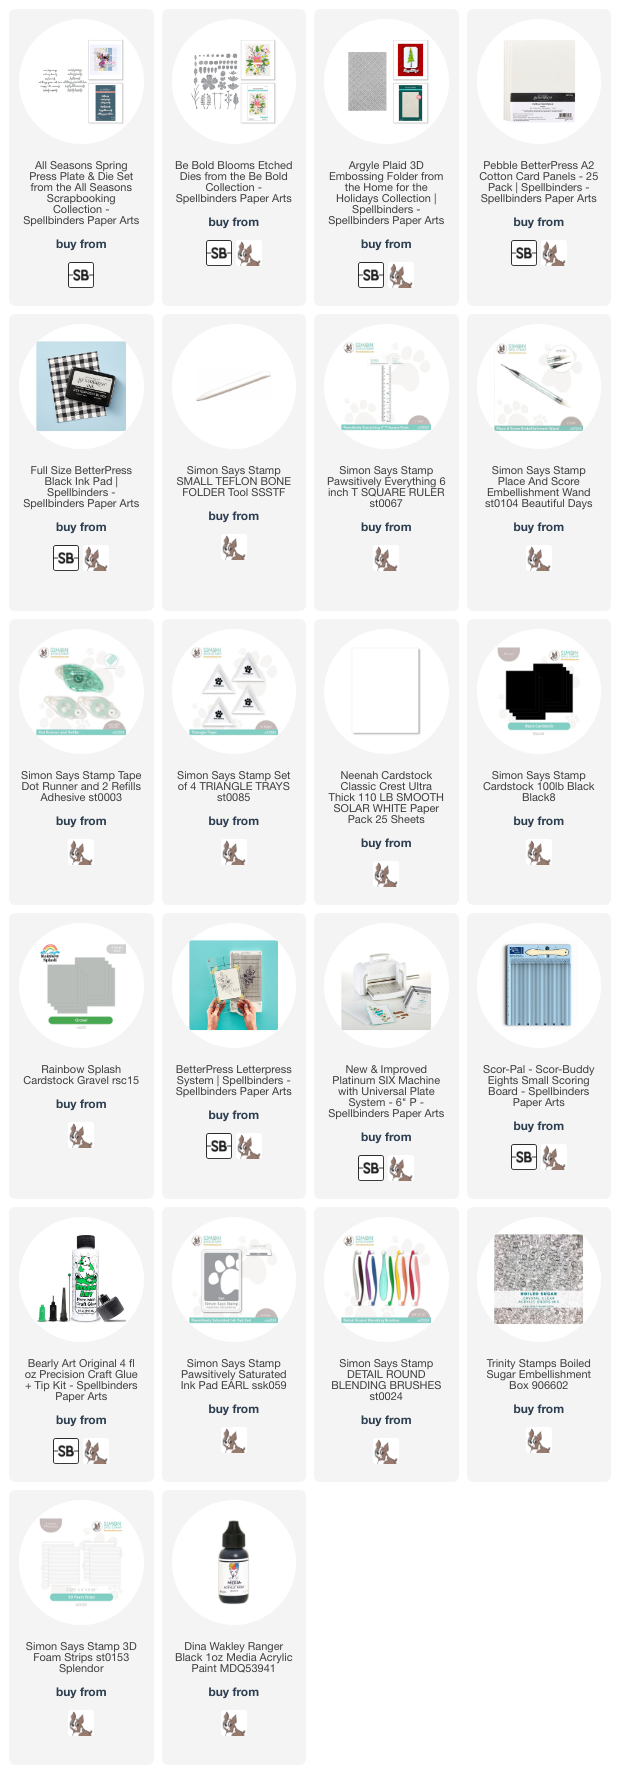
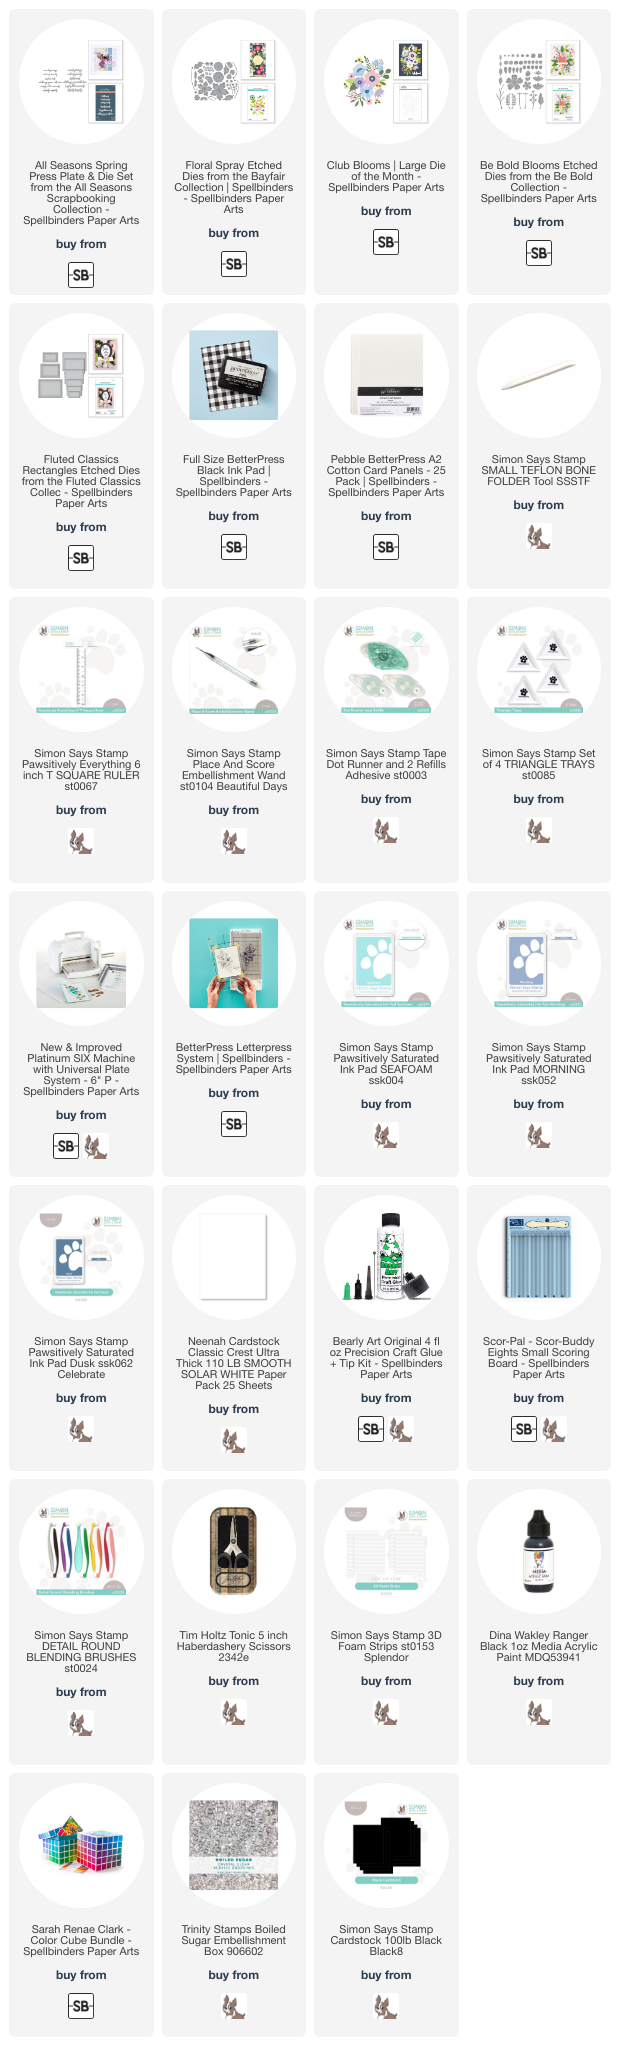
Supply List
Affiliate links used at no cost to you. What does this mean? If you use the links within this post to make a purchase, I receive a small commission, which allows me to continue to post crafty content for your enjoyment. I truly appreciate your support!
Latest Posts
- Simon Says Stamp Groovy Birthday

- Simon Says Stamp Amazing Scattered Leaves

- Simon Says Stamp Beautiful Friend Floral

- Together by Design Featuring Pinkfresh Studio

- Simon Says Stamp Basket Bunny