Spellbinders June Card Kit of the Month

Hey Guys and welcome back! Today I’m showcasing a few cards that I created using the Spellbinders Wild Hello June Card Kit of the Month. If you’ve never tried their Card Kits, I highly recommend them! Everything you need to create at least ten cards is in this kit! I just love the ephemera pieces in this kit, as you’ll see from my set of cards. So let’s get into the them!
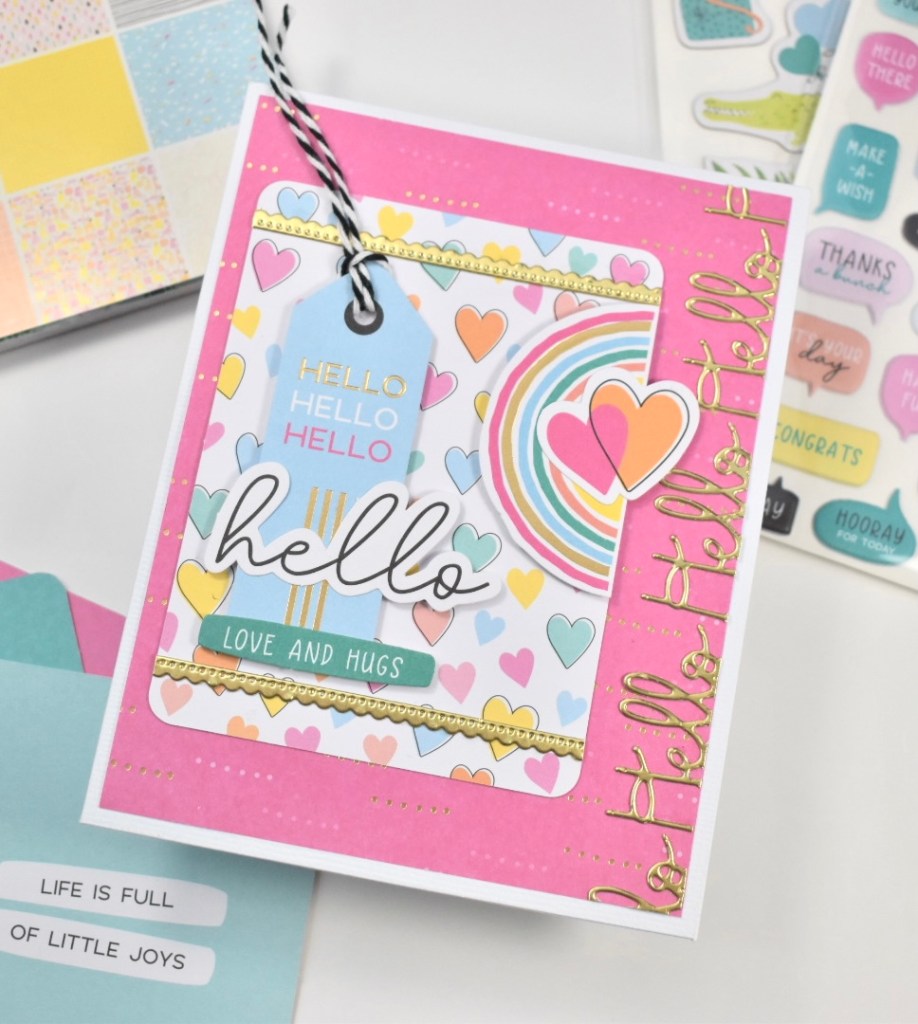
For most of my projects, I used the pack of decorative cards as the focal point, as well as, papers from the included 6×6 pack of paper. For this first Hello card, I used only elements from the kit, with the exception of the black and white twine. Everything was assembled using a combination of glue and foam tape. I did a repeat pattern of the Hello die in gold for added interest.
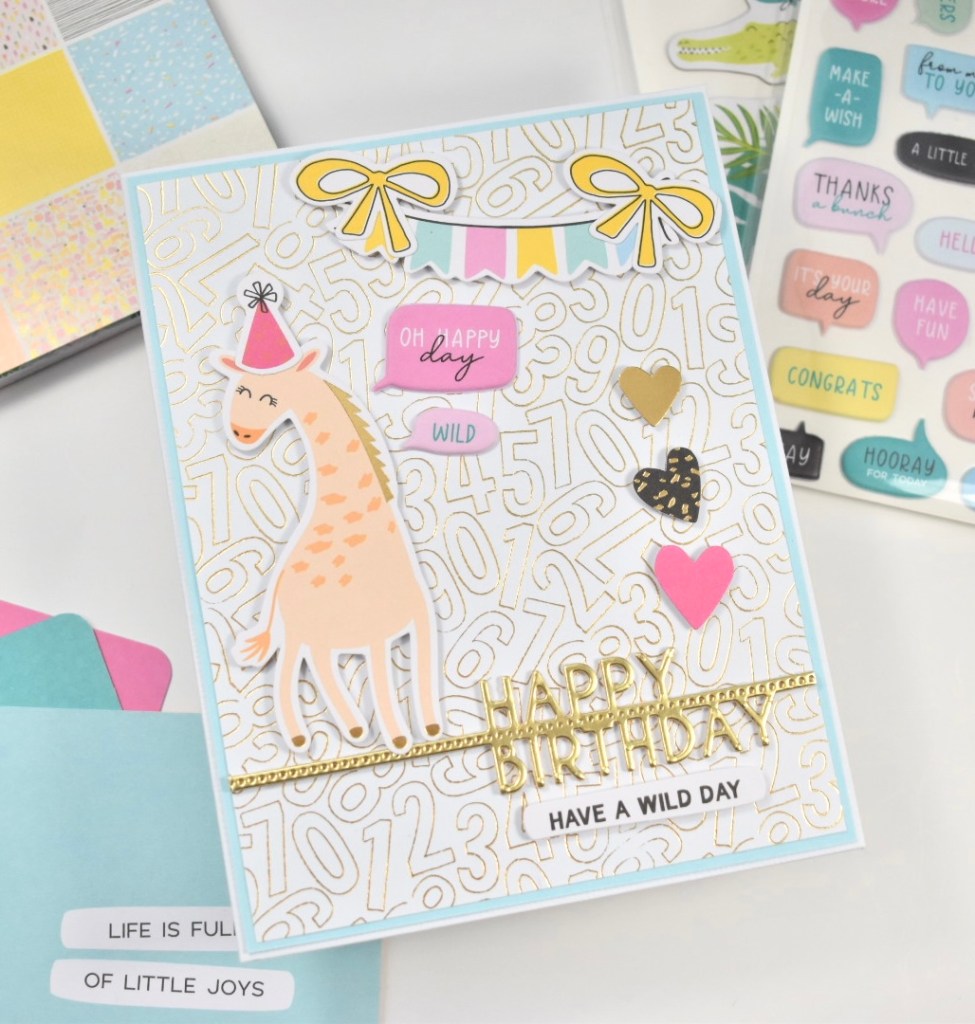
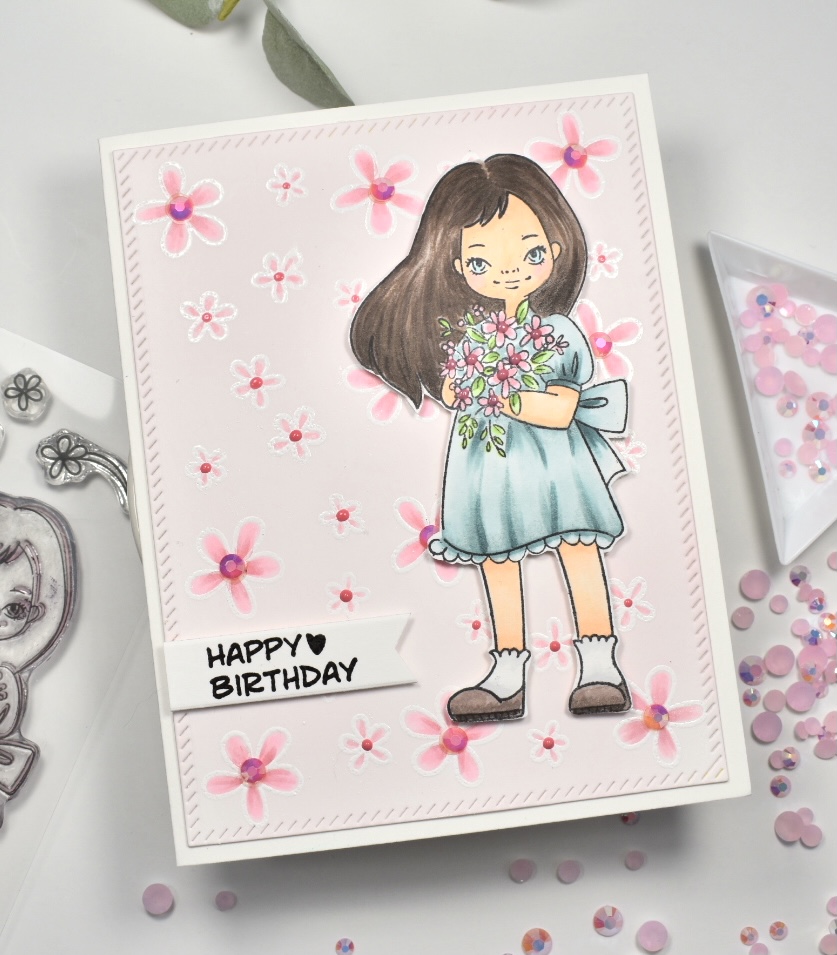
My second card features patterned paper, ephemera elements, puffy stickers and the Happy Birthday die. I did die cut the Happy Birthday a couple of times from heavy white cardstock and once from gold cardstock and adhered those together using glue, because dimension is life! Once again, everything was assembled using glue and foam tape.

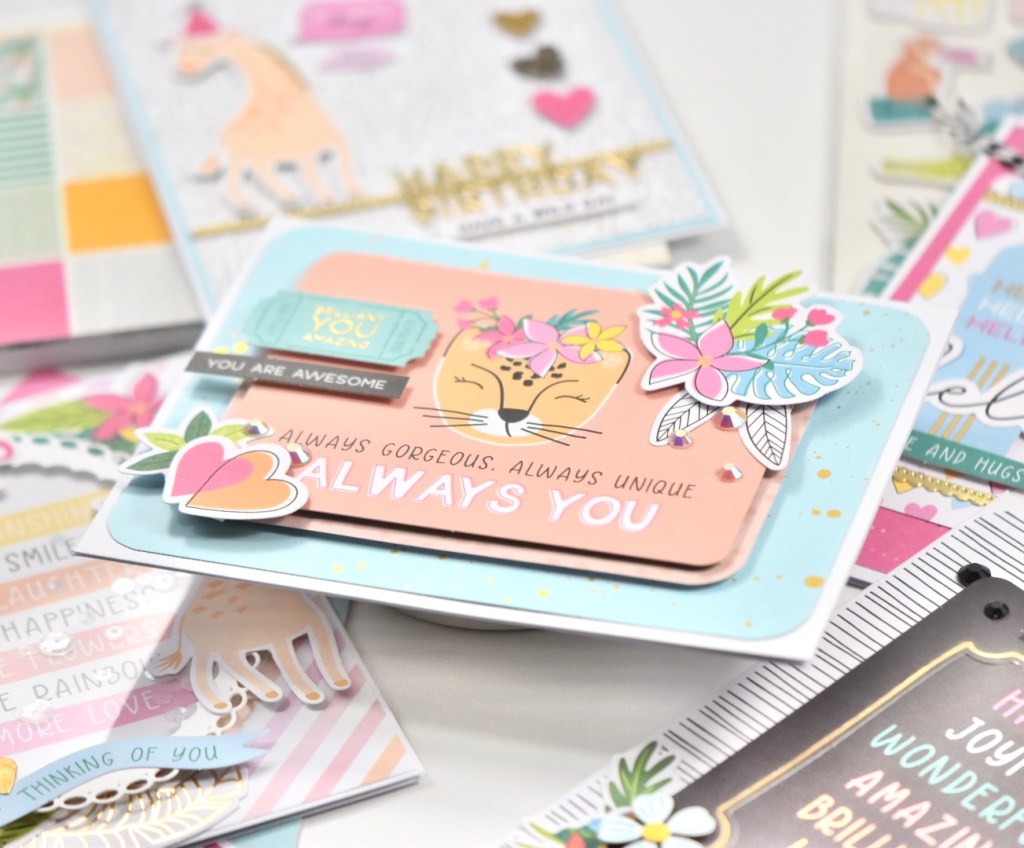
This third card, Always You, uses those cute decorative cards again. These really do make a great focal point, which makes for a super easy card! And, I need easy sometimes! The only additional products that I used for this one is some gold splatter, a corner rounder punch and some jewel embellishments. I thought some bling was in order! Glue and foam tape pulled this one together as well!
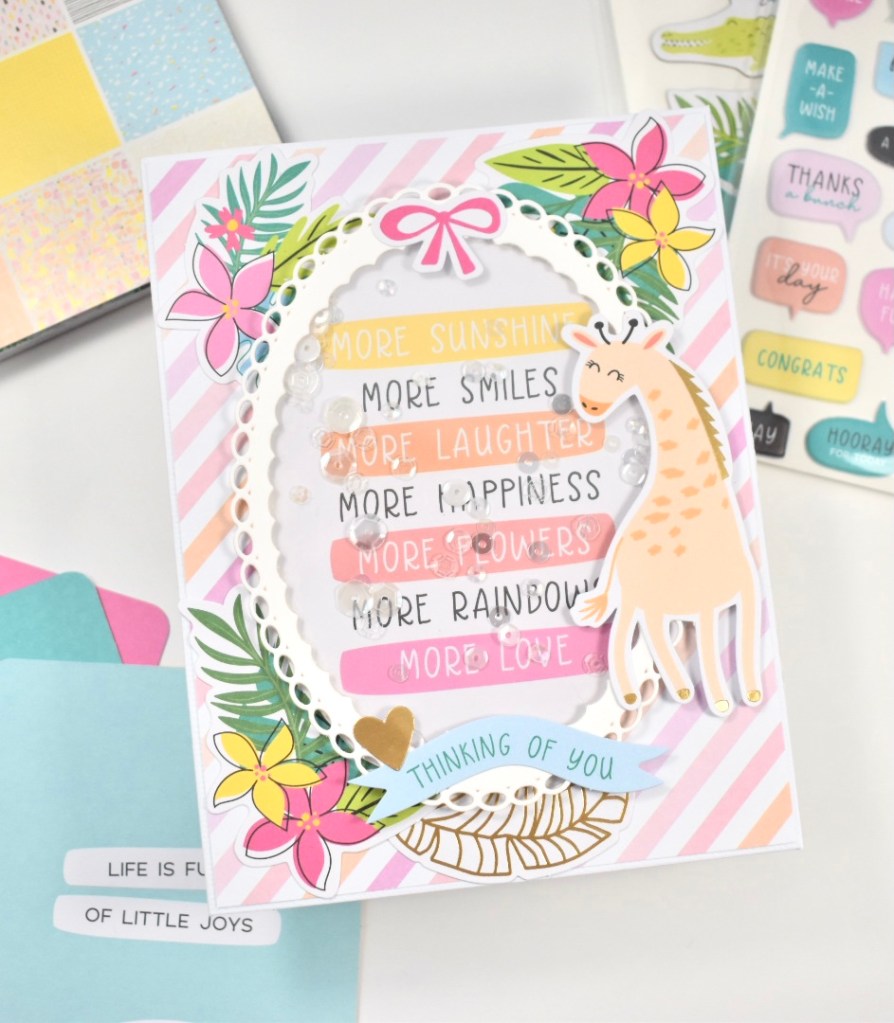
More sunshine! More smiles! I trimmed this decorative card down to an oval, because I had in my head that this would be super cute as a shaker card! The white round oval is a die from the Elliptical Ovals set that I used in conjunction with some acetate to create the shaker. All of the other elements are from the kit.

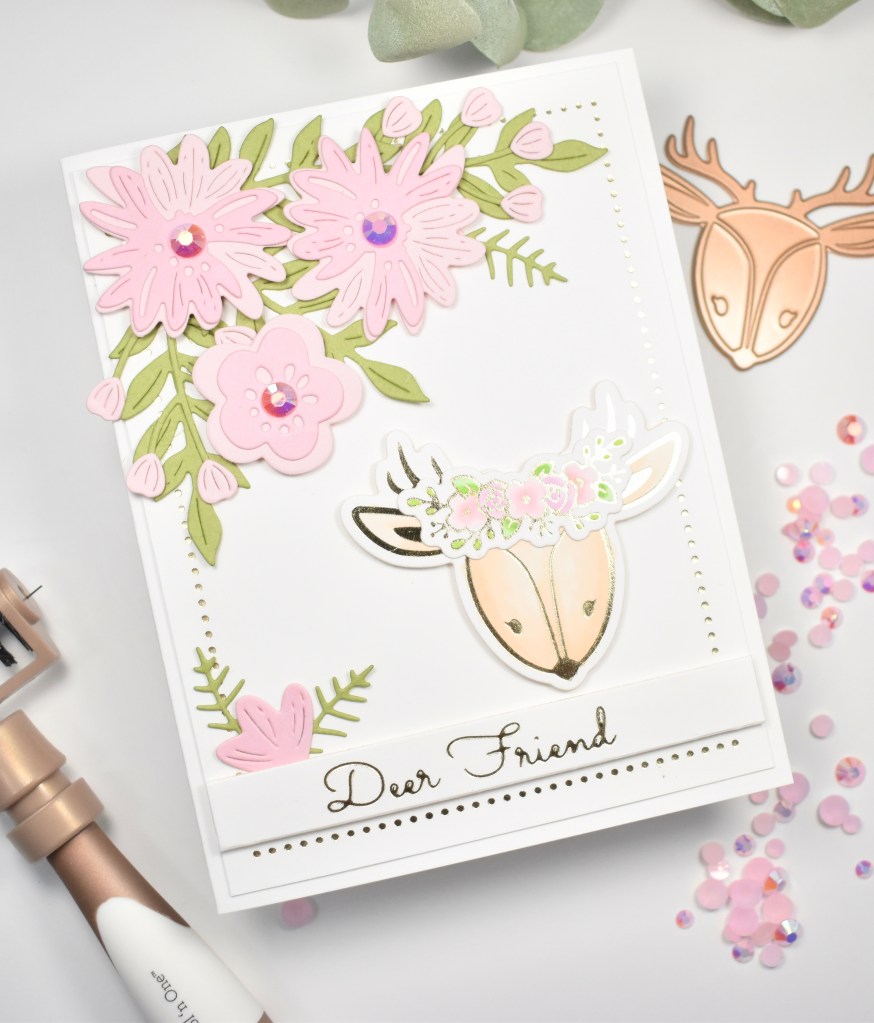
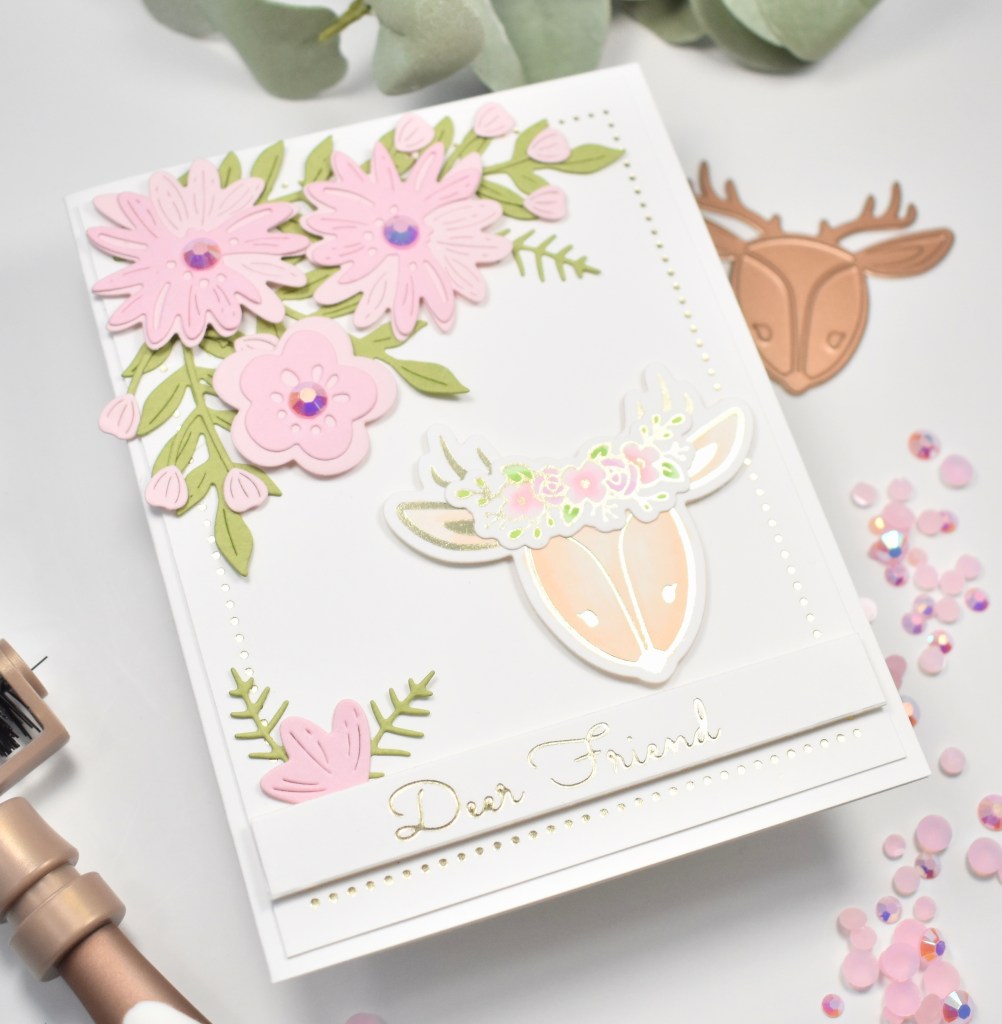
My last card ended up being my favorite, I guess because I love the black and white elements mixed with the bright colors. Additional products used on this card were a couple of flowers that I made using the Mini Blooms and Sprigs set, along with some black jewels and a corner rounder punch. Everything was assembled with a combination of glue and foam tape.
That finishes up my projects using this fun, Wild Hello June Card Kit! This is my first card kit from Spellbinders, and I’m quite pleased at how easy it was to create cards using all of the cute tidbits included in the kit! I hope you’ll stop by their website to check it out! I’ve recently joined their Large Die of the Month and Glimmer of the Month Clubs, and am having a blast with those too! Anyhoo, thanks so much for stopping by today, and I hope you enjoyed these projects!
Stay awesome sweet friends!
Supply List:
- Spellbinders Card Kit
- Spellbinders Elliptical Oval Die Set
- Spellbinders Mini Blooms and Sprigs Die Set
- Craft Tacky Glue
- 3M Foam Tape
*Affiliate links used at no cost to you. Thank you for your support!
- Spellbinders Dear Santa Floral Letter
- Simon Says Stamp Grungy Dewdrop Daisy

- Simon Says Stamp Pastel Birthday Wishes

- Simon Says Stamp Best Fish

- Simon Says Stamp Circle Thanks