Simon Says Stamp Christmas Grid

Welcome back, Crafters! Thanks so much for stopping by to check out today’s project featuring the new Tree Plate from Simon’s latest release, And Everything Nice. This is a simple card that would be great for mass producing, that is of course, if you like die cutting! Let’s go ahead and get into the details.

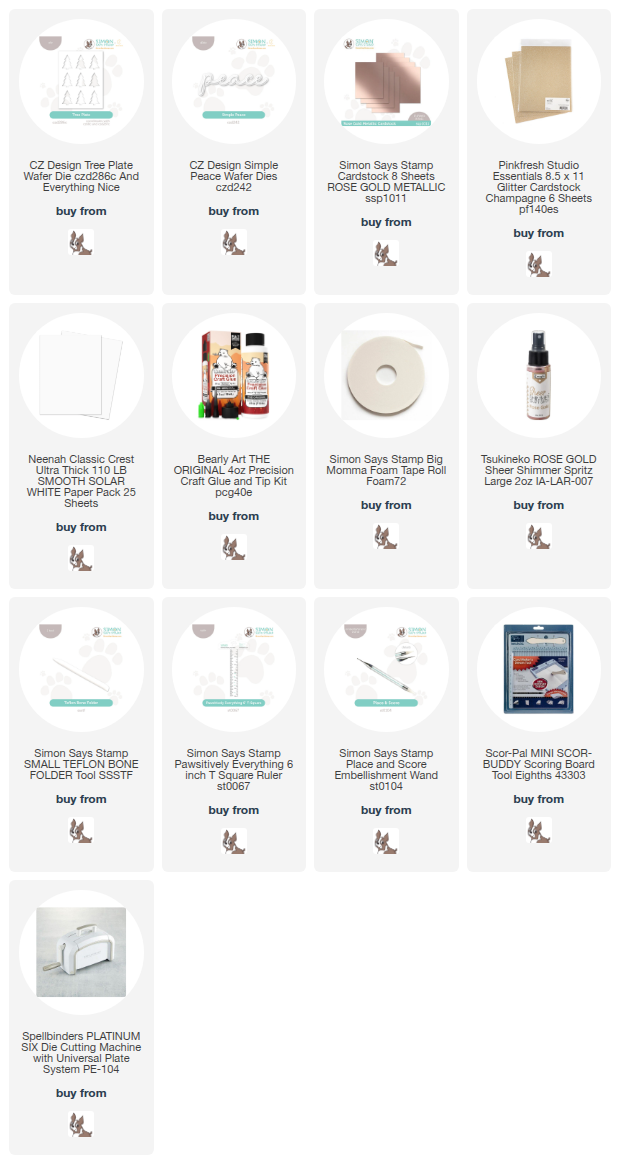
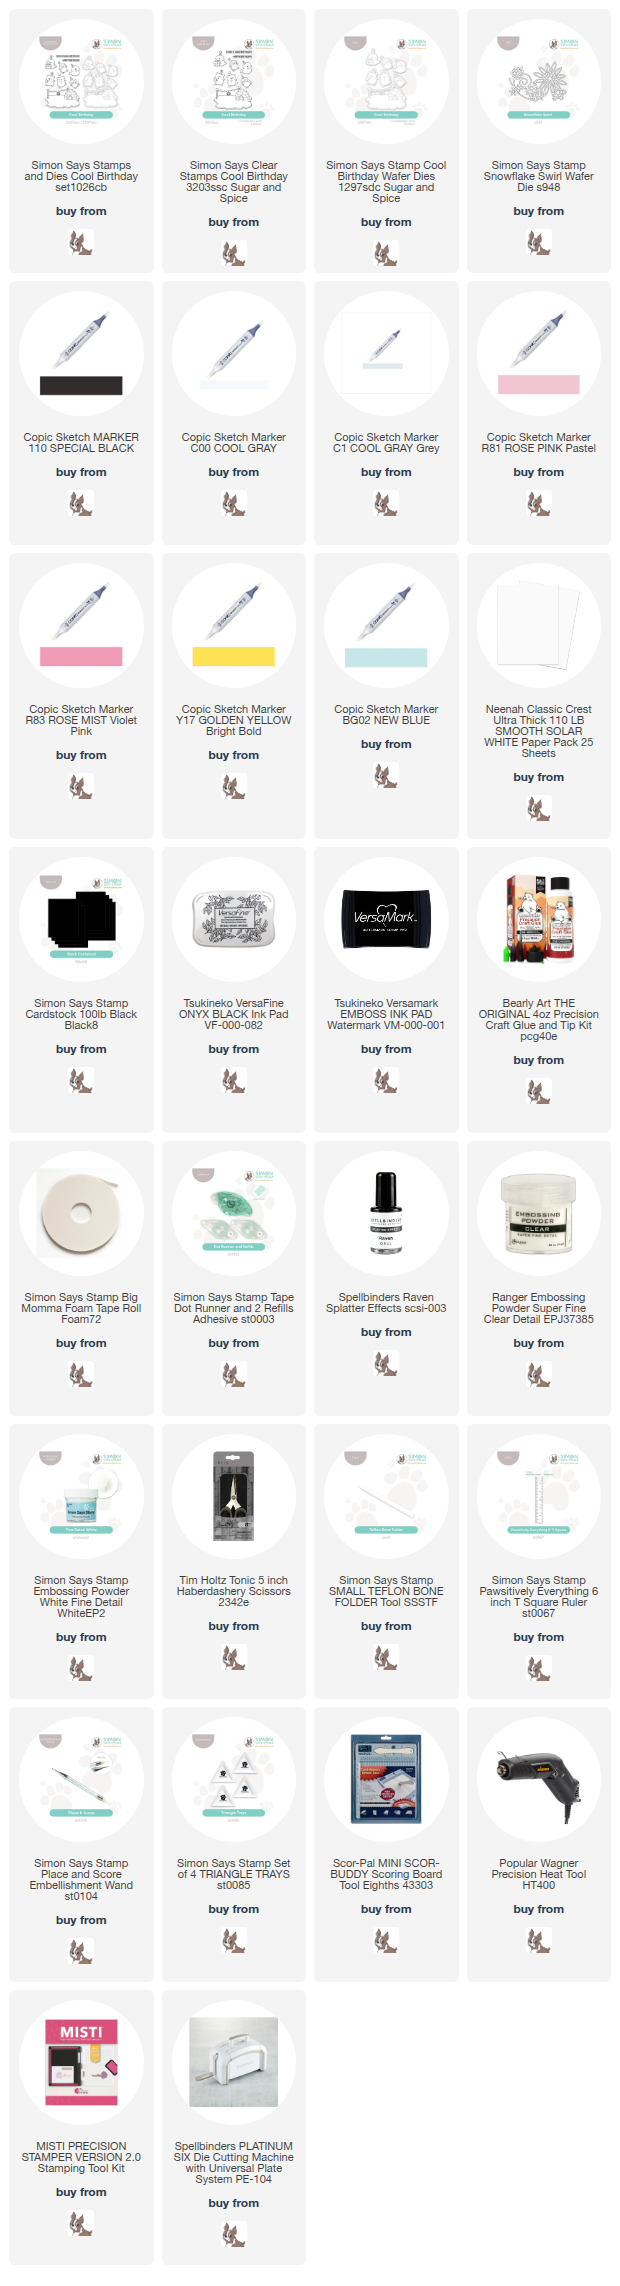
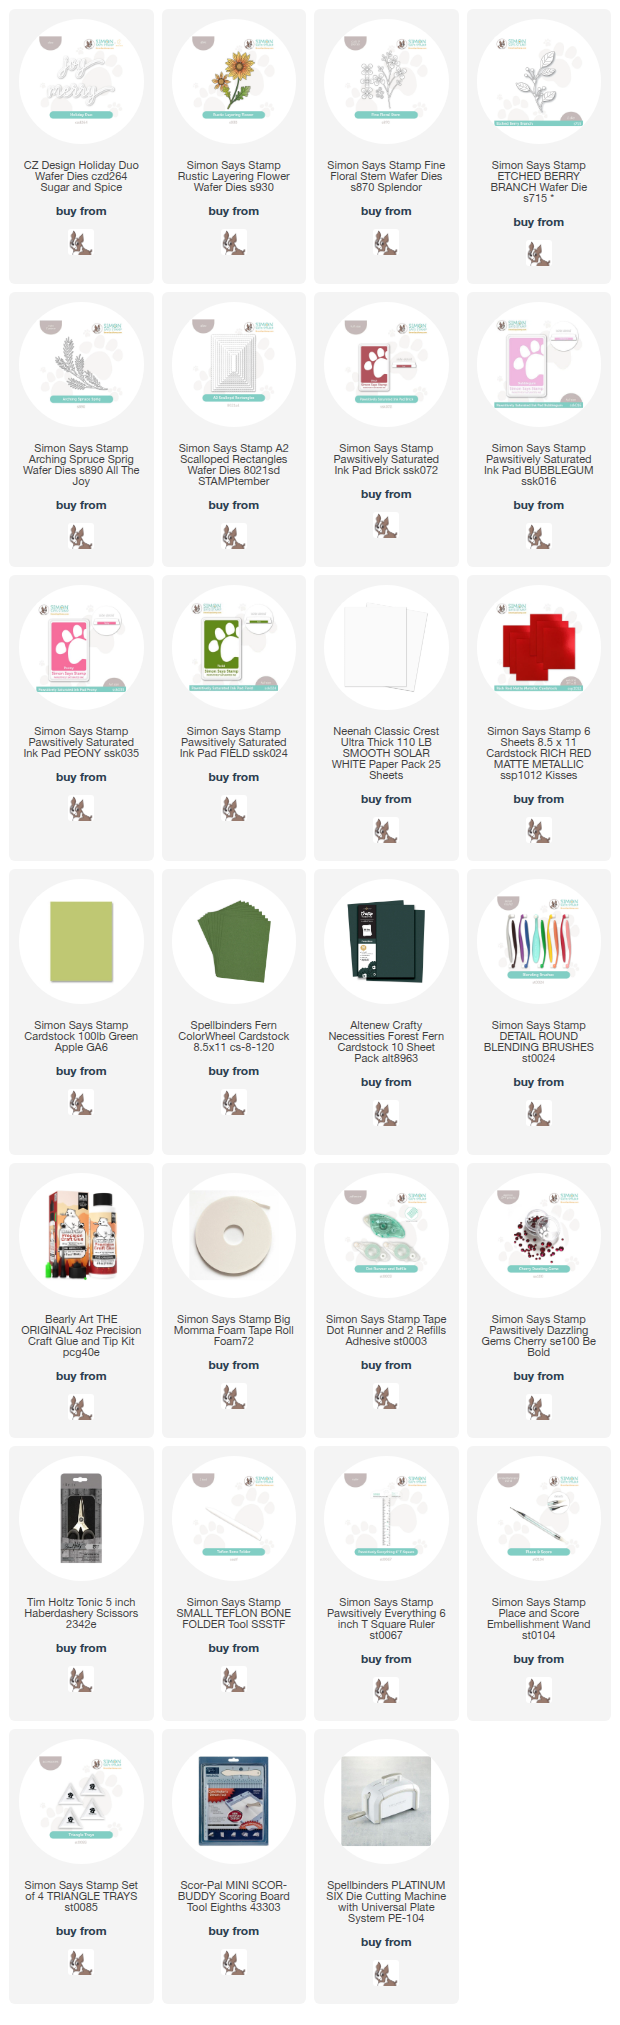
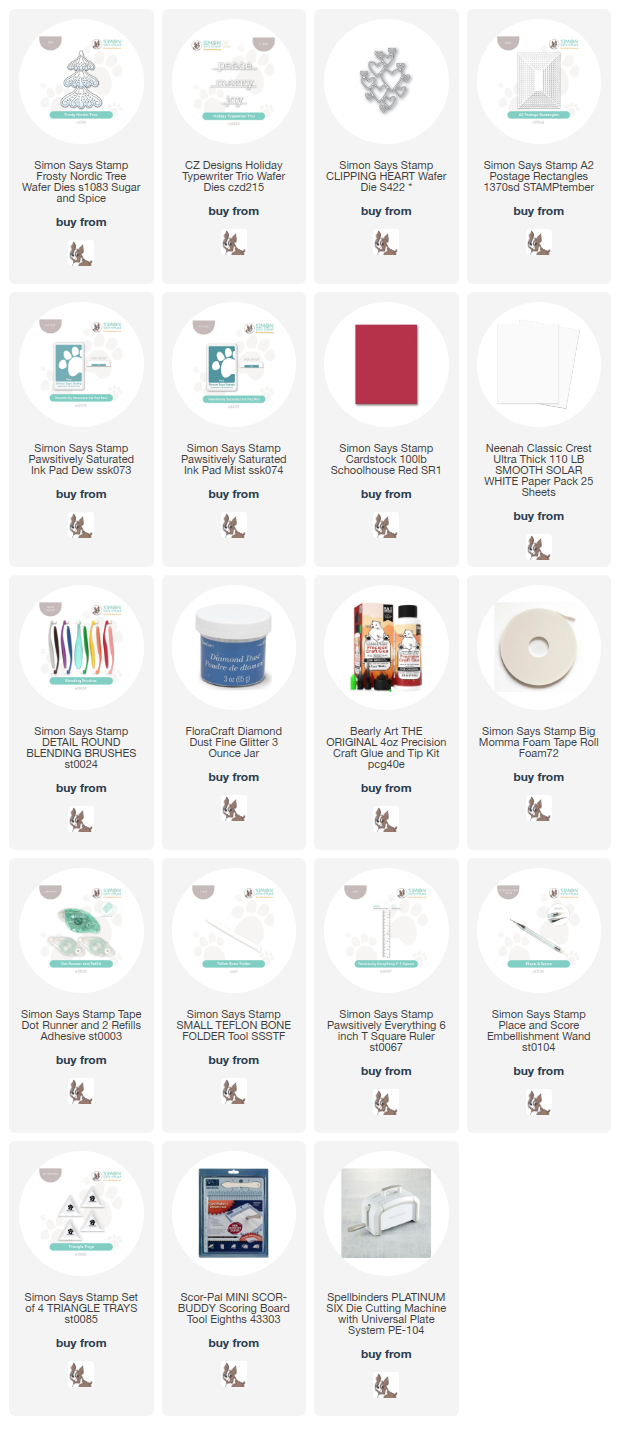
NOTE: all supplies are linked in the thumbnails at the end of this blog post.


I began this project by die cutting the Tree Plate from red cardstock and splattering the trees with white ink. I used the negative panel to adhere to my card base with removable tape to help in the placement of the trees.

The trees were adhered using foam tape, and the sentiment was glued directly atop those. I decided that I needed something on the tops of the trees, so I die cut the Mini Hearts Party from silver cardstock and glued them in place to finish up.

That does it for this project! Like I said, a super simple one, but I do love me a good grid pattern! Don’t forget to check out the entire And Everything Nice release over on Simon’s website. Thanks again for stopping by, and have yourself a great day!

Supply List
Affiliate links used at no cost to you. What does this mean? If you use the links within this post to make a purchase, I receive a small commission, which allows me to continue to post crafty content for your enjoyment. I truly appreciate your support!
Latest Posts
- Simon Says Stamp Braided Greetings

- Together By Design Color Cube Floral

- Simon Says Stamp Cute Duckling

- Simon Says Stamp Watercolor Wild Rose

- Simon Says Stamp Striped Missing You

Latest Instagram Posts