Simon Says Stamp Just A Card

Happy StampTember! Thanks so much for joining me today! I hope you’re having a wonderful day! Have you checked out the entire StampTember release yet? What are your favorites? I’m looking forward to seeing all of the collaboration sets for the month! Today’s card is featuring the new Raindrops stamp set, but used in a different way! Let’s jump right in!
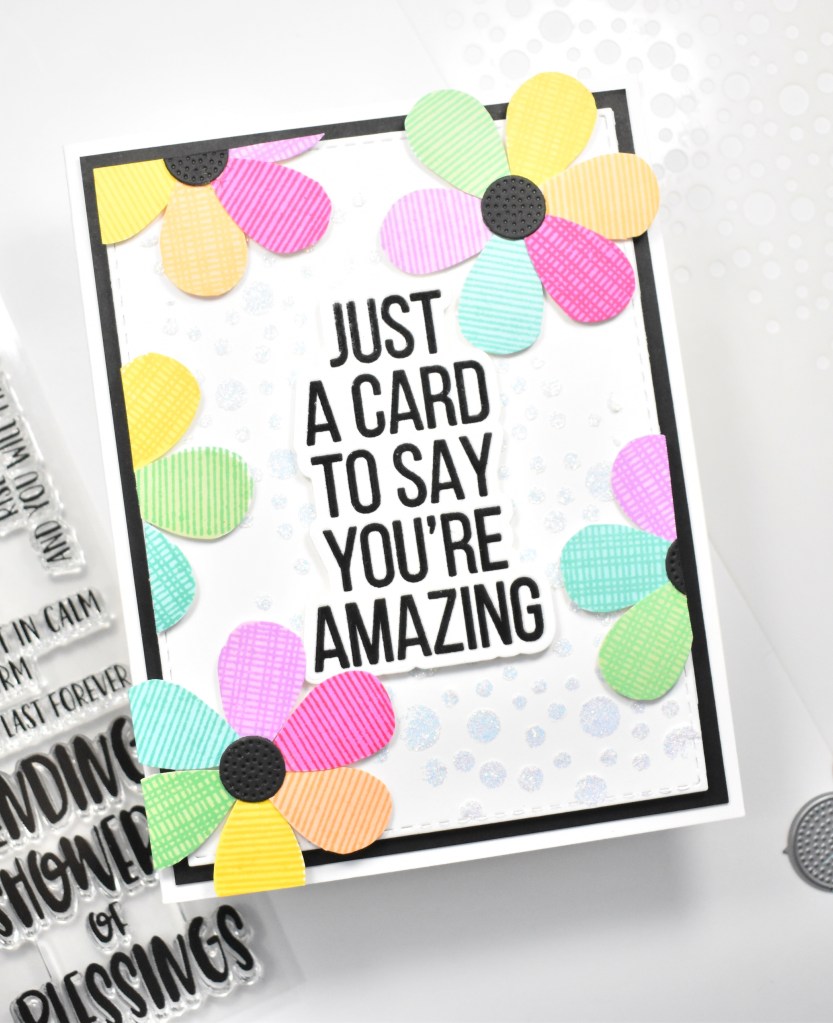
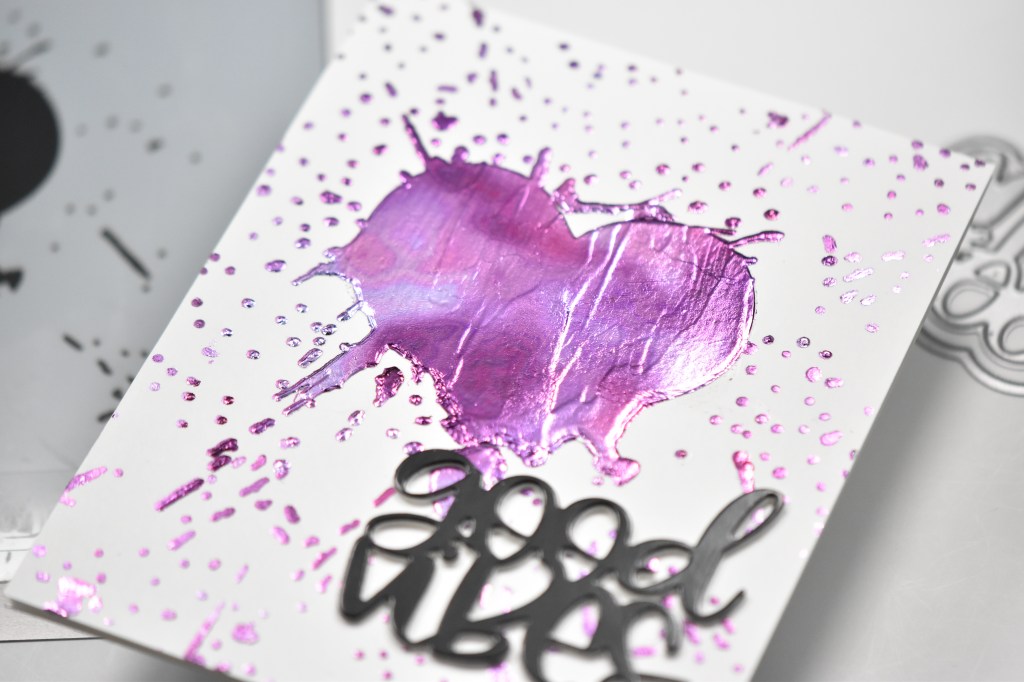
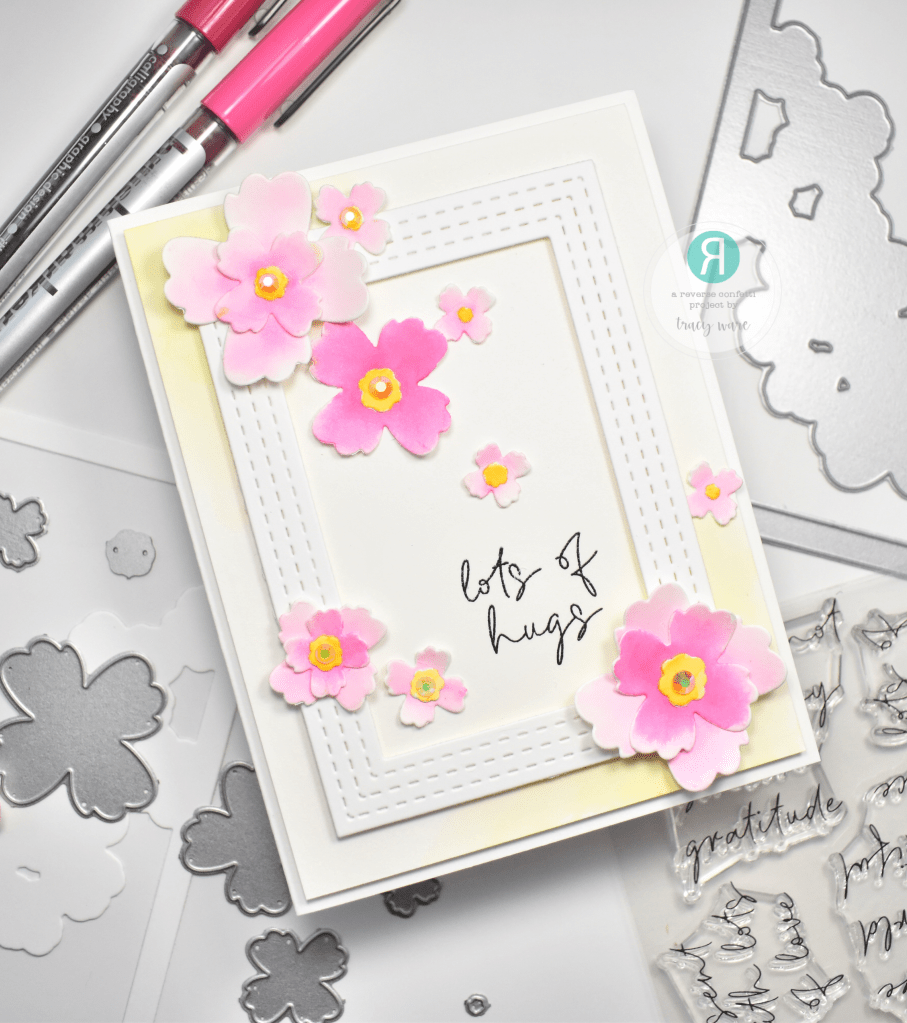
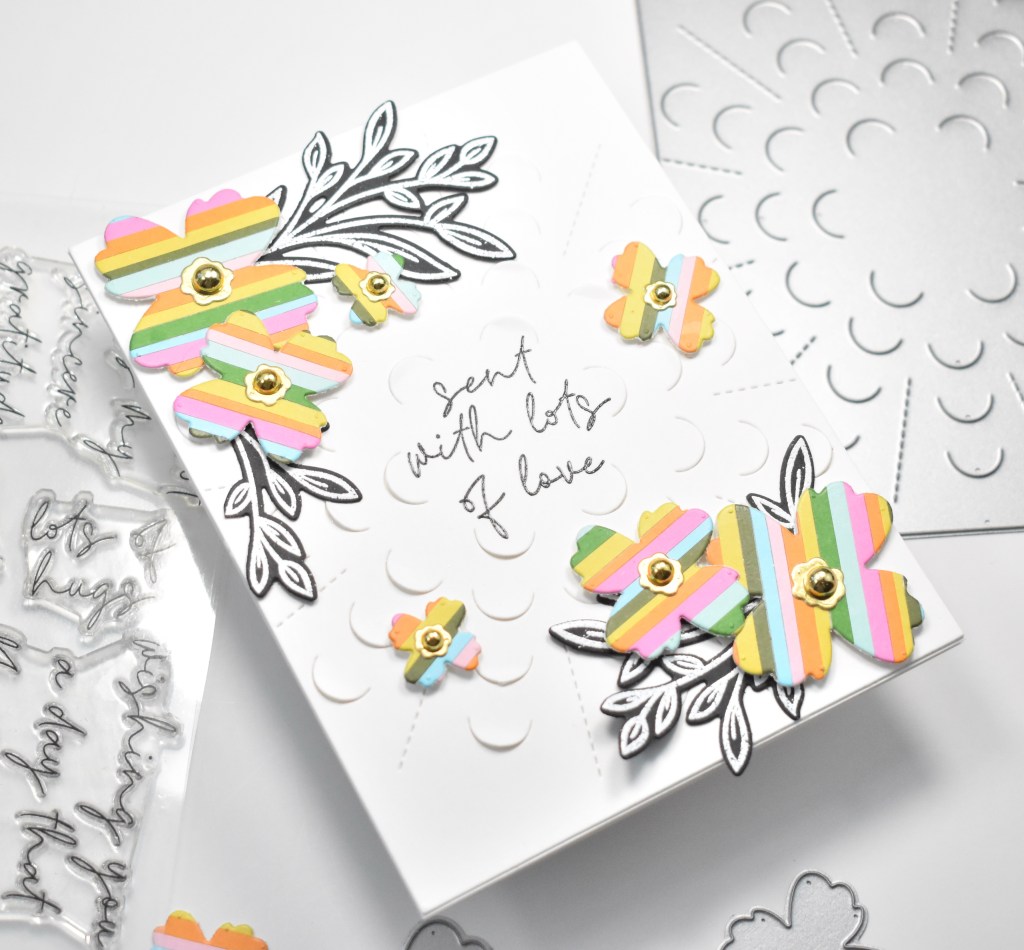
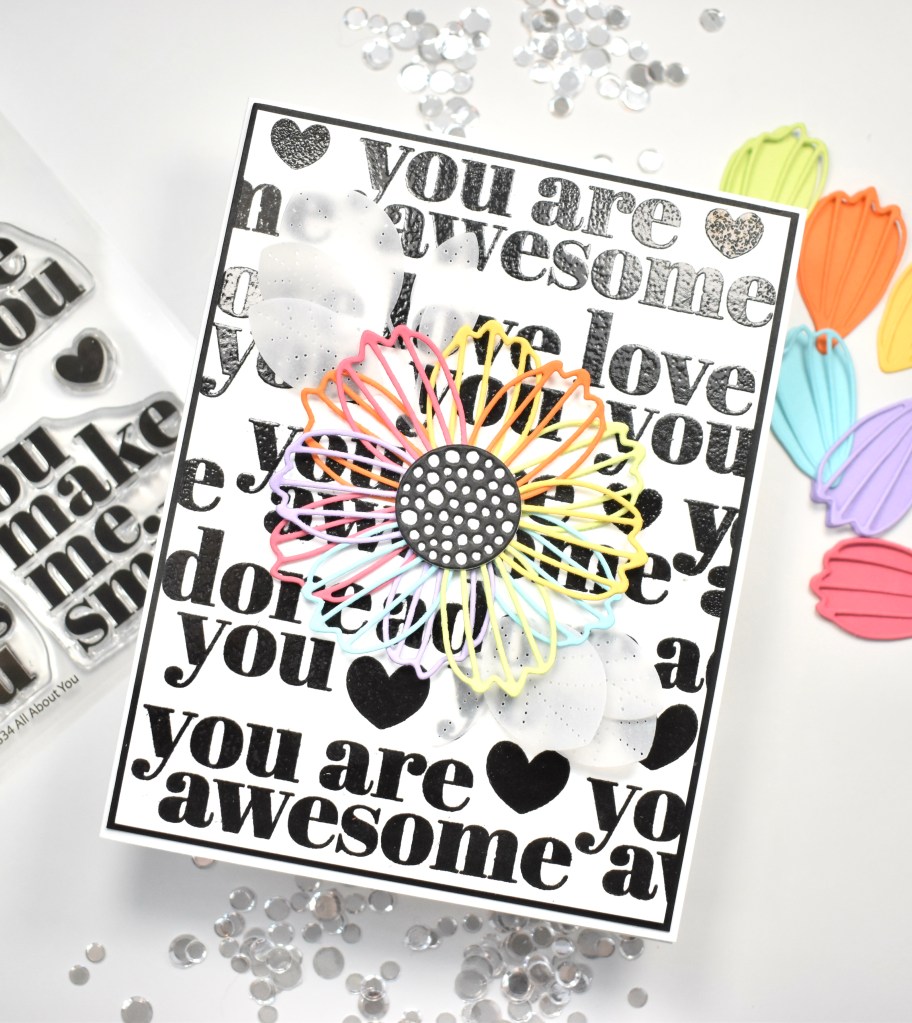
When I first saw the Raindrops Stamp set, my brain saw flowers! So that’s the direction that I went! To begin, I pulled out a panel of Neenah Classic Crest 110lb cardstock and attached the SSS Fading Tiny Dots Stencil to it using masking tape, and applied a good layer of Gina K Iridescent Glitz Glitter Gel. That was then set aside to dry.

Next, I took one size of the solid raindrop stamps and the coordinating detail stamps and began stamping. For the solid stamp, I used PinkFresh Studio inks in Bubble Gum, Peach Fuzz, Sunshine, Fresh Pear, Ocean Breeze and Soft Lilac. I think that I stamped each color three times using the solid stamp. Next, I took the detailed stamps and stamped over each coordinating color using the next darkest shade of ink, which were Raspberry Bliss, Apricot, Sweet Mustard, Meadow, Aquamarine and Lavender. Once I had all of the petals stamped, I fussy cut them all.
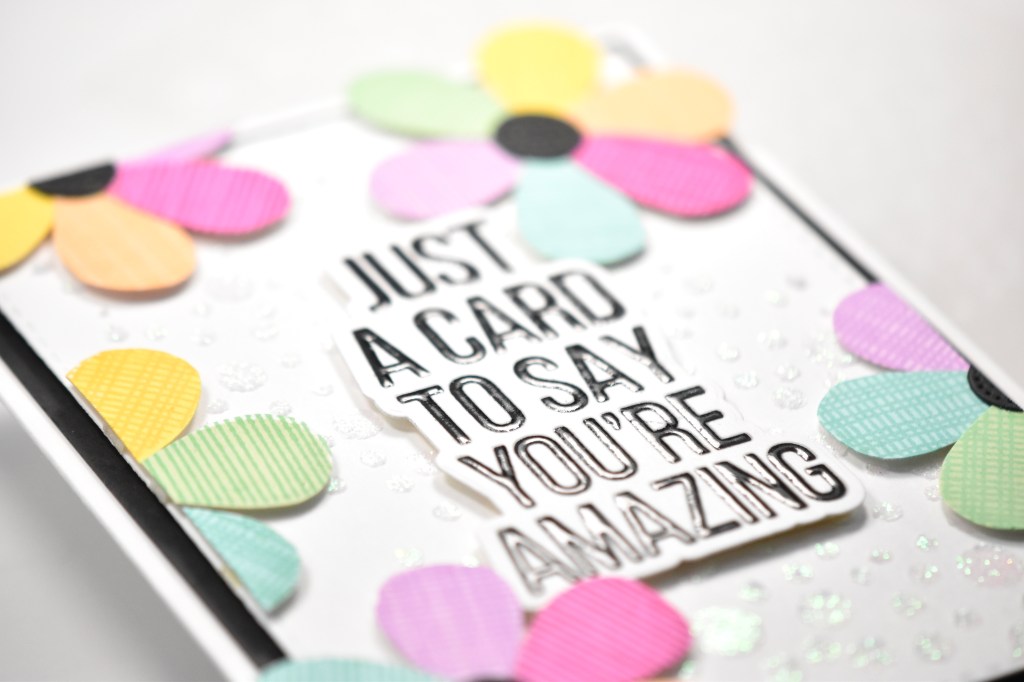
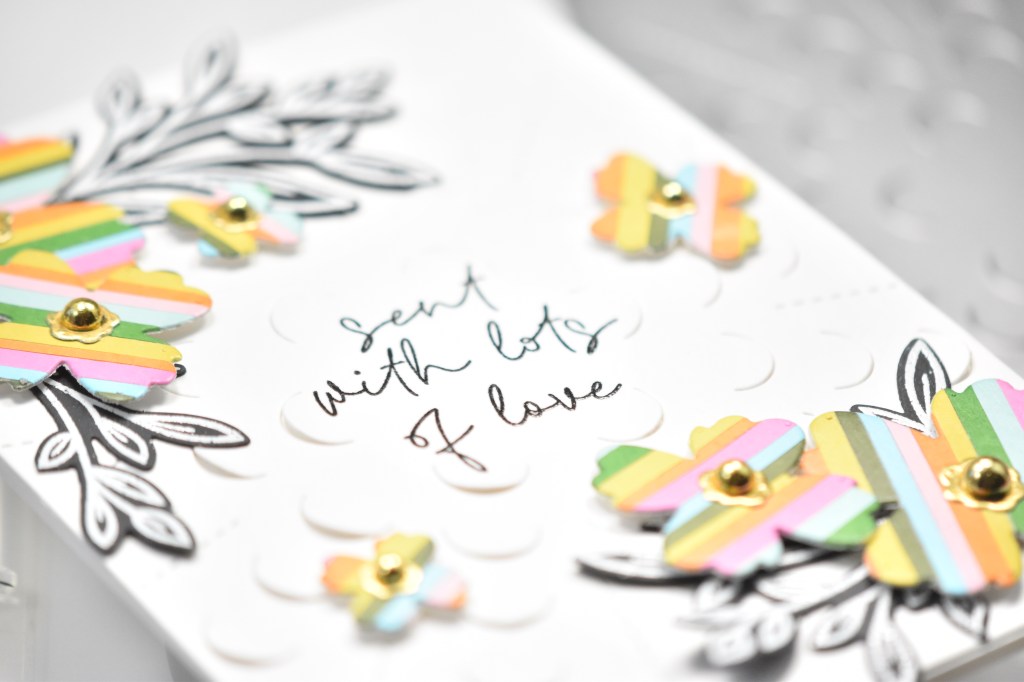
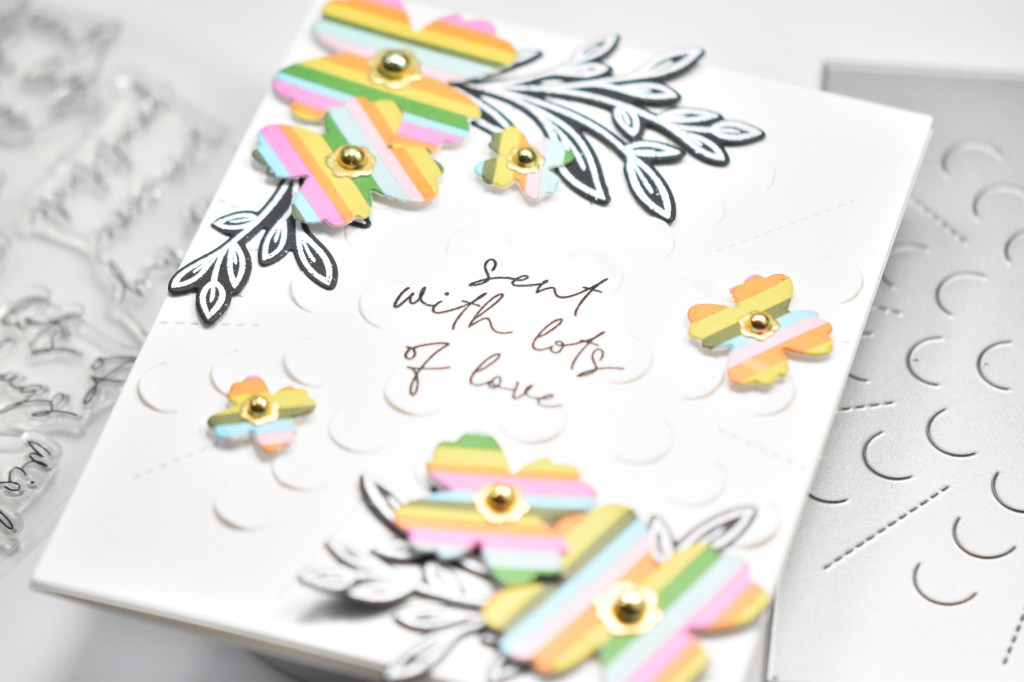
I used the SSS Stitched Daisies die set to cut a few centers from black cardstock, and then adhered the petals to the back using liquid glue, in rainbow order. For the sentiment, I opted to use one from the SSS XL Greetings 2 set. I stamped the sentiment using VersaFine Onyx Black ink and heat set it using Ranger Clear Embossing Powder. I then repeated the stamping and embossing two more times, but using VersaMark ink on those. I do it this way because my paper always warps slightly during the embossing process, and by stamping in VersaMark, you don’t see any mistakes if it doesn’t line up perfectly correct the second and third time because of the warping.

I used the SSS XL Greetings 2 coordinating die to trim out the sentiment, and cut it a second time for stacking purposes. I trimmed the Tiny Dots panel using Taylored Expressions Stitched Rectangle die and adhered the sentiment in the center using foam tape. I then placed foam tape on the back of the flowers and adhered those around the sentiment, trimming off any excess. The panel was then adhered to a black panel using foam tape, and then to the card base, which is Neenah 110lb.

That finishes up this project! I hope you enjoyed it! I quite like using these “raindrops” as flowers! Stop by and check out the entire StampTember release and let me know your favorites! Have a great day and don’t forget to stay awesome!
Supply List:
- SSS Raindrops Stamp Set
- SSS Fading Tiny Dots Stencil
- SSS XL Greetings 2 Stamp Set, Coordinating Die, Stamp and Die Set
- SSS Stitched Daisies
- PinkFresh Studio Inks: Bubble Gum, Raspberry Bliss, Peach Fuzz, Apricot, Sunshine, Sweet Mustard, Fresh Pear, Meadow, Ocean Breeze, Aquamarine, Soft Lilac, Lavender
- Gina K Glitz Glitter Gel Iridescent
- Ranger Clear Embossing Powder
- Taylored Expressions Stitched Rectangles
- VersaFine Onyx Black Ink
- VersaMark Ink
- Neenah Classic Crest Solar White 110lb Cardstock
- Black Cardstock
- Anti-Static Powder Tool
- Bearly Art Glue
- 3M Foam Tape
- Masking Tape
- Tim Holtz Scissors
- Misti
- Gemini Jr.
* Affiliate links used at no cost to you. Thank you so much for your support!
- Simon Says Stamp Grateful Heart

- Simon Says Stamp Braided Greetings

- Together By Design Color Cube Floral

- Simon Says Stamp Cute Duckling

- Simon Says Stamp Watercolor Wild Rose