Pinkfresh Best Tulips

Hello Crafty Friends, and welcome back! I recently purchased some new Pinkfresh products and needed to play with the Timeless Tulips product suite! It’s so very pretty, and I just couldn’t wait any longer! Let’s go ahead and go through the details, shall we?

NOTE: all supplies are linked to multiple sources in the thumbnails at the end of this blog post.


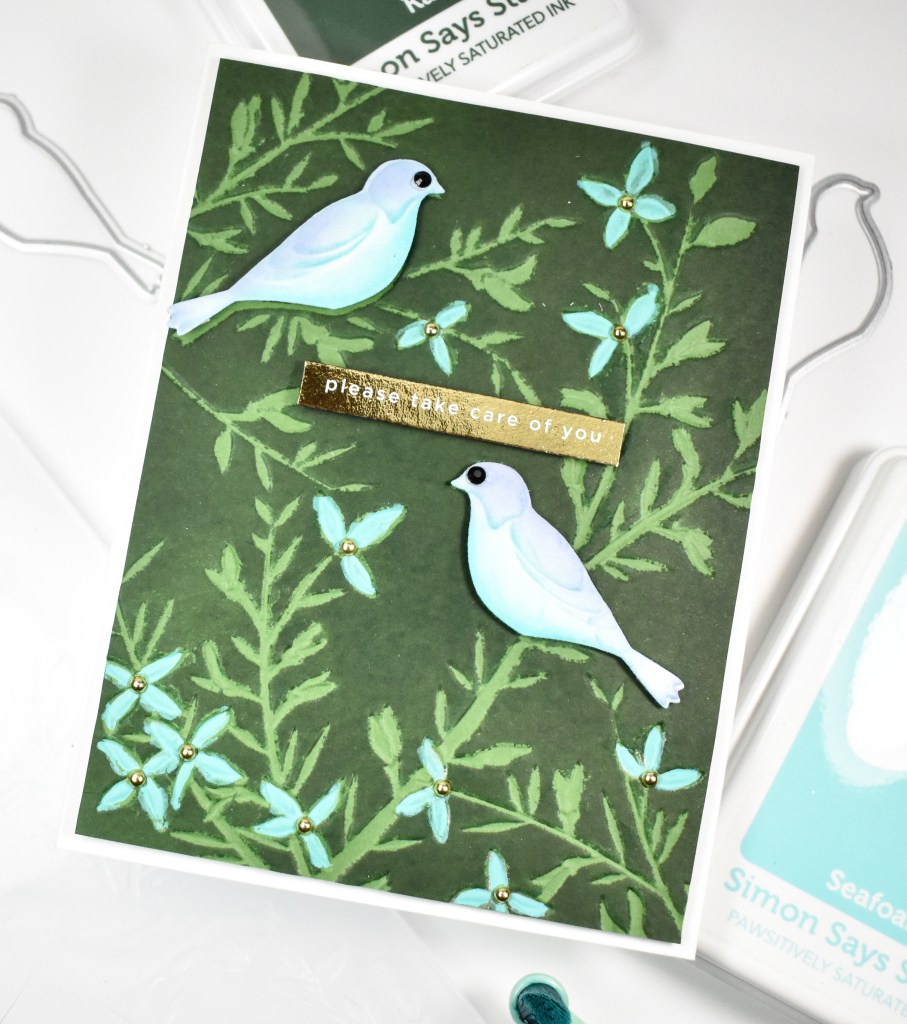
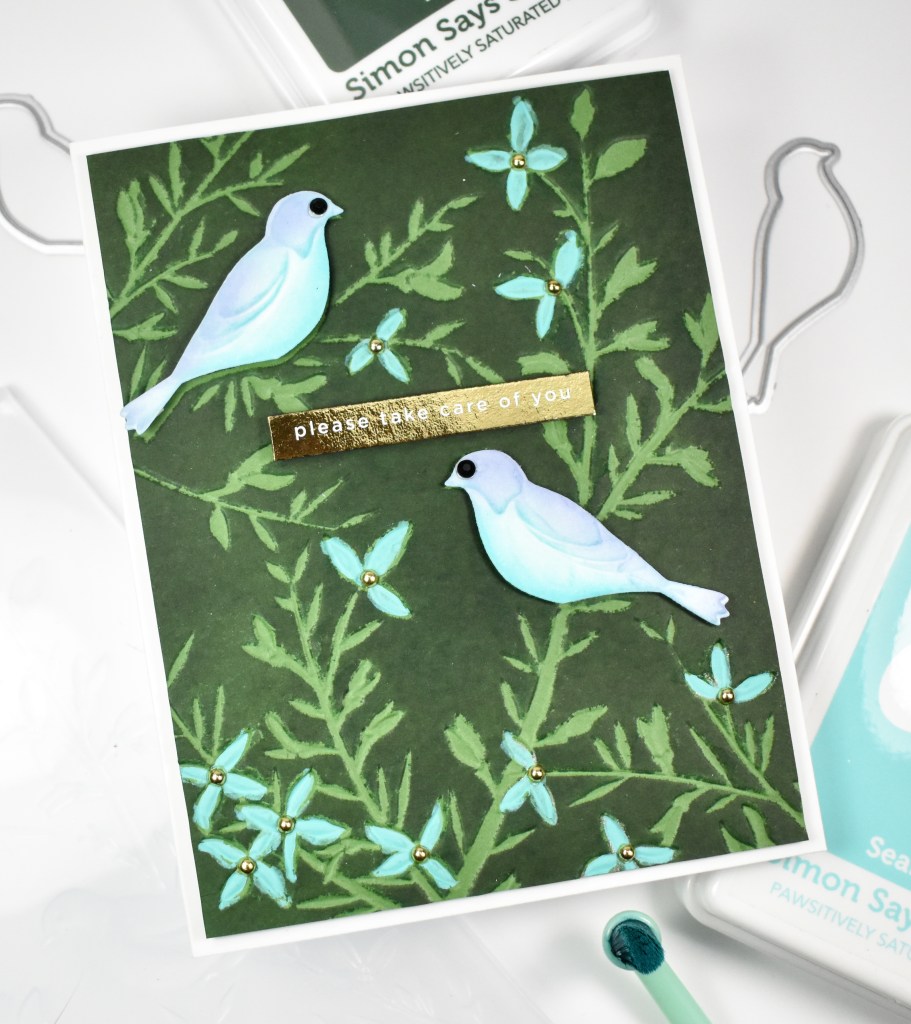
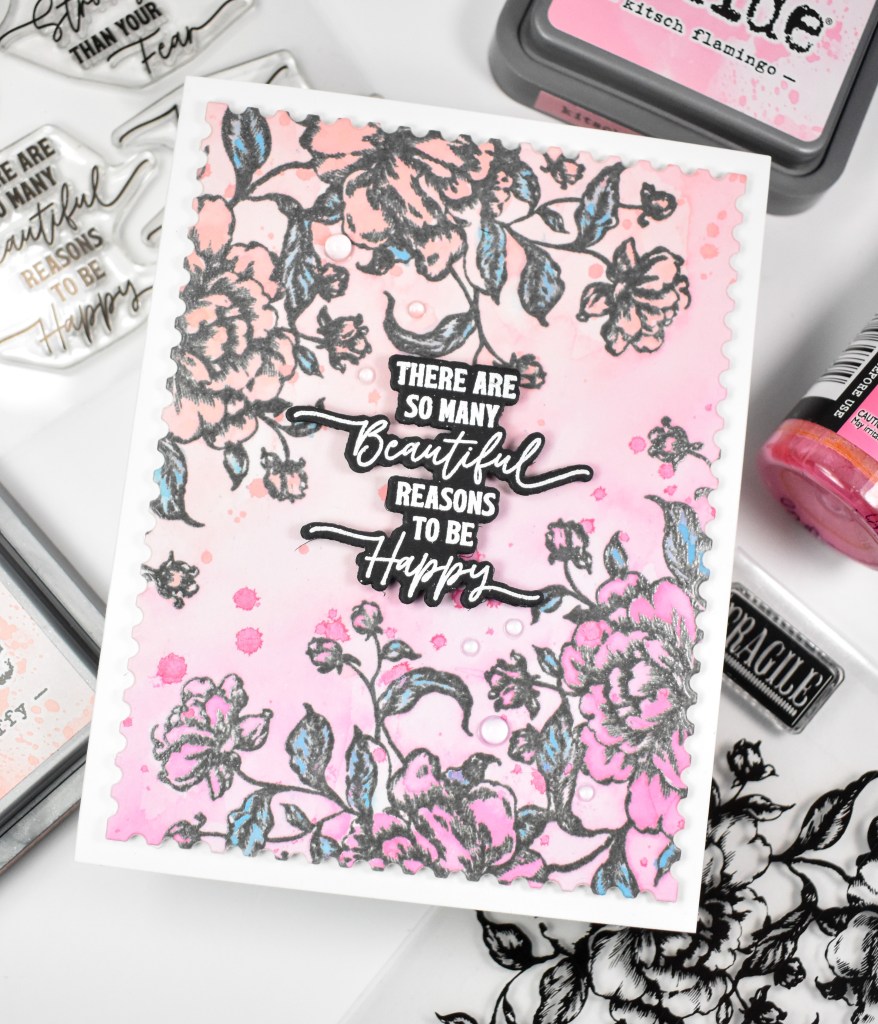
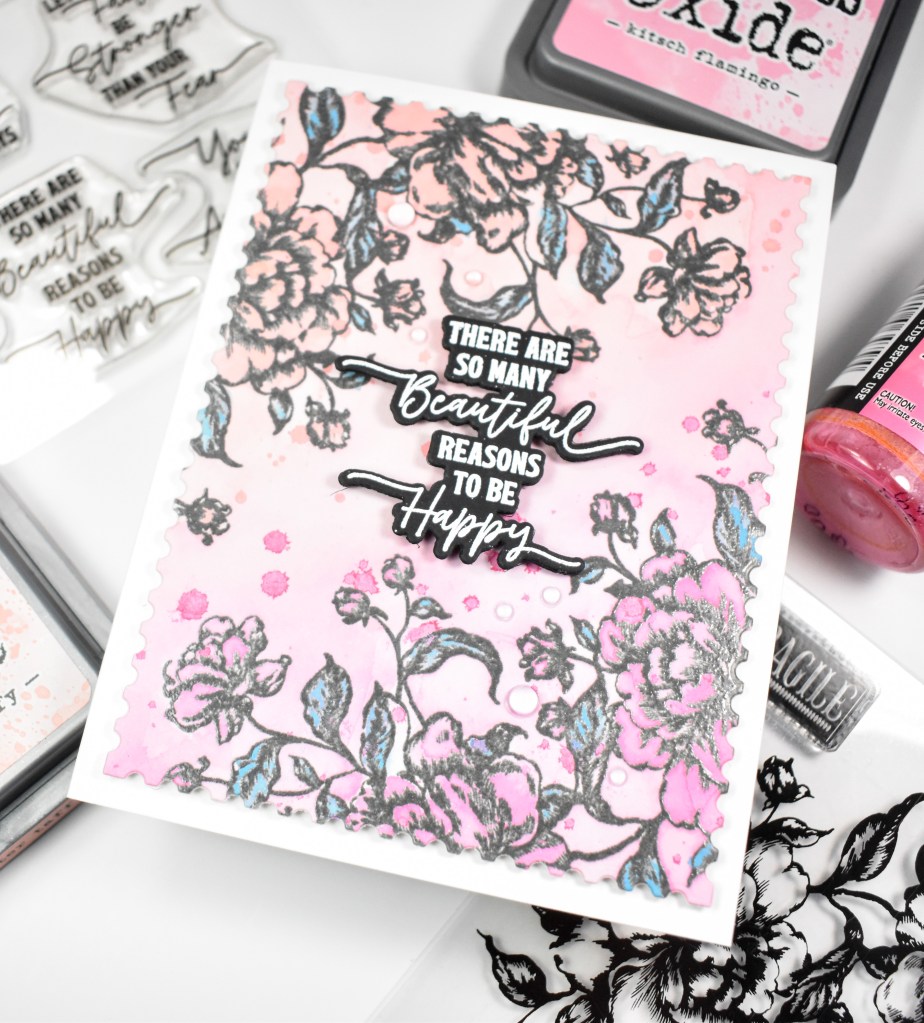
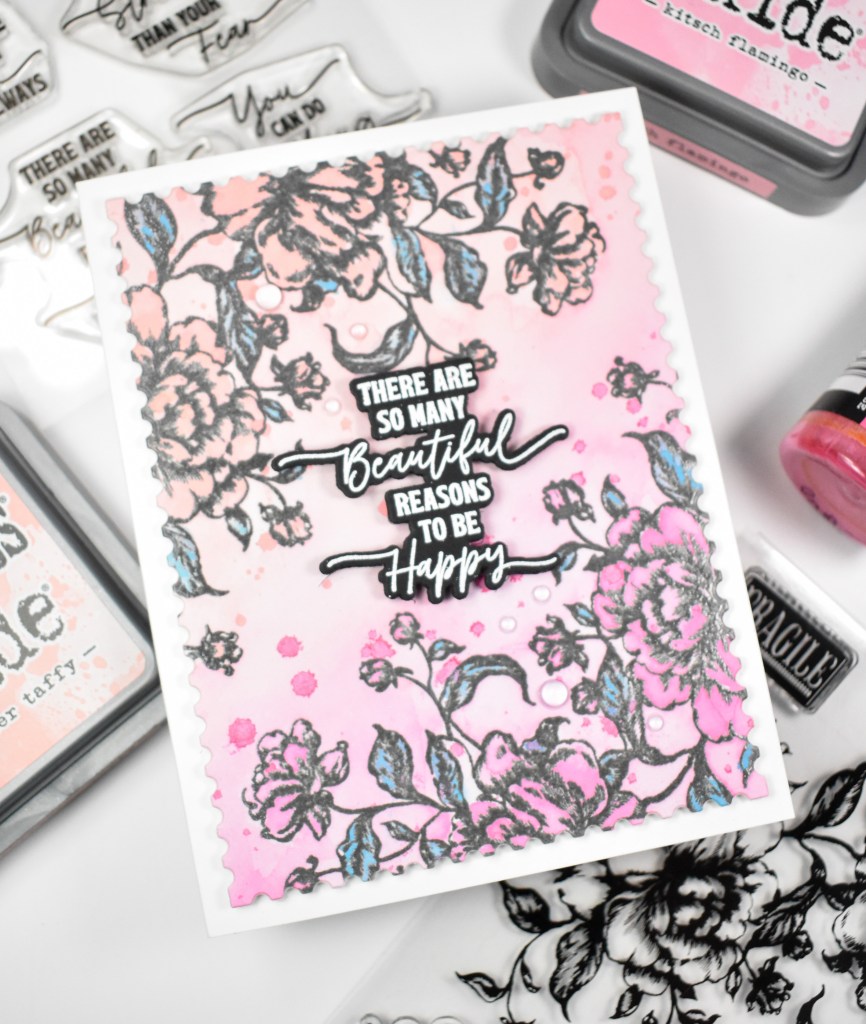
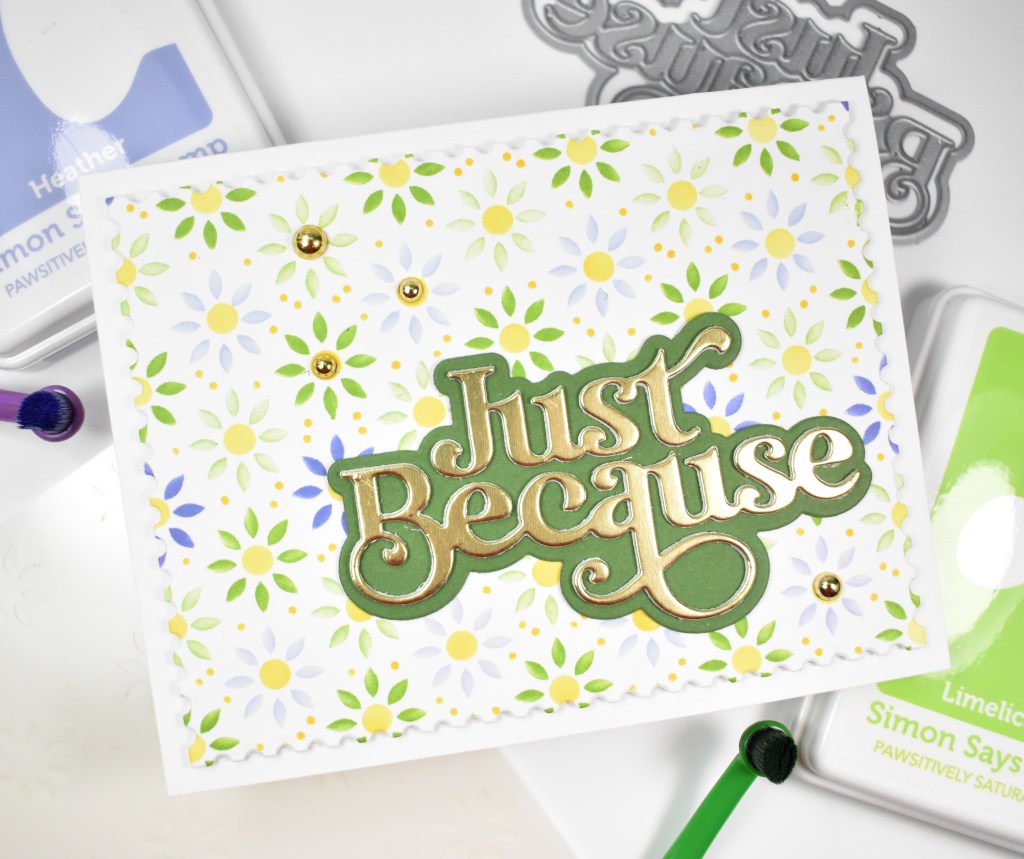
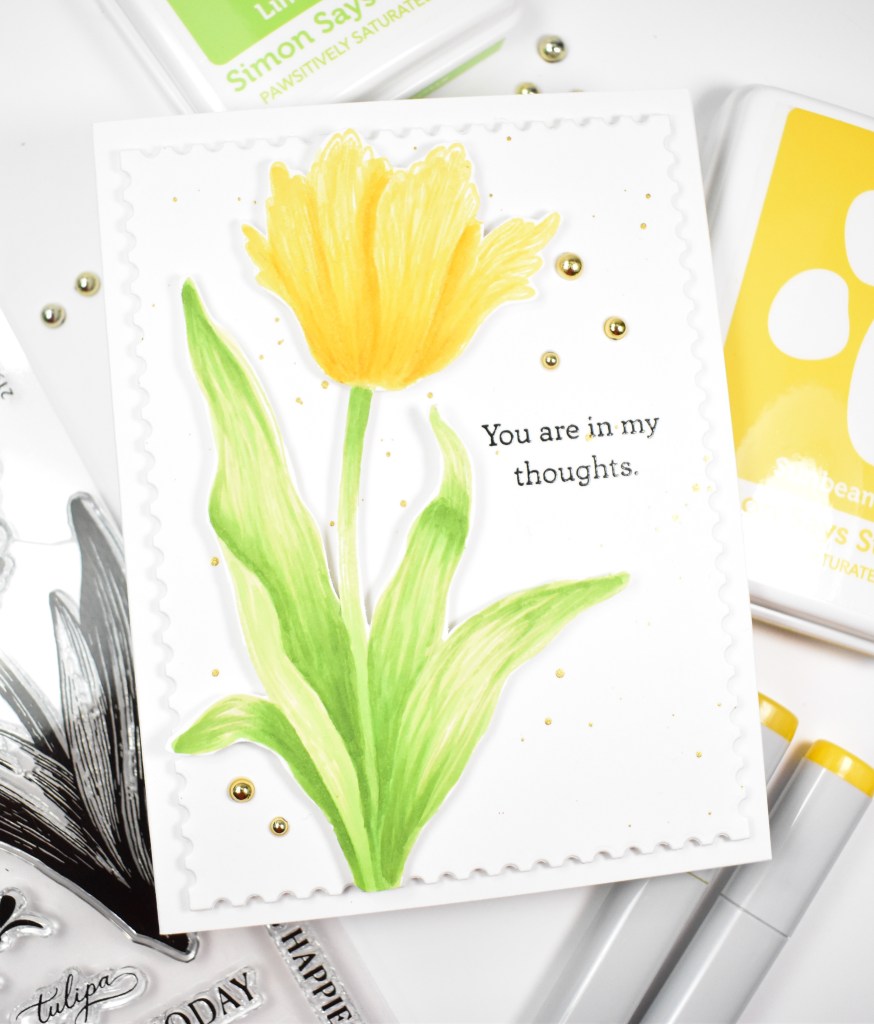
I began this project by gold foiling the tulips onto a panel of Neenah 110lb cardstock. I then used the coordinating stencils to ink blend using Berrylicious, Sweet Mustard, Eucalyptus and Evergreen. I tried to concentrate color at the base of the flowers and leaves to give some added depth. Once satisfied, I used the coordinating die to trim it out.

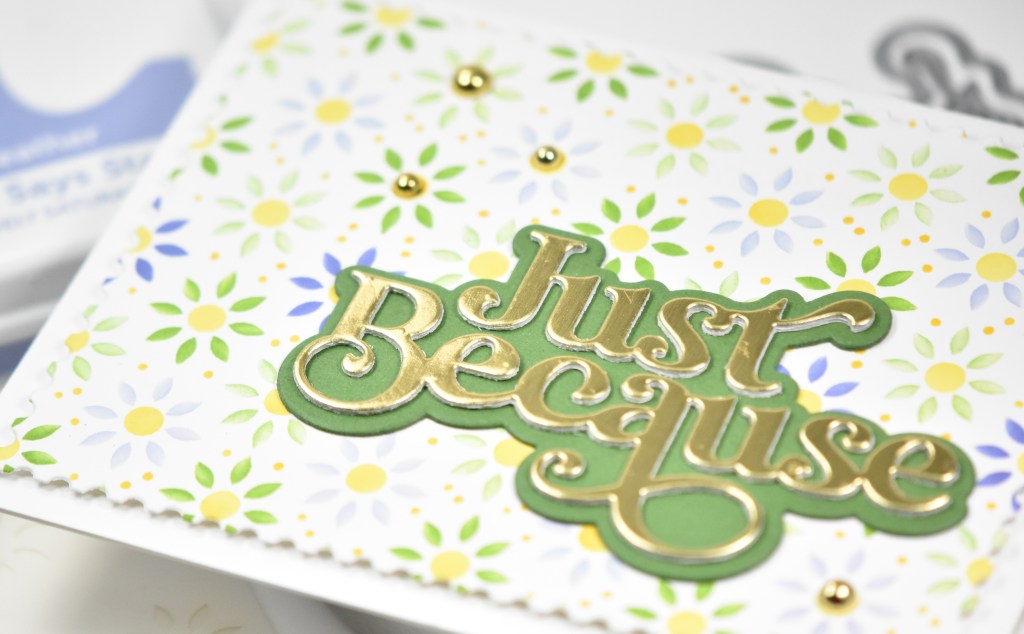
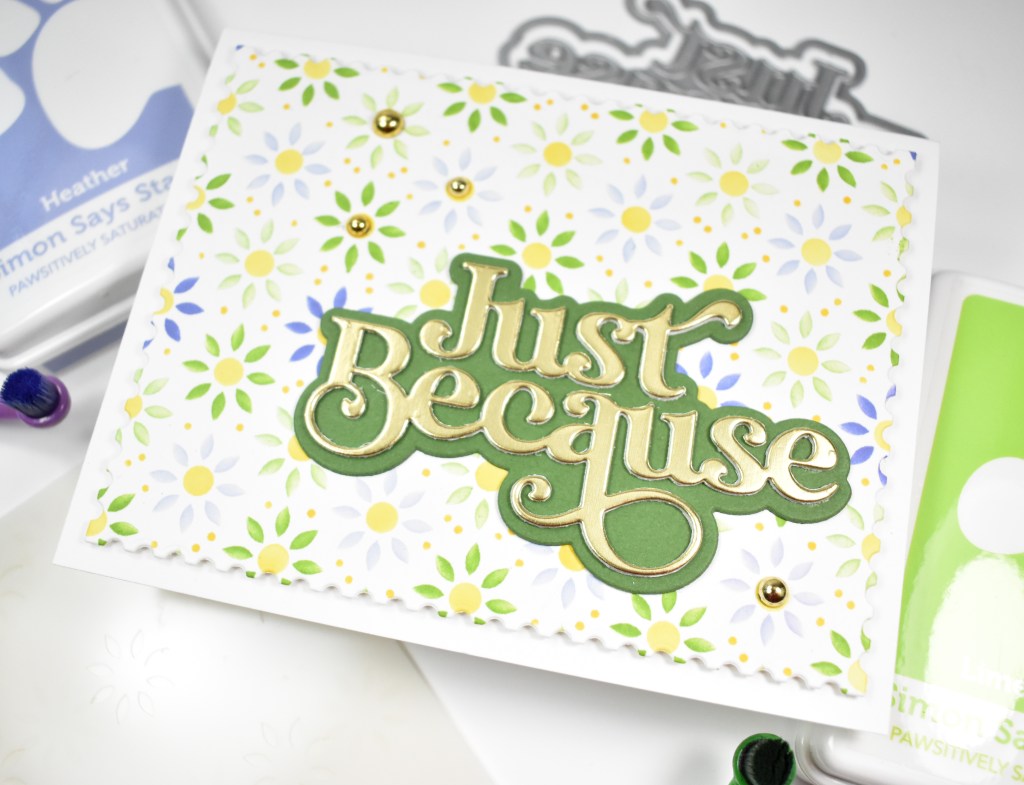
The background is a very dark green that I dry embossed the Lush Vines Foil Plate onto. I then gold splattered that before adhering the frame, which was created using two of the Double Stitched Rectangles. I left most of the bottom of the frame open so that I could tuck the tulips down into it. The sentiment was gold foiled onto that same dark green cardstock and trimmed out three times for a stacked sentiment. That was glued directly to the panel and the panel was adhered to the card base using foam tape to finish up.
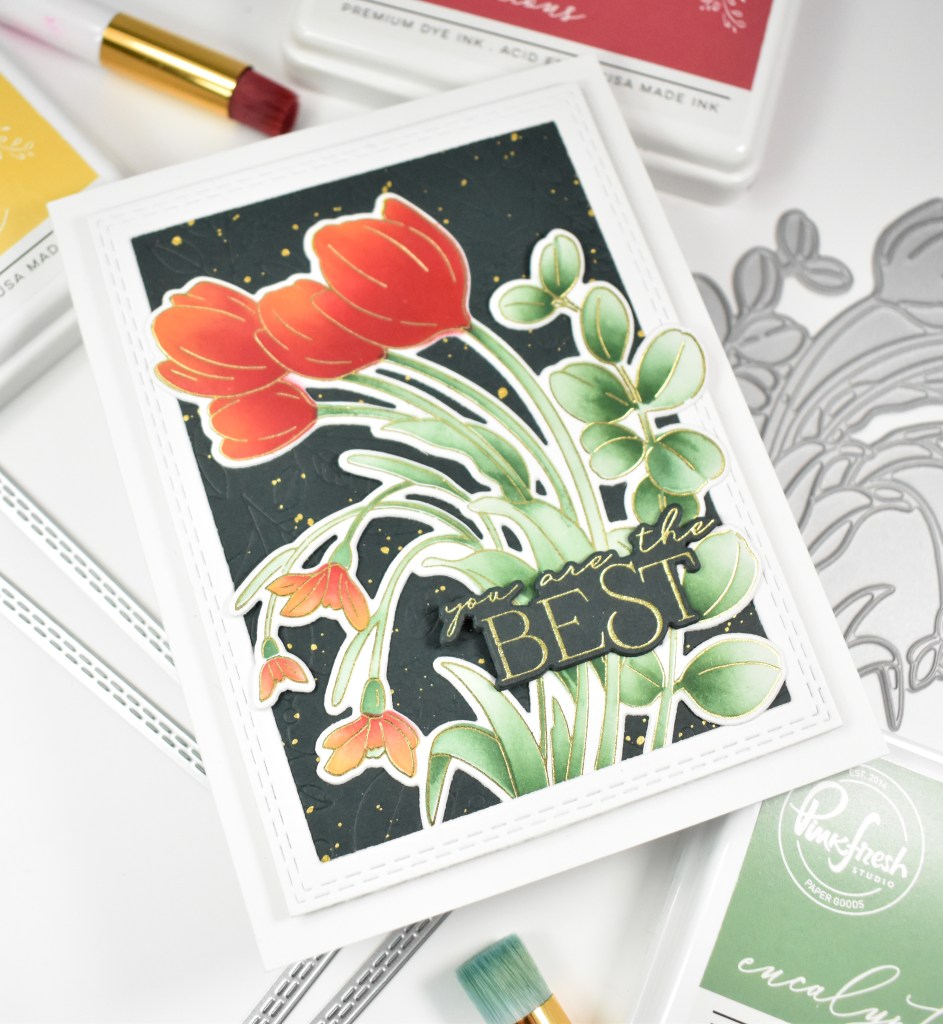
A pretty easy yet beautiful project! The product suites from Pinkfresh make it super easy to create gorgeous projects, so you should definitely check them out, if you haven’t already! Thanks so much for stopping by, and I hope you have a fabulous week!

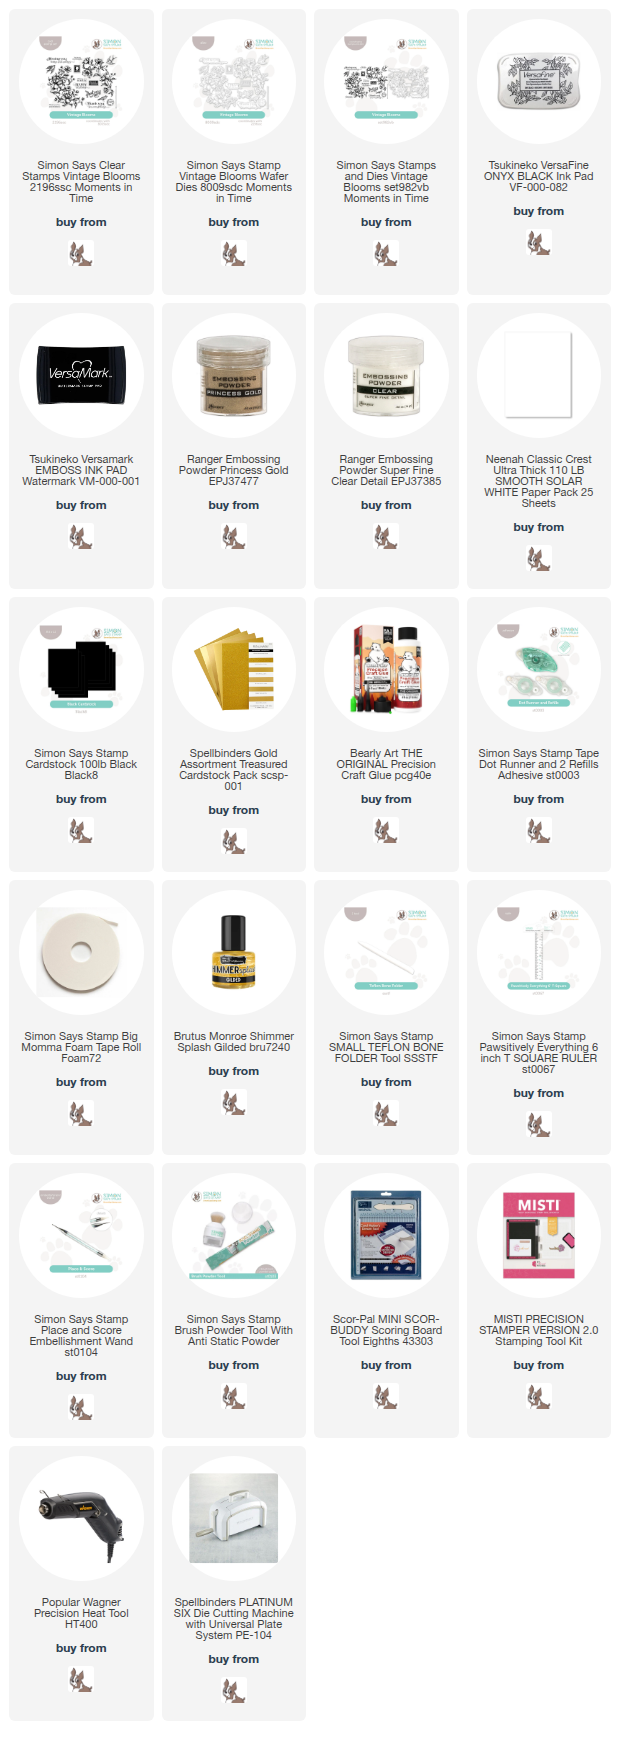
Supply List
Affiliate links used at no cost to you. What does this mean? If you use the links within this post to make a purchase, I receive a small commission, which allows me to continue to post crafty content for your enjoyment. I truly appreciate your support!
Latest Posts
- Simon Says Stamp Braided Greetings

- Together By Design Color Cube Floral

- Simon Says Stamp Cute Duckling

- Simon Says Stamp Watercolor Wild Rose

- Simon Says Stamp Striped Missing You

Latest Instagram Posts