LDRS Creative Happy Holidays

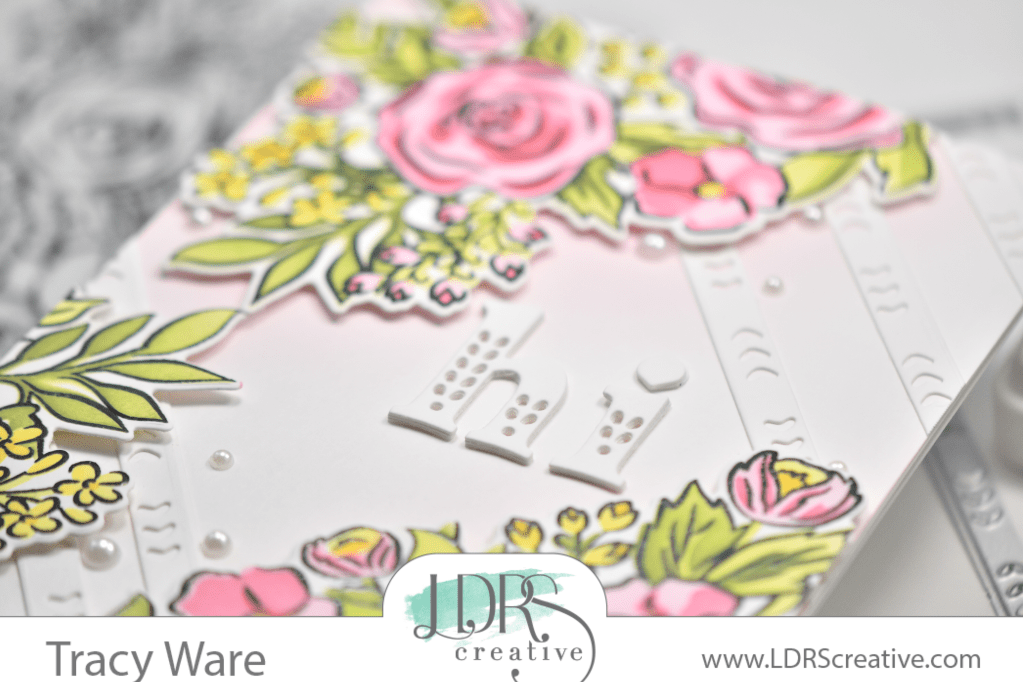
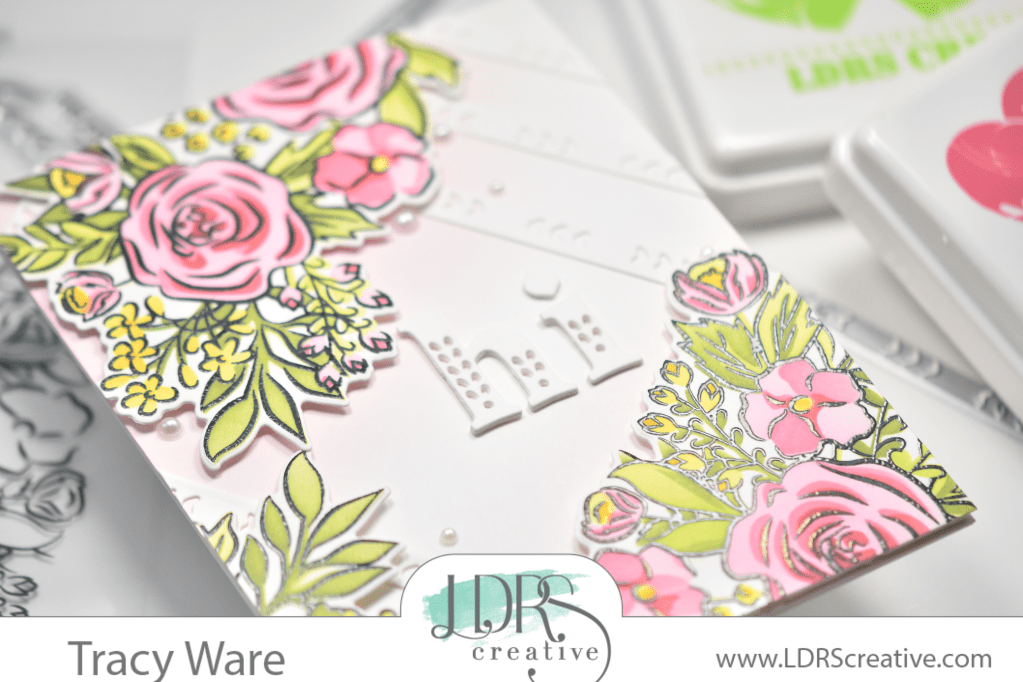
Hello Crafty Lovelies and welcome back! Have you checked out the new Christmas, Holiday and Halloween goodies from LDRS Creative yet? So many cute things! Today’s card is featuring the Layered Poinsettia dies, along with a couple of the Modern Geometric Coverplates. So, let’s just get right into the details, shall we?

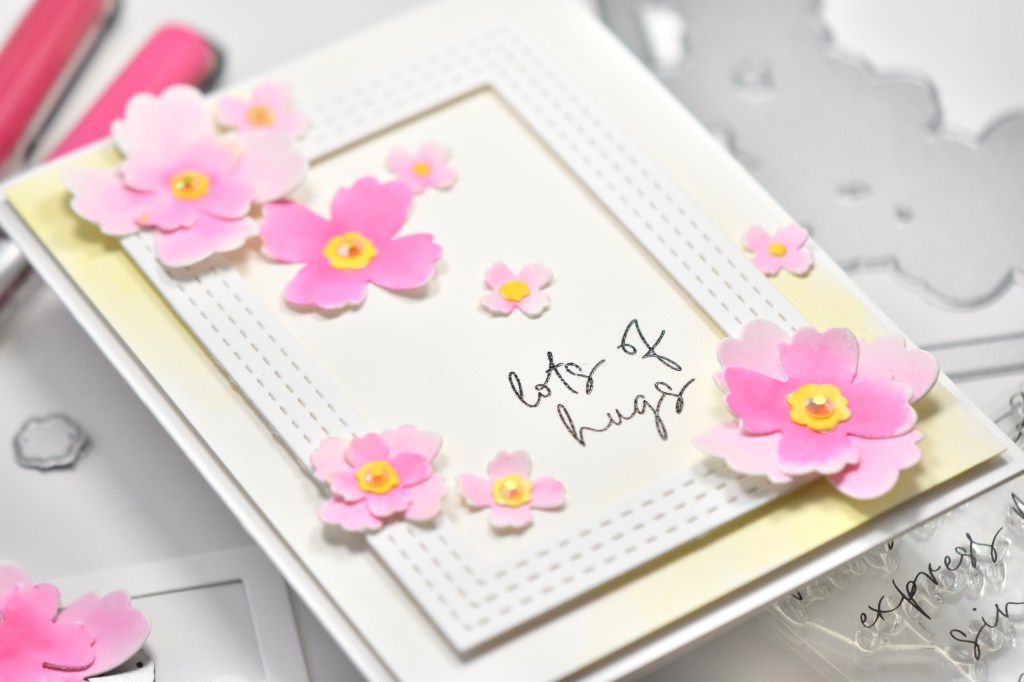
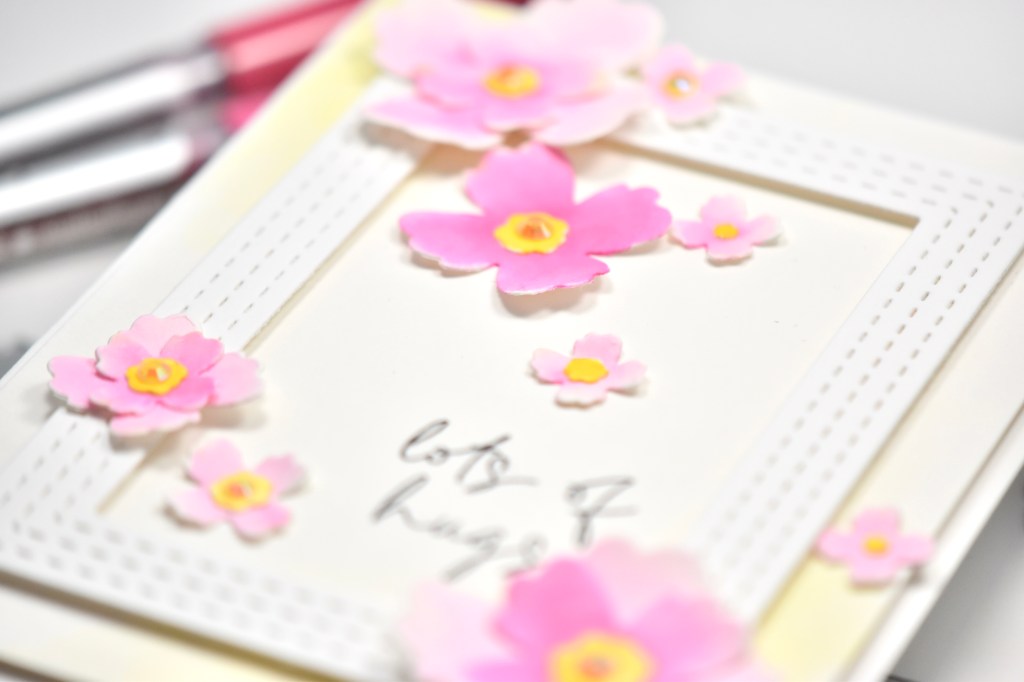
I began the project by die cutting all of the pieces from the Layered Poinsettia set twice from watercolor paper. I pulled out a water brush and Karin Brushmarkers. I saturated the pieces with water and dropped in the color using the markers. I added more color on the bottom poinsettia layer to get a darker color.

Once the die cut pieces were dry, I adhered them together using liquid glue. I set those aside while I worked on the rest of the card. I die cut the LDRS Modern Geometric Coverplate II using Neenah Classic Crest 110lb cardstock, and I also cut the LDRS Modern Geometric Coverplate III from the same cardstock.
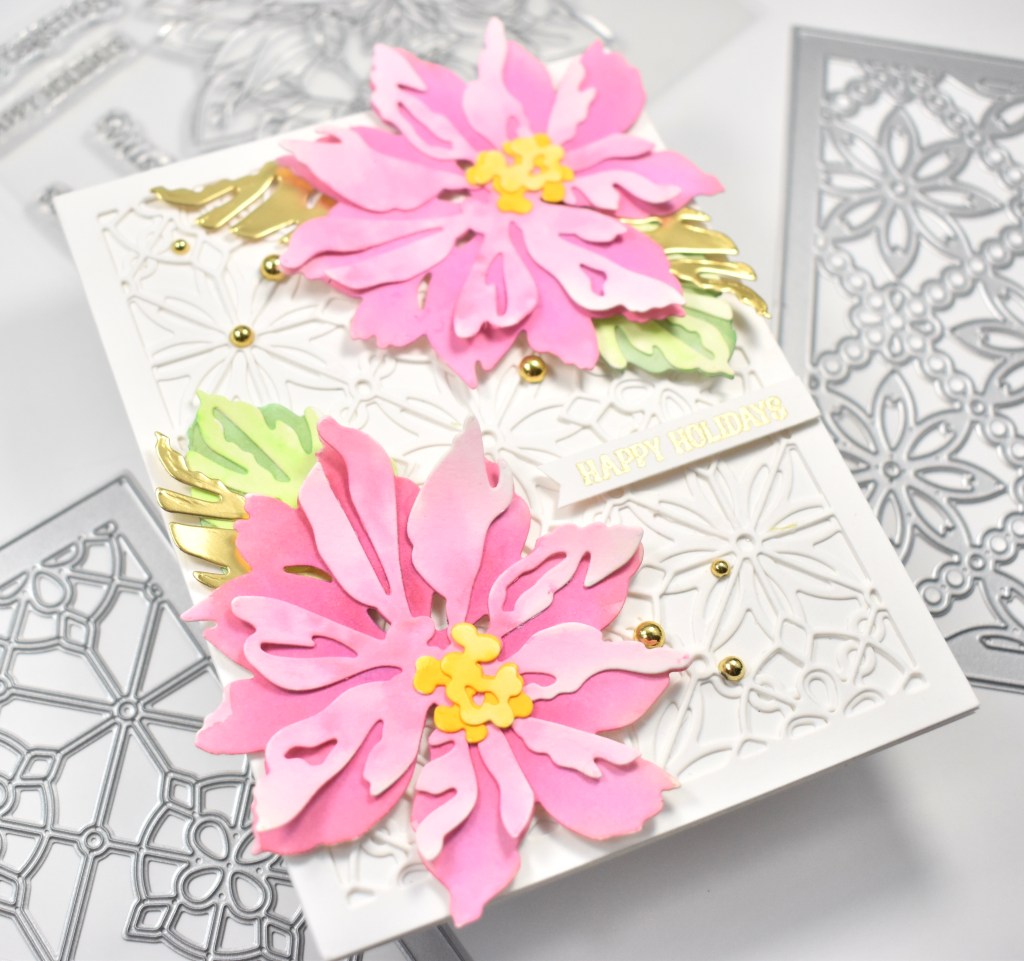
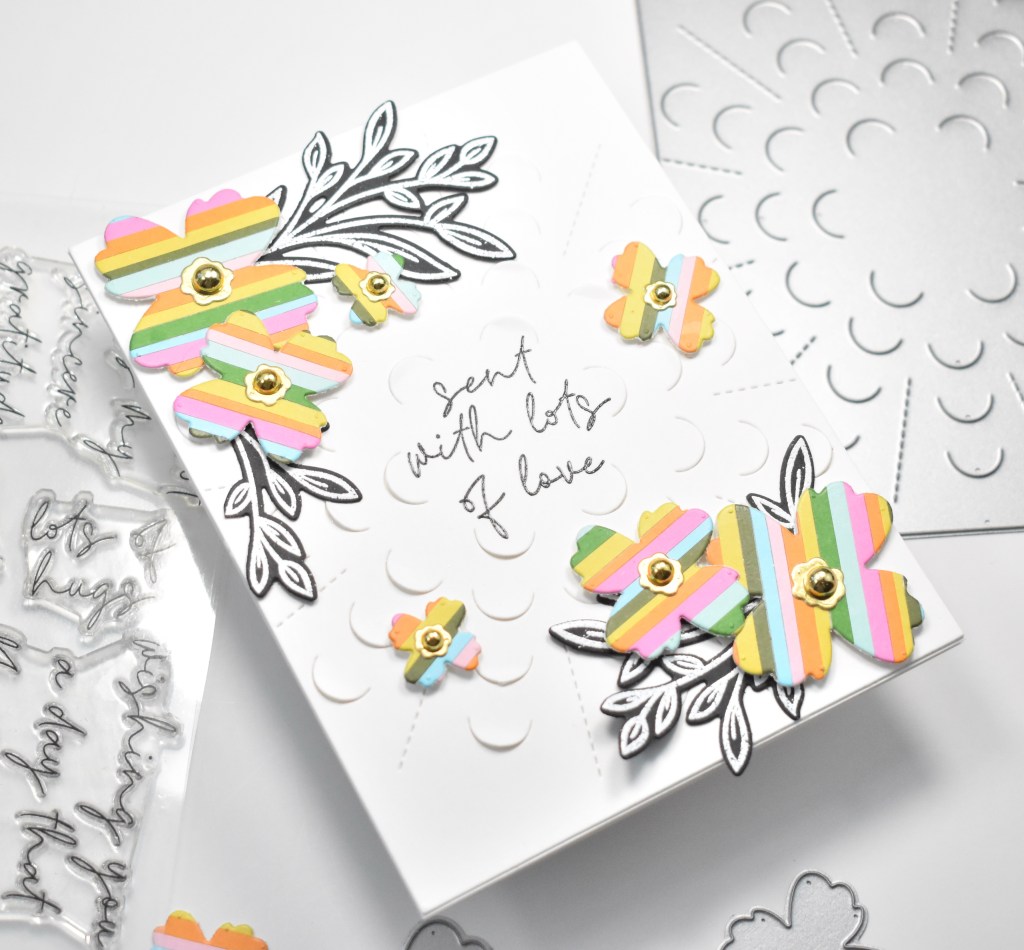
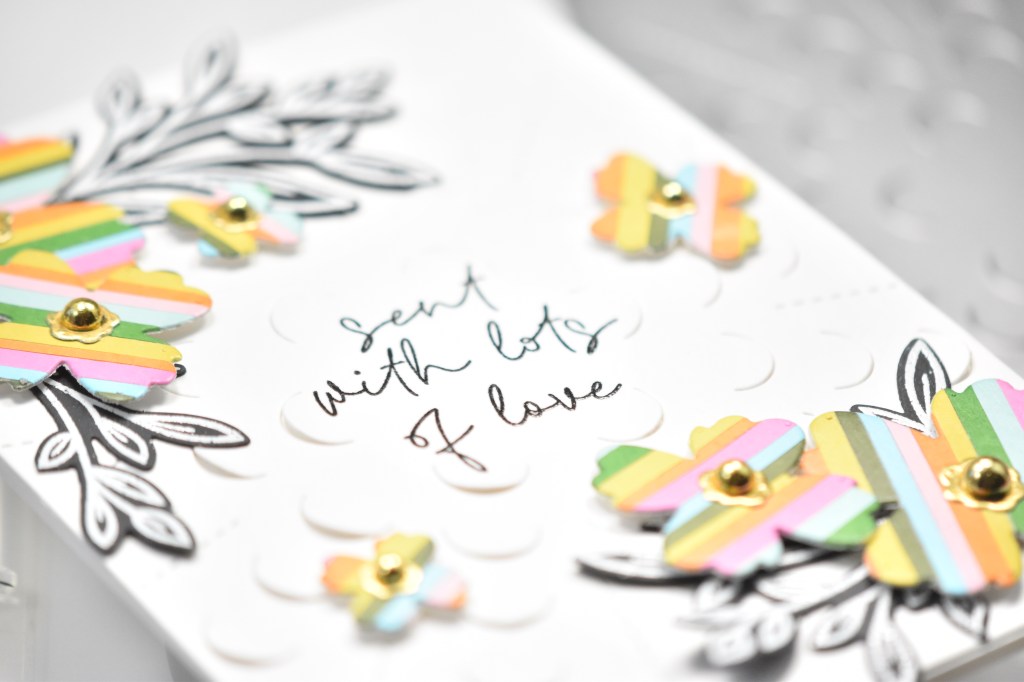
I adhered the two Geometric Coverplate dies together using glue and then glued them to the card base, which also happens to be Neenah 110lb. I opted for a small sentiment from the LDRS Potted Poinsettia stamp set. I stamped the sentiment on Neenah 110lb using VersaMark ink and heat embossed it using Ranger Princess Gold Embossing Powder and trimmed it down.

I had to play around with the placement of the flowers, leaves and sentiment. I did decide to cut a leaf die out of mirror gold cardstock, because I thought it would tie in well with the gold sentiment. I placed foam tape on the back of the flowers and adhered those in the corners, while gluing the leaves underneath them. The sentiment was also attached using foam tape for added dimension. I had to add bling, so I opted for a few PinkFresh Studio Gold Metallic Pearls.

That finishes up this project! I love the added texture in the background from the cover plates! I hope you enjoyed it, and I hope you’ll stop by and check out all of the new holiday products on the LDRS website. Have a wonderful day and don’t forget to stay awesome!
Supply List:
- LDRS Modern Geometric Coverplate II
- LDRS Modern Geometric Coverplate III
- LDRS Layered Poinsettia
- LDRS Potted Poinsettia Stamp Set
- VersaMark Ink
- Ranger Princess Gold Embossing Powder
- Karin Brushmarkers
- PinkFresh Studio Gold Metallic Pearls
- Neenah Classic Crest Solar White 110lb Cardstock
- Mirror Gold Cardstock
- Watercolor Paper
- Water Brush
- 3M Foam Tape
- Bearly Art Glue
- Studio Katia Embellishment Wand
- Misti
- Anti Static Powder Tool
- Gemini Jr.
* Affiliate links used at no cost to you. Thank you for your support!
- Simon Says Stamp Grateful Heart

- Simon Says Stamp Braided Greetings

- Together By Design Color Cube Floral

- Simon Says Stamp Cute Duckling

- Simon Says Stamp Watercolor Wild Rose