Simon Says Stamp All About You Rainbow Floral

Hello Friends! Hope you’re doing well and having a wonderful day! I’m super excited because I’m participating in a Simon Says Stamp Instagram hop to celebrate the new Make Magic release! You’ll definitely want to check that out because there are gift certificates to be won!! More details below. I just can’t even with this release! There’s so many awesome things to choose from! I wish that I didn’t have to choose, ya know, and could just buy the whole dang release! I’m a huge lover of stand alone sentiment dies, so of course I had to buy some of those! Anyhoo, today’s card is featuring the all new All About You stamp set, along with a couple of older favorites of mine. So let’s get into the deets!

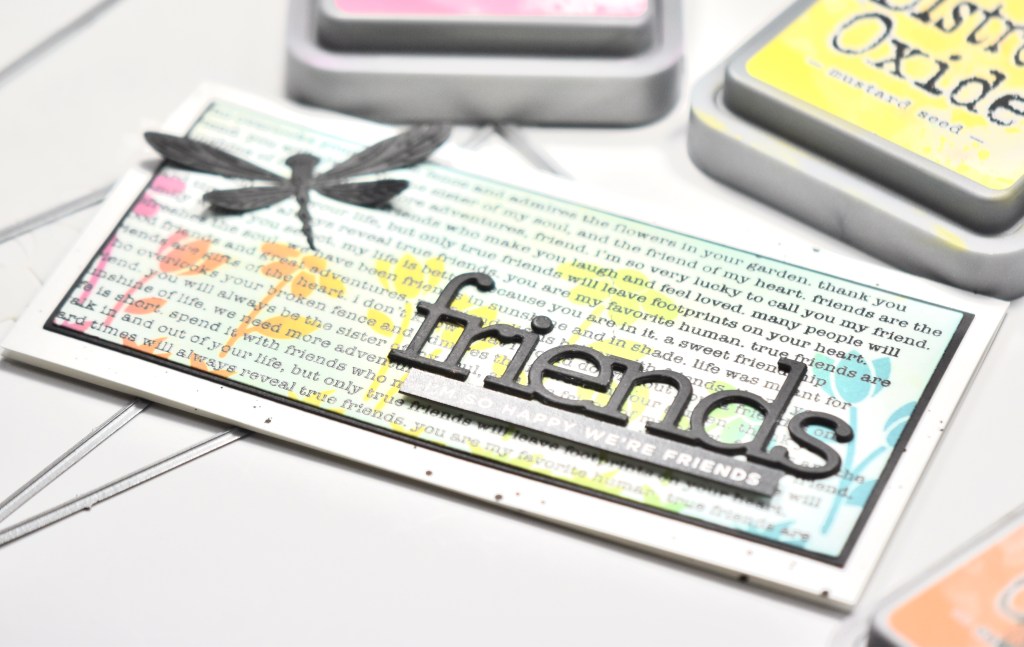
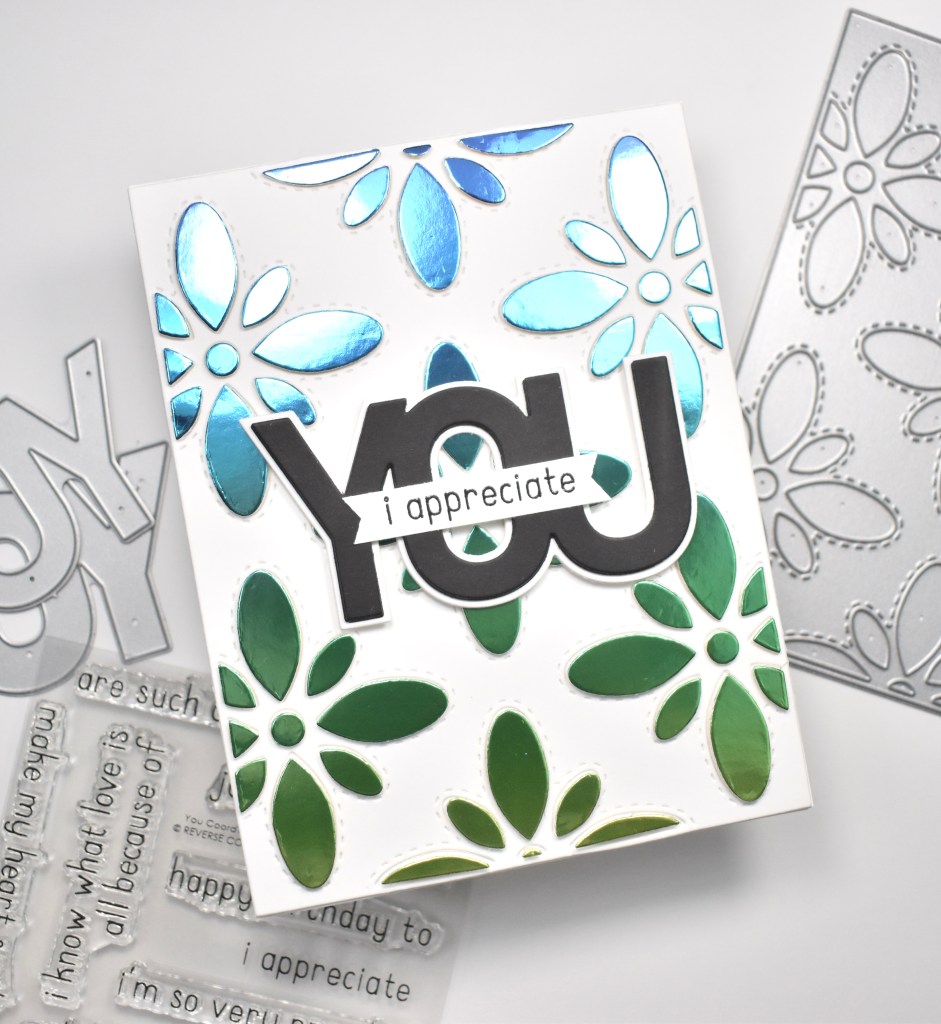
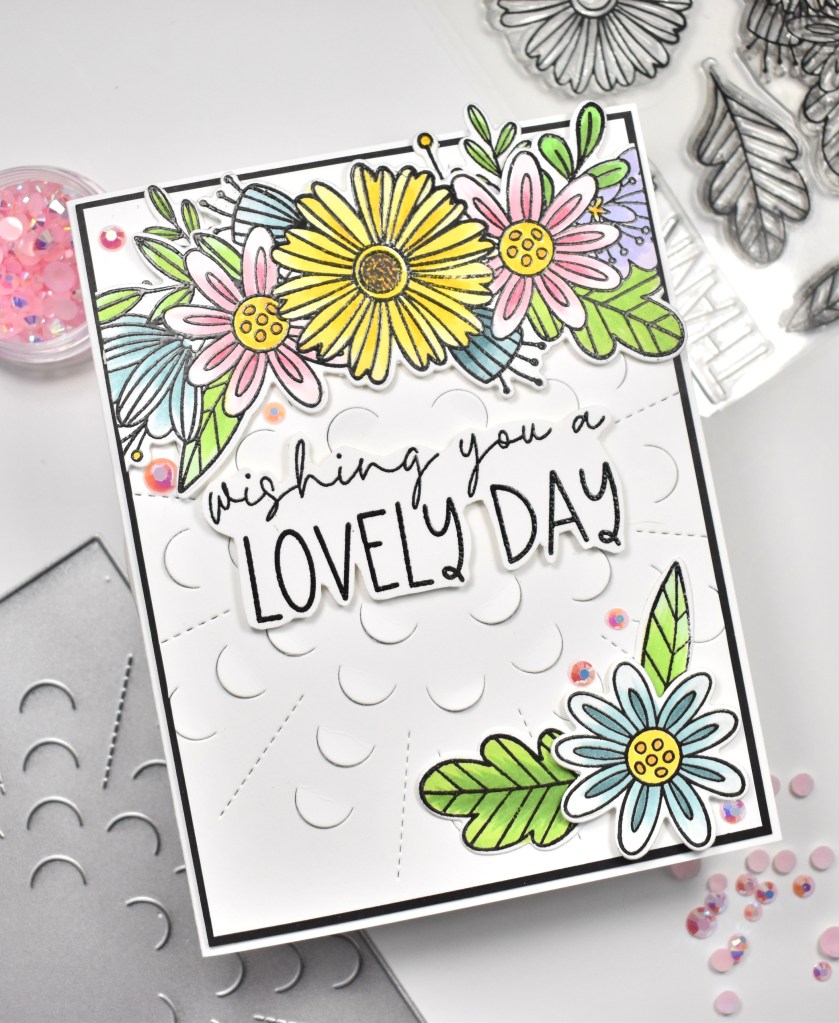
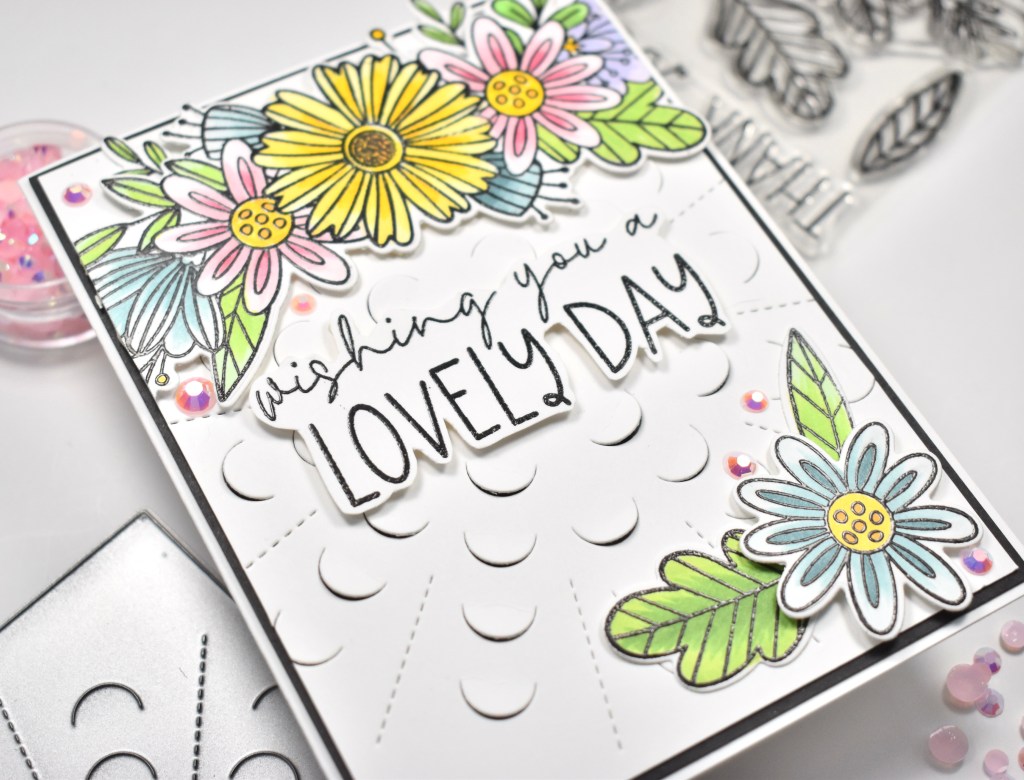
I began this card by trimming a panel of Neenah Classic Crest 110lb cardstock just smaller than an A2 card base, and popping it in the Misti. I chose three of the sentiments from the All About You stamp set, and proceeded to do some repeat stamping using VersaFine Onyx Black ink. Not going to lie, this took a little bit of time! Mainly because I was being careful and trying to get the placement right and stamp straight all at the same time! I really need to get one of those acetate grids to put down! After each set of stamping, I was heat embossing the sentiments using Ranger Clear Embossing Powder.

Once all of the sentiments were stamped, I filled in the gaps with the hearts that are included in this set. Next, I pulled out the SSS Cosmo Flower Petals die and cut the detailed petals from various colored cardstock. I believe most of the colored cardstock is from The Stamp Market, but not 100% sure. I ended up cutting enough petals to make two flowers. I cut the detailed center from black cardstock twice and the solid center from white cardstock twice. I adhered the centers together using liquid glue, and began gluing the flower petals to the back of that for each flower separately. So when I was done, I had two completed flowers.

I ended up adhering both of those flowers together, turning the top one slightly to get a fuller flower. The card still needed something, and of course, I thought of leaves, so I used the SSS Detail Elm Leaves for this. I cut a few leaves from vellum because I didn’t want to take away from the flower. I glued the leaves to the stamped panel before gluing the flower down.

I adhered the panel to a black cardstock panel using foam tape, because that’s my jam! Black cardstock and foam tape! Then I adhered that to the card base, which is also Neenah 110lb.
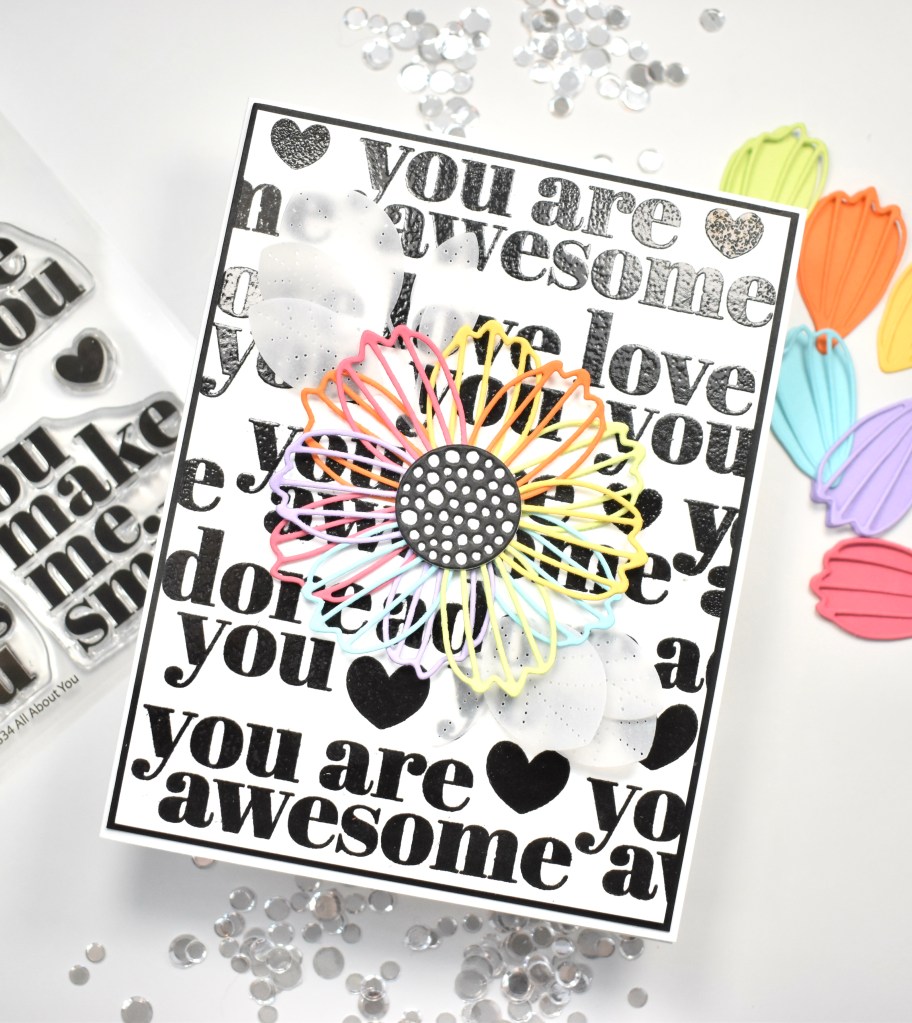
That finishes up this project! I had fun making this one! I love the bold sentiments with the rainbow flower! I hope you enjoyed this card, and I hope it inspires you to get crafty! Hop over to Instagram to check out the hop that I mentioned earlier. SSS is giving away a $25 gift certificate to a lucky commenter at each stop on the hop! That’s twelve chances to win!!! You don’t want to miss that! Check out the entire Make Magic release and let me know your favorites, and don’t forget to stay awesome!
Supply List:
- SSS All About You Stamp Set
- SSS Cosmo Flower Petals Die
- SSS Detail Elm Leaves
- Neenah Classic Crest Solar White 110lb Cardstock
- Black Cardstock
- The Stamp Market Cardstock
- Vellum
- VersaFine Onyx Black Ink
- Ranger Clear Embossing Powder
- Craft Tacky Glue
- 3M Foam Tape
- Anti-Static Powder Tool
- Misti
- Gemini Jr.
*Affiliate links used at no cost to you. Thank you so much for your support!
- Simon Says Stamp Grateful Heart

- Simon Says Stamp Braided Greetings

- Together By Design Color Cube Floral

- Simon Says Stamp Cute Duckling

- Simon Says Stamp Watercolor Wild Rose