Simon Says Stamp Hang in There Blossom

Hello! Hello! Thanks so much for stopping by! I’m still working my way through some DIEcember products! Have you checked out the entire release? Tell me your favorites, because you know I want to know! I always ask! Anyhoo, today’s project is featuring the new Etched Evening Blossom and the Imperia Plate. These dies are so gorgeous! Let’s jump into the details!

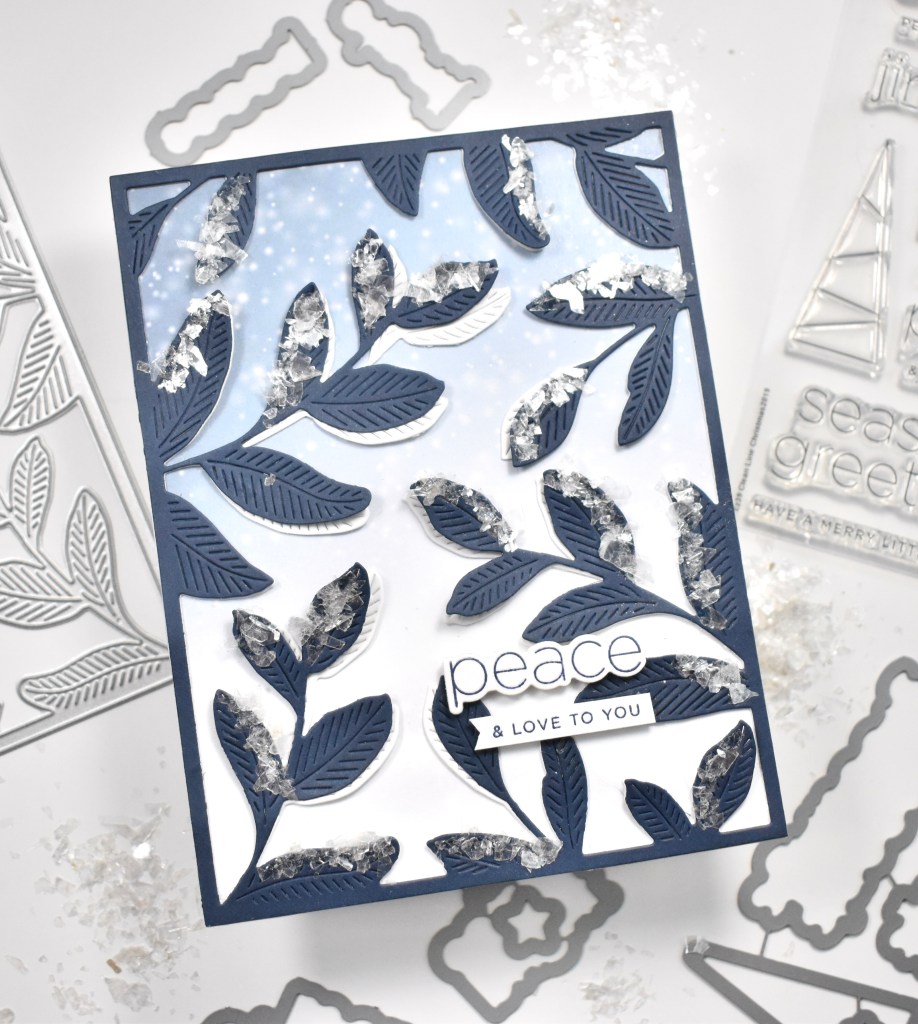
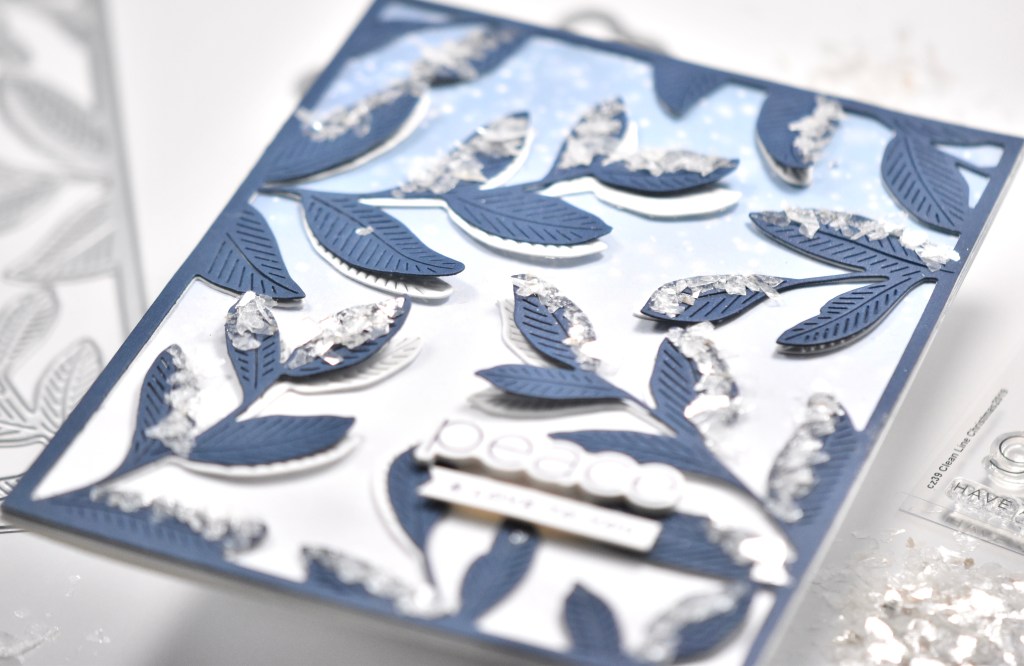
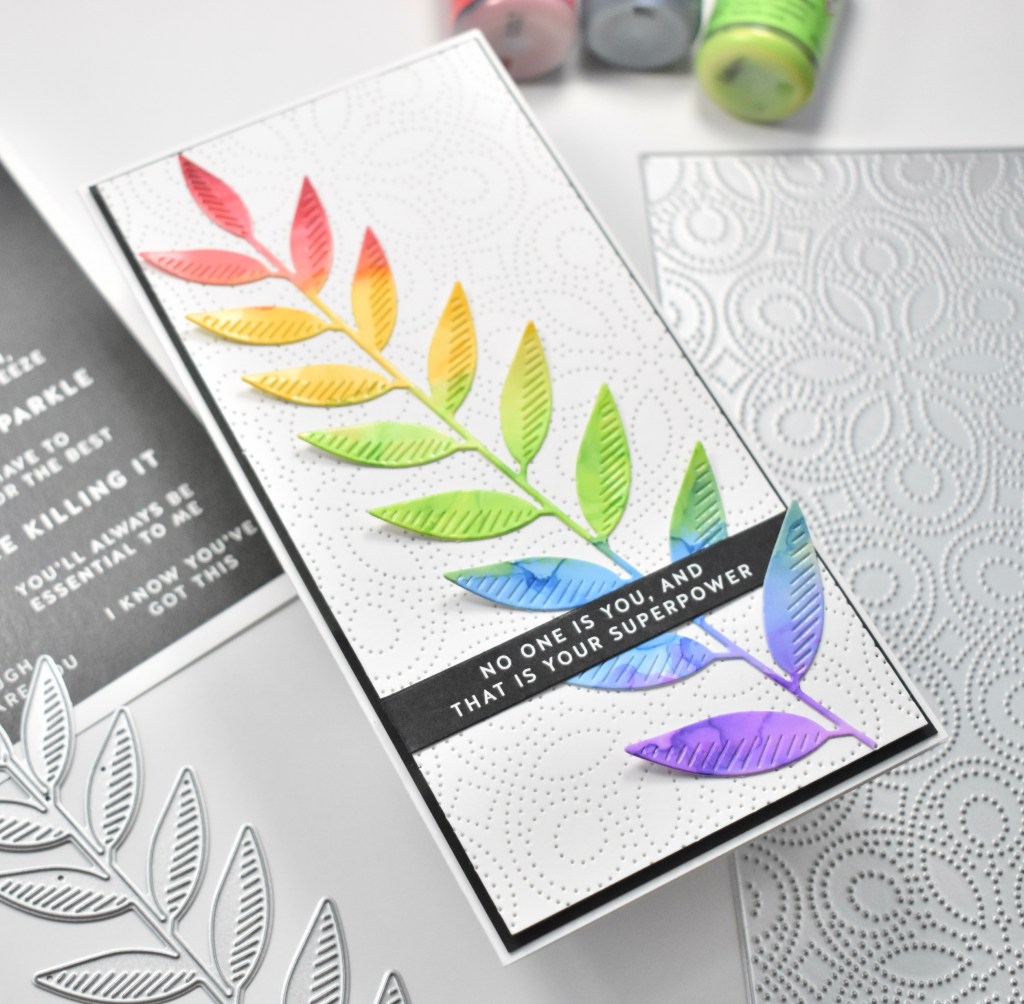
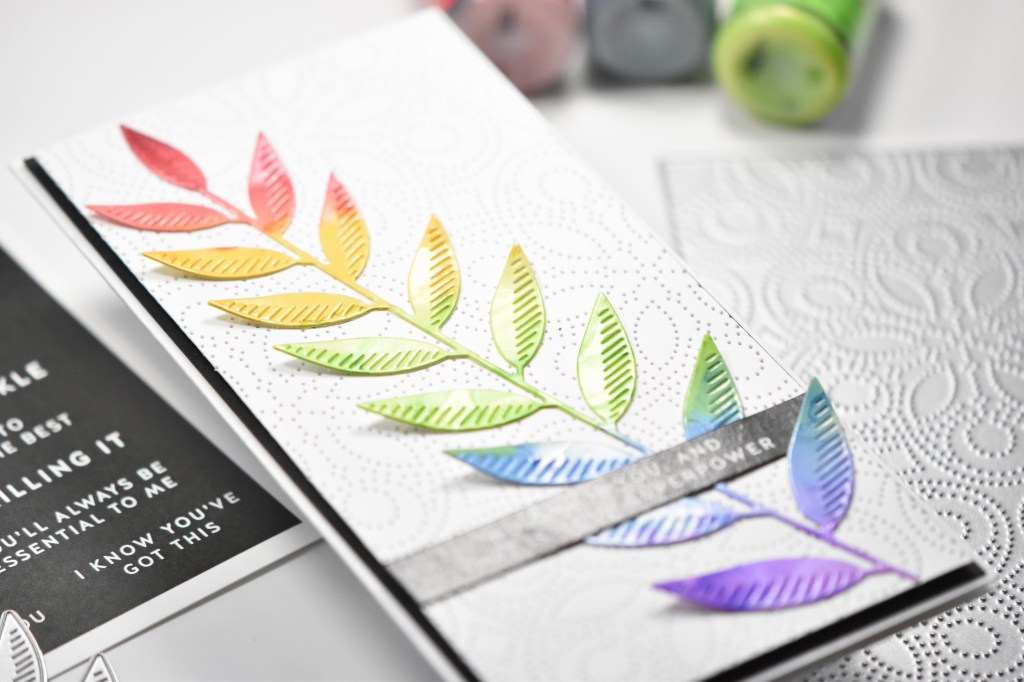
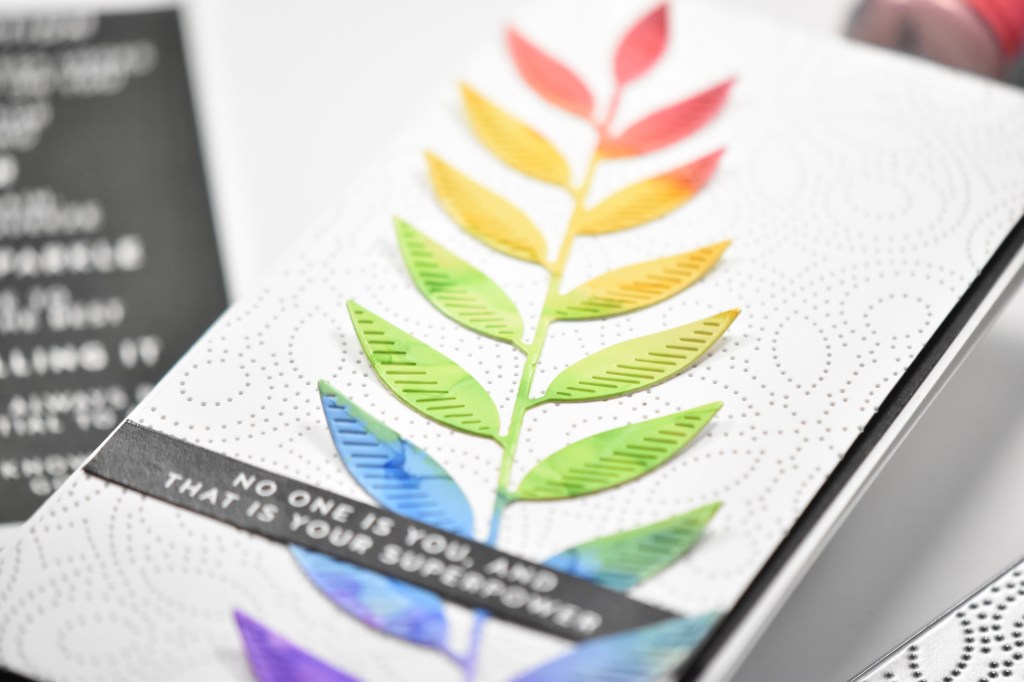
To begin this project, I started ink blending a panel of Neenah Classic Crest 110lb cardstock using Distress Oxide inks in rainbow colors of course! I used Picked Raspberry, Spiced Marmalade, Mustard Seed, Twisted Citron and Broken China.

Once I was done ink blending, I ran that panel through the die cutting machine using the largest of the Honey Bee Deckle Edge A2 dies. Then, I ran that same panel through again using the new SSS Imperia Plate. I love, love, love background plates! I can’t say it enough!

For the sentiment, I used the SSS XL Greetings 2 set. I stamped the Hang in There sentiment using VersaMark ink on black cardstock and heat embossed it using SSS Detail White Embossing Powder, and used the coordinating die to trim that out. I searched through my SSS Sentiment Strips to find an appropriate sub-sentiment as well.

I die cut the SSS Etched Evening Blossom once from Neenah 110lb and once from black cardstock, adhering those together using liquid glue, offsetting them just slightly to achieve that silhouette look. For a little more added interest, I added some PinkFresh Jewels to the center of the flower, because bling! Every card needs bling!
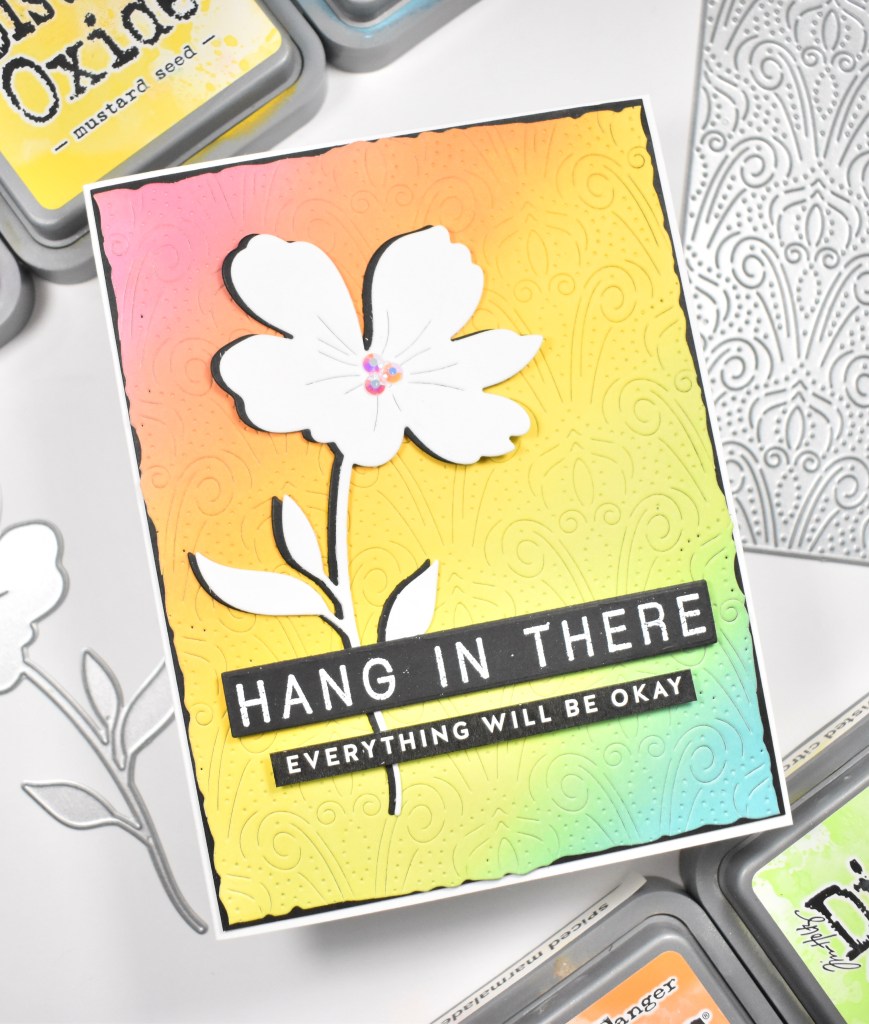
To finish up this project, I glued the flower to the ink blended panel and attached both sentiments using foam tape. The panel was then adhered to a black panel before being adhered to the card base.
That does it for this project! I feel like for every release, I have to sneak a rainbow project or two! I hope you’ll swing by and check out the entire DIEcember release, this month is always one of my favorites! Have a wonderful day and don’t forget to stay awesome!
Supply List:
- SSS Etched Evening Blossom
- SSS Imperia Plate
- SSS XL Greetings 2, Die, Set
- SSS Sentiment Strip
- SSS Detail White Embossing Powder
- Distress Oxide Inks: Picked Raspberry , Spiced Marmalade, Mustard Seed, Twisted Citron, Broken China
- Honey Bee Deckle Edge A2 Dies
- PinkFresh Studio Jewels
- Neenah Classic Crest Solar White 110lb Cardstock
- Black Cardstock
- VersaMark Ink
- Bearly Art Glue
- 3M Foam Tape
- Studio Katia Embellishment Wand
- Anti-Static Powder Tool
- Misti
- Gemini Jr.
* Affiliate links used at no cost to you. Thanks so much for your support!
- Spellbinders Trailside Birthday Raccoon

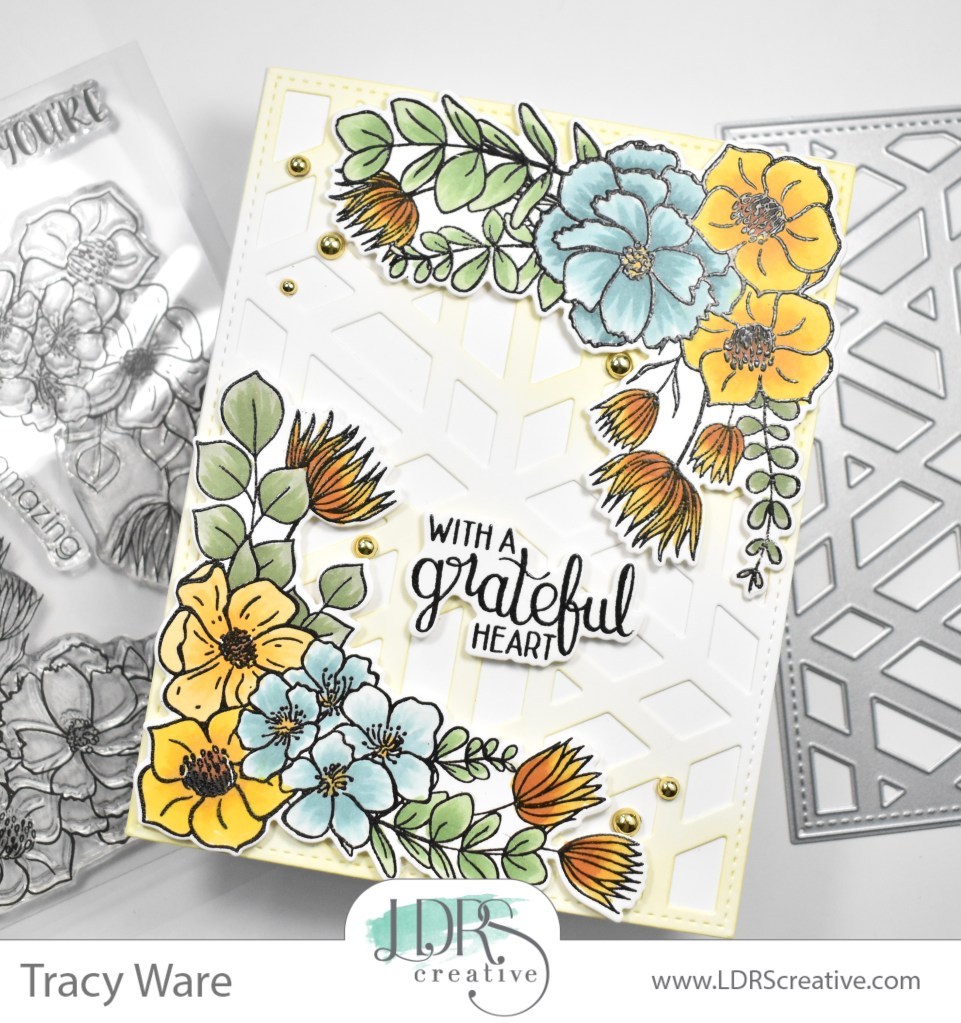
- Simon Says Stamp Grateful Heart

- Simon Says Stamp Braided Greetings

- Together By Design Color Cube Floral

- Simon Says Stamp Cute Duckling