Simon Says Stamp Grungy You Did It

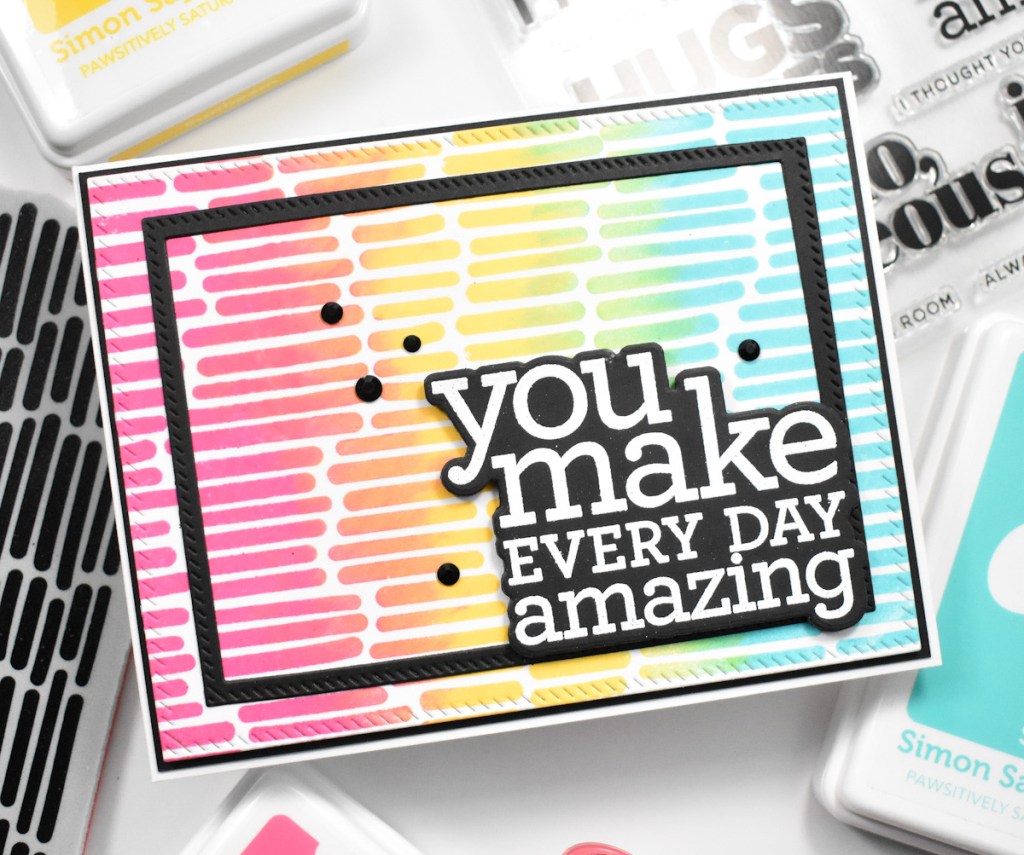
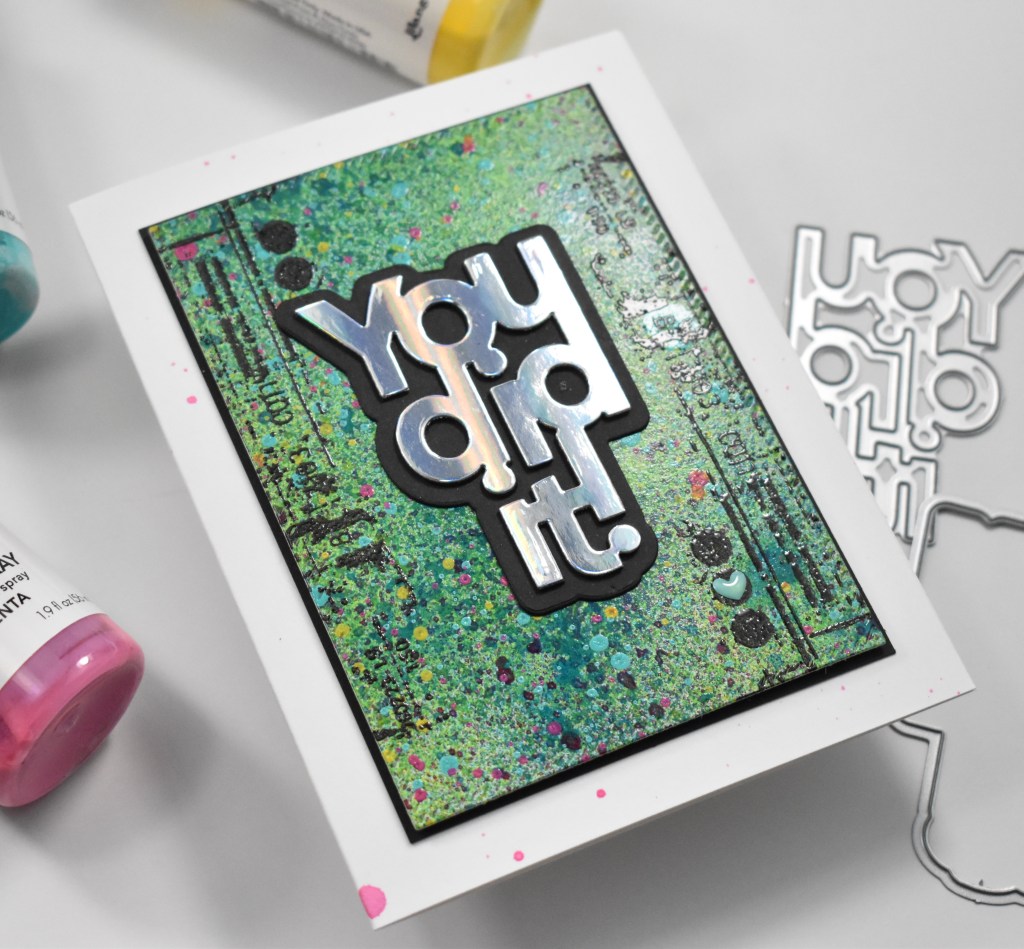
Hello Crafty Friends and thanks so much for stopping by! I’m participating in an Instagram Hop today to celebrate the newest Simon Says Stamp release, Yay You. There’s loads of inspiration and lots of chances to win a gift card by commenting along the hop, so be sure to check that out! I’m referring to today’s card as grungy because it mixes a lot of different elements, with a focus on the You Did It sentiment. So let’s get into the details!
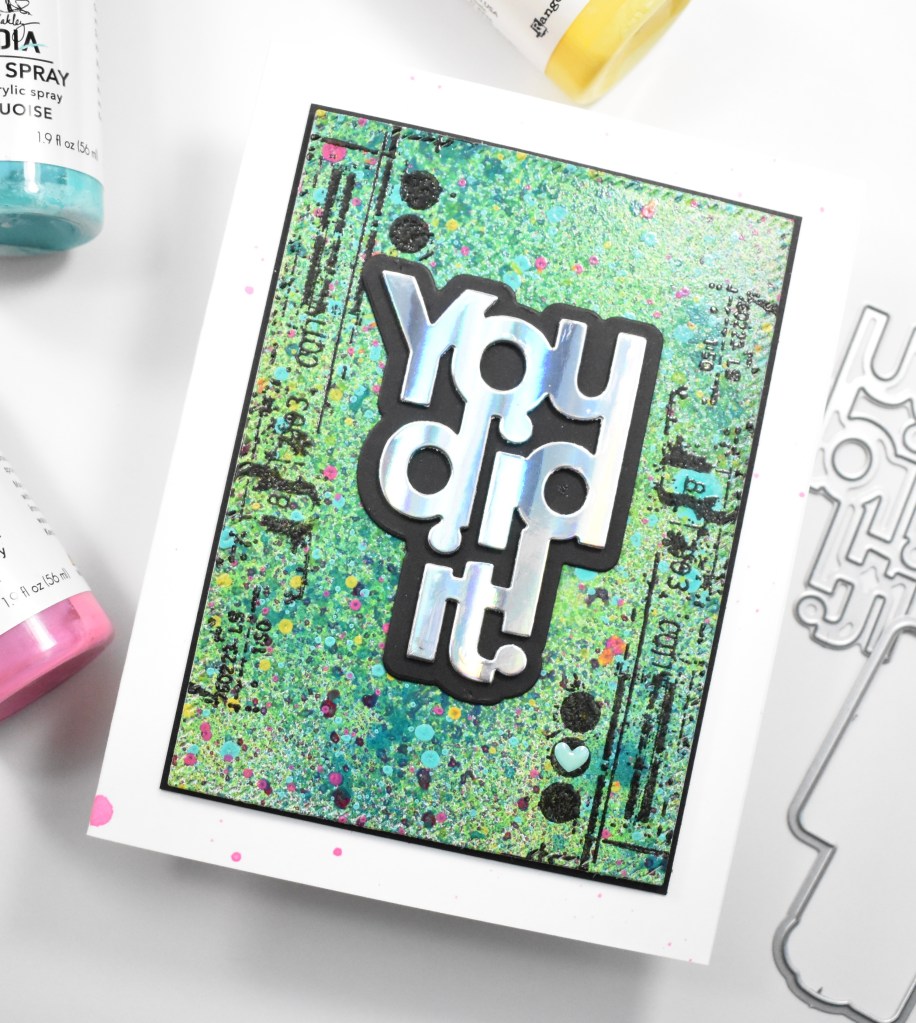
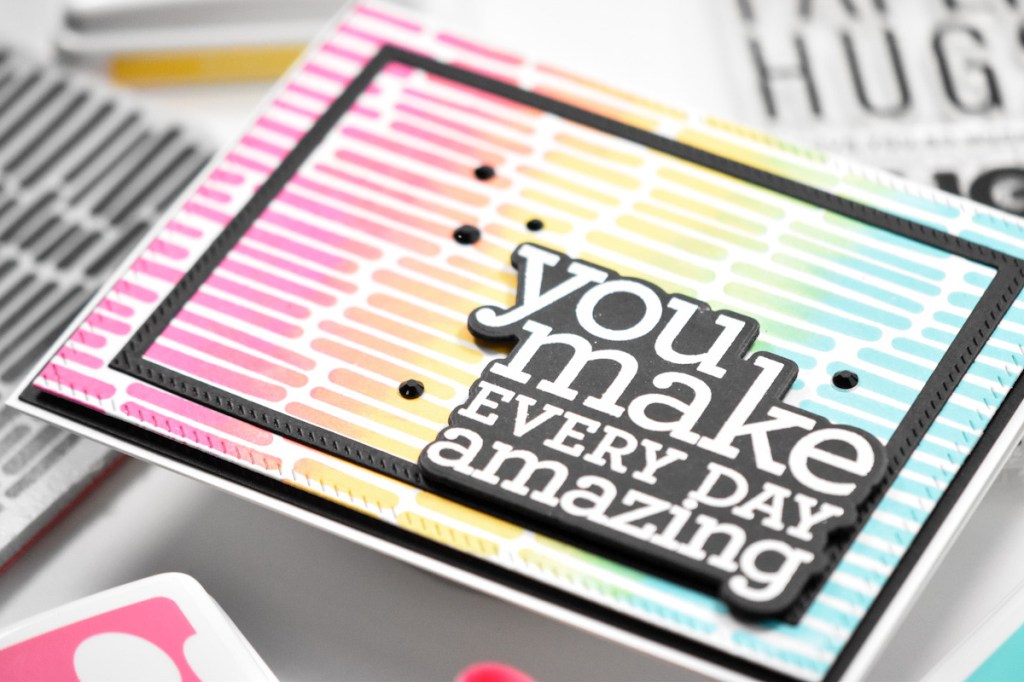
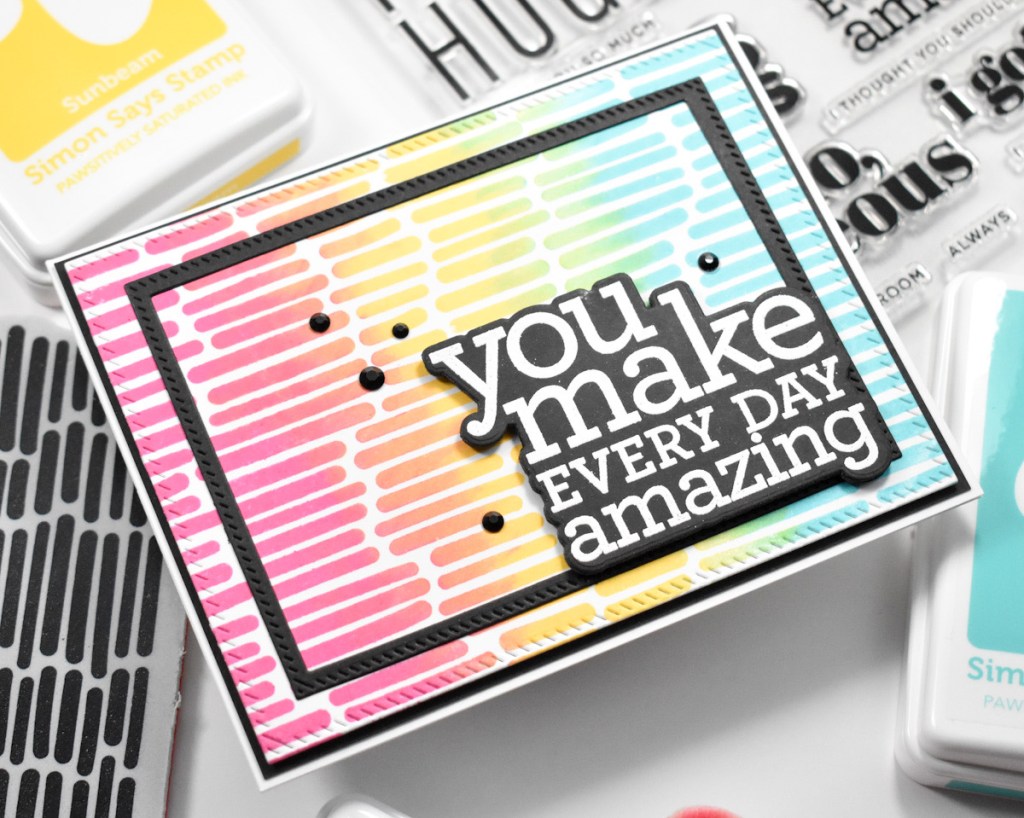
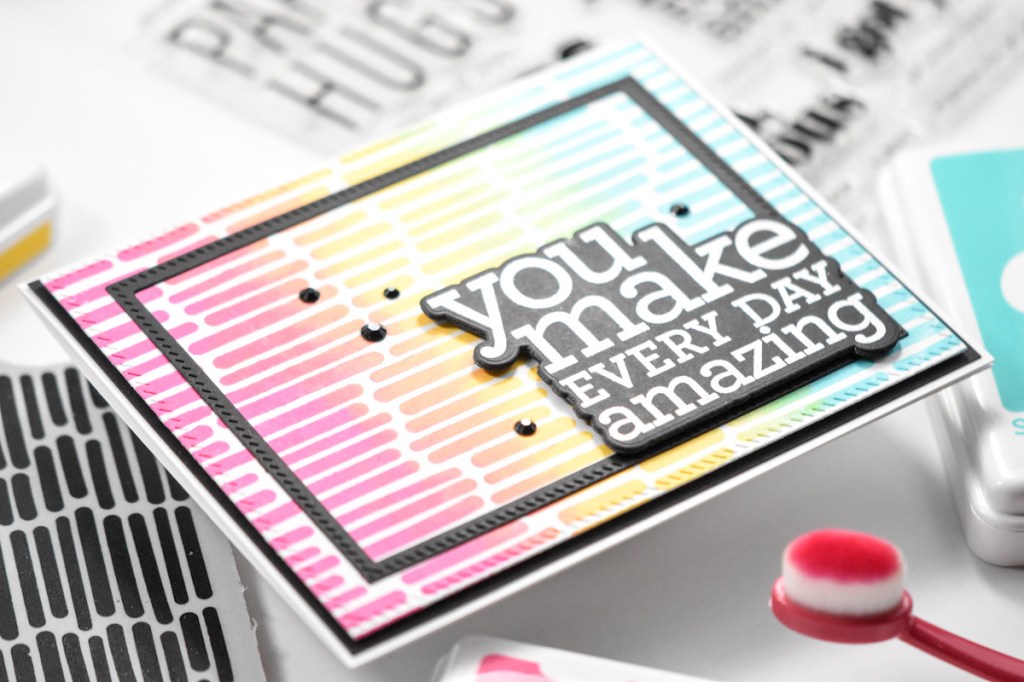
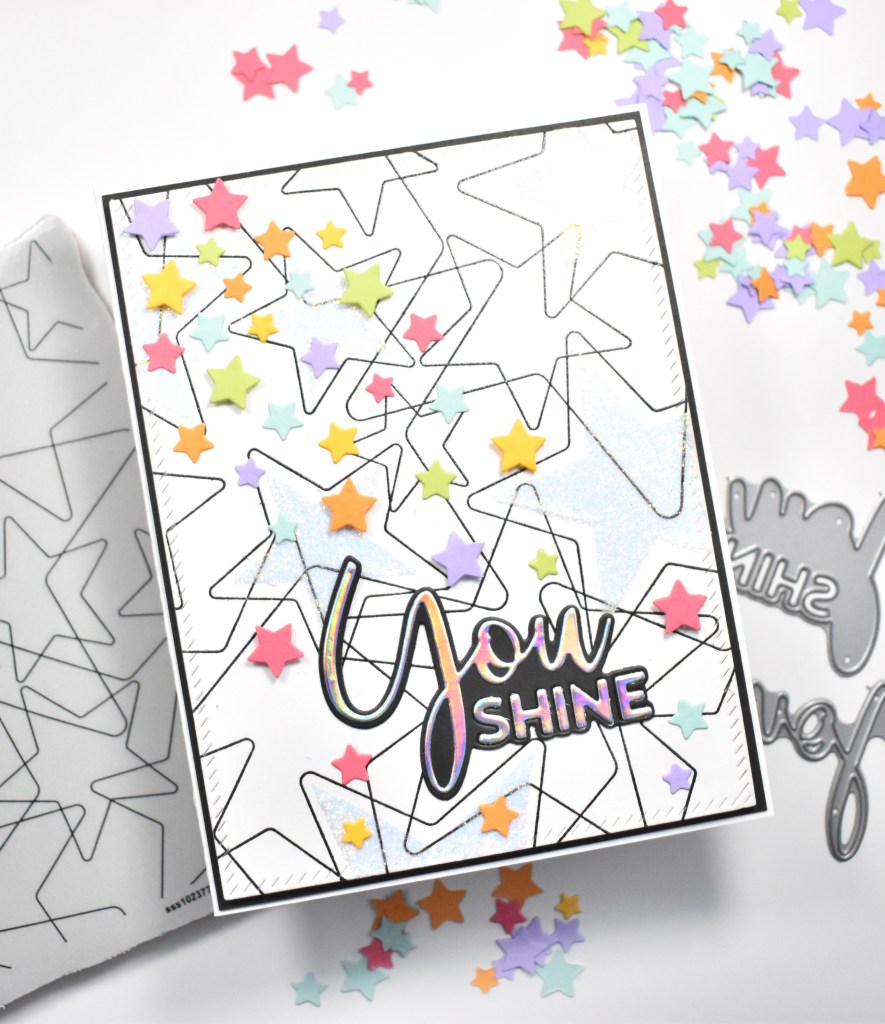
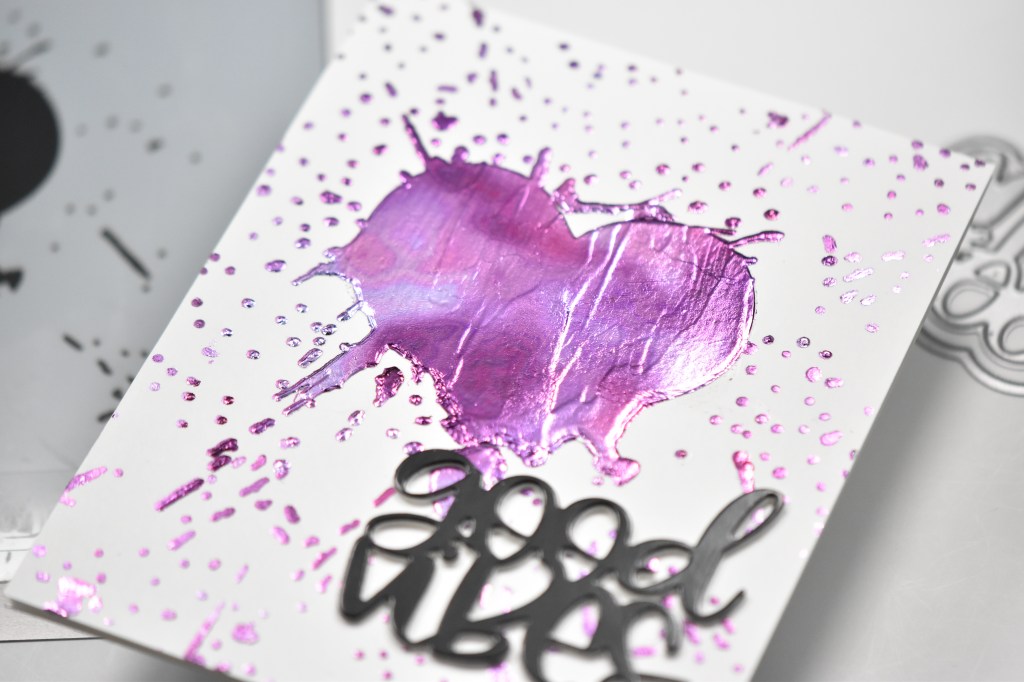
I knew that I was wanting a funky background for this one, so I pulled out a panel of Mixed Media paper along with some Ranger Gloss Sprays in Lime, Lemon, Ocean, Turquoise, Fuchsia and Magenta and got to work adding colors and splatters while letting it dry between applications. Needless to say, this background took quite a while to make. I let it dry between applications because I found that if I didn’t, I was getting more muddy colors.
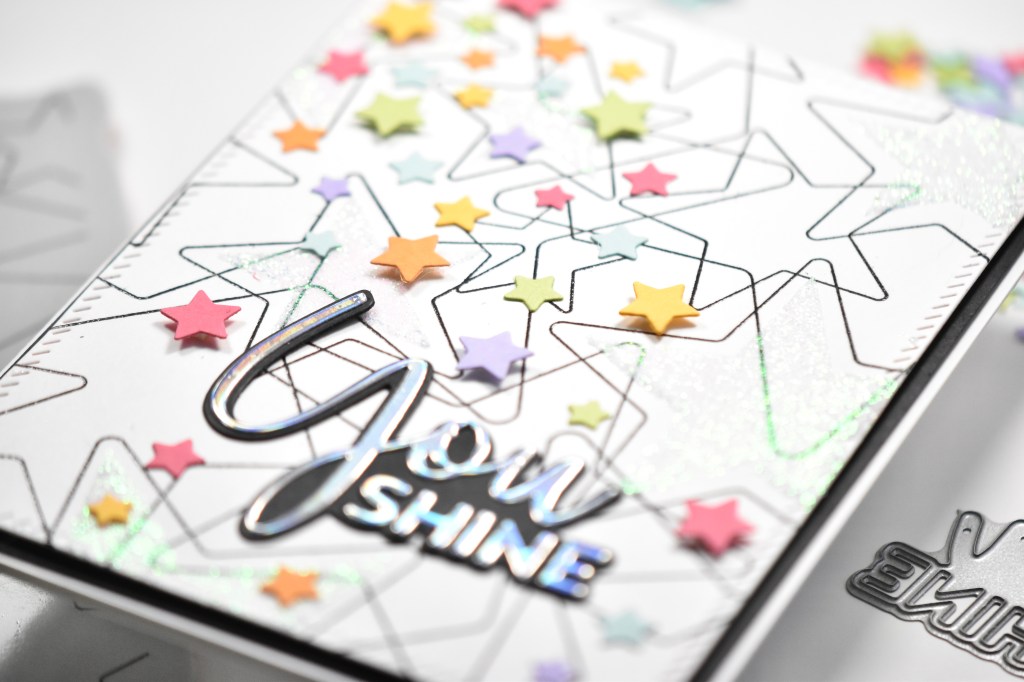
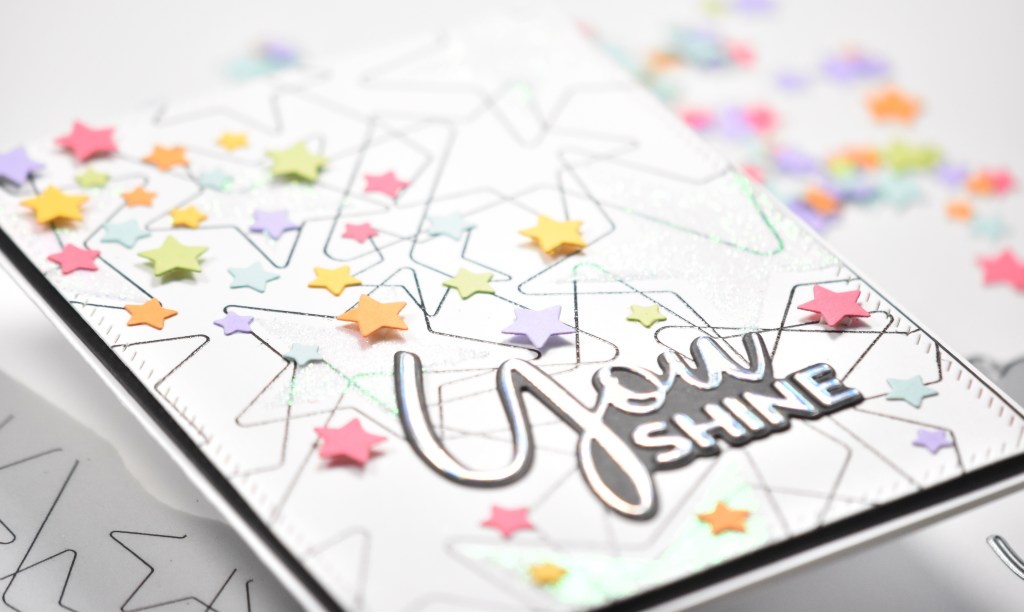
Anyhoo, once I was satisfied with the look of the background, I used the PinkFresh Studio Diagonal Stitched Rectangles to trim it down to smaller than an A2 card. I then popped it in the Misti for a little stamping using the Stampers Anonymous Glitch 2 set and VersaFine Onyx Black ink. Once the stamping was done, I heat embossed that using Ranger Clear Embossing Powder.
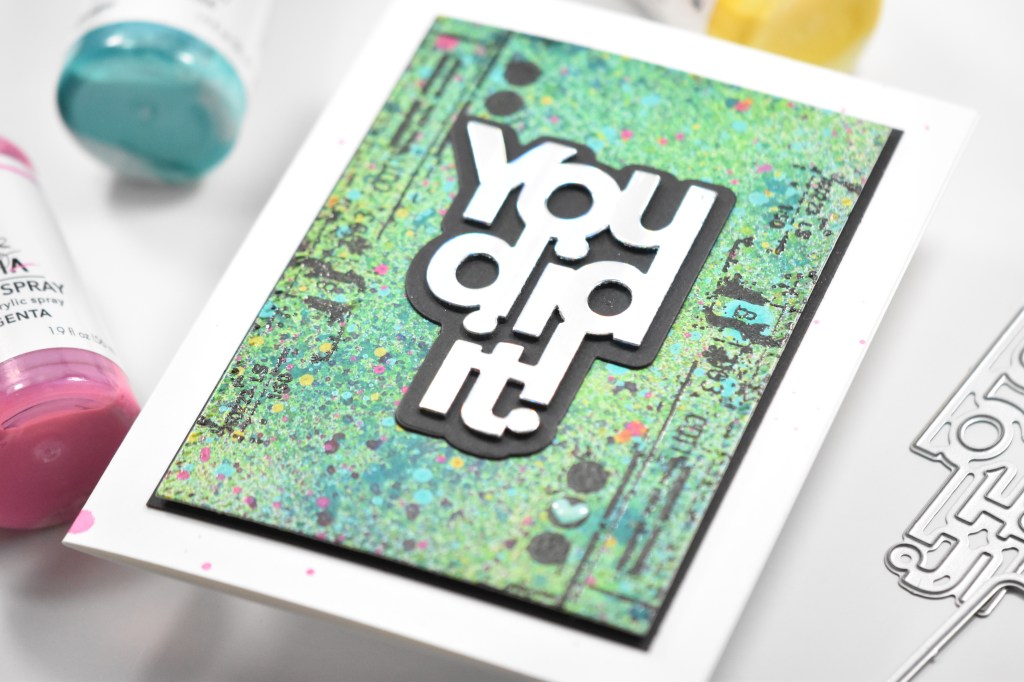
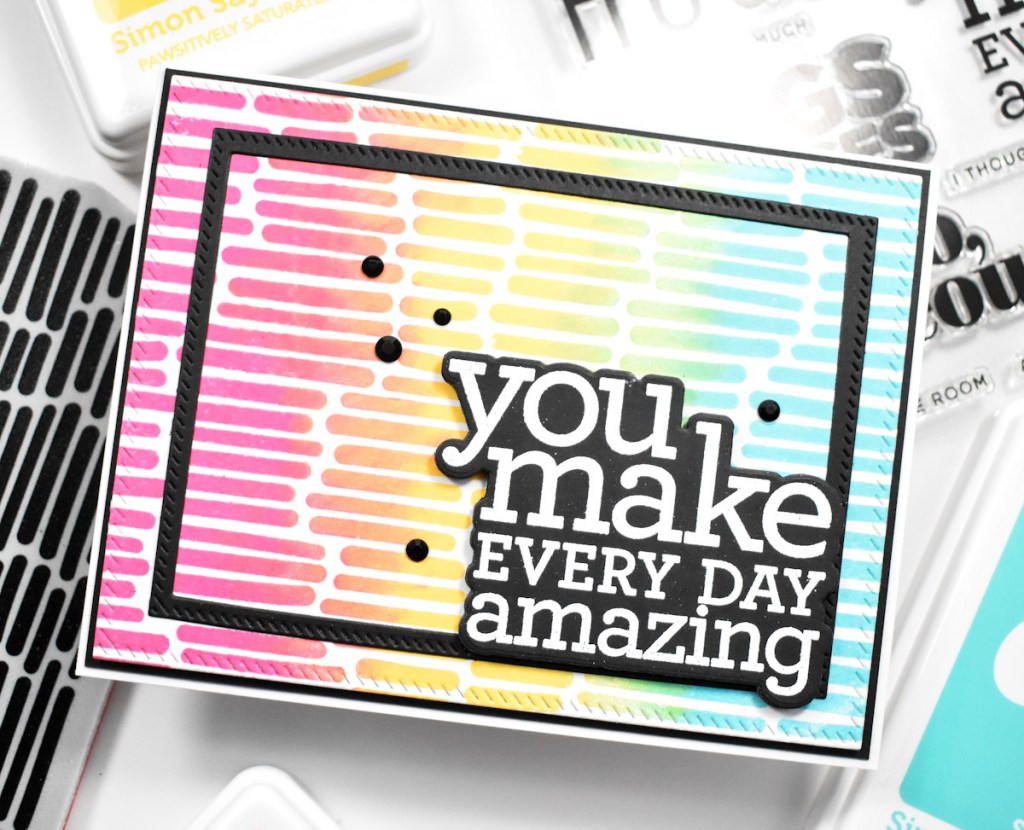
I die cut the SSS You Did It once from SSS Holographic cardstock and twice from black cardstock. I cut the shadow once from black cardstock as well, and adhered all of those together using liquid glue. That was then glued directly to the panel. For a little extra added interest, I added a tiny heart from Doodlebug Designs.
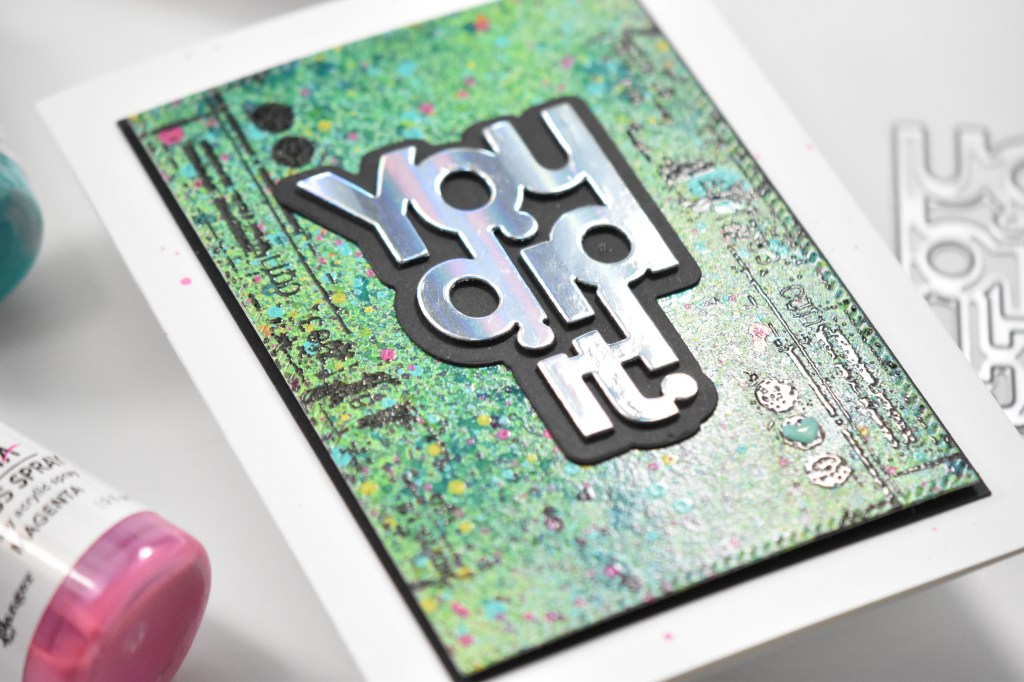
The assembled panel was then adhered to a black panel using foam tape before being adhered to the card base using SSS Dot Tape Runner. I had also splattered the card base using some of the gloss sprays.

That finishes up this project! I always love making mixed media type projects even though I don’t do them very often. It just feels so carefree and that’s super awesome! Be sure to check out the Instagram Hop for your chance to win a gift card! Who doesn’t love gift cards? Thanks again for stopping by and keep being awesome!
Supply List:
- SSS You Did It
- SSS Holographic Cardstock
- SSS Dot Tape Runner
- Ranger Gloss Sprays: Lime, Lemon, Ocean, Turquoise, Fuchsia, Magenta, Set
- Ranger Clear Embossing Powder
- Stampers Anonymous Glitch 2
- VersaFine Onyx Black Ink
- PinkFresh Studio Diagonal Stitched Rectangles
- Doodlebug Designs Tiny Hearts
- Mixed Media Paper (Not an affiliate link)
- Neenah Classic Crest Solar White 110lb Cardstock
- Black Cardstock
- Anti-Static Powder Tool
- Bearly Art Glue
- 3M Foam Tape
- Misti
- Gemini Jr.
* Affiliate links used at no cost to you. Thanks so much for your support!
Latest Posts
- Simon Says Stamp Grateful Heart

- Simon Says Stamp Braided Greetings

- Together By Design Color Cube Floral

- Simon Says Stamp Cute Duckling

- Simon Says Stamp Watercolor Wild Rose