Sketched Floral Hello

Hello Friends and welcome back! I’ve been playing with goodies from the latest Erin Lee Creative release, and made another card using the new Sketched Floral Foil Cover Plate. So let’s run through the details!

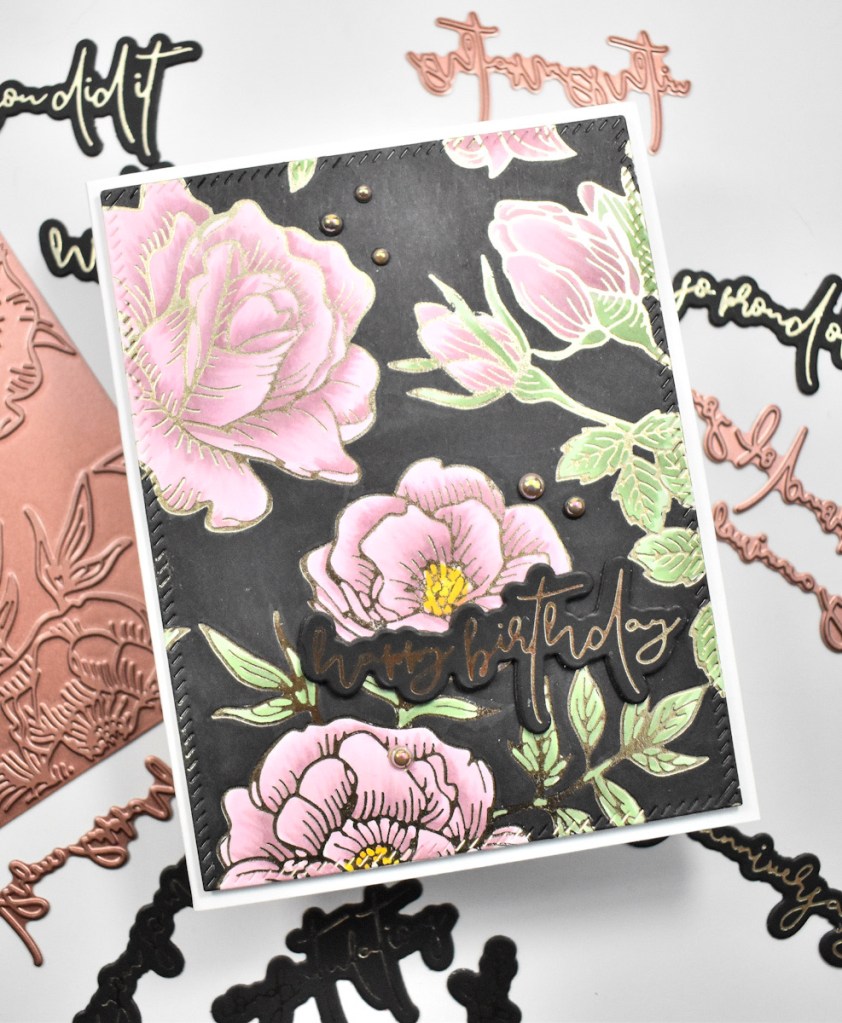
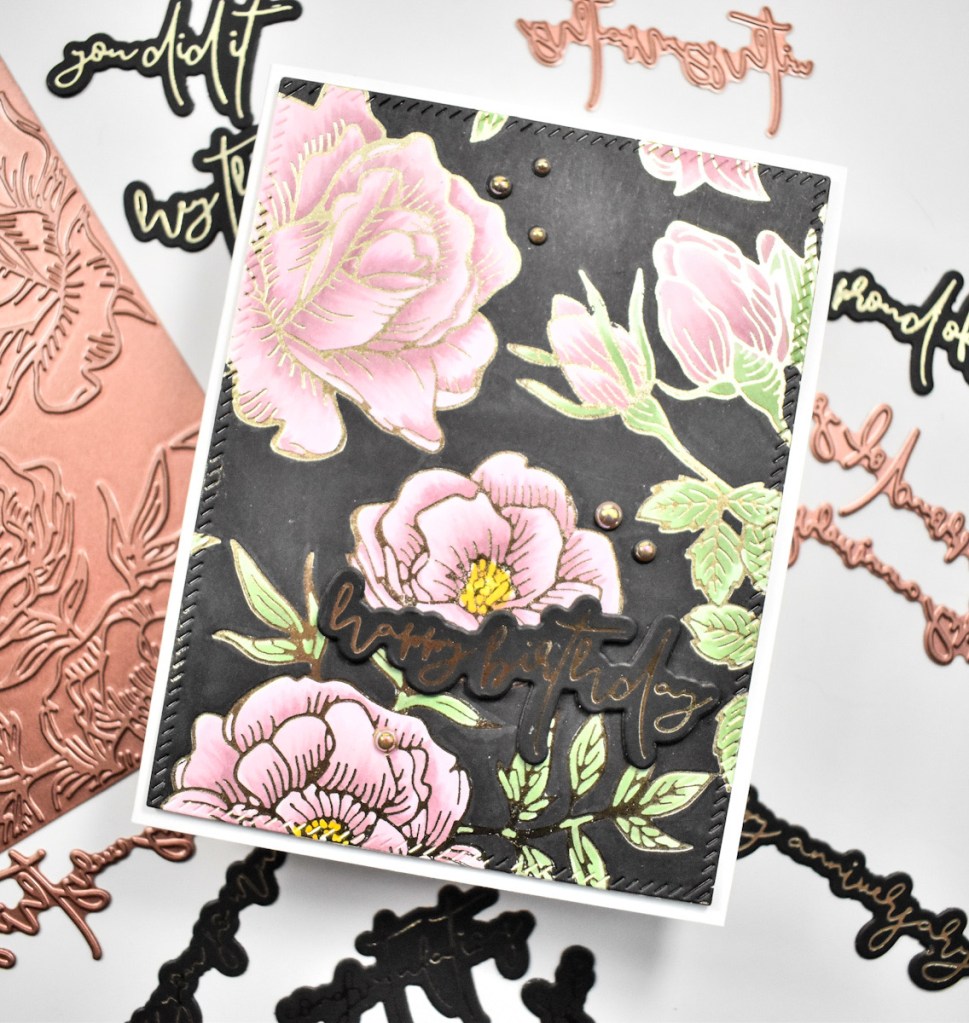
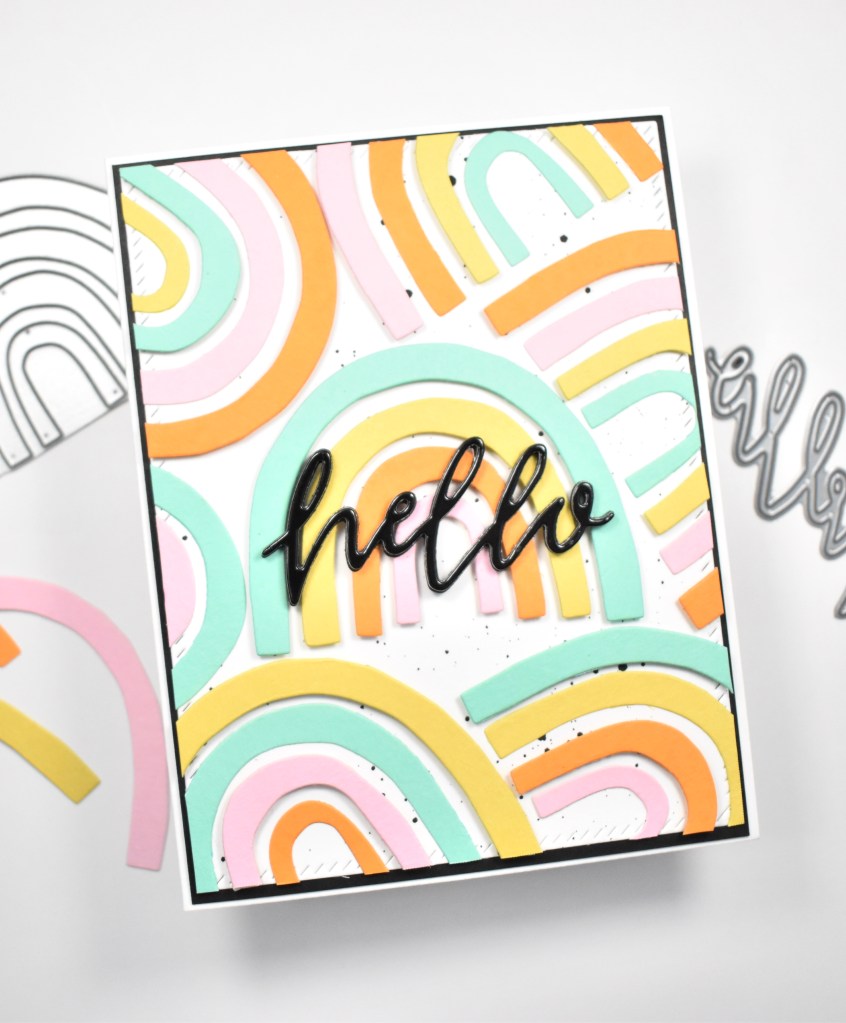
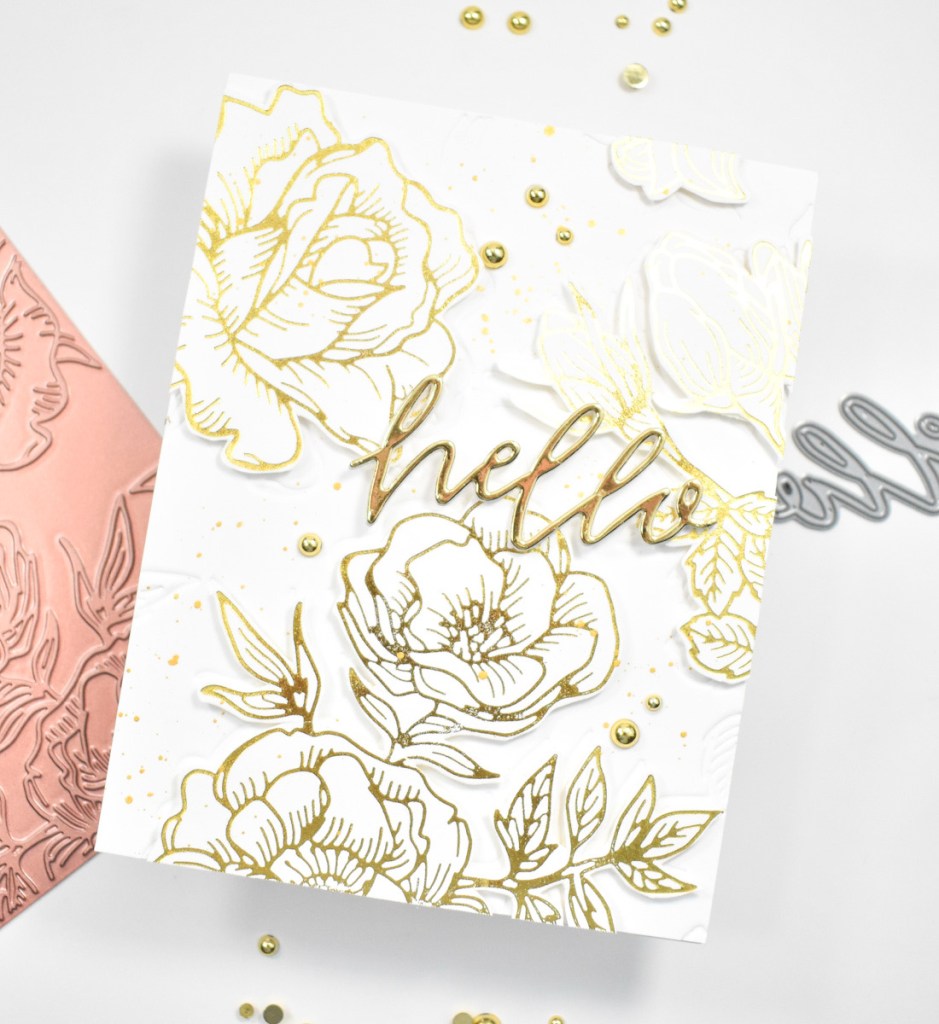
All too often I get caught up in the thought that everything needs to be colored. Guess what? It doesn’t! I quite like this white and gold simplistic design on this one! Anyhoo, I began this project by embossing the Sketched Floral Foil Cover Plate onto a panel of Neenah Classic Crest 110lb cardstock. That provided just a tad of underlying detail.

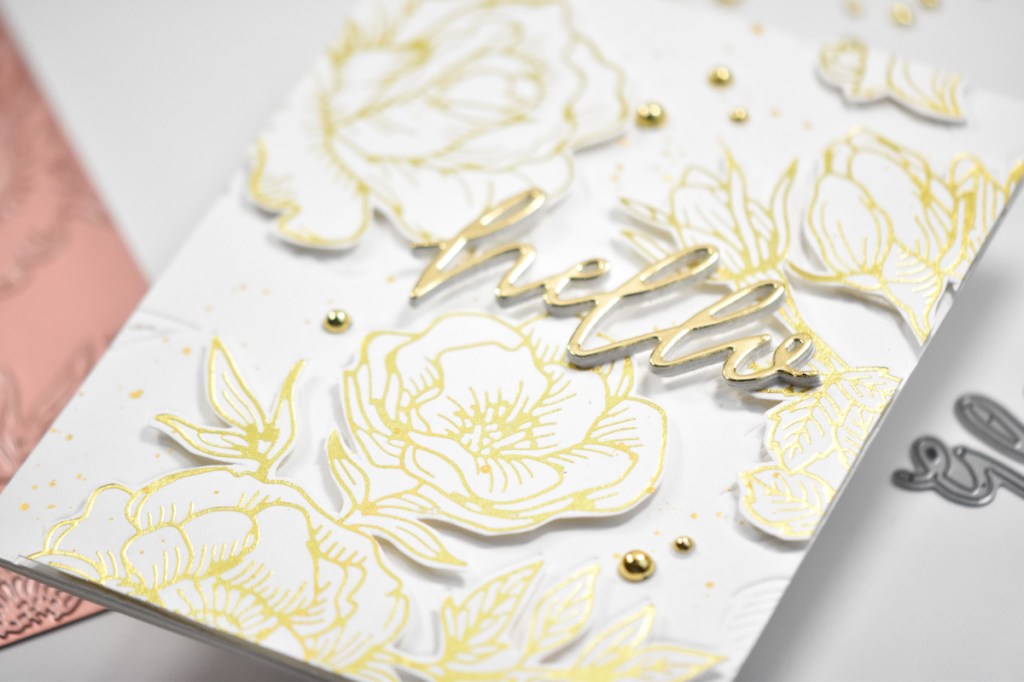
I foiled the same plate using Spellbinders Gold Hot Foil and fussy cut those images and placed foam tape on the back. When adhering them to the embossed panel, I offset them just the slightest little bit so that you could still see the embossed details. I also added some gold splatter using Royal Talens Light Gold Acrylic Ink for some added interest.

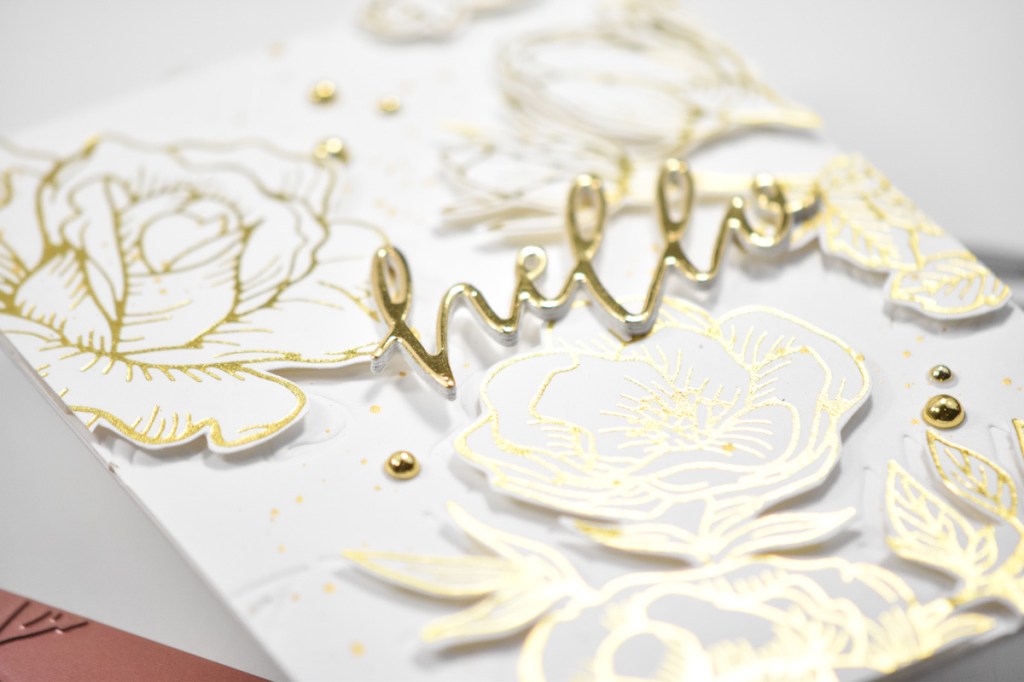
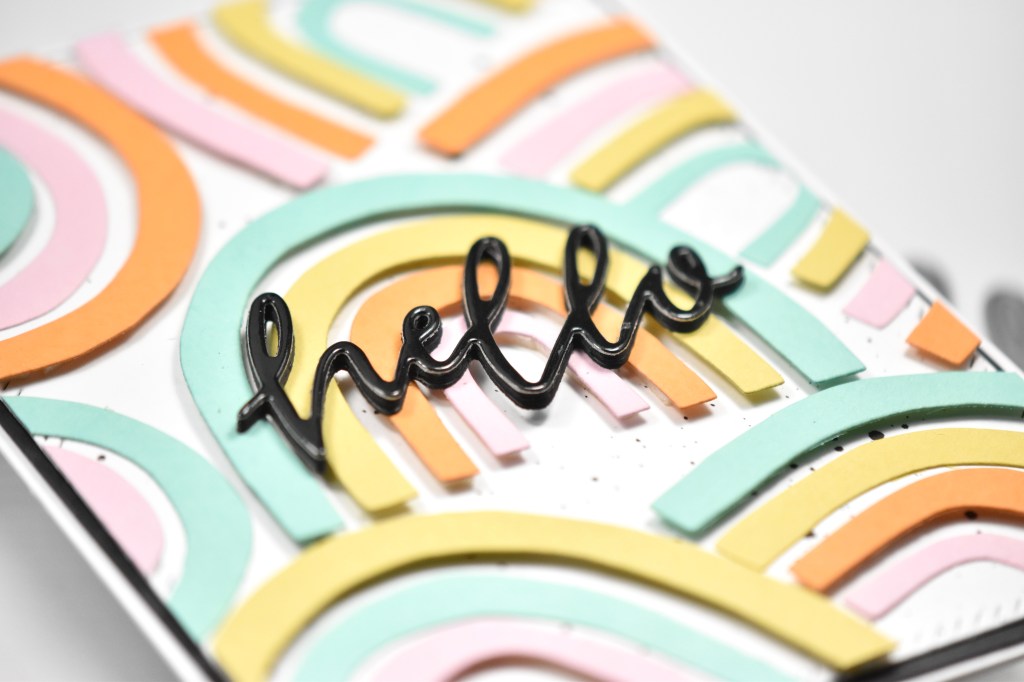
For the sentiment, I cut the Hello Word Die once from gold cardstock and four more times from Neenah 110lb and adhered all of those together using liquid glue. I made the sentiment so thick because it was going atop the flowers that were adhered with foam tape, and I needed it to be quite sturdy.

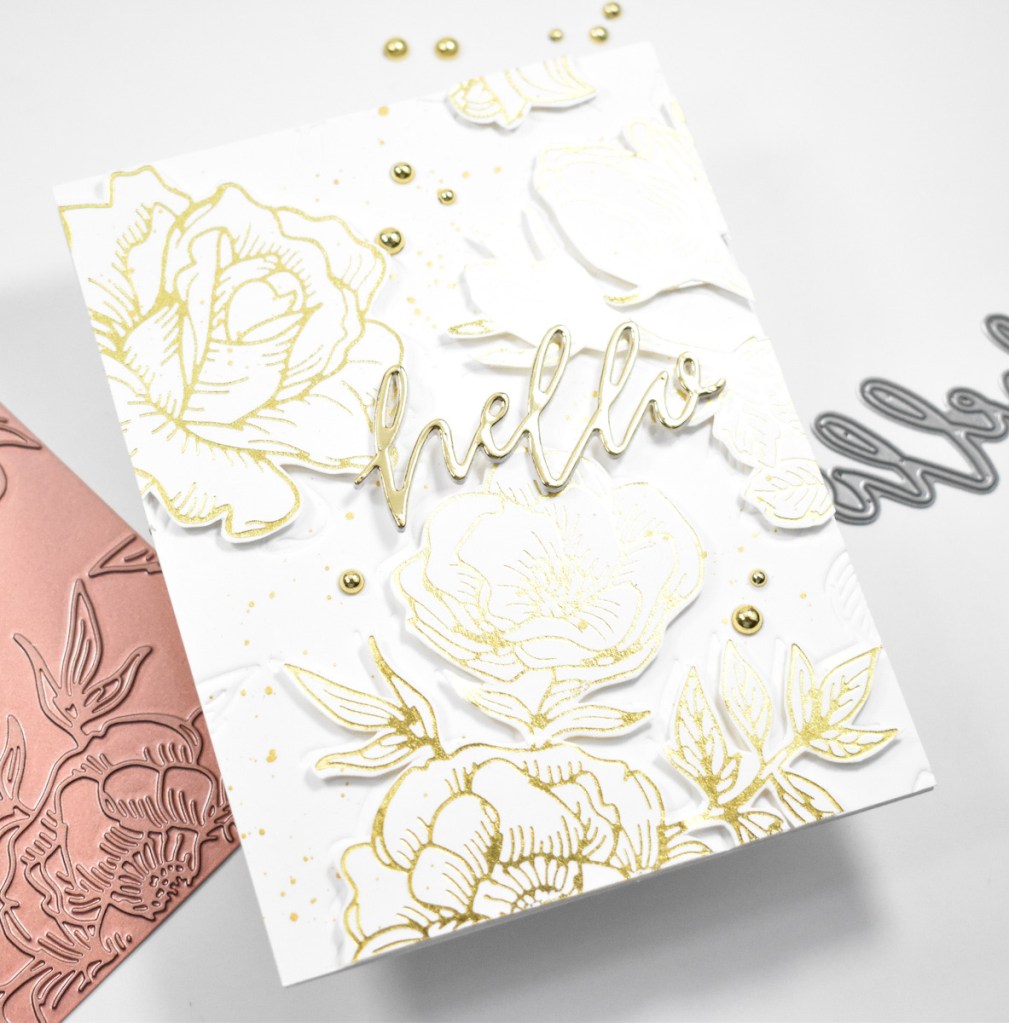
The sentiment was glued atop the flowers and the panel was adhered to the card base using SSS Dot Tape Runner. Of course I had to add a little more bling, so I added a few PinkFresh Studio Gold Metallic Pearls to finish it up.

That does it for this one! I hope you enjoyed it. It’s hard for me not to color all the things, but white and gold are beautiful too! Have yourself a wonderful day, and don’t forget to stay awesome!

Supply List:

* Affiliate links used at no cost to you. Thanks so much for your support!

Latest Posts
Latest Instagram Posts

Sketched Floral Birthday

Hello Crafty Lovelies and thanks for stopping by! Erin Lee Creative had an awesome release this past Friday with gorgeous floral plates and sentiments, and I’m super grateful and honored that Erin asked me to play with a few of the new products! I’m a little late to the party because I was away visiting my mom, but I got right to playing when I returned home. Today’s card is featuring the gorgeous Sketched Floral Foil Cover Plate along with the Script Sentiments 2 Foil Die Combo, so let’s run through the details for this one!

I began by foiling the Sketched Floral on a panel of Neenah Classic Crest 110lb cardstock using Spellbinders Champagne Hot Foil. Once the foiling was done, I trimmed the panel using PinkFresh Studio Diagonal Stitched Rectangles, and began coloring the piece. The Copic markers that I used were RV10, RV91, RV93, RV95, G21, G24, G85, Y08, Y17 and Special Black 110. Coloring the background black is a technique that I saw Yana Smakula do a long time ago, and I just love the drama and contrast that it provides.

The Script Sentiments 2 set is gorgeous and this font is so unique! I foiled a few of the sentiments on black cardstock using the same Champagne foil and trimmed them out using the included coordinating dies. I opted to go with the happy birthday sentiment, because you can never have enough birthday cards in my opinion. I went ahead and trimmed that sentiment two more times from black and adhered all of those together using liquid glue.

The sentiment was glued directly to the panel, along with some PinkFresh Studio Champagne Metallic Pearls. The panel was then adhered to the card base using foam tape for a little added dimension.

That finishes up this beauty! I hope you enjoyed it, and I hope it inspires you to get crafty! Stop by and check out this gorgeous releases over on Erin’s website! Thanks again to Erin for letting me play with these beautiful products! Have a wonderful day and don’t forget to stay awesome!

Supply List:

* Affiliate links used at no cost to you. Thank you so much for your support!

Latest Posts
Latest Instagram Posts

Erin Lee Creative Hello Somewhere Rainbow

Hello Crafty Lovelies! Hope you’re doing well and having a wonderful day! I’m back today featuring a couple of cool products from Erin Lee Creative, and can I just say, I love how this card turned out! Let’s get right into the details!

I began the project by cutting the Somewhere Rainbow twice from four different colors of cardstock from The Stamp Market. I cut them twice from each color because I wasn’t sure how many that I was going to need. I needed a panel to work on, so I cut a panel of Neenah Classic Crest 110lb cardstock using the PinkFresh Studio Diagonal Stitched Rectangles.

Once that was cut, I splattered it using Royal Talens Amsterdam Oxide Black Acrylic Ink and set it aside to dry. I began assembling the first rainbow in the center of the panel. For this one rainbow, each arch is adhered with foam tape.

I had to play with placement of the remaining rainbows as to fill in the panel the best way. Once that was decided, I began adhering the other rainbows, using a combination of glue and foam tape, alternating arches. Hopefully you can see that from the pics.

Once the panel was full of rainbows, I die cut the Hello Word Die once from Glossy Black cardstock and three times from black cardstock, gluing all of those together for dimension, because dimension rocks! I adhered the Hello sentiment in the center of the panel atop the center rainbow. My panel was then adhered to a black panel using foam tape, and then to the card base, which is Neenah 110lb.

That finishes up this project! You guys, Erin has some of the cutest rainbows, and I’m just in love with this one! I hope you’ll stop by her website and check out her awesome products! Stay awesome friend!

Supply List:

* Some affiliate links used at no cost to you. Thank you for your support!

Latest Instagram Posts

Erin Lee Creative Graffiti Heart Vibes

Hello and welcome back! I’m so glad that you stopped by! I’m still playing with my Erin Lee Creative goodies, and today’s card is featuring the Graffiti Heart Stencil along with the Good Vibes Layering Die. Let’s not waste any more time and get right to the deets!

To begin, I cut a panel of Neenah Classic Crest Solar White 110lb cardstock to an A2 size and adhered the Graffiti Heart Stencil to it using masking tape. I then used Deco Foil Transfer Gel Duo to give it a good coat, and then set it aside to dry.

Once the gel was dry, I applied a sheet of Deco Foil Amethyst Watercolor and ran it through the die cutting machine. This stencil does not cover a full card panel, so I carefully used the smaller splatter portions of the stencil to repeat the process.

I could really only repeat the process on two small sections of the panel at a time, so that’s what I did! I applied the gel, set it aside to dry and then added more foil. I don’t remember how many times this was repeated, but I wanted the whole panel covered.

A mistake that I made while making this card, was not putting a clean piece of paper over the previously foiled heart, so it picked up marks and such from my die cutting plate. With that being said, I had to re-apply gel to the heart and re-foil it. The second time around, I didn’t get it quite smooth enough, but I just went with it anyhoo! We’re just going to say that it adds to the graffiti character! I hate making mistakes, but it’s part of life, and now I know for the next time!

I die cut the Good Vibes sentiment once from Glossy Black cardstock and twice from Neenah 110lb and adhered those together using liquid glue. My panel was then adhered to the card base, which is also Neenah 110lb, using foam tape for dimension.

That finishes up this card! I hope you like it and I hope it inspires you to get crafty! This was my first time using the Deco Foil sheets, and I quite like this way of foiling! I’ll definitely be doing this more in the future! Thanks again for stopping by and don’t forget to stay awesome!

Supply List:

*Some affiliate links used at no cost to you. Thank you for your support!

Latest Instagram Posts

Erin Lee Creative Chevron Hi

Hello there crafty friend! I hope you’re having an amazing day! I’m so glad that you stopped by! I was beyond excited when asked to play with some goodies from Erin Lee Creative! Like beyond! So, today’s card is featuring the Chevron Builder and Jumbo Hi dies from her previous releases. Let’s jump right in to the details, shall we?

To begin this project, I pulled out six colors of cardstock from The Stamp Market and die cut the Chevron Builder from those colors twice. I also trimmed a panel of Neenah Classic Crest 110lb cardstock just smaller than an A2 card to layer the chevron pieces on.

I put foam tape on the back of the chevron pieces and began adhering them in rainbow order, leaving a small space between, until the entire panel was covered.

I die cut the Erin Lee Creative Jumbo Hi once from Glossy Black cardstock, and two more times from black cardstock and adhered all of those together using liquid glue. I then glued the sentiment in the center of the chevron panel.

This was then adhered to a black panel for contrast, and then to the card base, which is also Neenah 110lb. This card felt like it needed some embellishments, so I opted for some black crystals from Studio Katia.

That finishes up this project! I hope you enjoyed it, and I hope it inspires you to get crafty! I ended up with enough chevron pieces to make a second card, so I’ll post that soon! Have a wonderful day and don’t forget to stay awesome!

Supply List:

*Some affiliate links used at no cost to you. Thank you for your support!

Latest Instagram Posts