LDRS Hello Lovely

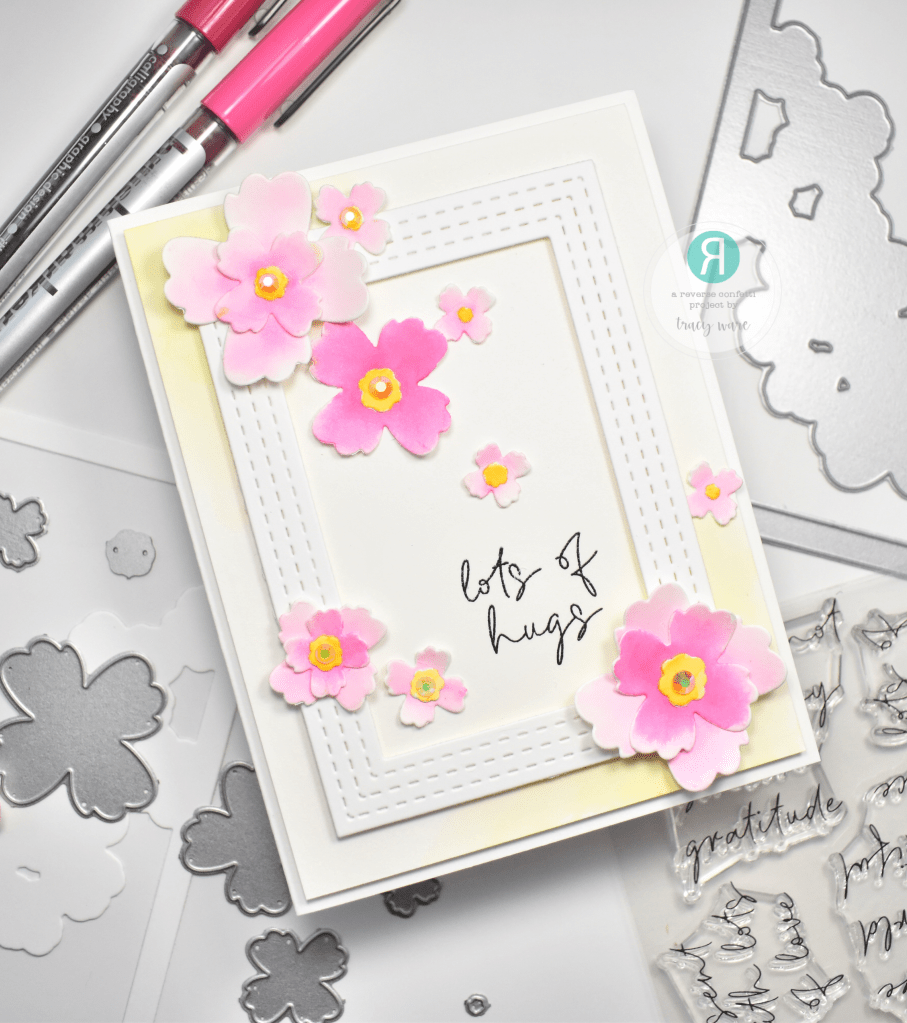
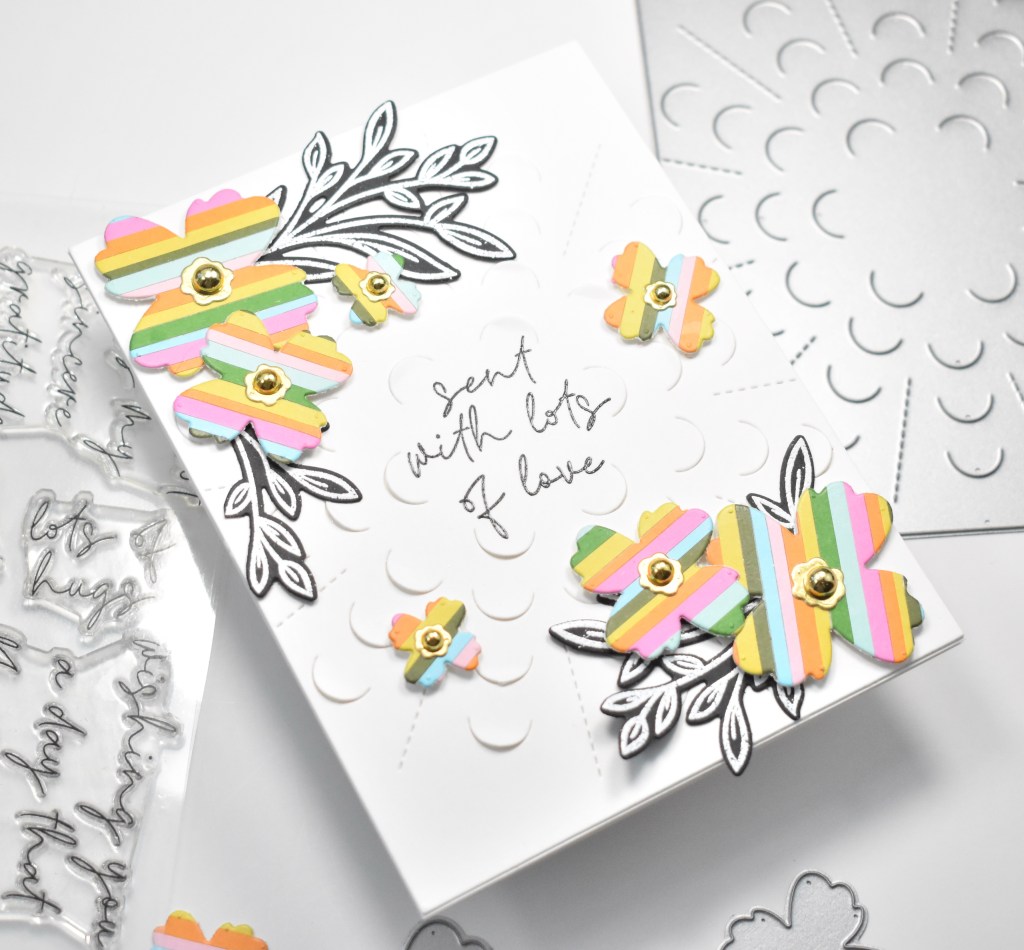
Hello Friend! Thanks for stopping by today! I hope you are doing well and having a wonderful day! I’m back today with an LDRS card featuring the Garden’s Edge Slimline Stamp and die. Wow, this is such a beautiful stamp, and I was super excited to play with it. So, let’s jump right in!

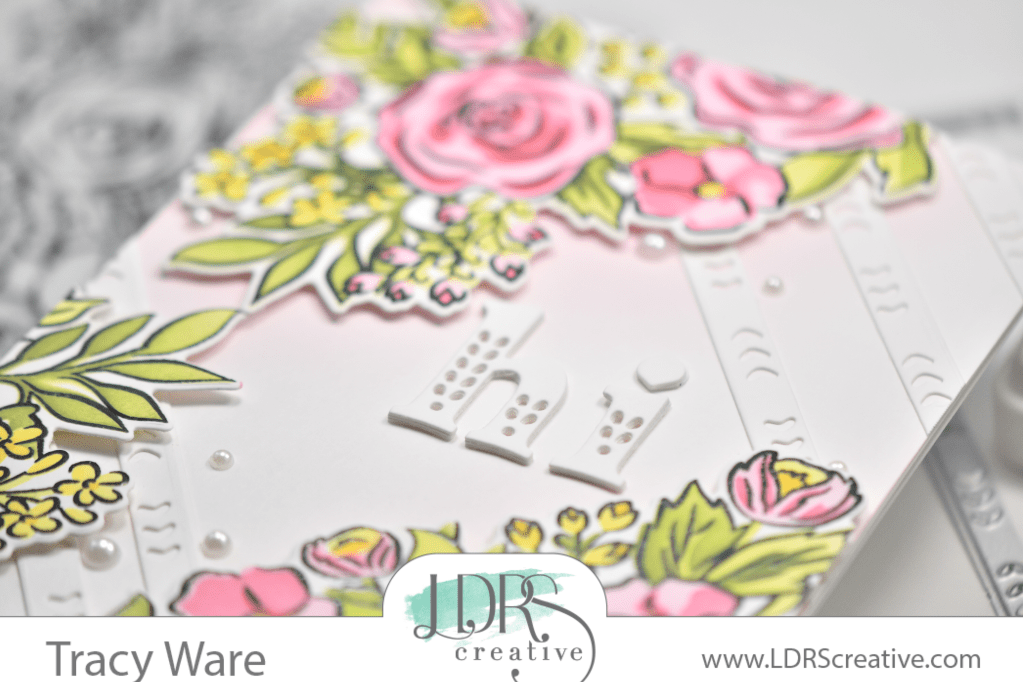
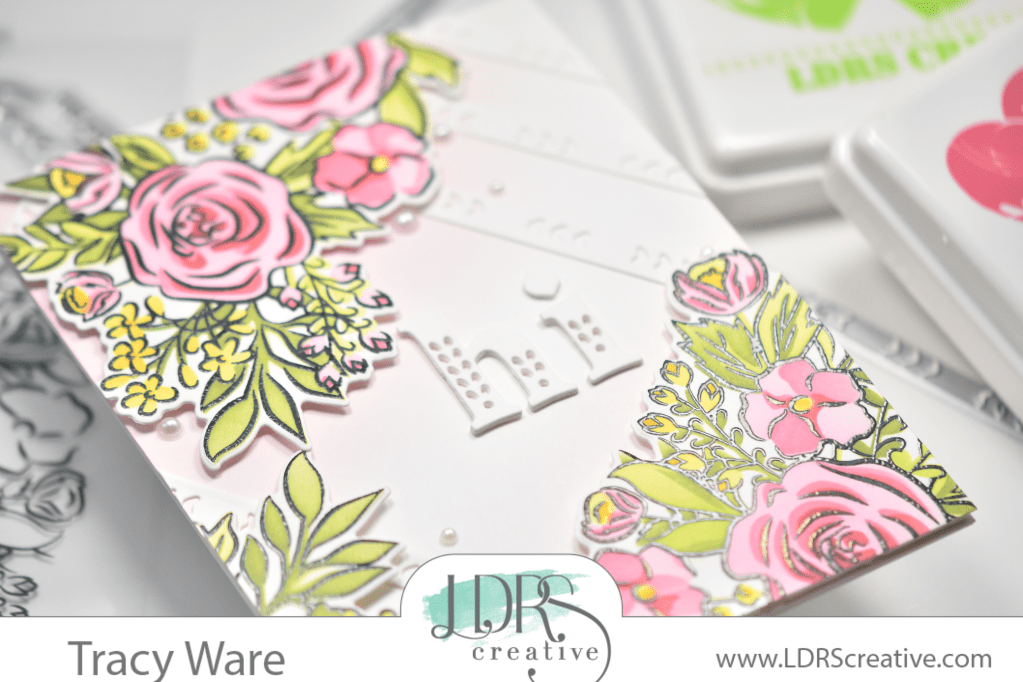
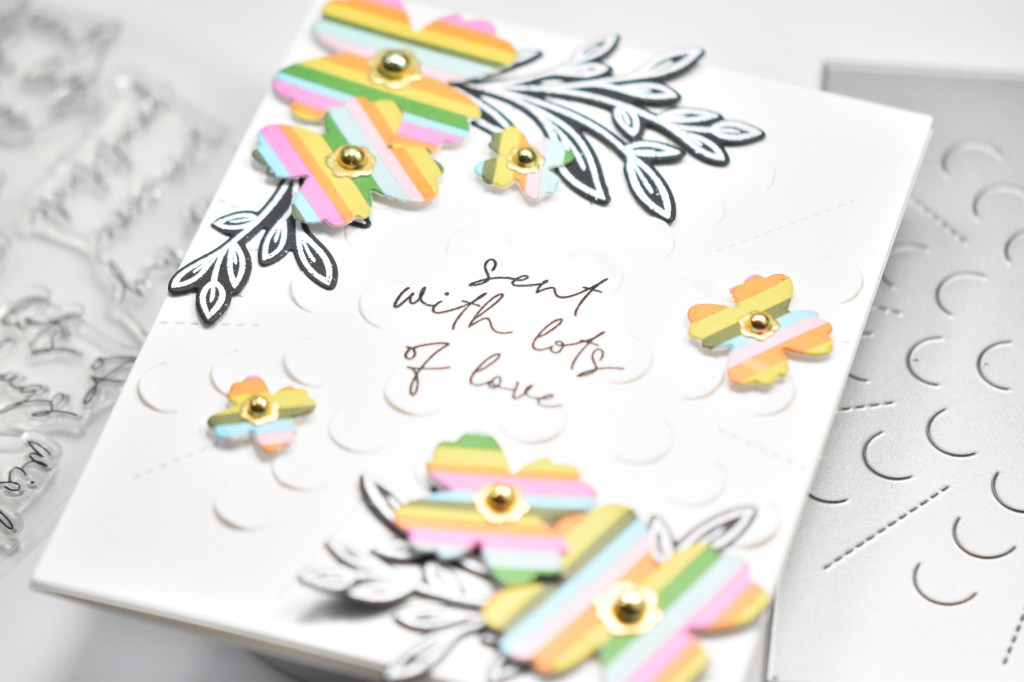
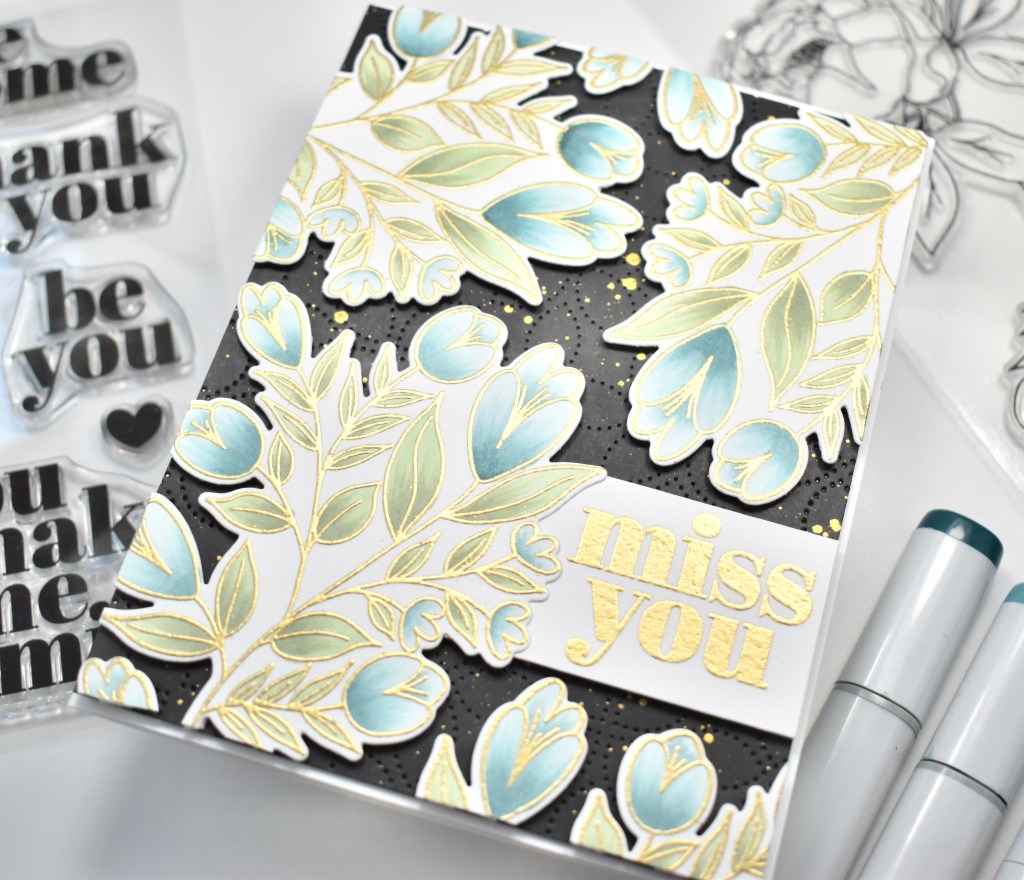
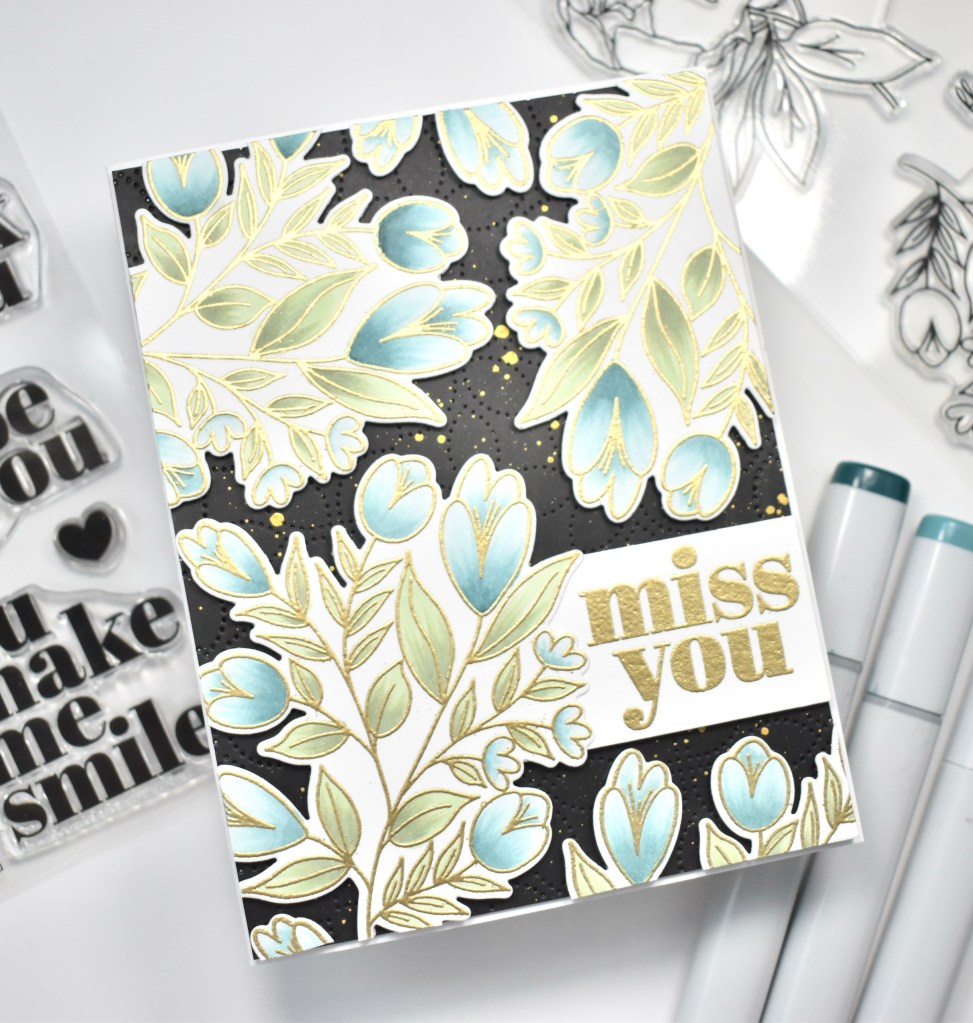
I began by stamping the LDRS Garden’s Edge Slimline stamp on a panel of Neenah Classic Crest 110lb cardstock, using VersaFine Onyx Black ink and heat setting it using Ranger Clear Embossing Powder. I then began coloring using Copic markers BG10, BG11, BG72, G21, G24, Y08, Y11, Y15, Y17, Y32, YR27, E99, RV00, RV10, RV11, RV17 and RV55.

Once the coloring was completed, I used the LDRS Garden’s Edge Slimline Die to trim it out, and I pulled out a piece of watercolor paper for the background. I used Distress Oxide Sprays Broken China and Prize Ribbon, and spritzed them onto my glass work surface, spritzed some water, and then did some ink smooshing to obtain the soft wash of color.

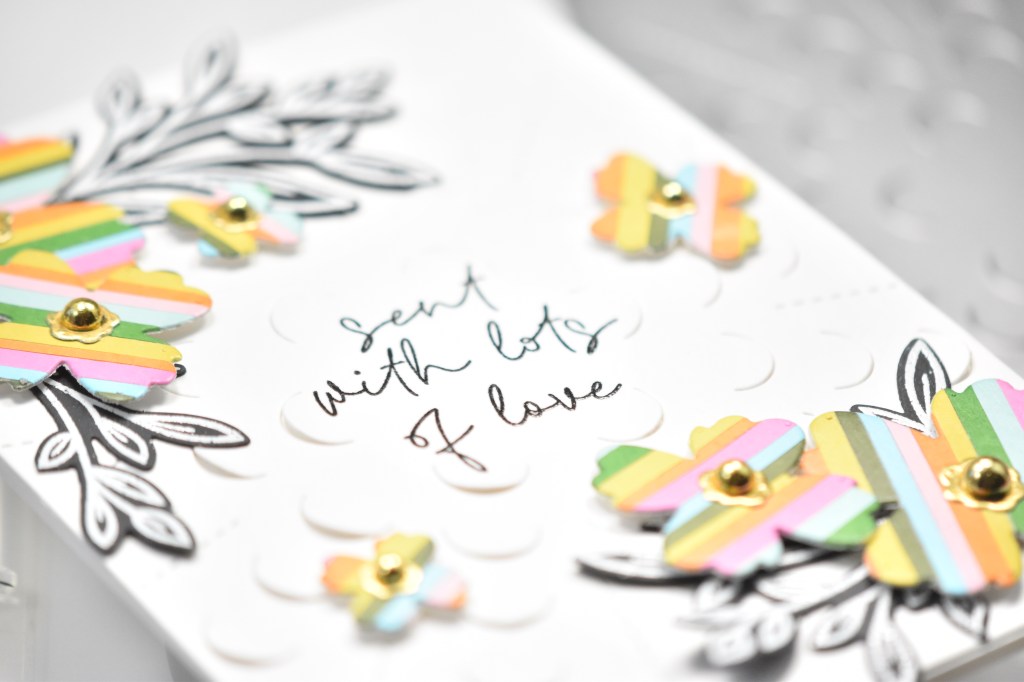
Once the watercolor panel was dry, I popped it into the Misti and stamped the Hello Lovely sentiment, which is also from the same stamp set, using VersaFine Onyx Black ink and heat setting it using the same embossing powder.

Since I was not using this slimline stamped image on a slimline card, I had to choose the placement of the florals. Once decided, I placed foam tape on the back and adhered it to the watercolor panel, trimming off the excess. The excess was then added to another section of the card. We can’t let any of it go to waste, right?! This was then adhered to the card base, which is also Neenah 110lb, using foam tape. I also added a few confetti sequins because we have to have bling!

That finishes up this project! I hope you enjoyed it and I hope you found some inspiration! Have a wonderful day and don’t forget to stay awesome friend!
Supply List:
- LDRS Garden’s Edge Slimline Stamp Set
- LDRS Garden’s Edge Coordinating Die
- Distress Oxide Spray: Broken China, Prize Ribbon
- Copic Markers: BG10, BG11, BG72, G21, G24, Y08, Y11, Y15, Y17, Y32, YR27, E99, RV00, RV10, RV11, RV17, RV55
- Neenah Classic Crest Solar White 110lb Cardstock
- VersaFine Onyx Black Ink
- Ranger Clear Embossing Powder
- Fluid Hot Press Watercolor Paper
- Confetti Sequins
- Bearly Art Glue
- 3M Foam Tape
- Tim Holtz Scissors
- Anti-Static Powder Tool
- Studio Katia Embellishment Wand
- Misti
- Gemini Jr.
* Affiliate links used at no cost to you. Thank you so much for your support!
- Simon Says Stamp Grateful Heart

- Simon Says Stamp Braided Greetings

- Together By Design Color Cube Floral

- Simon Says Stamp Cute Duckling

- Simon Says Stamp Watercolor Wild Rose