Simon Says Stamp Floral Friends

Hey there Friends! Thanks for joining me again today, as I’m featuring a product from the new Simon Says Stamp Make Magic release! This has been a super fun release to work with! Who am I kidding?! All of their releases are awesome and super fun to work with! Anyhoo, today’s project is featuring the Slimline Floral Builder Stencil, so let’s get into the details!

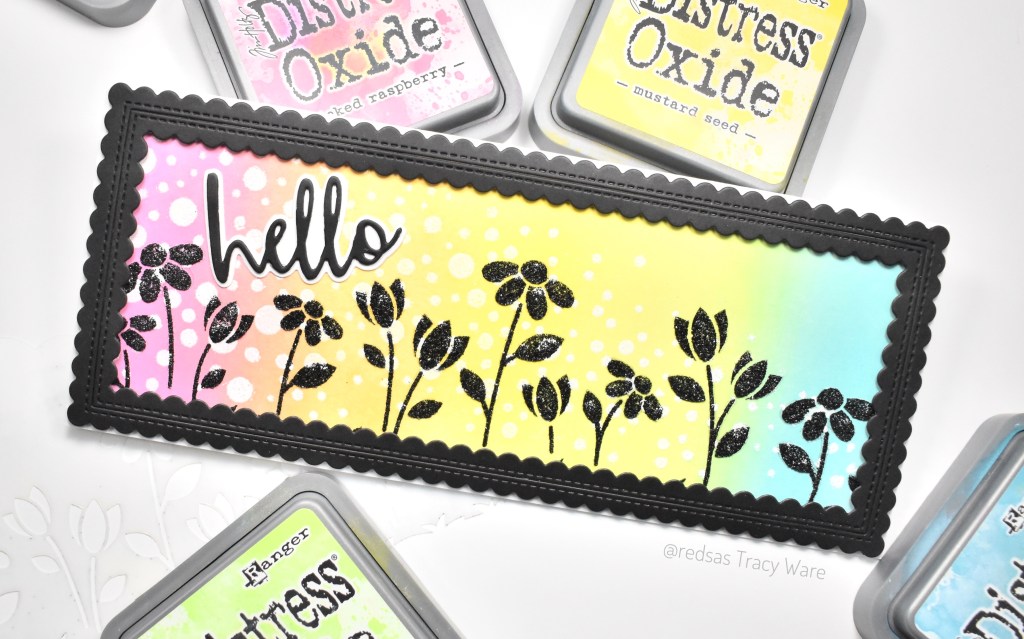
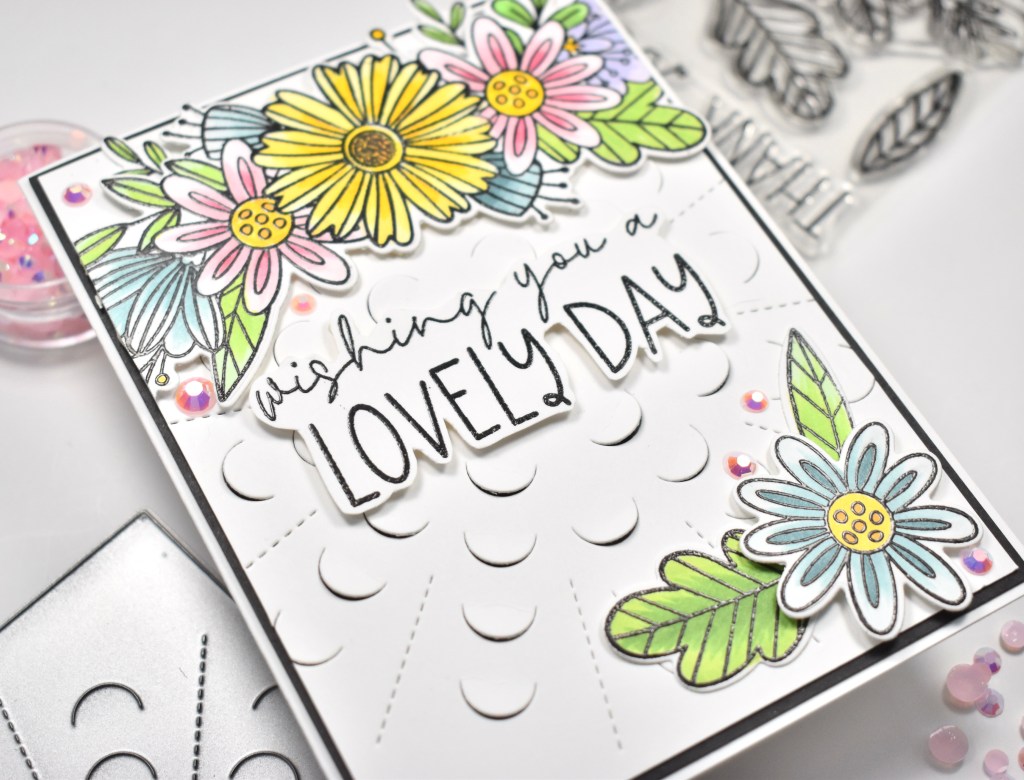
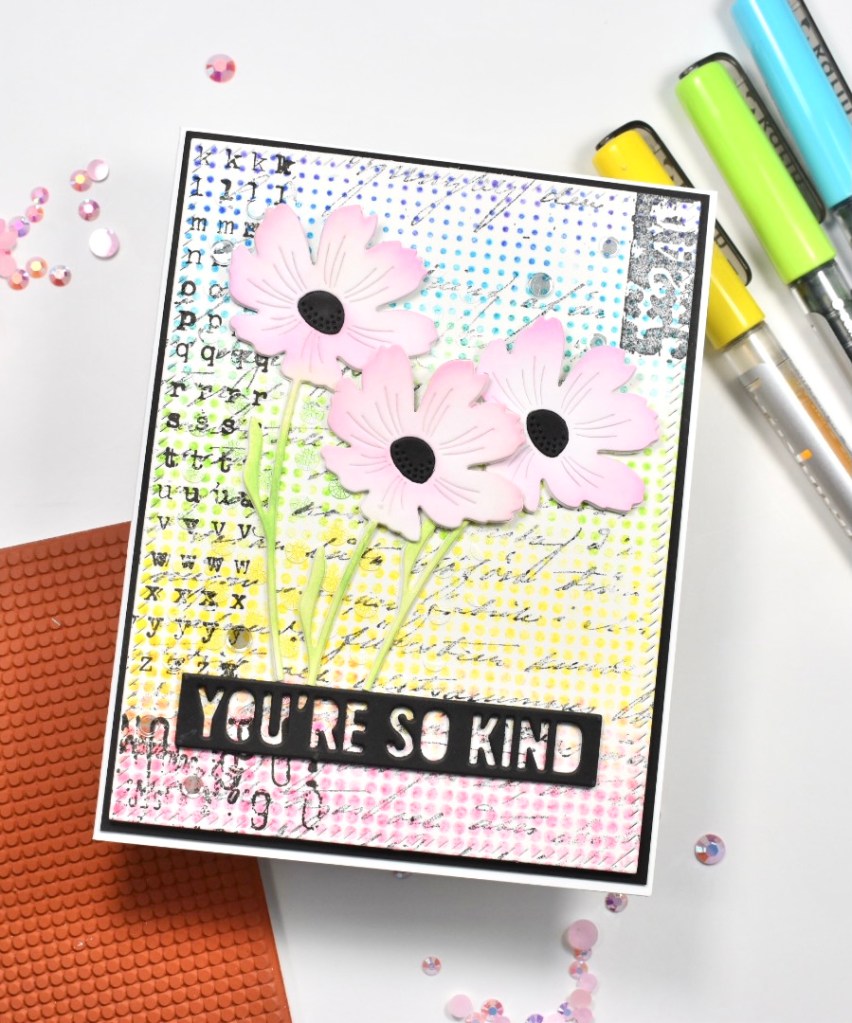
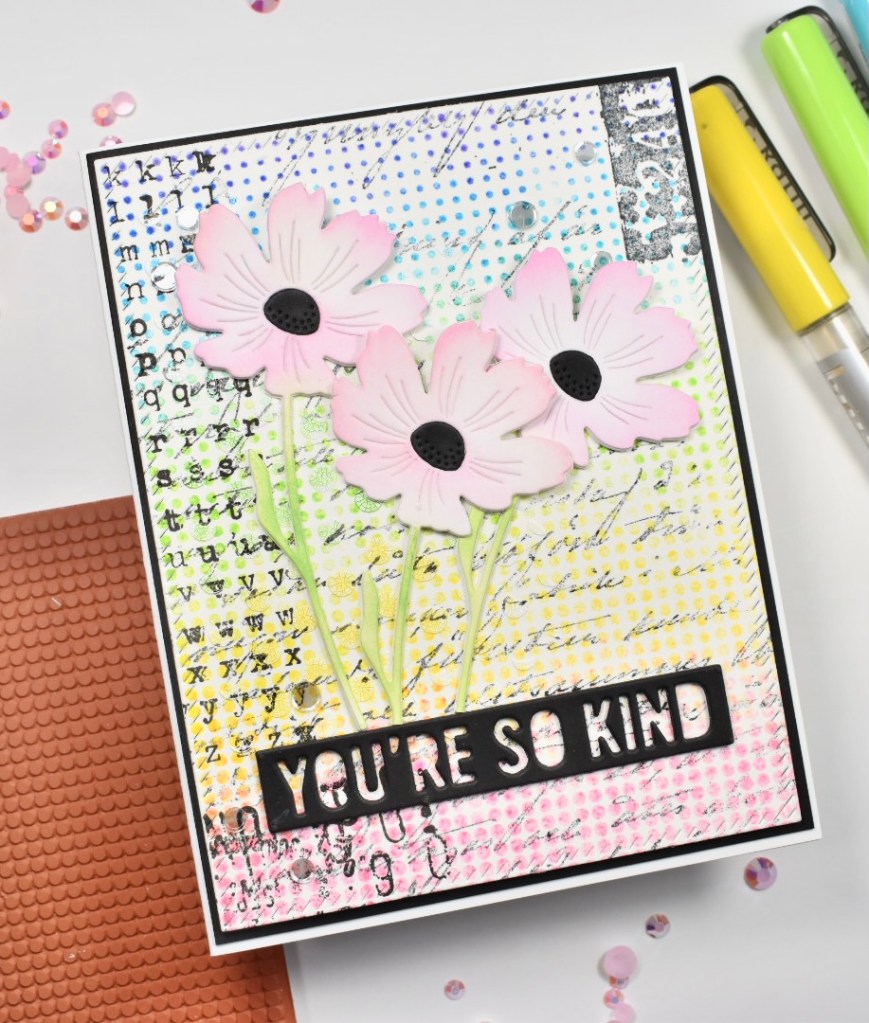
To begin my project, I stamped the SSS Friendship Text Background on a panel of Neenah Classic Crest 110lb cardstock, using VersaFine Onyx Black ink, and then heat set that using Ranger Clear Embossing Powder. I used the SSS Mini Slimline Rectangles to trim out a panel of the stamped background.
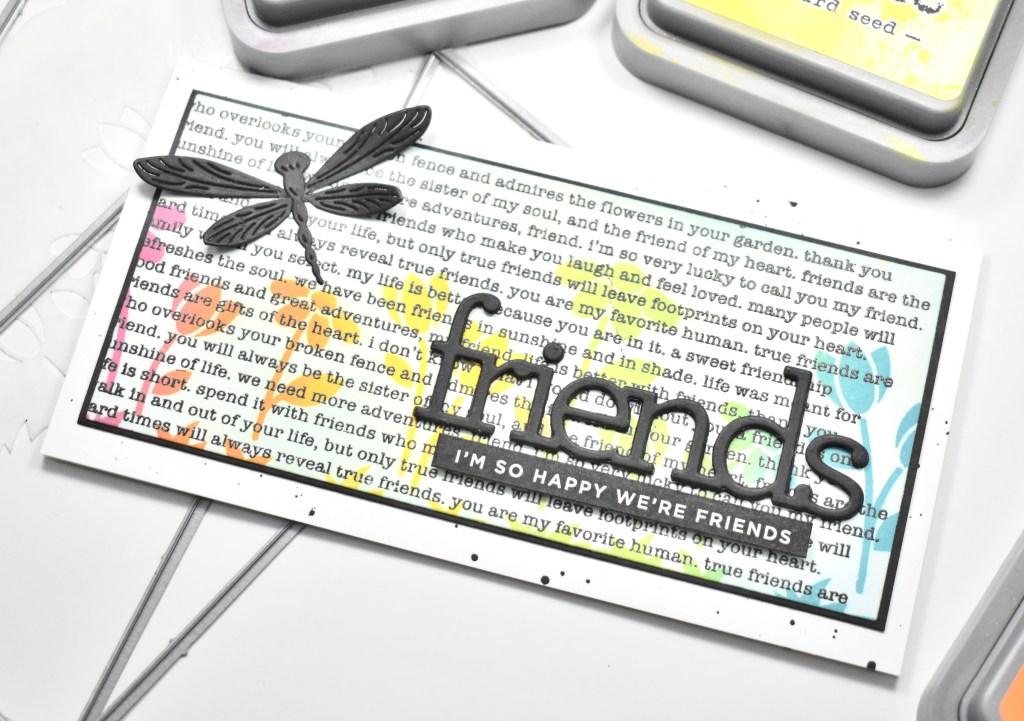
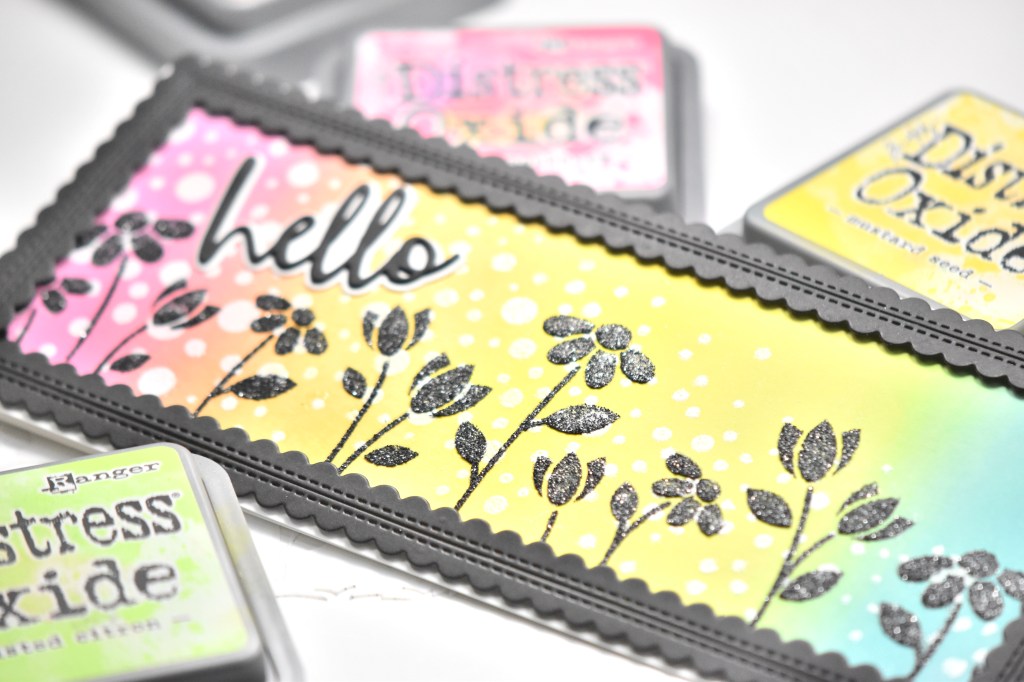
I adhered the SSS Floral Builder Stencil to the panel using masking tape, and proceeded to do some rainbow ink blending using Distress Oxide Ink in Picked Raspberry, Spiced Marmalade, Mustard Seed, Twisted Citron and Broken China. I used the SSS Friends die to cut that three times from black cardstock, and adhered those together using liquid glue. I also went ahead and cut the SSS Etched Dragonfly once from black as well.

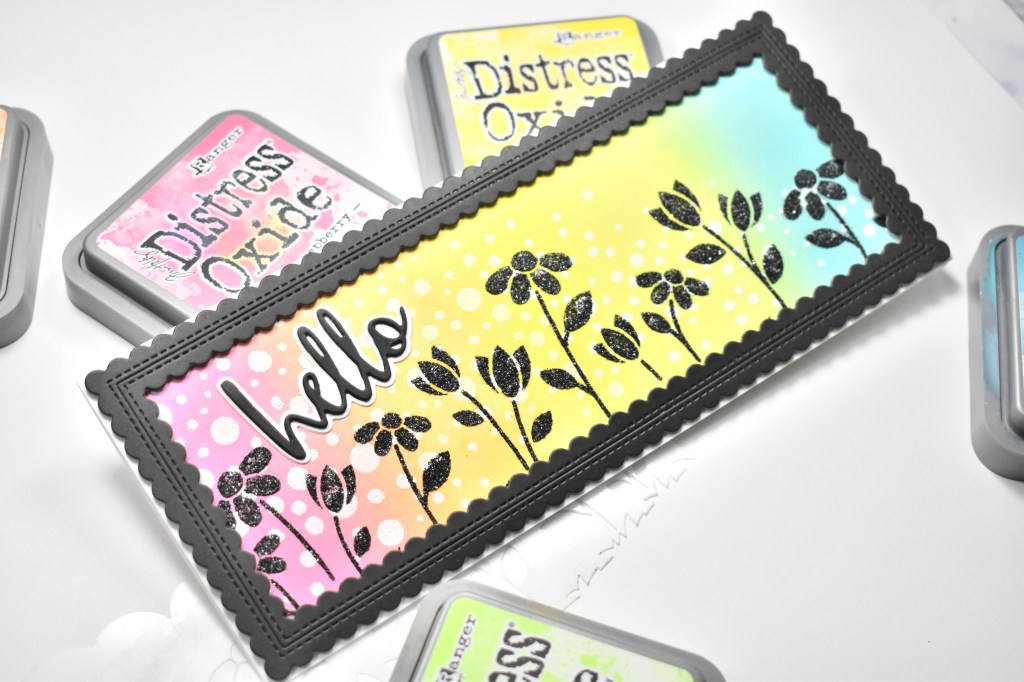
I wanted a sub-sentiment, so I rifled through my SSS Reverse Sentiment Strips to find one that related to friends and trimmed that out using the SSS Sentiment Labels Die. I went ahead and glued the Friends sentiment directly to my panel, while adding the sub-sentiment using foam tape. I then adhered this panel to another black cardstock panel for contrast using the SSS Dot Tape Runner.
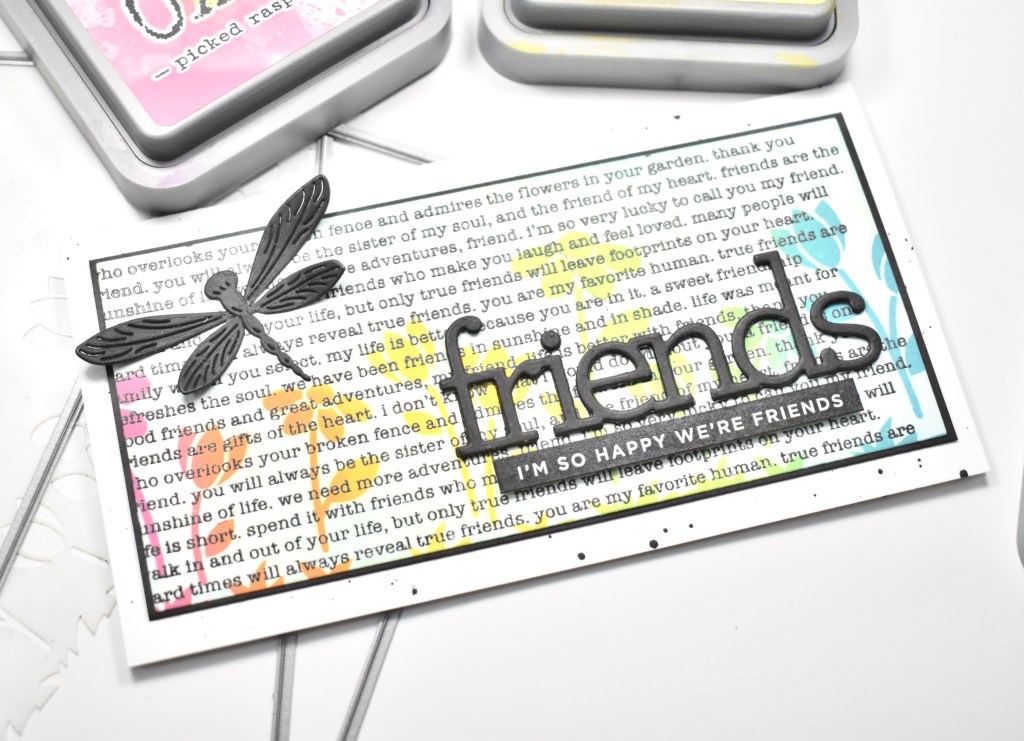
I cut a mini slimline card base using Neenah 110lb and splattered that with Royal Talens Amsterdam Oxide Black Acrylic Ink. I attached the panel to my card base using foam tape for dimension, because dimension is life! Now that I had everything assembled, I could adhere the dragonfly just hanging off the panel, but not hanging off the card base, and that was done using glue as well.
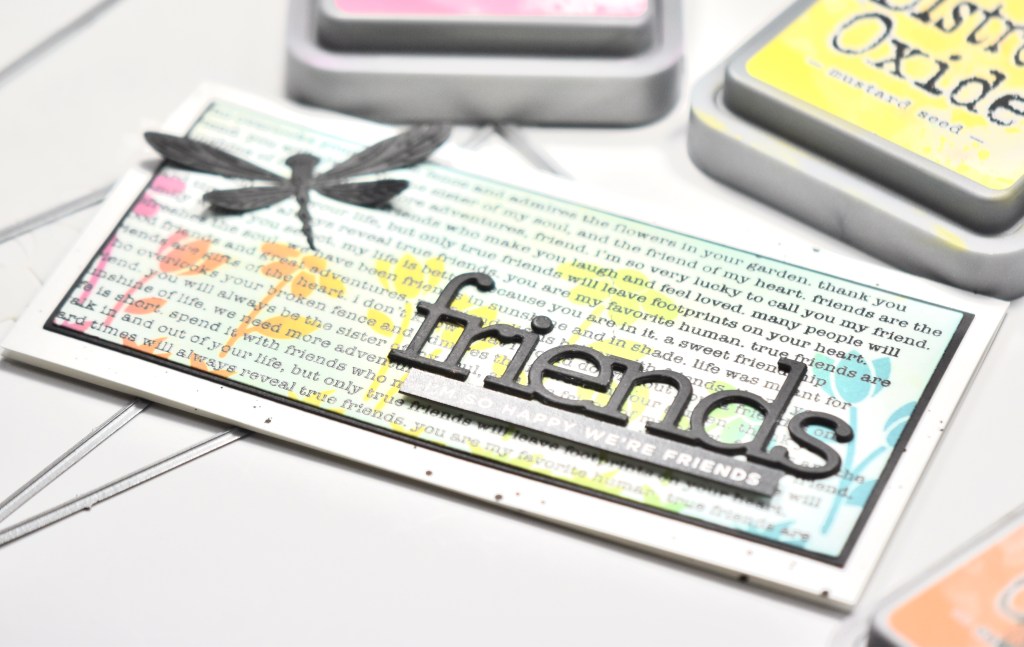
Super simple card today, but I love the black elements paired with the rainbow ink blending! I hope you’ll stop by and check out the entire Make Magic release from SSS! Thanks for stopping by and don’t forget to stay awesome!
Supply List:
- SSS Slimline Floral Builder Stencil
- SSS Friendship Text Background
- SSS Mini Slimline Rectangles
- SSS Etched Dragonfly
- SSS Friends Die
- SSS Reverse Sentiment Strips
- SSS Sentiment Labels Die
- SSS Dot Tape Runner
- Distress Oxide Inks: Picked Raspberry, Spiced Marmalade, Mustard Seed, Twisted Citron, Broken China
- VersaFine Onyx Black Ink
- Ranger Clear Embossing Powder
- Neenah Classic Crest Solar White 110lb Cardstock
- Black Cardstock
- Royal Talens Amsterdam Oxide Black Acrylic Ink
- Craft Tacky Glue
- 3M Foam Tape
- Blender Brushes
- Masking Tape
- Misti
- Anti-Static Powder Tool
- Gemini Jr.
*Affiliate links used at no cost to you. Thank you so much for your support!
- Simon Says Stamp Grateful Heart

- Simon Says Stamp Braided Greetings

- Together By Design Color Cube Floral

- Simon Says Stamp Cute Duckling

- Simon Says Stamp Watercolor Wild Rose