Simon Says Stamp Love You Jumbled Hearts

Hello Crafty Friends, and thanks for stopping by! Today’s project is featuring the Jumbled Hearts Background Stamp and the Love You sentiment die cut. Both are oldies, but both are goodies! Let’s run through the details!
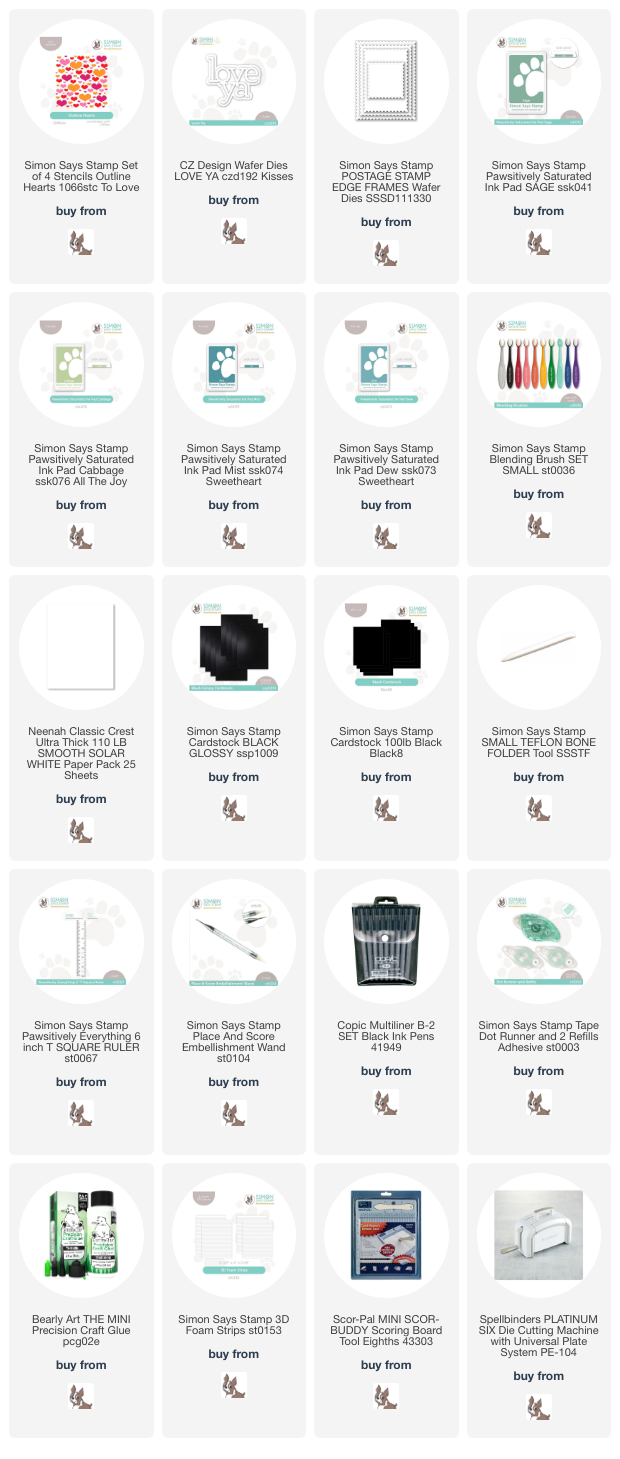
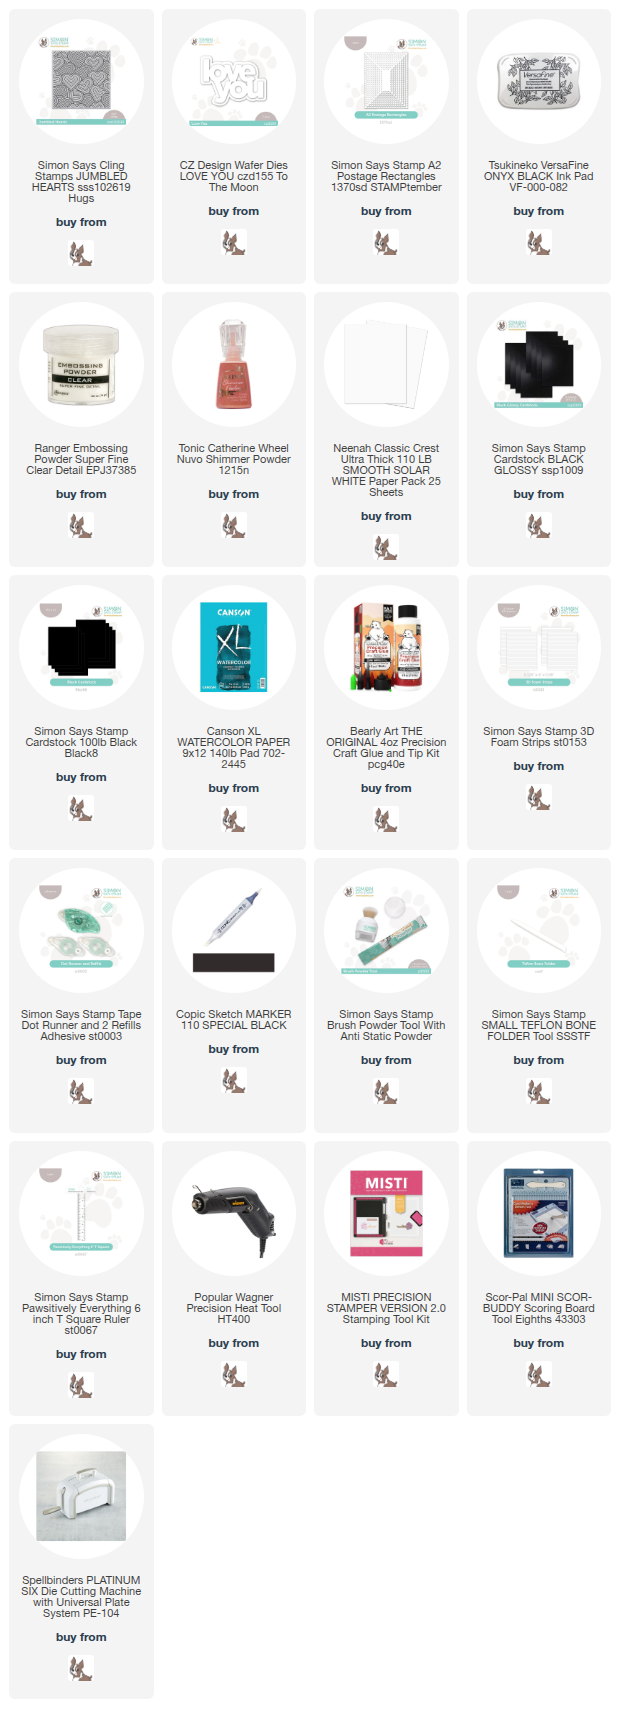
NOTE: all supplies are linked in the thumbnails at the end of this blog post.
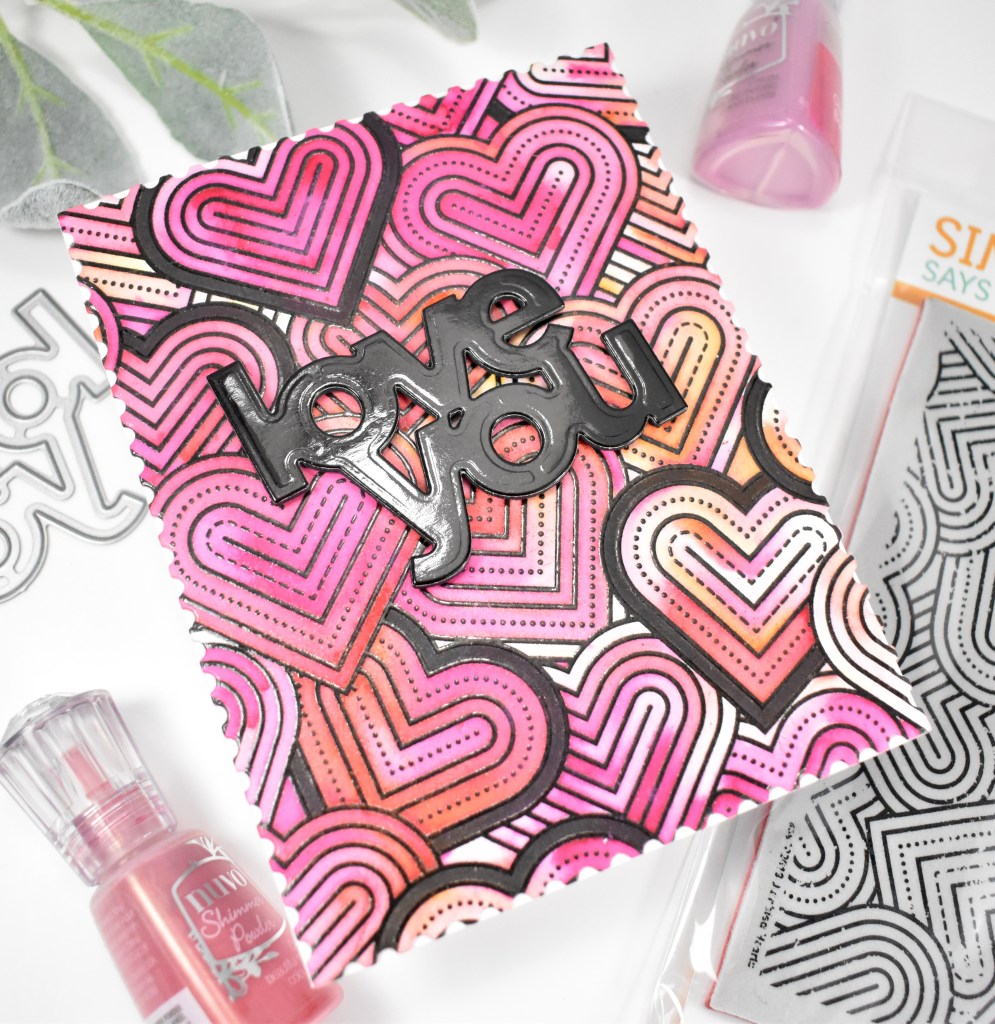
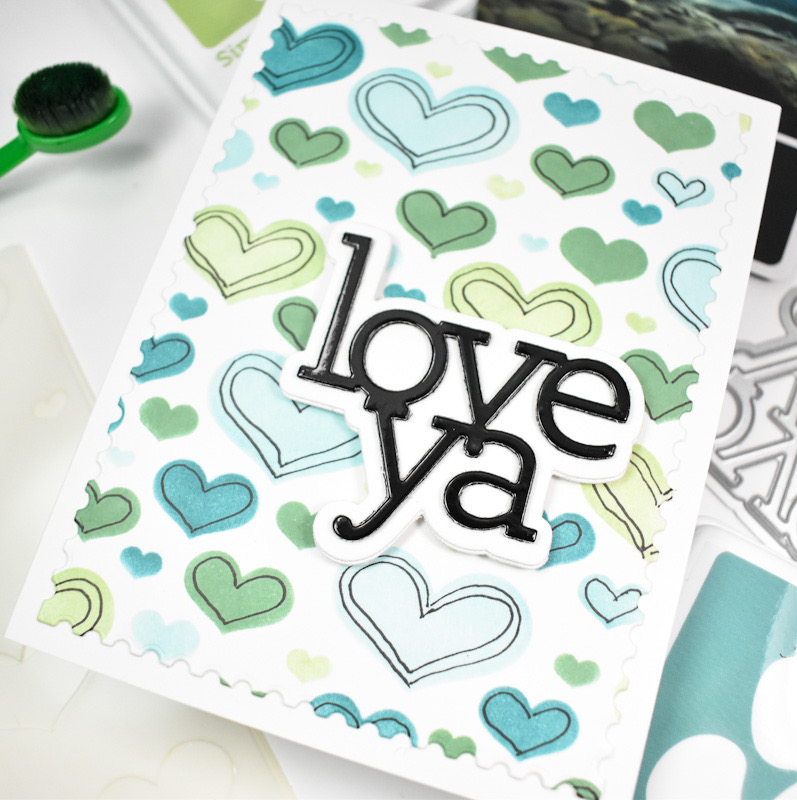
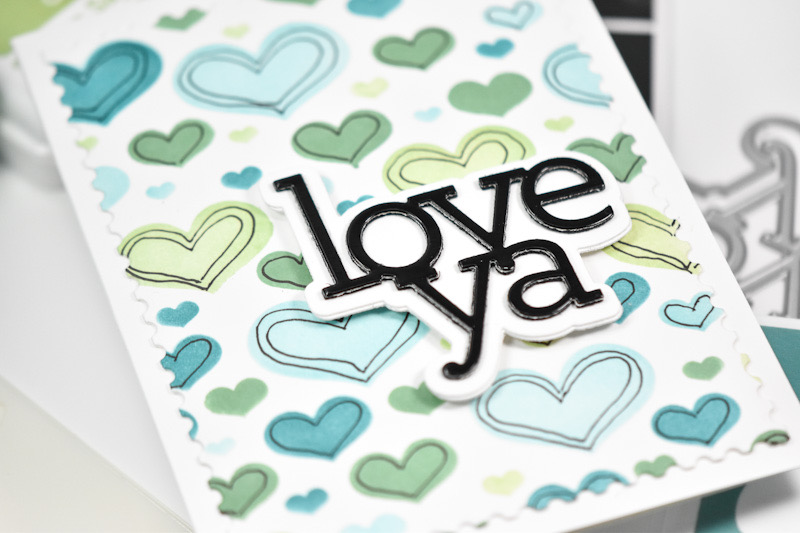
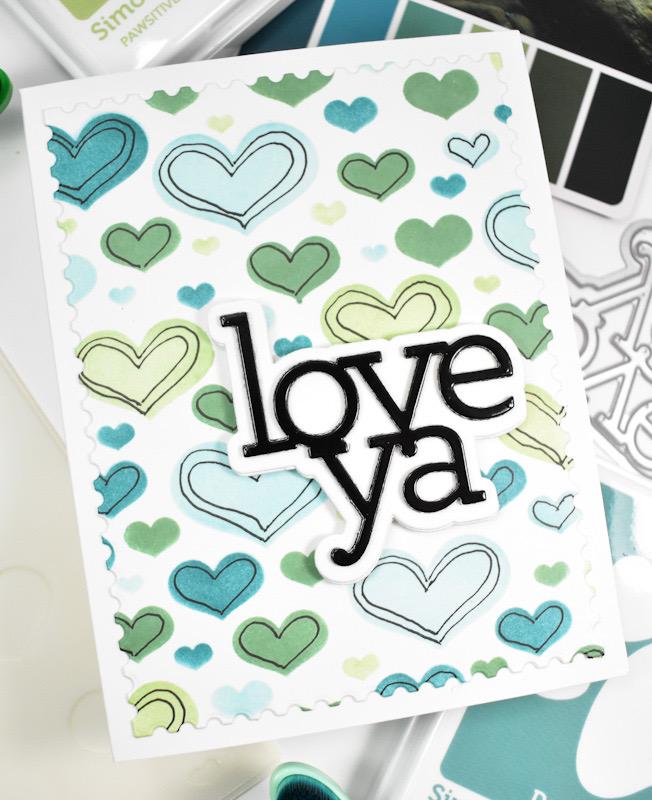
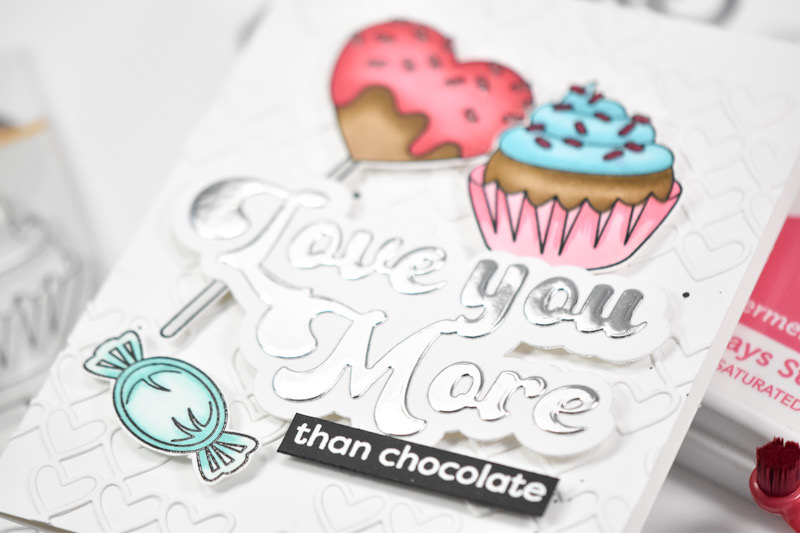
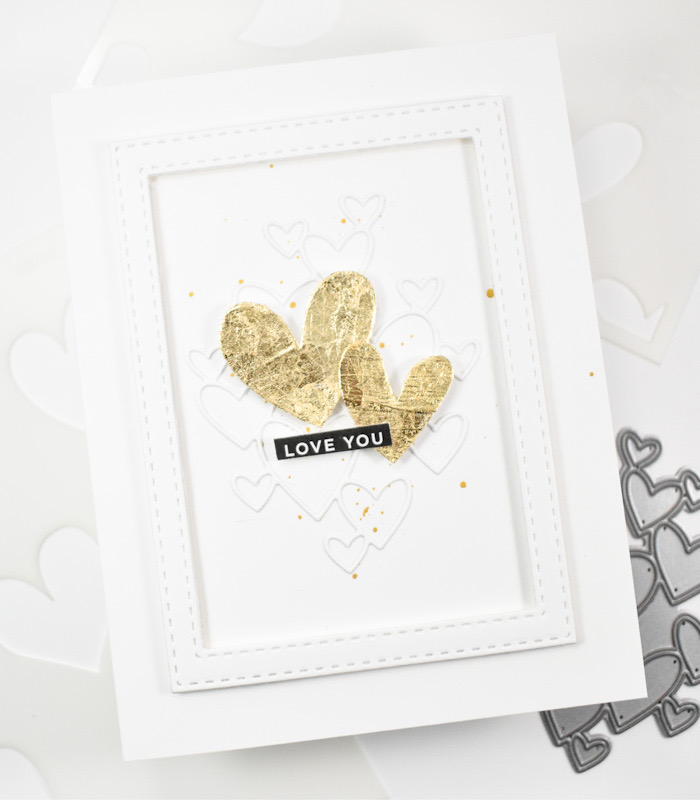
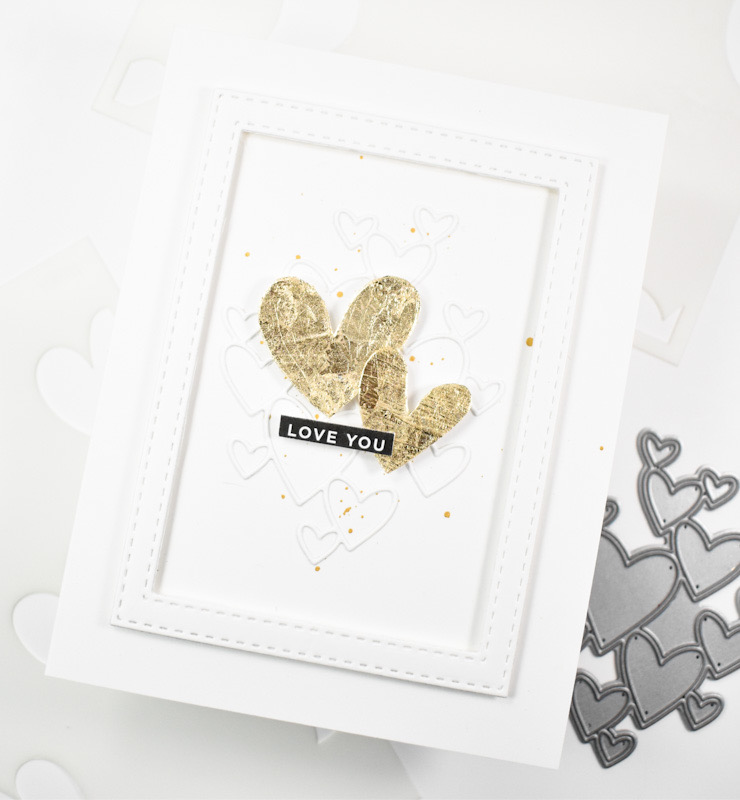
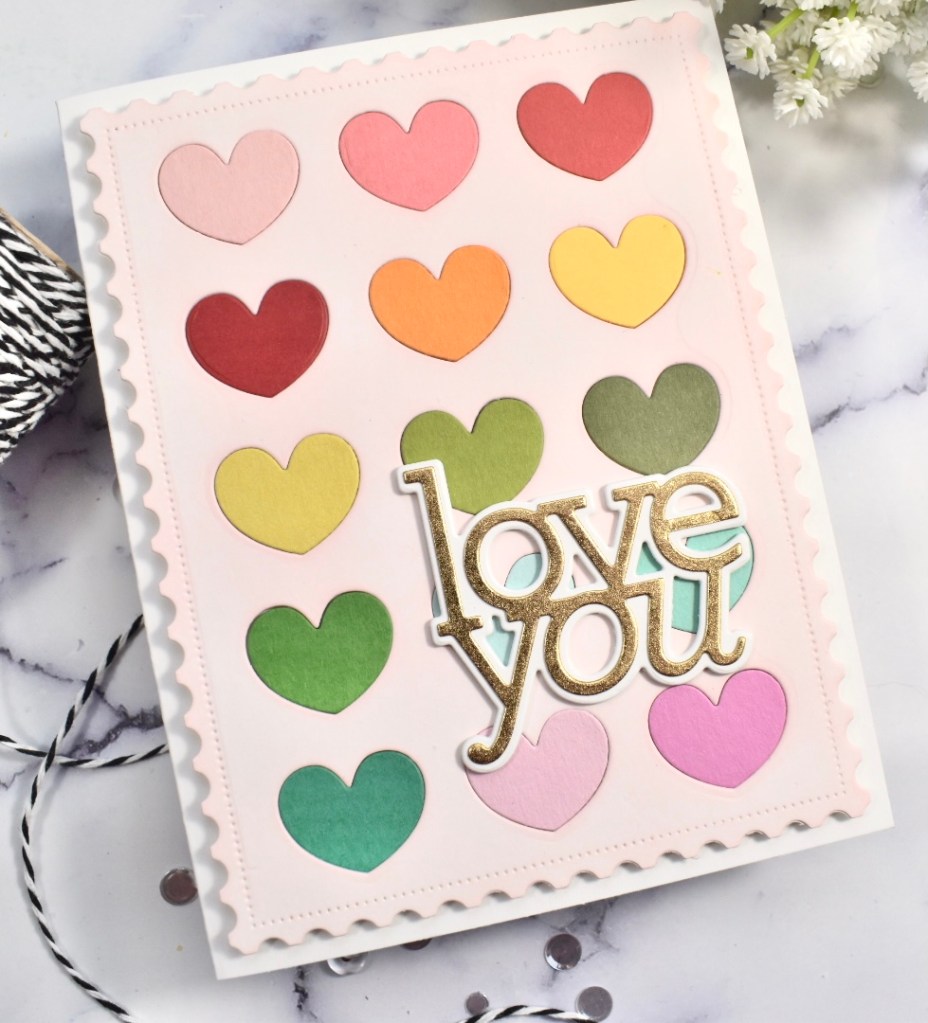
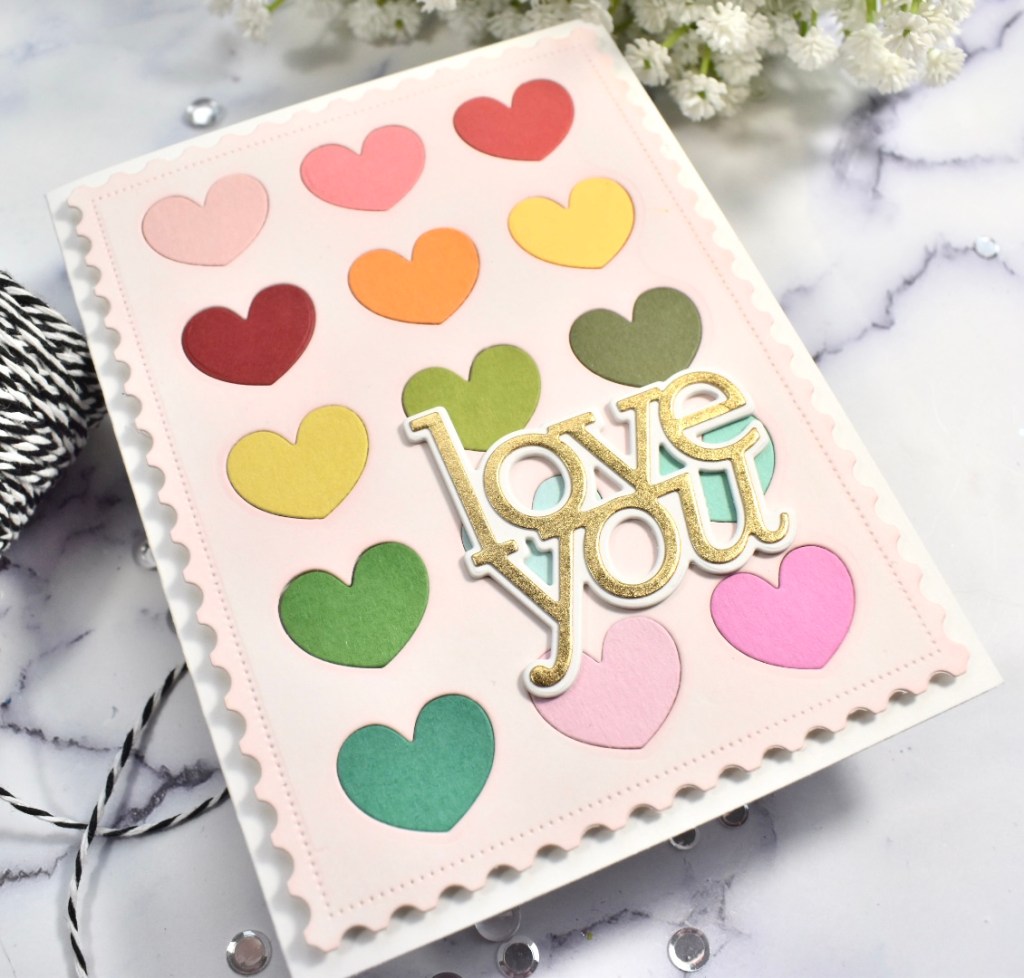
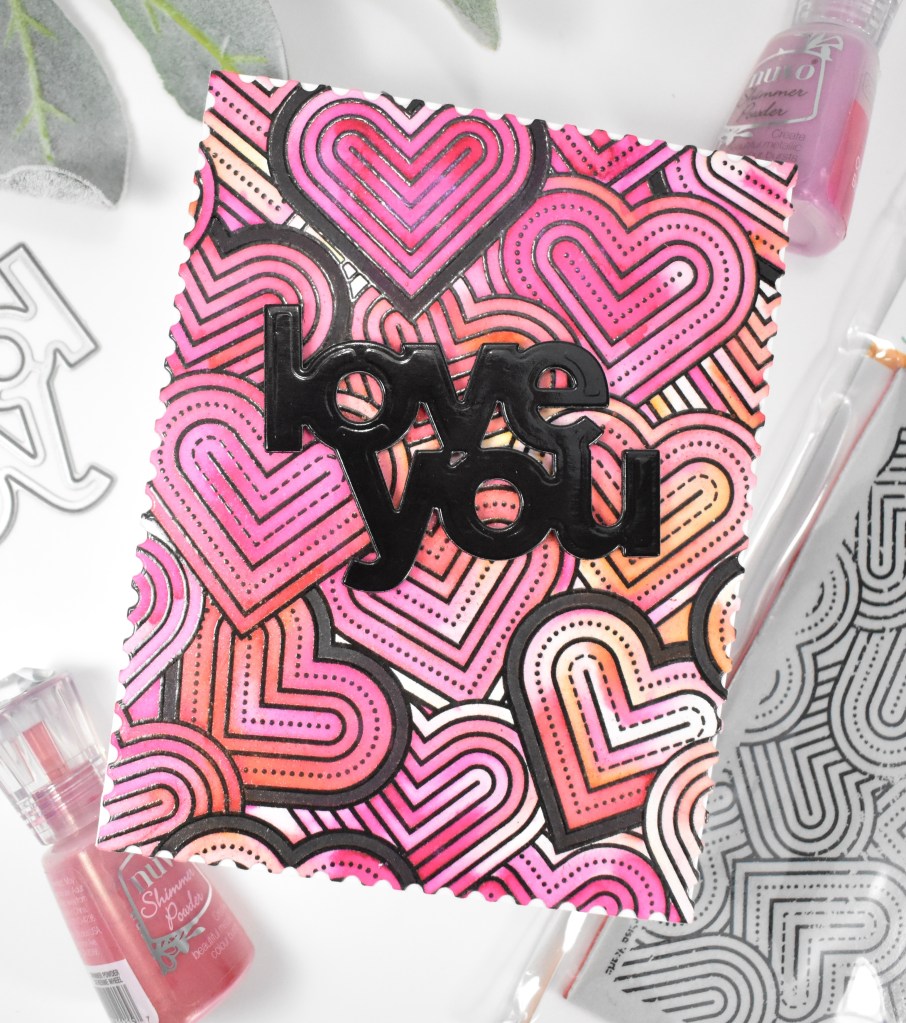
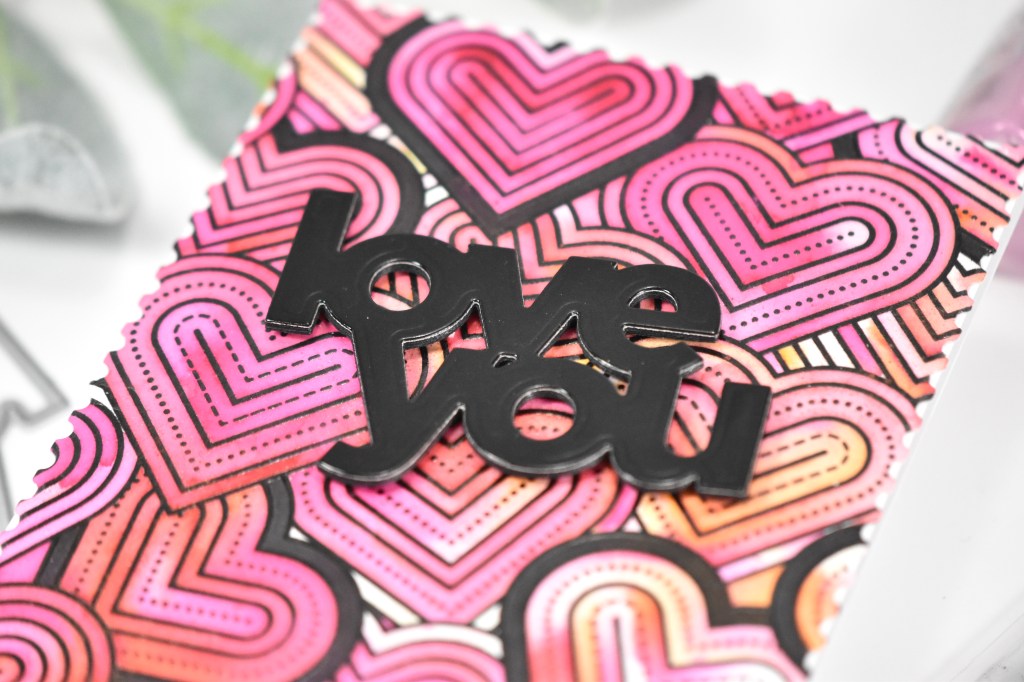
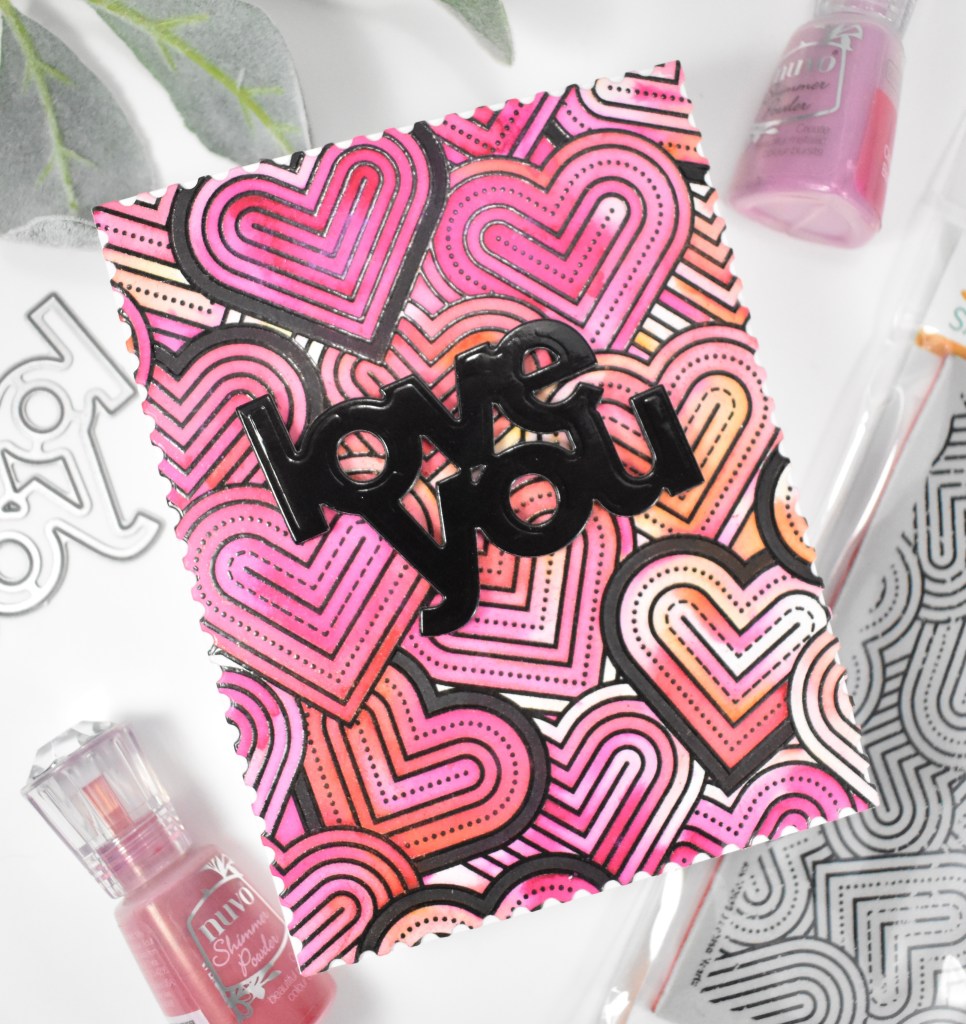
I began this project by stamping the background onto a panel of watercolor paper using VersaFine Onyx Black ink and heat setting that using Ranger Clear Embossing Powder. The panel was then taped to a board, and I sprinkled some Nuvo Shimmer Powders on it and spritzed with water. The colors that I used were Catherine Wheel and Cherry Bomb. Unfortunately, I was unable to find the Cherry Bomb on Simon’s website, but you might be able to find it elsewhere. I love these two colors of shimmer powders because of the different pinks, and yellows that you get, which in turn then creates some oranges.
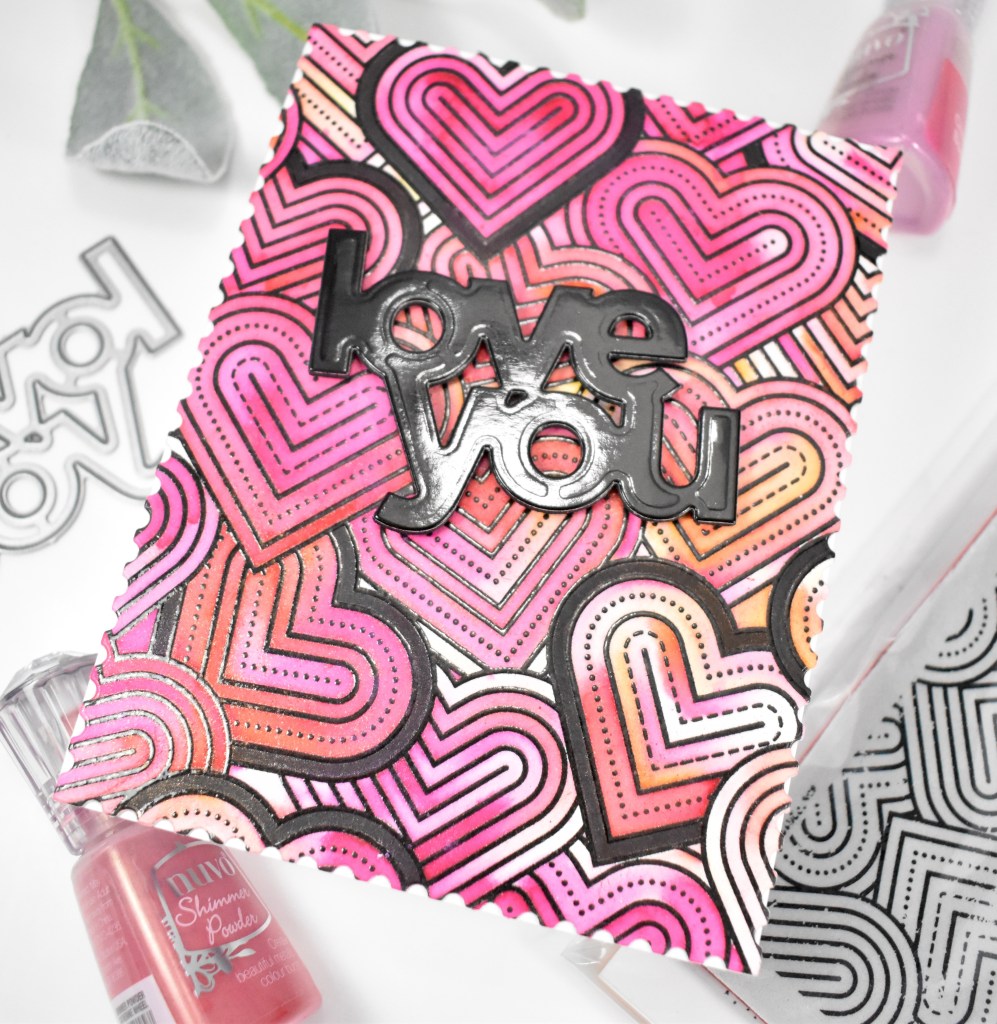
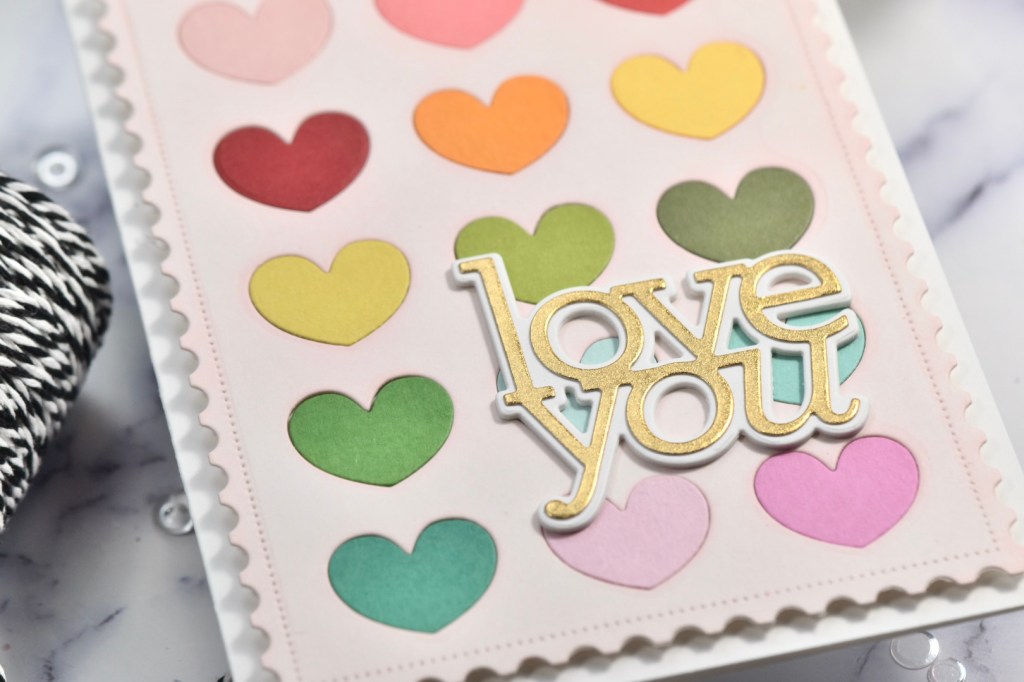
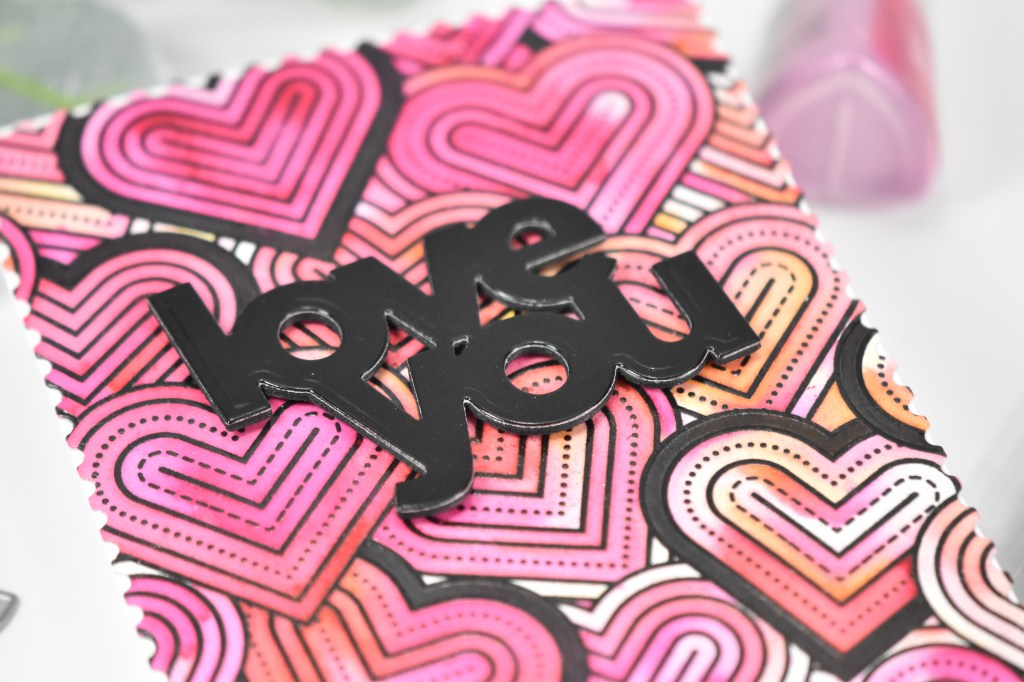
Once the panel was dry, I used the A2 Postage Rectangles to trim it down, and then added some black to some of the hearts using a Copic Marker. The sentiment was cut once from glossy black cardstock and three times from regular black cardstock. Those were all adhered together for a stacked sentiment and then adhered to the panel using foam strips.
That does it for this project! A pretty simple and easy card, but I love the different colors mixed with the black sentiment. Thanks for joining me today, and I hope you have a wonderful day!
Supply List
Affiliate links used at no cost to you. What does this mean? If you use the links within this post to make a purchase, I receive a small commission, which allows me to continue to post crafty content for your enjoyment. I truly appreciate your support!
Latest Posts
- Simon Says Stamp Grungy Dewdrop Daisy

- Simon Says Stamp Pastel Birthday Wishes

- Simon Says Stamp Best Fish

- Simon Says Stamp Circle Thanks

- Simon Says Stamp Glowing Daisies
Latest Instagram Posts