Simon Says Stamp Dragonfly Vibes

Hello Friends and thanks for stopping by! There’s a super fun Instagram Hop going on today to celebrate Simon’s latest release, Let’s Chill! You don’t want to miss it, because there are prizes to be won all along the hop! All you need to do is comment along the way and you could win a $25 gift card to SSS! For today’s card, I’m featuring several new products from this release, so let’s get into the details!

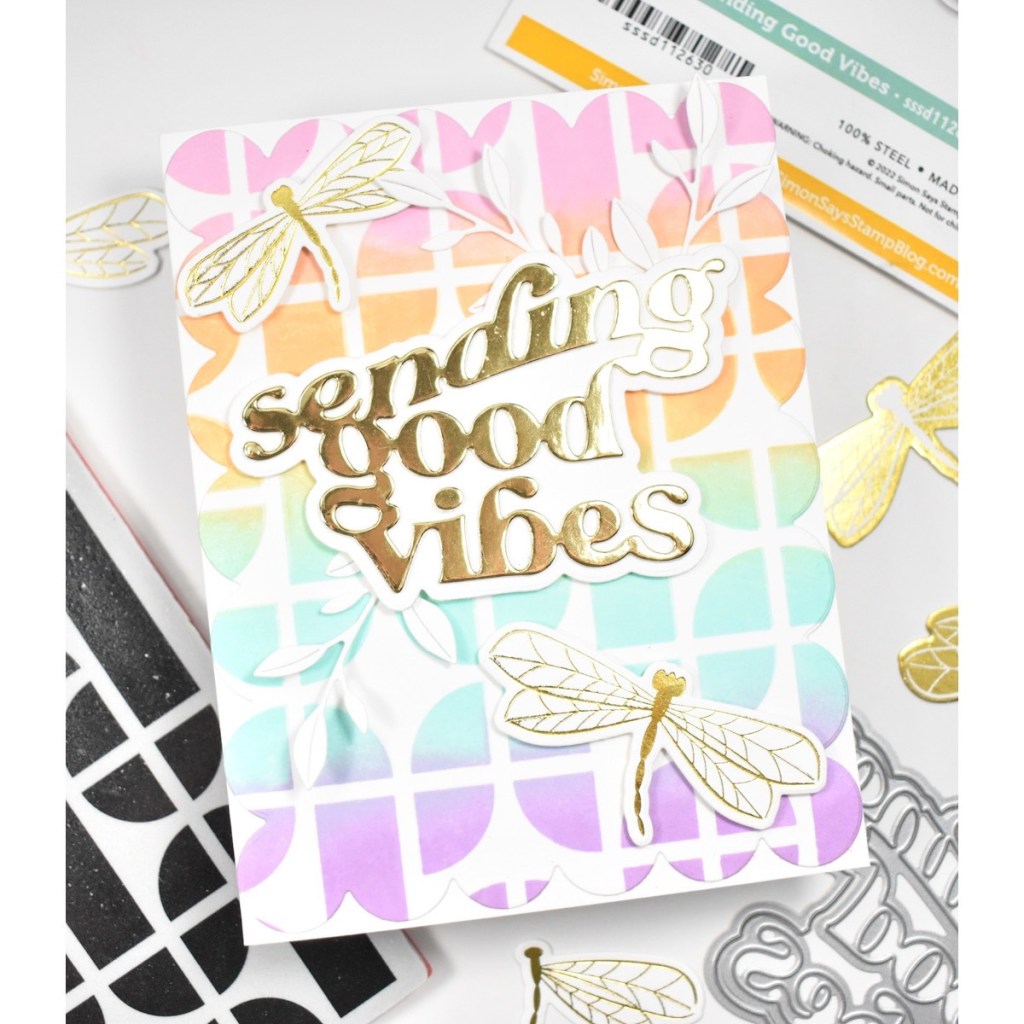
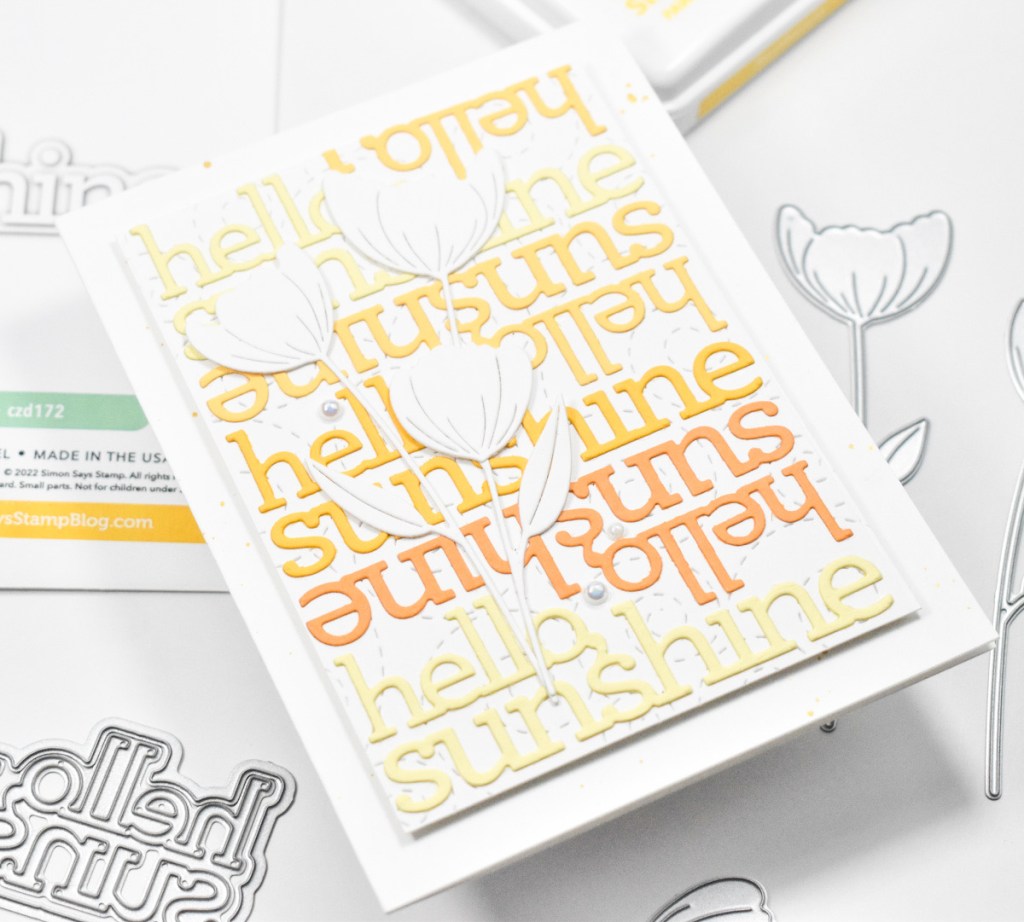
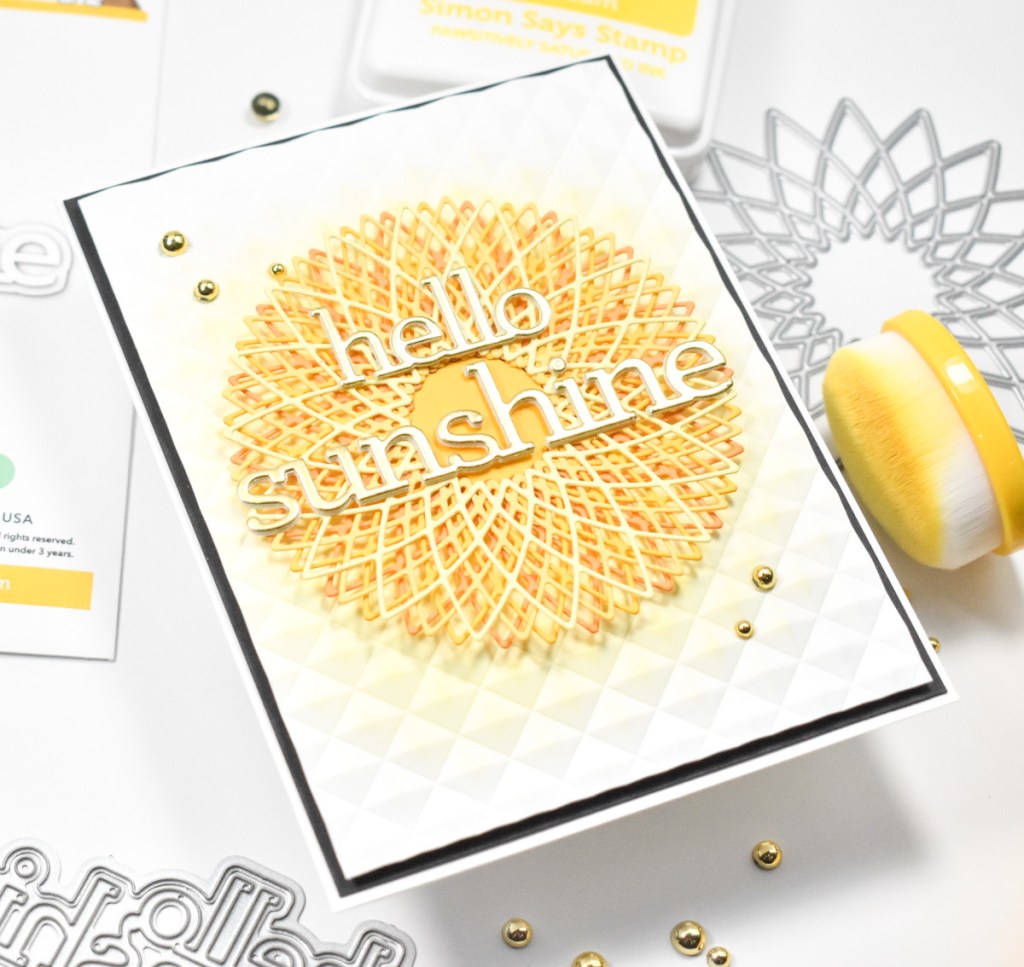
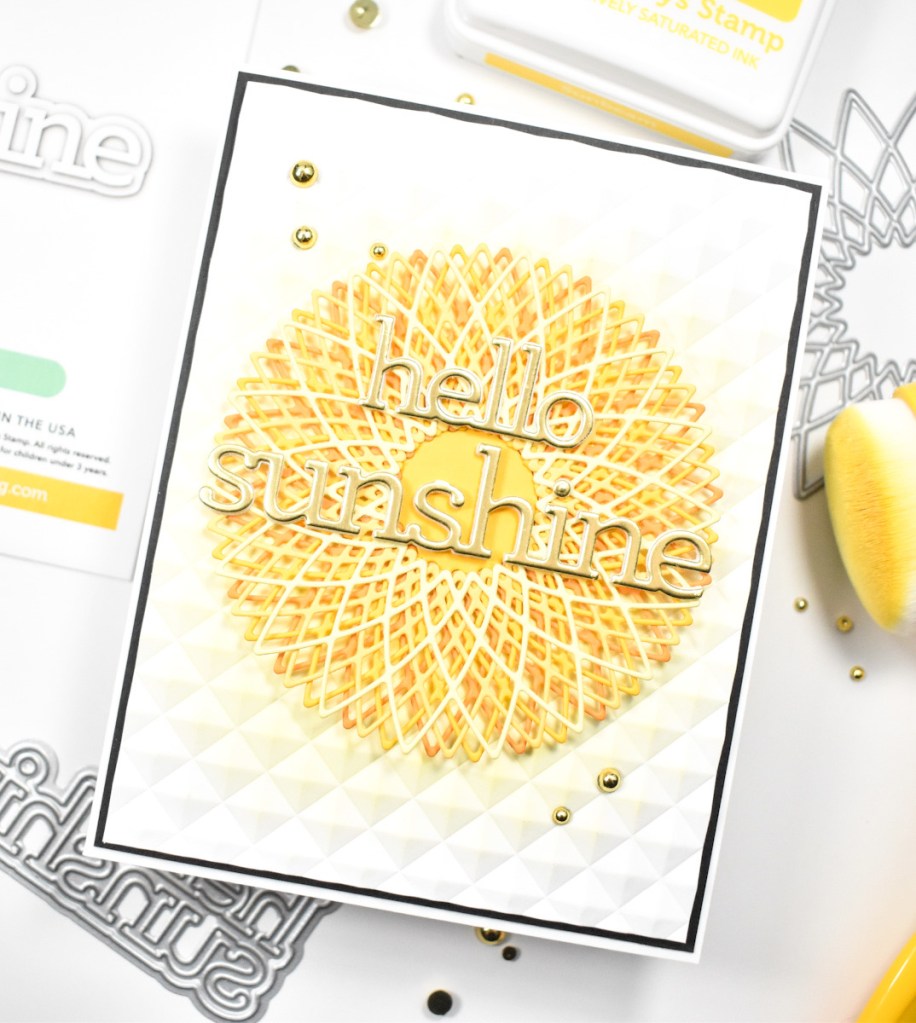
To begin, I stamped the new SSS Retro Tiles background stamp onto a panel of Neenah Classic Crest 110lb cardstock using SSS Pawsitively Saturated Inks in Bubblegum, Cantalope, Seafoam and Lilac. I applied the first color beginning at the top of the stamp and used a blender brush to soften the edges of the ink before stamping. I wiped the stamp clean, and continued with the next color until the panel was full. It’s super important to soften those ink edges with the brush or you’ll end up with hard edges.

Next, I trimmed the panel down using the SSS Chunky A2 Scalloped Rectangles. I set that aside, and began working on the dragonflies. For those, I used the new SSS Delightful Dragonflies set and foiled them using Spellbinders Gold Hot Foil on another panel of Neenah 110. Once done, I trimmed them out using the included die in the set.

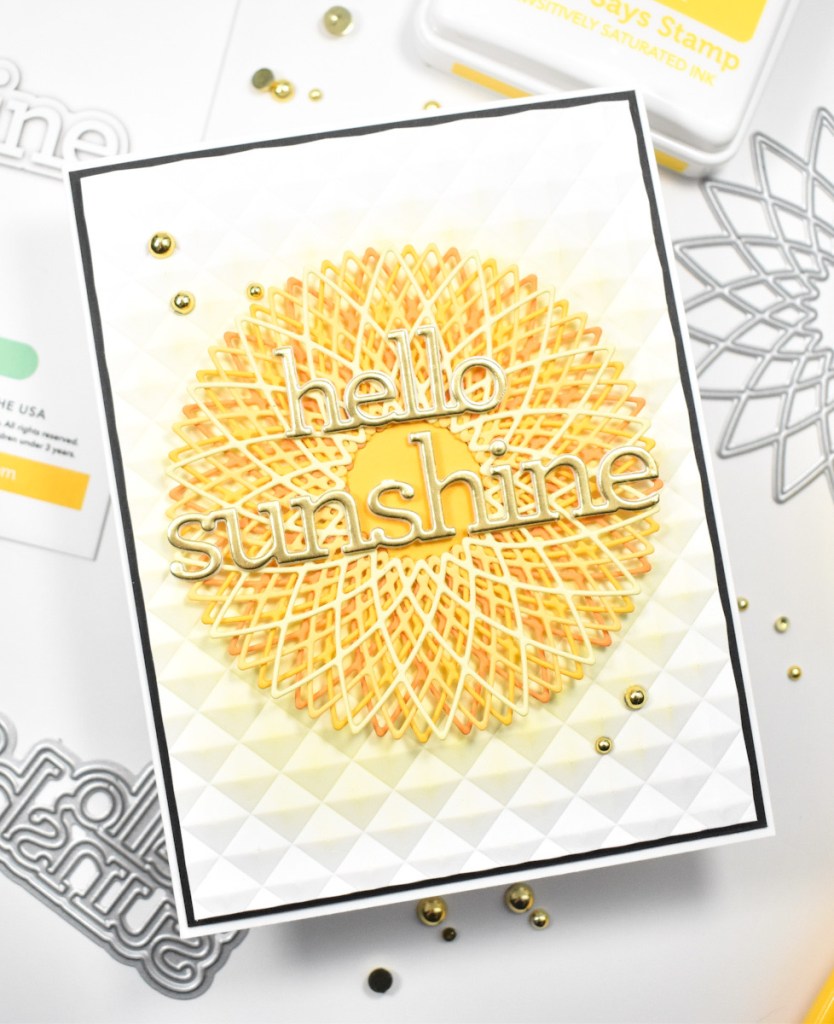
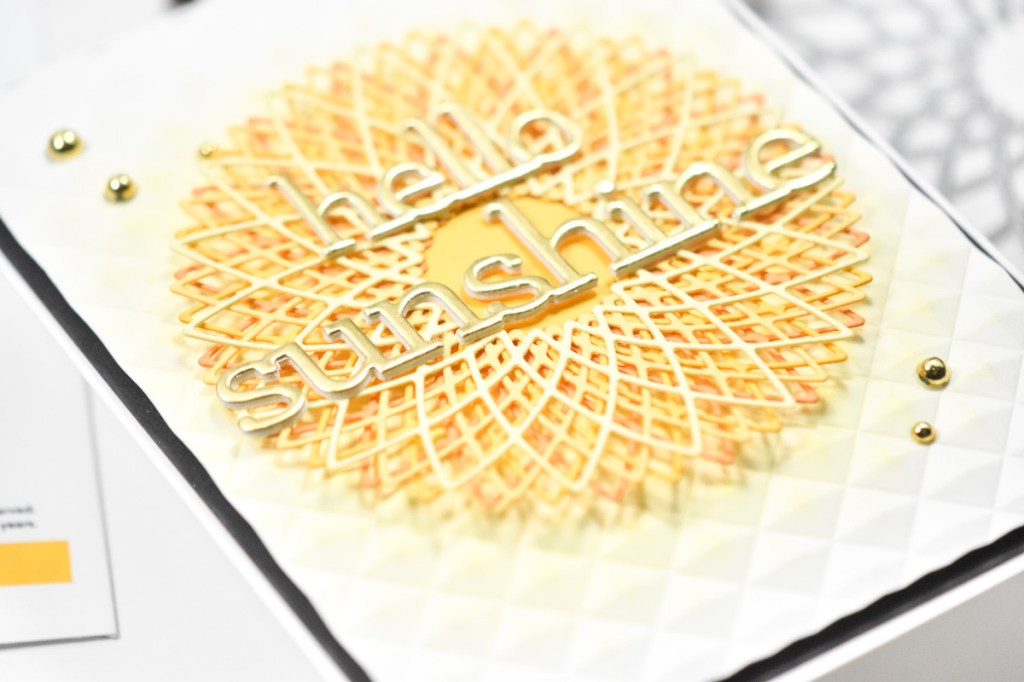
For the sentiment, I opted to use the SSS Sending Good Vibes die and cut that once from Polished Gold cardstock and once from Neenah 110lb, while cutting the shadow once from the same white cardstock. I adhered all of those together using liquid glue and placed foam tape on the back. I also placed foam tape on the back of the dragonflies as well.

I determined placement of everything and decided that I could use a few leaves, imagine that! Every card that I make seems to need leaves! Anyhoo, I used the SSS Etched Meadow Flower and Leaves and cut three leaves and tucked them under the sentiment before adhering it, along with the dragonflies. The panel was then adhered to the card base using SSS Dot Tape Runner to finish up.

That finishes this one up! I hope you enjoyed it, and I hope it inspires you to get crafty! Don’t forget to head over to Instagram to join the hop for your chance to win a $25 gift card! Who doesn’t love prizes, am I right?! Thanks again for stopping by! Have a wonderful day and stay awesome!

Supply List:

* Affiliate links used at no cost to you. Thanks so much for your support!

Latest Posts
Latest Instagram Posts

Simon Says Stamp Sunshine Crocus

Hello Friends, and welcome back! The new Simon release, Let’s Chill, is live and boy is it a fun one! Today’s card is featuring the Hello Sunshine die in a repeat pattern. Let’s go through the details, shall we?

I began this project by die cutting the SSS Hello Sunshine twice from four different shades of yellow and orange. I did twice because I wasn’t sure how many it was going to take. I cut a panel of Neenah Classic Crest 110lb cardstock using the SSS Stitched Whirl Background, and began adhering the sentiment die cuts using liquid glue. I began at the top and worked my way down the panel.

Once all of the sentiments were adhered, I trimmed the panel down to the size of the sentiments. Moving along, I used the SSS Etched Crocus Stems to cut a few flowers from Neenah 110lb, and those were then glued directly atop the sentiments.

I splattered my card base using Royal Talens Light Gold Acrylic Ink and then adhered the panel using foam tape for dimension. No card is complete without bling, so I added a few pearls to finish up this project.

That does it! Simple card, but I love stretching my supplies and creating backgrounds from stand-alone sentiment dies. I hope you enjoyed it and I hope you’ll stop by and take a look at the entire Let’s Chill release. Have a wonderful day and don’t forget to stay awesome!

Supply List:

* Affiliate links used at no cost to you. Thanks so much for your support!

Latest Posts
Latest Instagram Posts

Simon Says Stamp Sunshine Medallion

Hello Friends, and thanks so much for stopping by! I’m back today featuring the new, super awesome Hello Sunshine die from Simon’s latest release, Let’s Chill! If you know me, you know that I love stand-alone sentiment dies, and I’ve had so much fun using this one! I’ve made several cards already using it! Anyhoo, let’s get into the details!

I began by die cutting the SSS Triangle Burst Medallion from four different yellow and orange cardstocks from my stash. I’ve had this die for a bit, but this is my first time using it, and I can totally see myself using it again for future projects! I also die cut the SSS Hello Sunshine once from gold cardstock and two more times from scraps of Neenah Classic Crest 110lb cardstock, adhering all of those together using liquid glue.

For the background, I used the SSS Geometric Lattice Embossing Folder and added a light layer of ink blending in the center using SSS Pawsitively Saturated Ink in Sunbeam. I went ahead and adhered all of the medallions together, offsetting them just slightly for a fuller look.

I did trim the Hello Sunshine die apart because I wanted the sentiment centered in the middle of the medallion. I glued those pieces to the medallion and then glued the medallion to the embossed panel as well.

The panel was then adhered to a black panel using foam tape for dimension, before being adhered to the card base. Of course, I had to add some PinkFresh Studio Gold Metallic Pearls for that added bling!

That finishes up this one! This was a simple card, but I love the medallion focal point with that shiny sentiment! Don’t forget to stop by and check out the entire Let’s Chill release! Have a wonderful day and stay awesome!

Supply List:

* Affiliate links used at no cost to you. Thanks so much for your support!

Latest Posts
Latest Instagram Posts

Simon Says Stamp Graceful Butterfly

Hello Crafty Friends! Thanks for stopping by! I’m back today featuring the new Graceful Butterfly set from Simon’s latest release, Let’s Chill. What an awesome release this is! Have you checked it out yet? I’d love to know your favorites! Let’s go through the details of this project.

I love white on white compositions with a hint of color, so that’s the direction that I went with this one. I began by using the SSS Graceful Butterfly embossing folder to emboss a panel of Neenah Classic Crest 110lb cardstock. Before embossing, I did spritz my panel of cardstock with some water just to loosen the fibers of the paper.

Once embossed, I used the coordinating die to trim the butterflies and bodies. I did however, only use one of the butterflies for this project and saved the others for future projects. While die cutting, I used the same die to trim the butterfly from various cardstocks, adhering the center of those together in rainbow order using liquid glue. Once that was done, I spritzed the butterfly with a sheer shimmer spray. Unfortunately, that doesn’t show up in the pictures.

Now on to the background. I used the SSS Stitched Whirl Background to cut a panel of Neenah 110 and trimmed it down just a bit further because I wanted to mount it onto a black panel, as I always do. I used a black Copic Multiliner pen to enhance some of the “whirls” on the panel before gluing the butterfly.

For the sentiment, I used the SSS Silhouette Sentiments set and stamped the sentiment on a scrap of black cardstock using VersaMark Ink and embossed it using SSS Detail White Embossing Powder. I used the coordinating die to trim it out, cutting three additional times as well to adhere all of those together. To assemble the card, I glued the butterfly and the sentiment directly to the panel and adhered the panel to a black panel using foam tape for dimension. I also added some iridescent confetti to finish up.

That does it for this card. I hope you enjoyed it, and I hope it inspires you to get crafty as well. I hope you’ll stop by and take a look at the entire Let’s Chill release! You won’t be disappointed! Thanks again for stopping by! Have a wonderful day and don’t forget to stay awesome!

Supply List:

* Affiliate links used at no cost to you. Thanks so much for your support!

Latest Posts
Latest Instagram Posts

Spellbinders Stylized Birthday

Hello Friends! Thanks for joining me today as we celebrate Spellbinder’s 20th birthday! In honor of this major event, we are featuring products from the new Birthday Celebrations Collection! There are so many wonderful products in this collection, and today, I’m featuring three of those products on one card! Let’s go through the details, shall we?

I began this project by die cutting the Spellbinders Stylized Happy Birthday sentiment from their Mirror Gold cardstock, and cut the shadow portion of the die from Neenah Classic Crest 110lb cardstock. Once that was cut, I used liquid glue to adhere all of the letters. While I was cutting, I went ahead and trimmed a piece of patterned paper, which is from the Spellbinders Birthday Celebrations Embellishment Bundle. This is such a fun bundle with gorgeous papers, fun stickers and tons of ephemera pieces!

The sub-sentiment was made using the new Birthday Unboxing Glimmer Hot Foil Plates. This sentiment was foiled using gold foil, because I wanted it to match the die cut sentiment. Once the sentiments were ready, I placed foam tape on the back for a bit of dimension.

This is such a gorgeous paper, that I thought it would be fun to add some flowers and leaves in some springy colors! So, I used the Mini Blooms and Sprigs set and cut a bunch of flowers in various colored cardstocks, and cut a few leaves from the same Mirror Gold cardstock.

To assemble the card, I adhered the sentiments in the center, and adhered the flowers and leaves using a combination of liquid glue and foam tape, before adhering to the card base.

That does it for this one! I hope you enjoyed it, and I hope it inspires you to get crafty! Don’t forget to stop by and check out the entire Birthday Celebrations Collection! Thanks again for stopping by and have a wonderful day!

Supply List:

* Affiliate links used at no cost to you. Thanks so much for your support!

Latest Posts
Latest Instagram Posts

Simon Says Stamp You Did It Alcohol Ink

Hello! Hello! Thanks so much for stopping by! I hope you’re having a wonderful day so far! I’m back with another card featuring goodies from the latest Simon release, Yay You! If you know me, you know that I love stand-alone die cut sentiments, and today’s card is featuring just that! The new You Did It die cut! So, let’s go through the deets for this one!

I wanted a super simple card so that the sentiment would stand out and be the focal point, so I rummaged through my background box and found an alcohol ink background that I thought would be perfect. This particular background is using glossy cardstock along with Ranger Deception Alcohol Pearl Ink.

Once I decided on a background, I used the PinkFresh Studio Diagonal Stitched Rectangles to trim it down and give it a little interest along the edges. I also splattered the panel with Liquitex Iridescent Bright Silver Acrylic Ink.

I die cut the SSS You Did It once from SSS Matte Silver cardstock and twice from black cardstock and adhered those together using liquid glue, but offsetting them just slightly to create a shadow effect. As I always say, every card seems to need leaves and this one was no exception. I used the SSS Etched Meadow Flower and Leaves to cut a few leaves from black cardstock, as well as Neenah Classic Crest 110lb cardstock.

I trimmed the leaves down and adhered them underneath the sentiment using liquid glue, and adhered the sentiment with glue as well. I also had to add some PinkFresh Studio Silver Metallic Pearls for some added bling and interest. The alcohol panel was adhered to a black panel using foam tape and then to the card base using SSS Dot Tape Runner.

That does it for this one! Alcohol ink backgrounds are great, because I feel like you really only need a good sentiment and some small design elements to make a gorgeous card. Thanks again for stopping by! Have a great one and don’t forget to stay awesome!

Supply List:

* Affiliate links used at no cost to you. Thanks so much for your support!

Latest Posts
Latest Instagram Posts