Alex Syberia Design Winter Garden
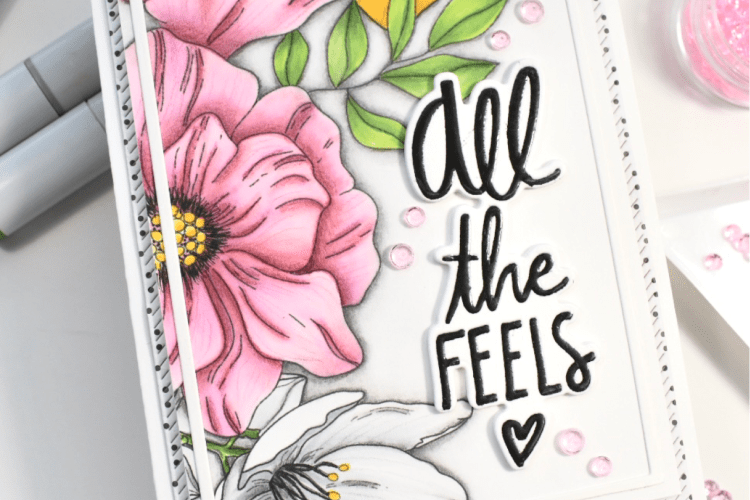
Hello Lovelies! Have you had a chance to check out Alex Syberia’s February release? I always fall in love with her floral images .. without fail! This Winter Garden A2 card panel was no different! You can check out her Etsy shop here.

So the original image is the size of an A2 panel, but I decided to resize it so that I was only going to get a partial image .. the one you see above. Now I’m no tech savvy anything! I use a Mac and insert the image into a Pages document and resize from there. No fancy app or software being used at my house!

Once I was done resizing my image and had it the way that I wanted, I printed it out on Neenah Classic Crest 80lb cardstock. I’ll link to my printer down below. A lot of people have been curious about printers, because they want to be able to print on heavyweight 140lb watercolor paper. I was the same!! And I found this one and love it!

So back to my card! I printed and started coloring with Copic Markers. The colors I used were: RV00, RV10, RV11, YG03, YG13, YG17, Y08, Y15, C0, and C2. I also used a Micron pen .03 to add the black detail to the middle of the pink and white flowers.
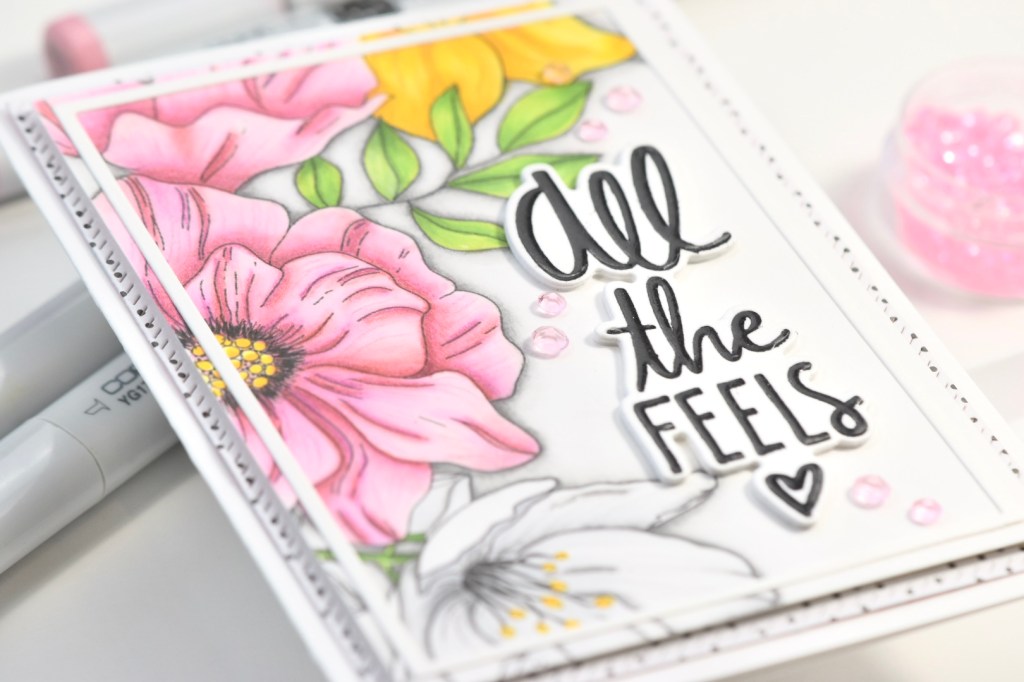
Once all of my color was added with markers, I added some detail and shading using Prismacolor Colored Pencils. Then to add gray shading around the flowers and leaves, which I love to do, I used a graphite pencil with a tortillon blender stump.

I trimmed my card panel down to 3.75” x 5” and I added an Altenew Fine Frames in white. Because I’m me, I decided it needed some additional detail, so I found this cute polka dot paper from the Miss Modern 6×6 pad from The Stamp Market and trimmed it down using the Diagonal Stitched Rectangles die from PinkFresh Studio. Once that was done, I mounted my card panel to the printed paper using 3M Foam Tape, because dimension is life!
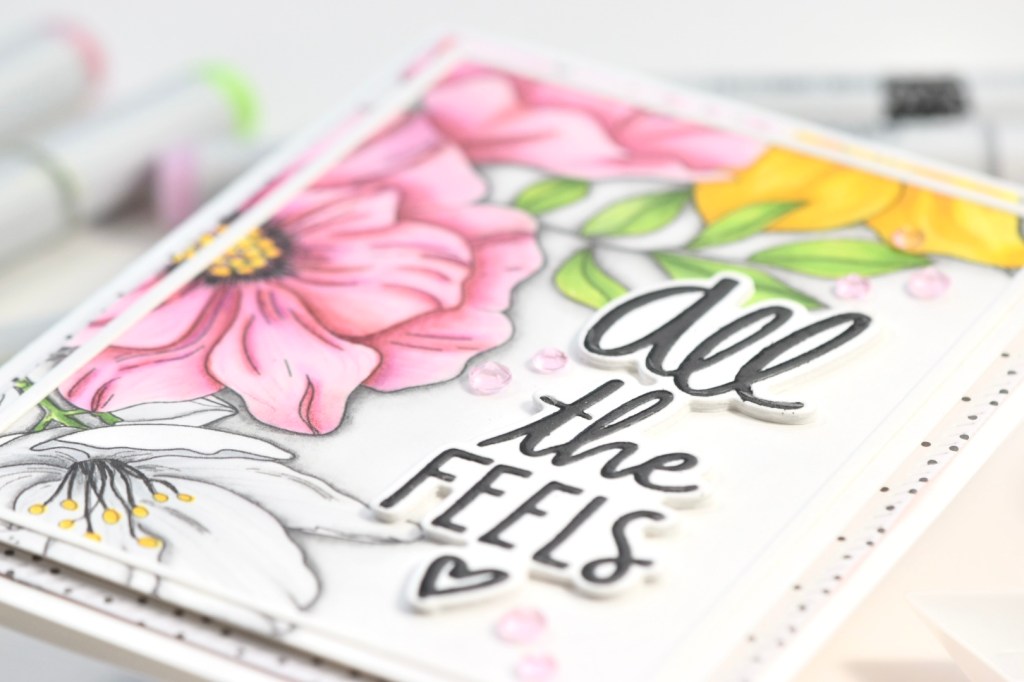
Don’t you just love this sentiment?! This sentiment is from the Simply Said stamp and die set from The Stamp Market. I thought it fit perfectly in the space on my card panel! To finish, I adhered my panel to my card base, which is Neenah Classic Crest 110lb cardstock, and added some pink jewels from the PinkFresh Studio Jewels Mix.
I hope you enjoyed this project and that it will inspire you to get creating! Don’t forget to check out Alex’s new release over in her Etsy shop, AlexSyberiaDesign!
Thanks for stopping by!
Stay awesome!
Supply List:
- AlexSyberiaDesign Winter Garden A2 Panel
- Neenah Classic Crest 80lb cardstock
- Neenah Classic Crest 110lb cardstock
- The Stamp Market Miss Modern polka dot patterned paper
- Altenew Fine Frames Die
- PinkFresh Studio Diagonal Stitched Rectangles die
- PinkFresh Studio Jewels Mix
- Copic Markers: RV00, RV10, RV11, YG03, YG13, YG17, Y08, Y15, C0, C2
- Micron Pen .03
- Prismacolor Colored Pencils
- Graphite Pencil
- Tortillon Blending Stump
- 3M Foam Tape
- The Stamp Market Simply Said stamp set
- The Stamp Market Simply Said die set
- Brother MFC-J895DW All-In-One Inkjet Printer
- STAMPtember CZ Design Exclusive

- Altenew Seasonal Blooms Card Duo

- STAMPtember 2026 Party!

- Simon Says Stamp Birthday Gifts

- Simon Says Stamp Amazing Daisies