LDRS Creative Happy Holidays
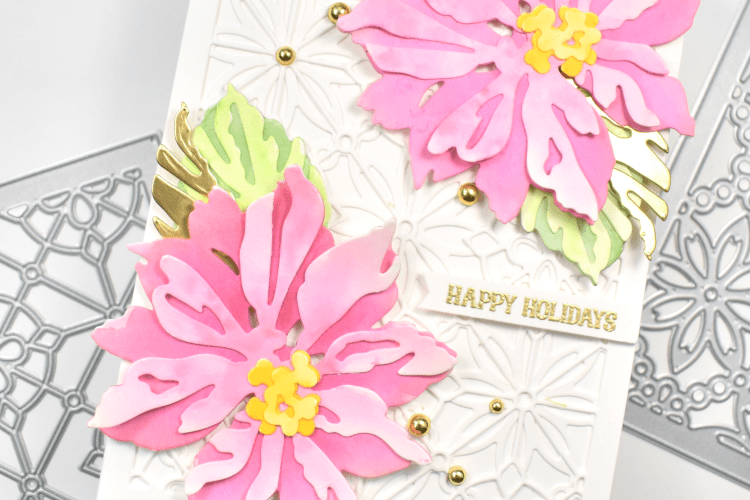
Hello Crafty Lovelies and welcome back! Have you checked out the new Christmas, Holiday and Halloween goodies from LDRS Creative yet? So many cute things! Today’s card is featuring the Layered Poinsettia dies, along with a couple of the Modern Geometric Coverplates. So, let’s just get right into the details, shall we?

I began the project by die cutting all of the pieces from the Layered Poinsettia set twice from watercolor paper. I pulled out a water brush and Karin Brushmarkers. I saturated the pieces with water and dropped in the color using the markers. I added more color on the bottom poinsettia layer to get a darker color.

Once the die cut pieces were dry, I adhered them together using liquid glue. I set those aside while I worked on the rest of the card. I die cut the LDRS Modern Geometric Coverplate II using Neenah Classic Crest 110lb cardstock, and I also cut the LDRS Modern Geometric Coverplate III from the same cardstock.
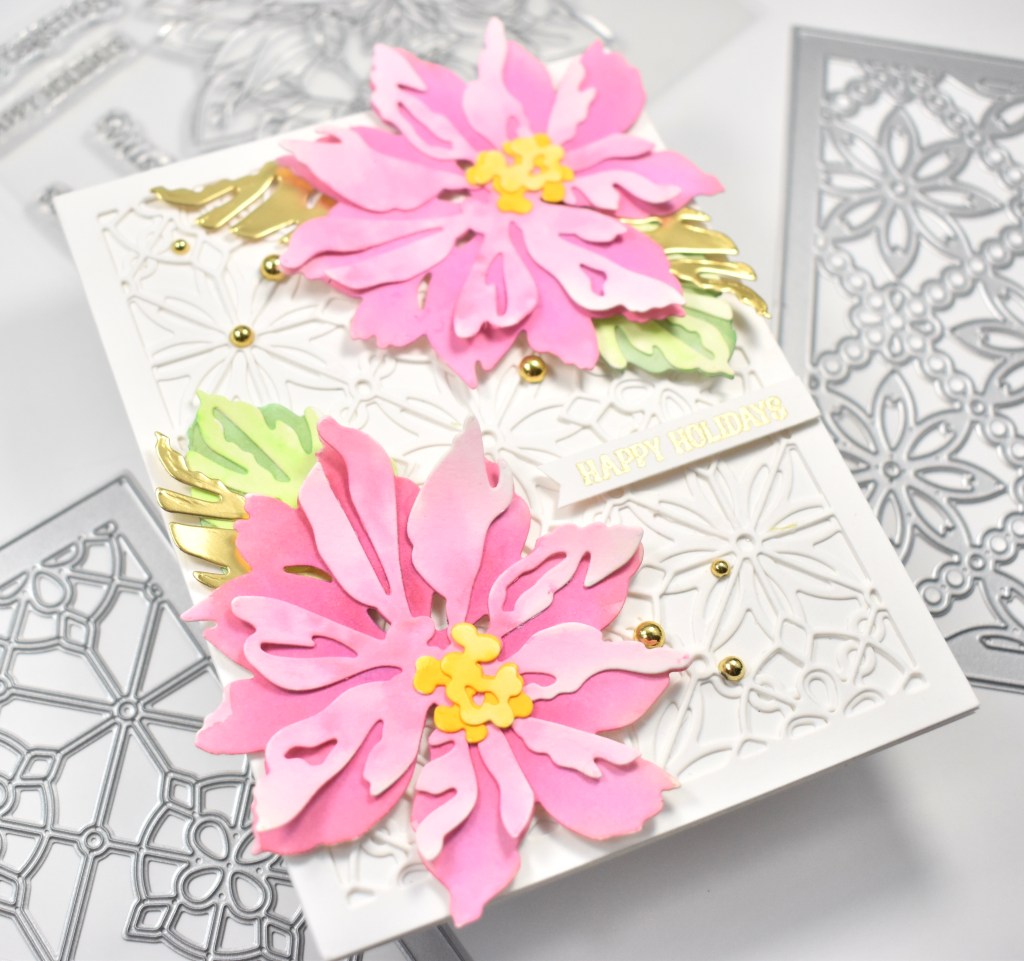
I adhered the two Geometric Coverplate dies together using glue and then glued them to the card base, which also happens to be Neenah 110lb. I opted for a small sentiment from the LDRS Potted Poinsettia stamp set. I stamped the sentiment on Neenah 110lb using VersaMark ink and heat embossed it using Ranger Princess Gold Embossing Powder and trimmed it down.

I had to play around with the placement of the flowers, leaves and sentiment. I did decide to cut a leaf die out of mirror gold cardstock, because I thought it would tie in well with the gold sentiment. I placed foam tape on the back of the flowers and adhered those in the corners, while gluing the leaves underneath them. The sentiment was also attached using foam tape for added dimension. I had to add bling, so I opted for a few PinkFresh Studio Gold Metallic Pearls.

That finishes up this project! I love the added texture in the background from the cover plates! I hope you enjoyed it, and I hope you’ll stop by and check out all of the new holiday products on the LDRS website. Have a wonderful day and don’t forget to stay awesome!

Supply List:

* Affiliate links used at no cost to you. Thank you for your support!

Latest Instagram Posts

Simon Says Stamp Fine Petals Hugs

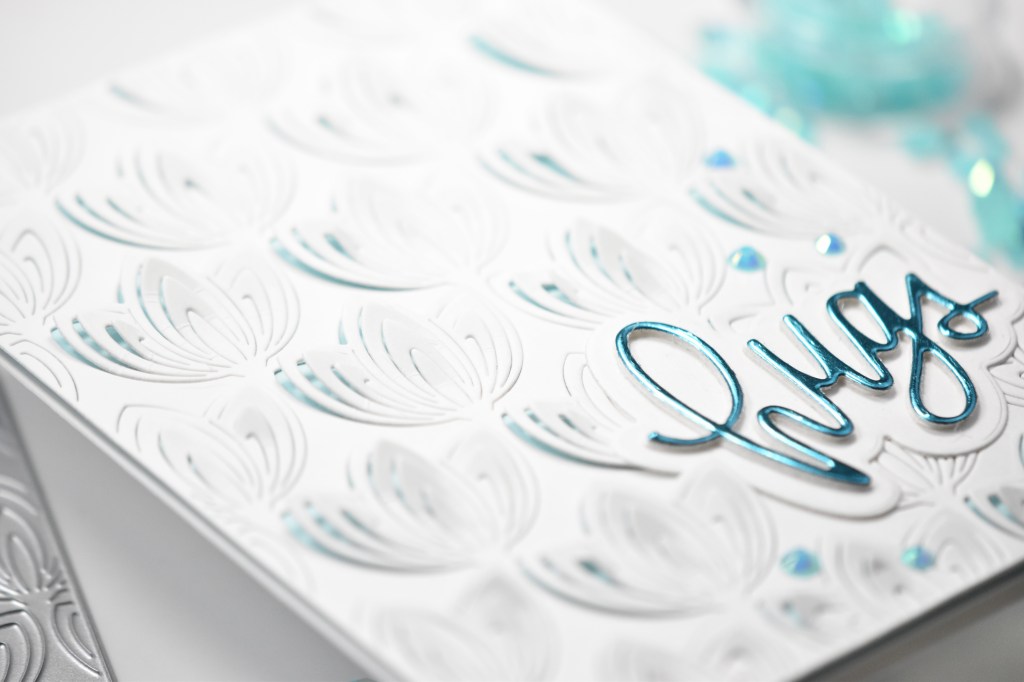
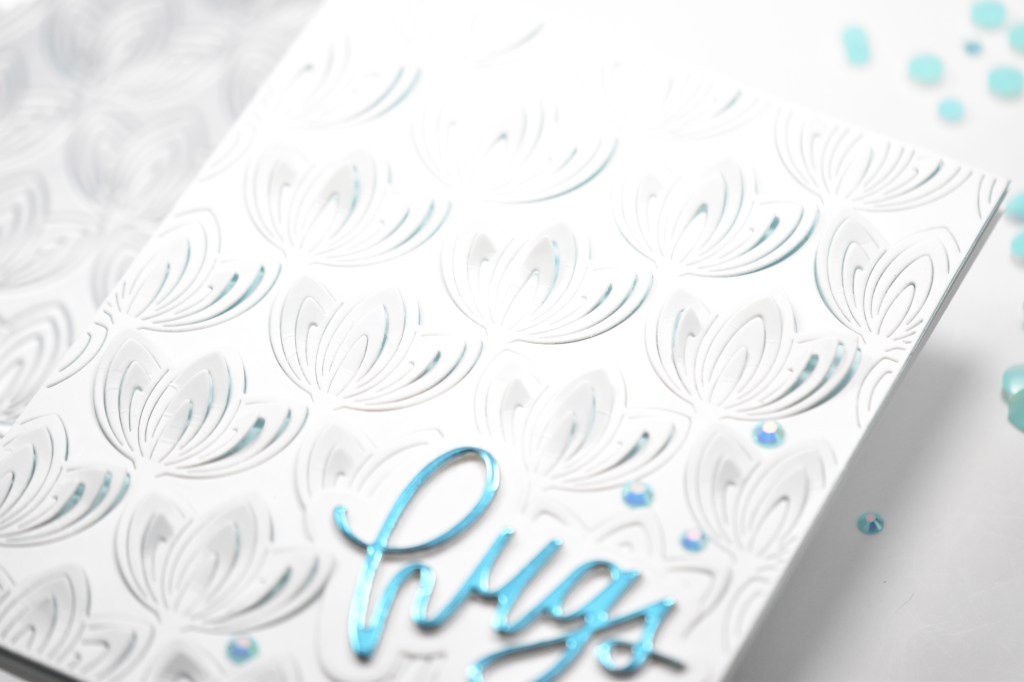
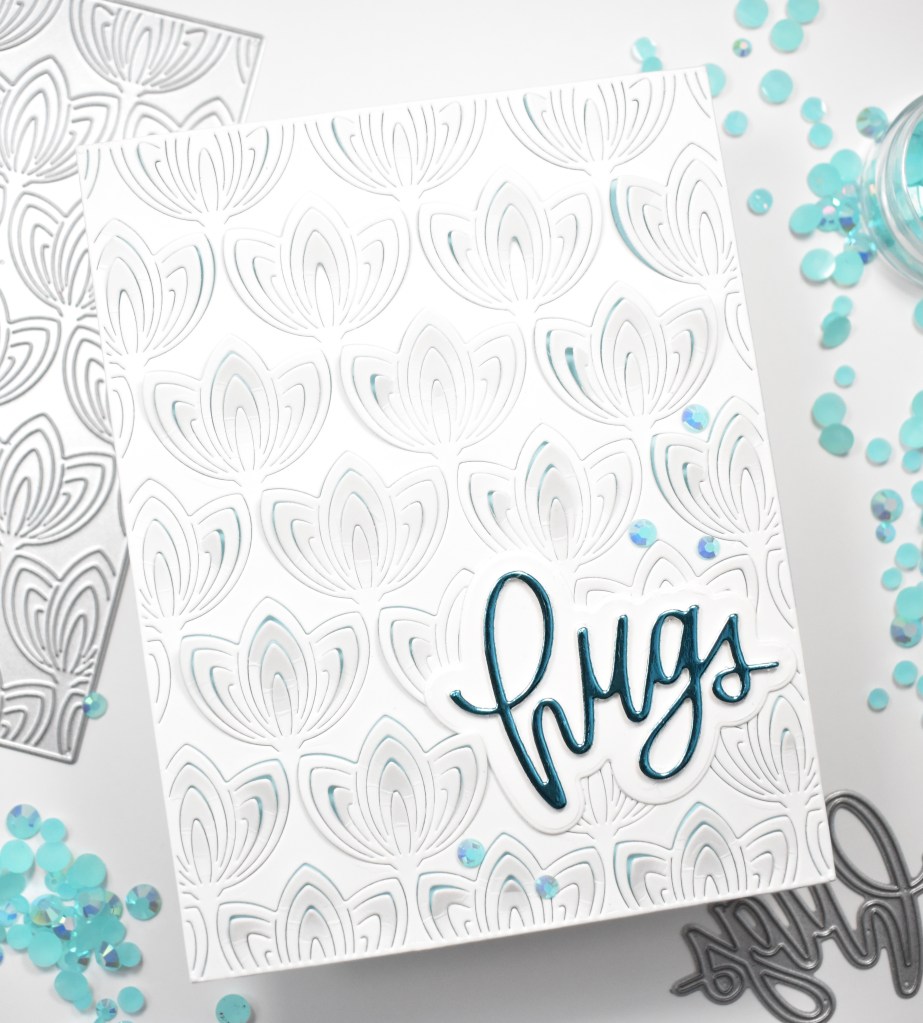
Hello, Hello and welcome back! Thanks for stopping by! Yup, I’m still on a StampTember kick! There’s just so many good things in this release, it’s hard to stop! For today’s project, I’m featuring another card using the new Fine Petal Background Plate. This is such a gorgeous die when it’s cut! Let’s get into the details!

I began by cutting a panel of Neenah Classic Crest 110lb cardstock using the Fine Petal Background Plate. I did have to run this through about four times to get a really good cut, but hopefully your machine cuts better! Once the panel was cut, I zhooshed most of the petals giving them plenty of definition and dimension. I did leave some un-zhooshed at the bottom for my sentiment.

I had some blue mirror cardstock that I wanted to use, so I adhered the petal panel to a color coordinating blue cardstock using liquid glue.

I cut the SSS Hugs sentiment once from this blue mirror cardstock and twice from Neenah 110lb. I also cut the shadow twice from Neenah 110lb and glued all of those layers together.

My sentiment was then glued to the bottom of the petal panel where I left the petals un-zhoosed. Everything was then adhered to the card base, which is also Neenah 110lb. Lots of dimension on this card for sure!

Here’s a reverse view of the card, so you can see the blue peeking through more clearly

To finish up, I added a few PinkFresh Studio Jewels, because every card deserves to sparkle!

That finishes this one up! Super simple and quick! That’s the wonderful thing about background plates! I hope you’ll stop by and check out the entire StampTember line up! Lots of great things to choose from! Have a wonderful day and don’t forget to stay awesome!

Supply List:

* Affiliate links used at no cost to you. Thank you so much for your support!

Latest Instagram Posts

Waffle Flower Leafy Birthday

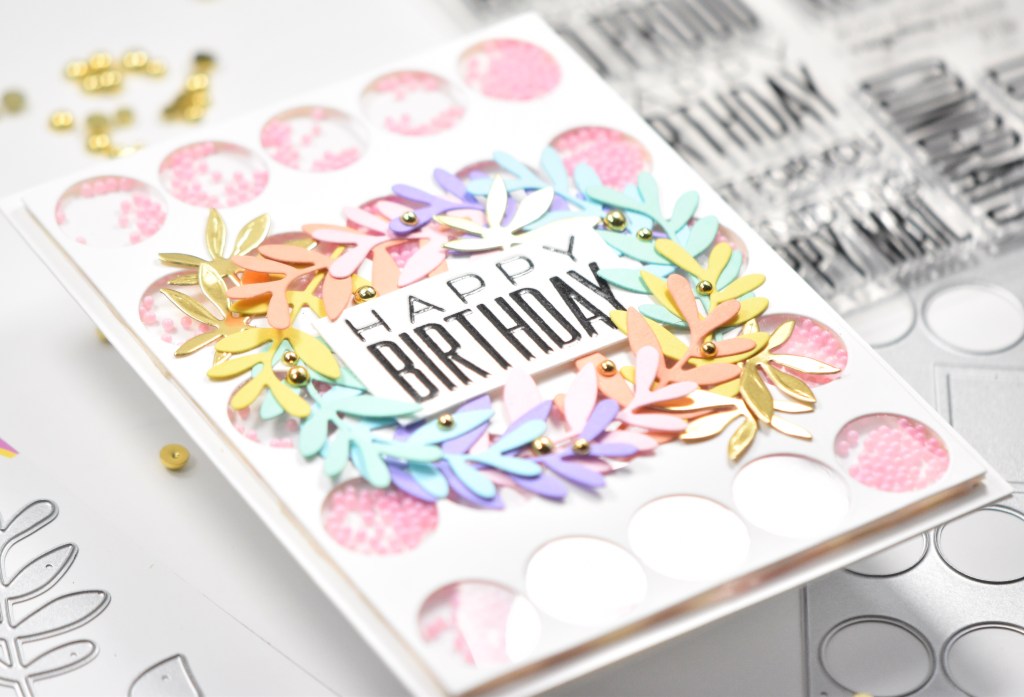
Hello Crafty Friends! Hope you are doing well and having a fabulous day! I’m back once again with a card for the Waffle Flower September challenge, week one, which is leaves! For this project, my leaves focused on the Waffle Flower Sprigs Die set! So let’s get into the details!

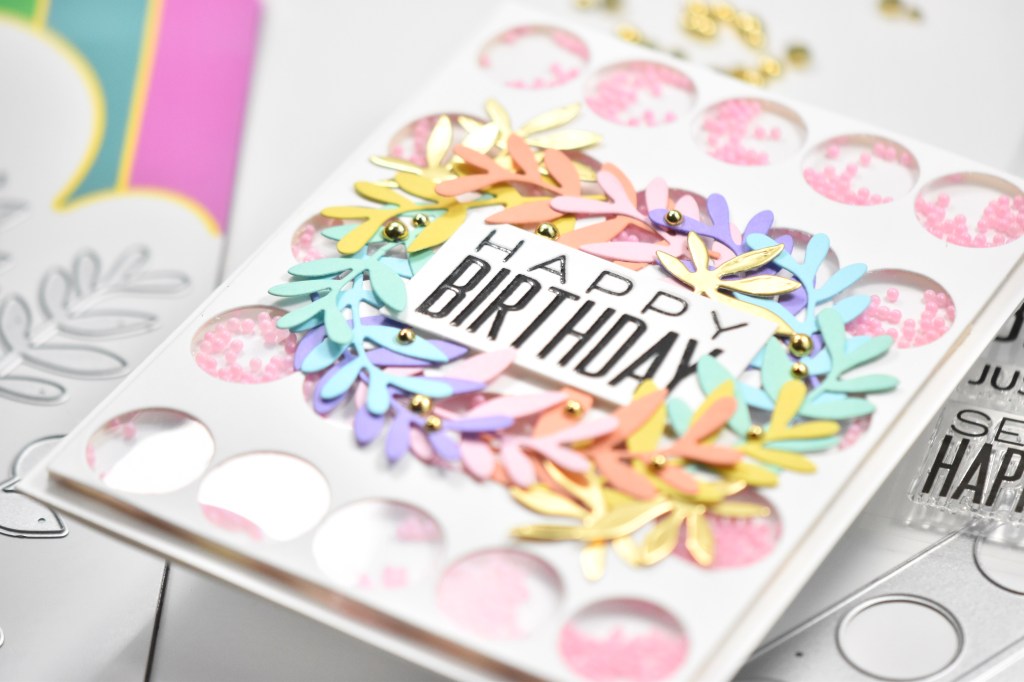
To begin the project, I picked out one leaf from the WF Sprigs Die set and cut it twice from six different colors of cardstock from The Stamp Market. I then used the WF Big Dots Die to cut a panel of Neenah Classic Crest 110lb cardstock.

Once the Big Dots panel was cut, I attached a panel of acetate using glue. Then I began the tedious task of placing foam tape on the back of the panel, so as to create a shaker card. I placed foam tape around all of the edges and in between each row of dots. I cut another panel of Neenah 110lb to use as the backer, and I poured my cute little pink shaker bits in the wells. Once I removed all of the backing from the foam tape, I carefully laid my cardstock backer atop that.

For the sentiment, I stamped the Happy Birthday, which is from the WF Big Dots Sentiments, using VersaFine Onyx Black Ink and heat embossed it using Ranger Clear Embossing Powder. I stamped and embossed it two more times, but using VersaMark ink for those. I trimmed that down and adhered it to the center of the panel using foam tape.

Next, I began arranging the leaves around the sentiment in rainbow order and gluing down just the bottom portion of each leaf, while tucking the next leaf underneath it, making my way around the sentiment. I thought this card could use a little addition of gold, so I chose another leaf from the WF Sprigs Die set and cut that five times from mirror gold cardstock. I adhered those around along with some PinkFresh Studio Gold Metallic Pearls. Everything was then adhered to the card base, which is also Neenah 110lb.

That finishes up this project! I hope you enjoyed it, and I’ll hope you hop over to the Waffle Flower Challenges and join the September challenge! Have a wonderful day and don’t forget to stay awesome!

Supply List:

* Affiliate links used at no cost to you. Thank you so much for your support!

Latest Instagram Posts

Simon Says Stamp Leafy Warm Hugs

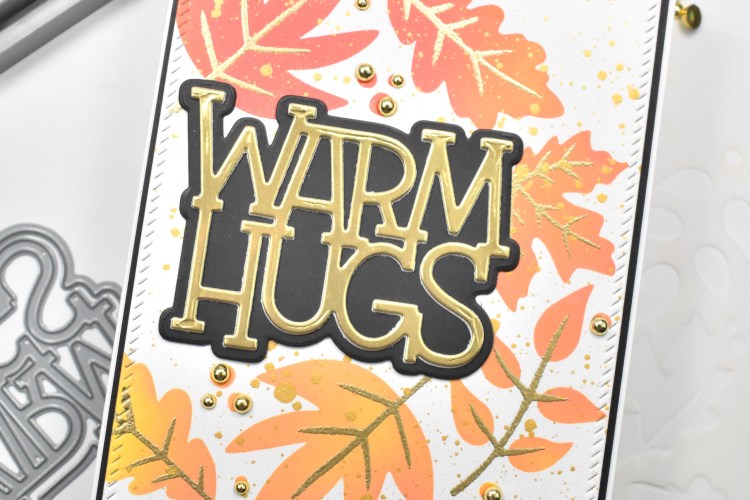
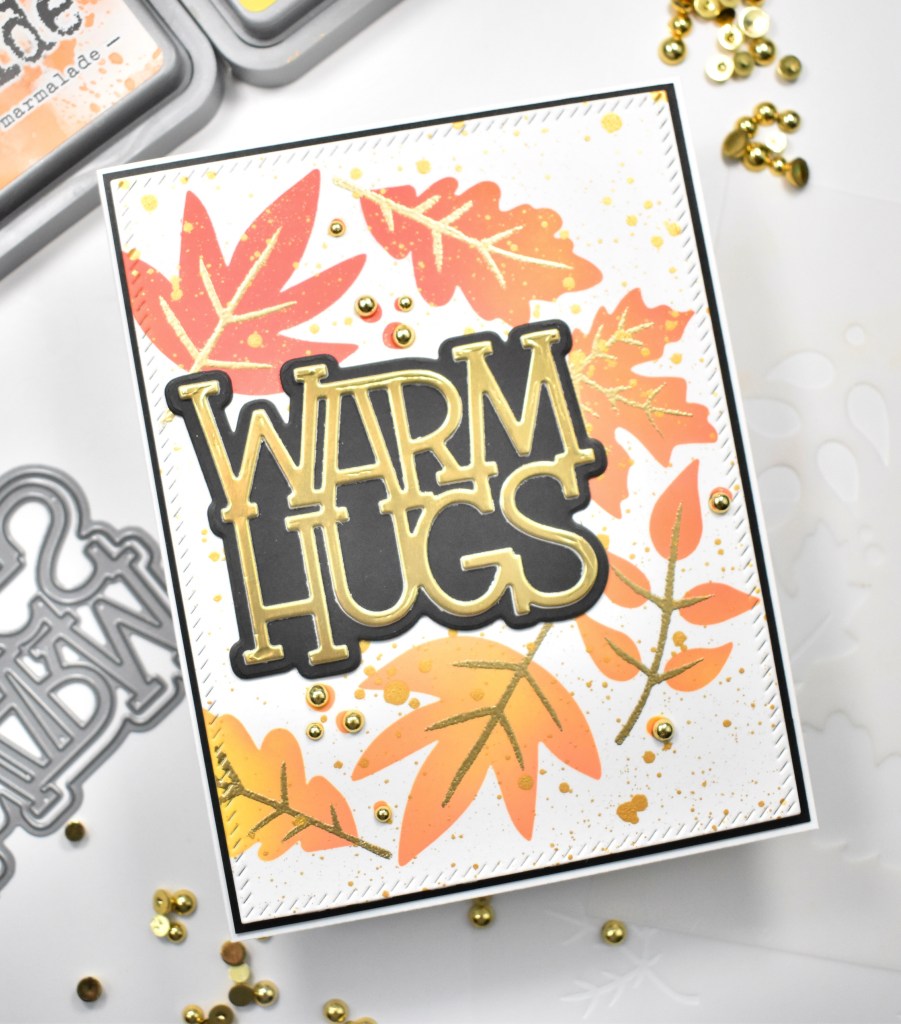
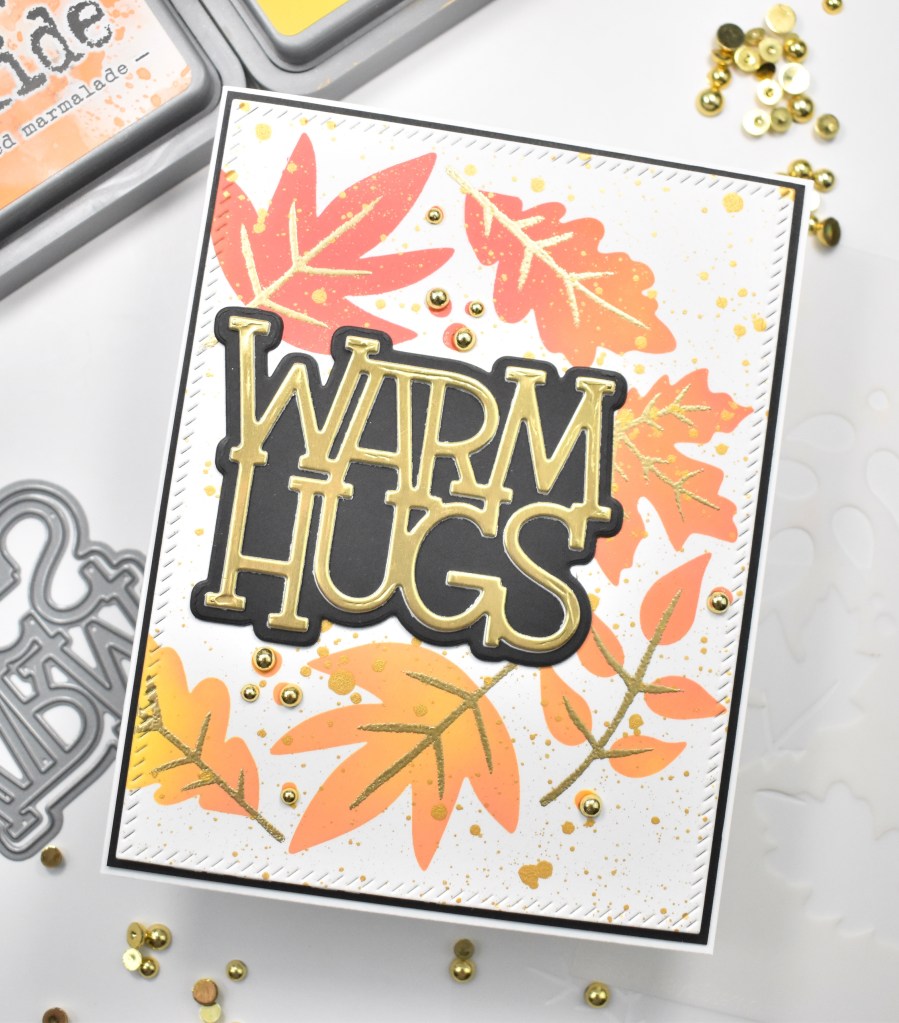
Hello Crafters, and welcome back! Thanks so much for stopping by! Yay for StampTember, right?! What are your favorites from the release? I can honestly say that I have too many! Who’s with me? There’s just so much to choose from! I had to order a few of the new ink pads to try them out! They are all just so yummy! For today’s project, I’m featuring the new Leaves Wreath Stencil once again with fall colors. So let’s jump right into the details!

To begin this project, I trimmed a panel of Neenah Classic Crest 110lb cardstock just smaller than an A2 card and secured the first Leaves Wreath Stencil to it using masking tape. For the ink blending, I used Distress Oxide Festive Berries, Spiced Marmalade and Fossilized Amber.

I removed the first stencil and attached the second stencil. I smooshed a VersaMark ink pad over this, making sure to get a good coating. Once the second stencil was removed, I used Ranger Princess Gold Embossing Powder to heat set the detail of the leaves. My next step was to splatter the panel, and for this I used Royal Talens Amsterdam Light Gold Acrylic Ink. This was then set aside to dry.

I went ahead and worked on the sentiment using the SSS Warm Hugs die. I cut the detail die once from Gold Mirror cardstock and twice from Neenah 110lb. The shadow was then cut twice using black cardstock, and all of those were then adhered together using liquid glue.

I die cut the panel using the PinkFresh Studio Diagonal Stitched Rectangles for some added interest. I then adhered the sentiment to the center of the wreath using glue, and added PinkFresh Studio Gold Metallic Pearls for my embellishments. Because every card has to have embellishments, am I right!? The panel was then added to a black cardstock panel with foam tape before being adhered to the card base, which is also Neenah 110lb.

That finishes up this project! I hope you enjoyed it, and I hope you’re enjoying seeing all of the inspiration from the SSS design team! Stop by and check out the entire StampTember release, and let me know your favorites! Have a wonderful day and don’t forget to stay awesome!

Supply List:

*Affiliate links used at no cost to you. Thank you so much for your support!

Latest Instagram Posts

Waffle Flower Leafy Smile

Hello Crafters and welcome back! Waffle Flower has monthly challenges and I’m super excited to be co-hosting week one with my special friend Rachel! This week’s theme is Leaves, which is just perfect for the upcoming fall weather. You can head over to Waffle Flower for all the challenge details! So let’s get into my project!

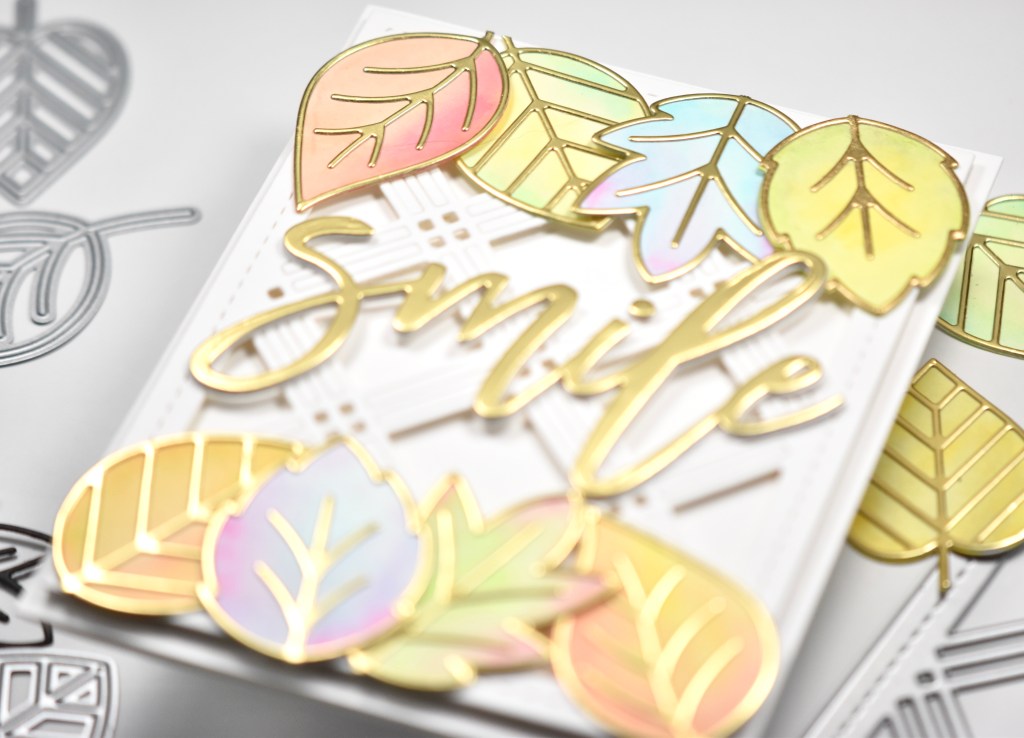
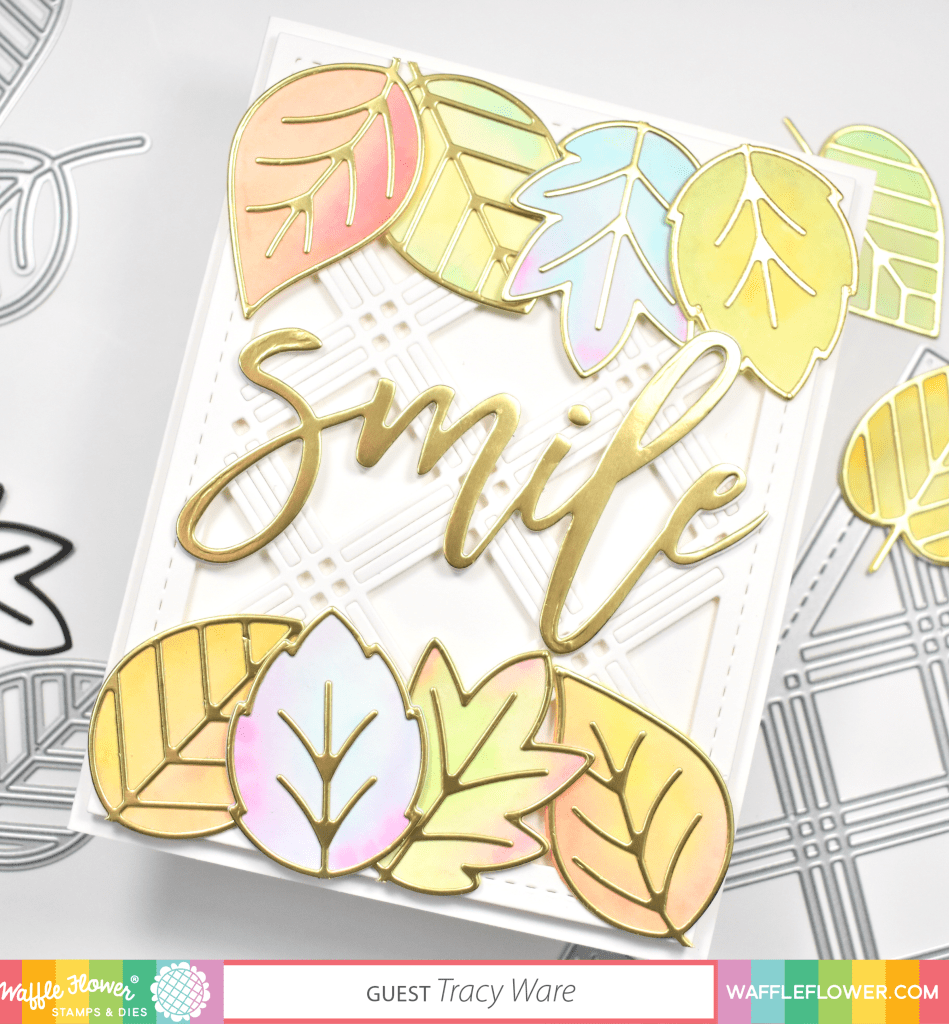
For my project, I opted to use the Fall Leaves Die set, along with a couple of other Waffle Flower products. I began by cutting the solid leaf dies from watercolor paper twice. I got out a water brush and my Karin Brushmarkers to do a little bit of watercoloring on them. Very quick and simple technique of adding water to the leaves and dropping in color from the markers. Once satisfied with the colors, I set them aside to dry.
While those were drying, I went ahead and cut the leaf detail for all of the leaves from mirror gold cardstock. I also went ahead and cut the Triple Line Diamond Panel Die from Neenah Classic Crest 110lb cardstock, and placed foam tape strategically on the back of it.
I adhered the gold leaf detail to the solid leaves using liquid glue. Now that I had the panel cut and the leaves ready to do, I needed to decided on a sentiment. The Oversized Smile Word Die fit within the space that I had to work with, so I cut it once from that same mirror gold cardstock and three more times from Neenah 110lb cardstock and glued all of those together.

I began adhering the leaves to the die cut panel using glue, creating a row at the top and the bottom. Once those were all done, I trimmed off the stems. Since I had previously put foam tape on the back of the die cut panel, I went ahead and adhered that to the card base, which is Neenah 110lb as well.

The only thing left to do was glue the sentiment in the center of the panel. I didn’t even add bling to this card! Can you believe that? I can’t, actually! I hope you enjoyed this project, and I hope you’ll join us in the challenge! Leaves is such a great theme for this month! Have a wonderful day and don’t forget to stay awesome friend!

Supply List:

* Affiliate links used at no cost to you. Thank you for your support!

Latest Instagram Posts

Simon Says Stamp Rainbow Hello

Hello Crafty Friend, and happy StampTember! StampTember is always so exciting! So many new products, and so many awesome collaboration sets! To celebrate, we are having a huge blog party! There will be tons of inspiration AND a scavenger hunt for exclusive codes to the Simon Says Stamp store! You can check out the SSS Blog for more inspiration, more details and more links to blogs with even more exclusive codes! You’ll find my exclusive code below! Today’s card is featuring this new, awesome, Fine Petal Background Plate. Such a cool plate to play with! So, let’s get right into the details of it.

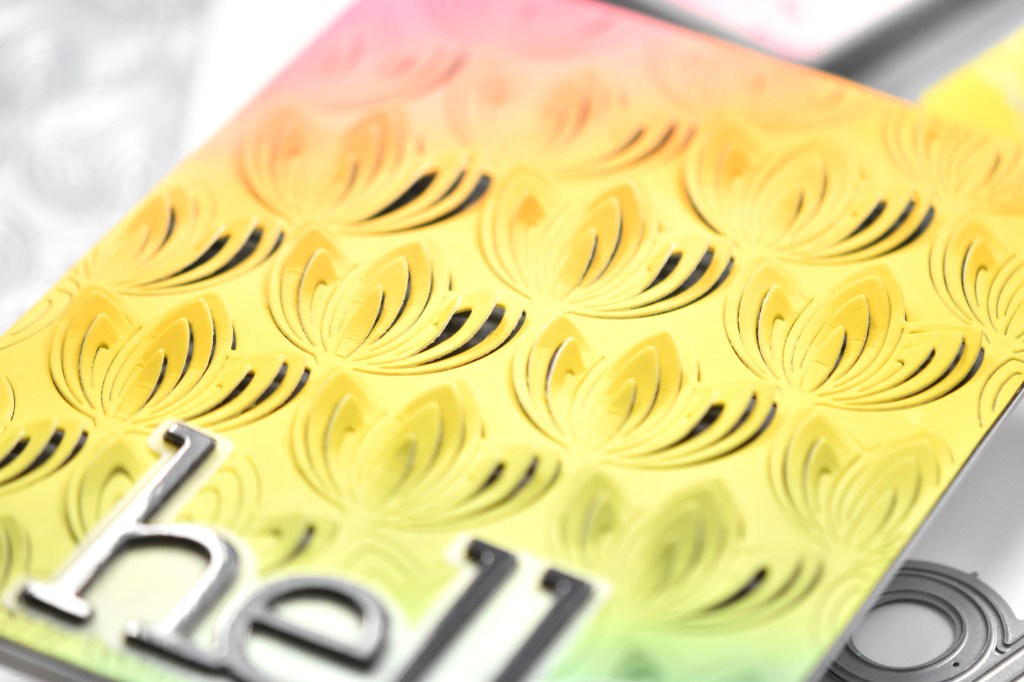
I began by ink blending a panel of Neenah Classic Crest 110lb cardstock using Distress Oxide inks in Picked Raspberry, Carved Pumpkin, Mustard Seed, Twisted Citron and Broken China. I then used the SSS Fine Petal Background Plate to cut the ink blended panel using the Gemini Jr. I did have to run it through about four times to get a really good cut.

Once the panel was cut, I zhooshed most of the petals to give them some good dimension! I left some petals near the bottom un-zhooshed, is that even a word? Anyhoo, I left some flat so that I had a place for the sentiment. I then adhered the ink blended panel to a black cardstock panel using liquid glue. I thought the black background made a bold impact against the rainbow!

Next, I used the SSS Hello die and cut that from black glossy cardstock three times and adhered all of those together using glue. I also cut the shadow once from vellum and glued that behind the sentiment. This was then glued to the panel near the bottom.

This panel was then glued to the card base, which is Neenah 110lb. This was a super simple and quick card, but I love how it turned out! I really love the black elements combined with the rainbow colors!

That does it for this one! I hope you enjoyed it, and I hope you’ll stop by and check out the entire StampTember line up! There’s so many great things in this release! Here’s my exclusive code for the SSS store! Join the scavenger hunt for more codes! Thanks for stopping by, have a wonderful day and don’t forget to stay awesome sweet friend!

Supply List:

* Affiliate links used at no cost to you. Thank you so much for your support!

Latest Instagram Posts

Erin Lee Creative Hello Somewhere Rainbow

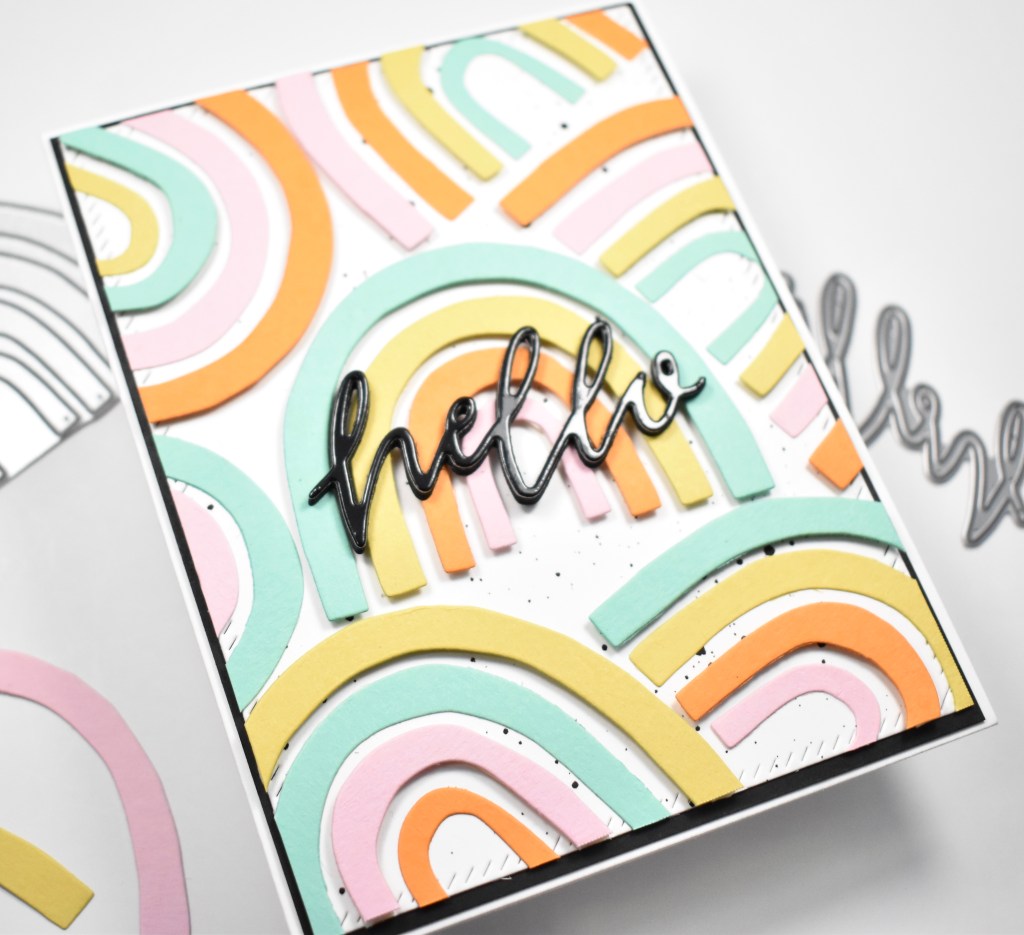
Hello Crafty Lovelies! Hope you’re doing well and having a wonderful day! I’m back today featuring a couple of cool products from Erin Lee Creative, and can I just say, I love how this card turned out! Let’s get right into the details!

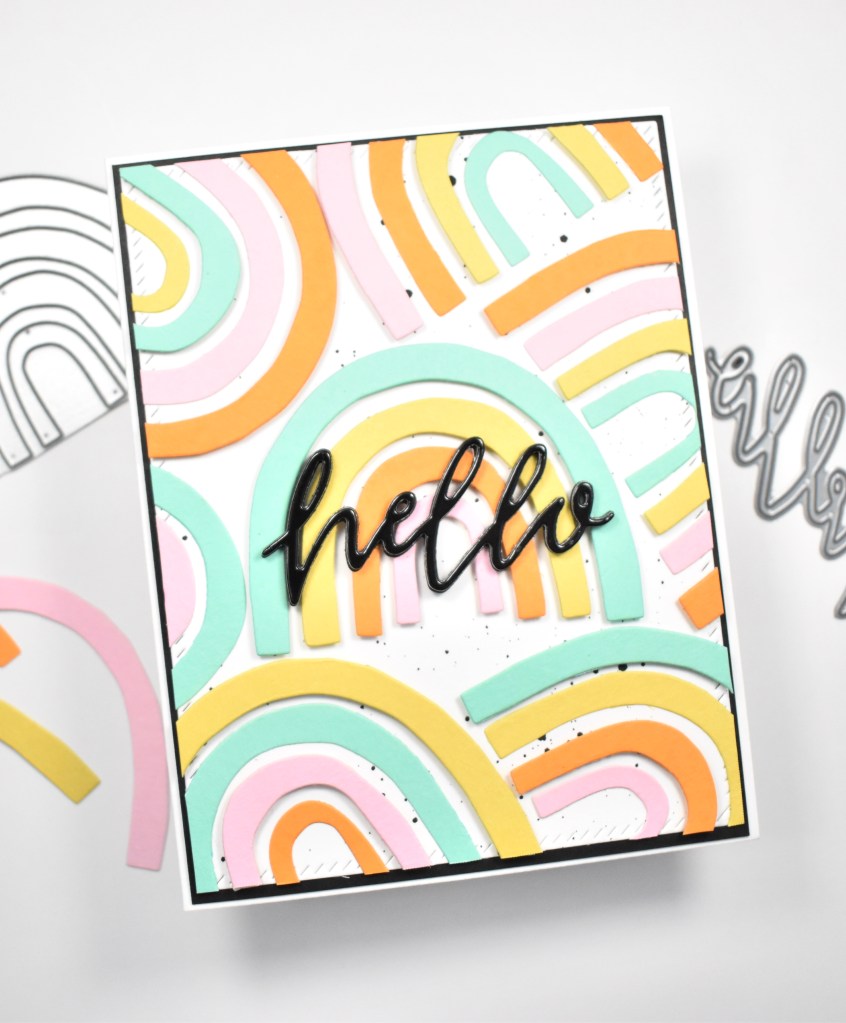
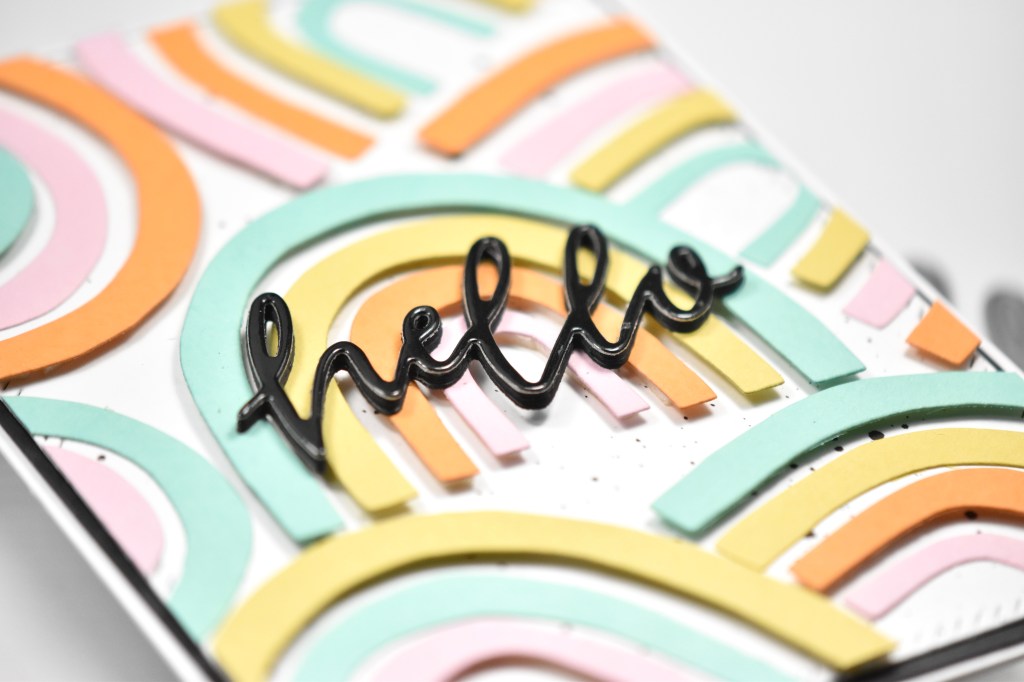
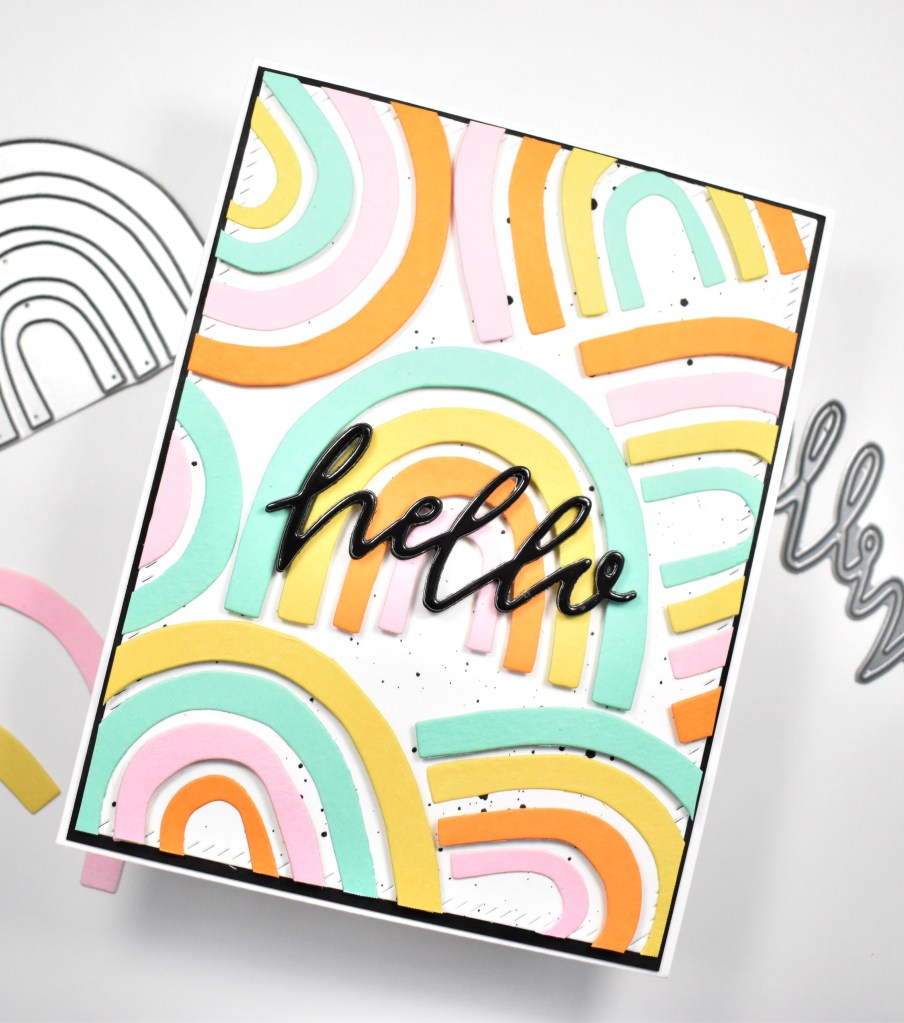
I began the project by cutting the Somewhere Rainbow twice from four different colors of cardstock from The Stamp Market. I cut them twice from each color because I wasn’t sure how many that I was going to need. I needed a panel to work on, so I cut a panel of Neenah Classic Crest 110lb cardstock using the PinkFresh Studio Diagonal Stitched Rectangles.

Once that was cut, I splattered it using Royal Talens Amsterdam Oxide Black Acrylic Ink and set it aside to dry. I began assembling the first rainbow in the center of the panel. For this one rainbow, each arch is adhered with foam tape.

I had to play with placement of the remaining rainbows as to fill in the panel the best way. Once that was decided, I began adhering the other rainbows, using a combination of glue and foam tape, alternating arches. Hopefully you can see that from the pics.

Once the panel was full of rainbows, I die cut the Hello Word Die once from Glossy Black cardstock and three times from black cardstock, gluing all of those together for dimension, because dimension rocks! I adhered the Hello sentiment in the center of the panel atop the center rainbow. My panel was then adhered to a black panel using foam tape, and then to the card base, which is Neenah 110lb.

That finishes up this project! You guys, Erin has some of the cutest rainbows, and I’m just in love with this one! I hope you’ll stop by her website and check out her awesome products! Stay awesome friend!

Supply List:

* Some affiliate links used at no cost to you. Thank you for your support!

Latest Instagram Posts

Reverse Confetti Celebrate

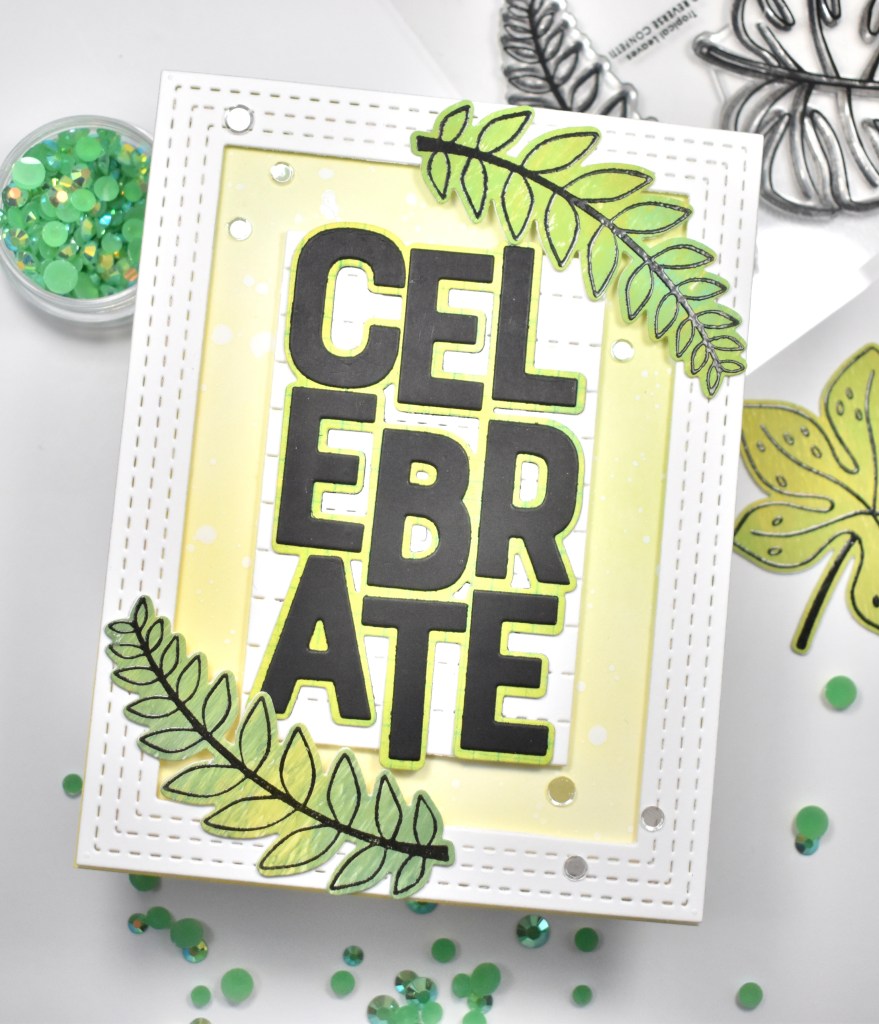
Hello Friends and welcome back! Thanks for stopping by! Today’s card is featuring the new Tropical Leaves from Reverse Confetti’s July release! It’s a super simple card, but I love the greens and yellows! Let’s get into it!

I’m going to start off by saying that the gel print that these leaves were made from was created a REALLY long time ago! This particular gel print was made using regular, inexpensive acrylic paint on thin white paper. The only other tools used were a gel plate, obviously, and a brayer.

To begin this project, I cut an A2 card base using Neenah Classic Crest 110lb cardstock and added some ink blending using PinkFresh Studio Fresh Pear and Lemon Whip inks, along with some white splatter using Royal Talens Amsterdam Titanium White Acrylic Ink. I love this ink for splatter because it stays bright white, and it has the perfect splatter consistency! I used the Reverse Confetti Stitched Note and Frames Confetti Cuts to cut a panel of Neenah 110lb, and adhered the outside frame to my card base using foam tape.

I used the RC Celebrate Tag Confetti Cuts to cut the shadow portion from patterned paper from Vicki Boutin, and the letters from black cardstock twice. I adhered all of those together using glue. I then glued the sentiment to the note portion of the frames, and adhered that in the center of my card using foam tape.

I stamped the Tropical Leaves on my gel print using VersaFine Onyx Black ink and heat embossed them using Ranger Clear Embossing Powder. Once that was done, I used the Tropical Leaves Confetti Cuts die to run those through my die cutting machine. Remember earlier when I said that this gel print was created on thin white paper? Well, my leaves needed some extra thickness, so I ran the leaf die cuts through the machine again using Neenah 110lb and glued those together for sturdiness. Those were then glued to the corners of my card.

To finish up, I added some sparkling clear confetti, because bling! See, super simple card! I just loved how that patterned paper matched my gel print leaves so well! If you haven’t checked out the Reverse Confetti July release, whatchoo waiting for?!?!

Thanks again for stopping by today, and don’t forget to stay awesome!

Supply List:

*Affiliate links used at no cost to you. Thank you so much for your support!

Latest Instagram Posts

Reverse Confetti Forever and Always

Hello and welcome back! The latest Stock Your Stash Challenge is happening over on the Reverse Confetti blog, and this month’s theme is Wedding. I hope you’ll join in on the fun! Let’s get right in to the details of my wedding card!

I began my project by stamping a floral and several leaves from the Reverse Confetti Peony Stamp set on Neenah Classic Crest 110lb cardstock using VersaFine Onyx Black ink. Once stamped, I heat set them using Ranger Clear Embossing Powder. Then I added color using Copic markers RV00, RV10, RV11, RV32, R85, G20, G21 and G24.

When I had finished the coloring, I used the coordinating Peony Confetti Cuts to trim those out. I also used the Reverse Confetti Stitched Circles Cover Panel to to cut a panel from Neenah 110lb, because the background needed some interest.

I stamped the sentiment, which is from the Reverse Confetti Word Up stamp set, on black cardstock using VersaMark Ink and heat embossed it using SSS Detail White Embossing Powder. I had to play around with the placement of the flower, leaves and sentiment before I could adhere anything.

I added foam tape to the back of the floral and tucked the leaves behind it, securing those with glue. I added the remaining leaves to the panel using foam tape, along with the sentiment. Everything was then adhered to the card base, which is Neenah 110lb. I had to add embellishments, right?! No card is complete without embellishments! I opted for some pearls from Little Things from Lucy’s Cards.

That finishes up this card! I hope you enjoyed it, and I hope you’ll head over to the Reverse Confetti blog to participate in this month’s challenge. Don’t forget to stay awesome friend!

Supply List:

*Affiliate links used at no cost to you. Thank you so much for your support!

Latest Instagram Posts

Erin Lee Creative Chevron Hi

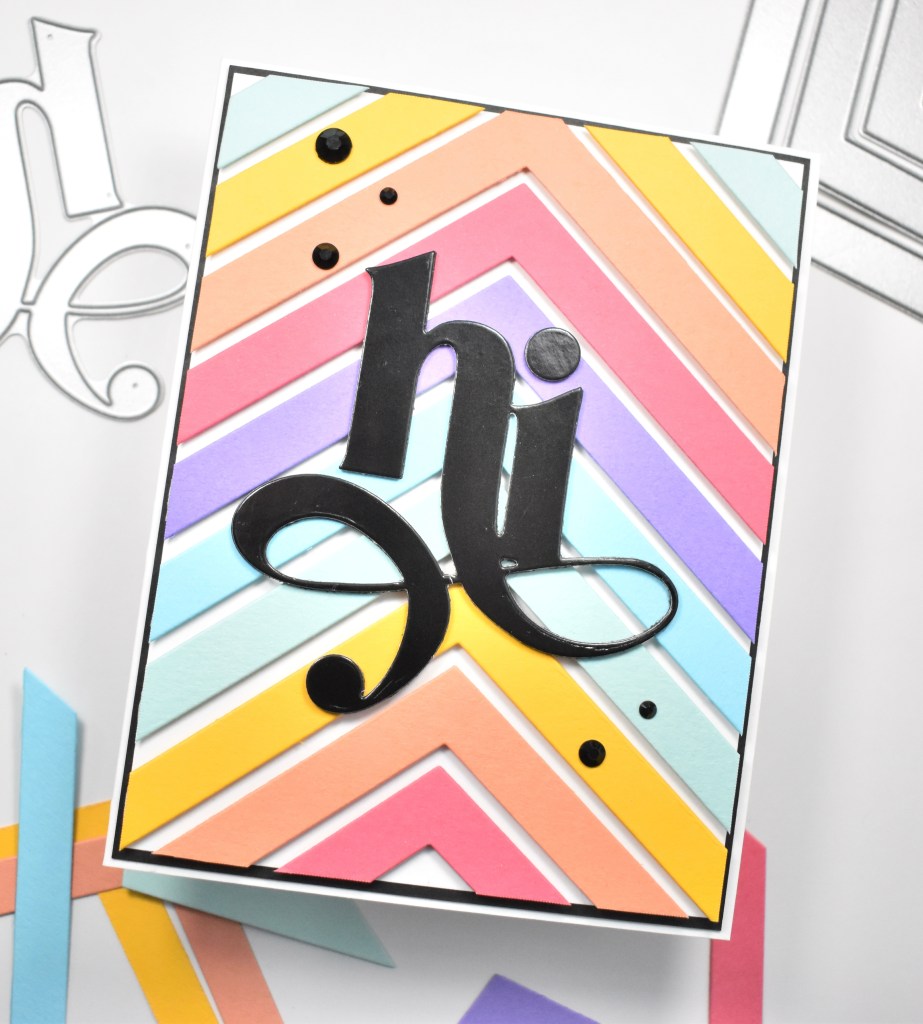
Hello there crafty friend! I hope you’re having an amazing day! I’m so glad that you stopped by! I was beyond excited when asked to play with some goodies from Erin Lee Creative! Like beyond! So, today’s card is featuring the Chevron Builder and Jumbo Hi dies from her previous releases. Let’s jump right in to the details, shall we?

To begin this project, I pulled out six colors of cardstock from The Stamp Market and die cut the Chevron Builder from those colors twice. I also trimmed a panel of Neenah Classic Crest 110lb cardstock just smaller than an A2 card to layer the chevron pieces on.

I put foam tape on the back of the chevron pieces and began adhering them in rainbow order, leaving a small space between, until the entire panel was covered.

I die cut the Erin Lee Creative Jumbo Hi once from Glossy Black cardstock, and two more times from black cardstock and adhered all of those together using liquid glue. I then glued the sentiment in the center of the chevron panel.

This was then adhered to a black panel for contrast, and then to the card base, which is also Neenah 110lb. This card felt like it needed some embellishments, so I opted for some black crystals from Studio Katia.

That finishes up this project! I hope you enjoyed it, and I hope it inspires you to get crafty! I ended up with enough chevron pieces to make a second card, so I’ll post that soon! Have a wonderful day and don’t forget to stay awesome!

Supply List:

*Some affiliate links used at no cost to you. Thank you for your support!

Latest Instagram Posts