Simon Says Stamp Take Care Lisianthus

Hello Crafty Friends! Thanks so much for stopping by! Today’s card is featuring the new Lisianthus stamp from Simon’s newest release, Happy and Joyful. This is such a gorgeous release, but I say that about all of their releases! So, let’s run through the details of this project!
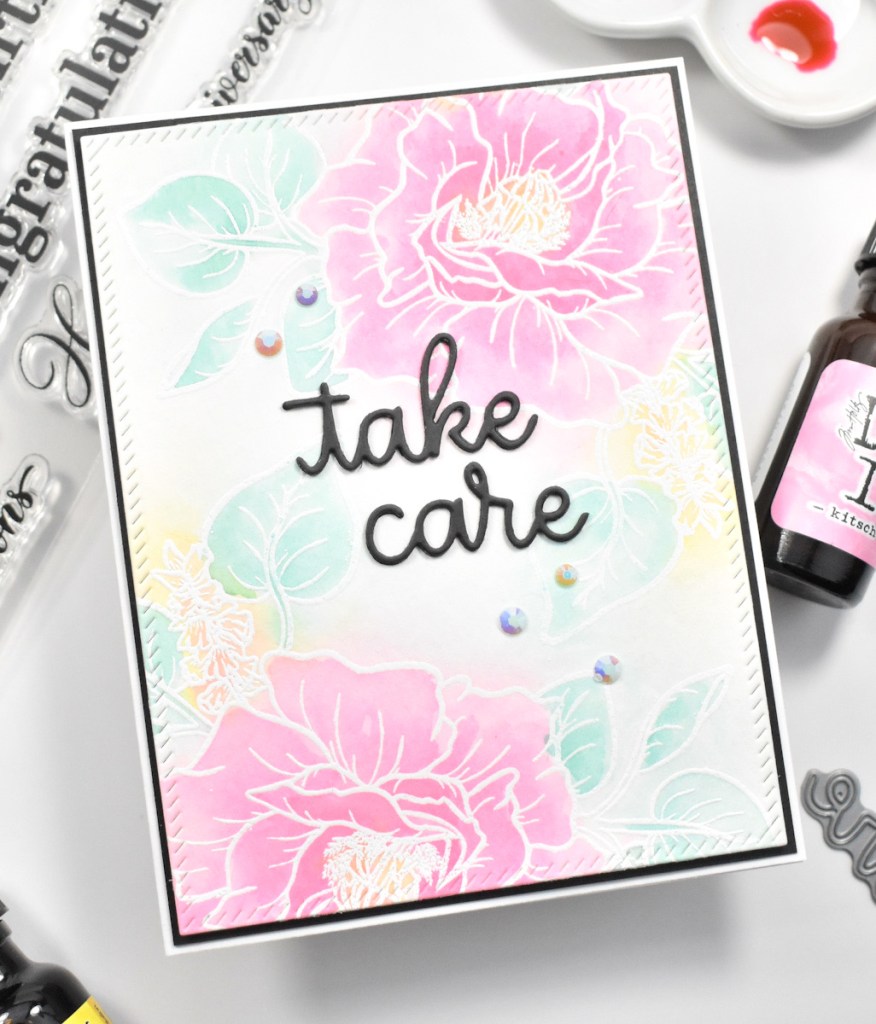
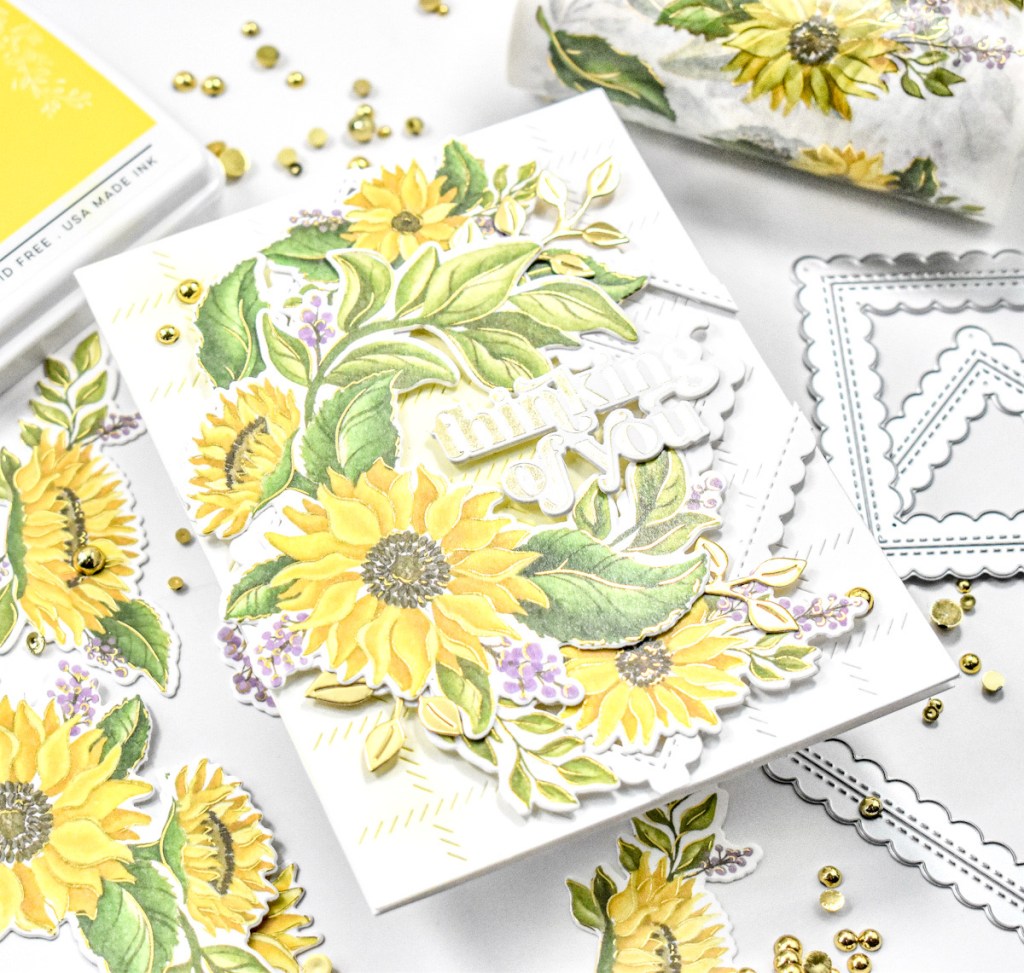
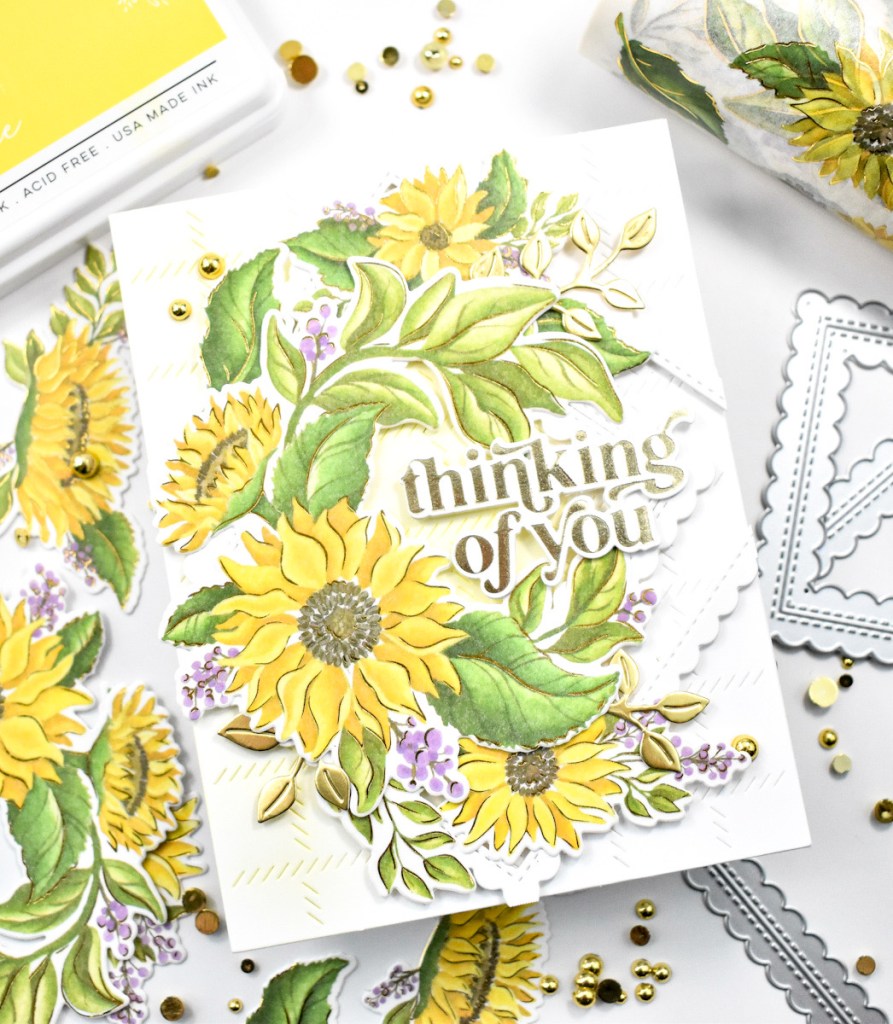
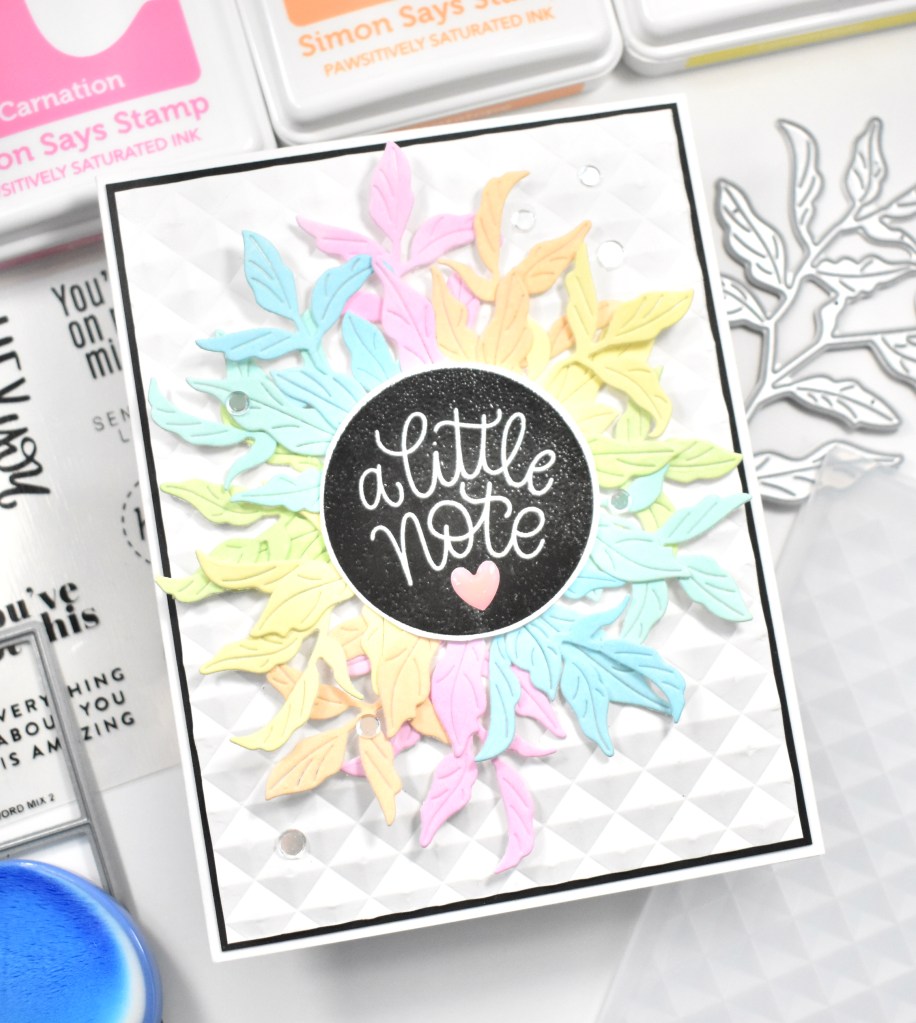
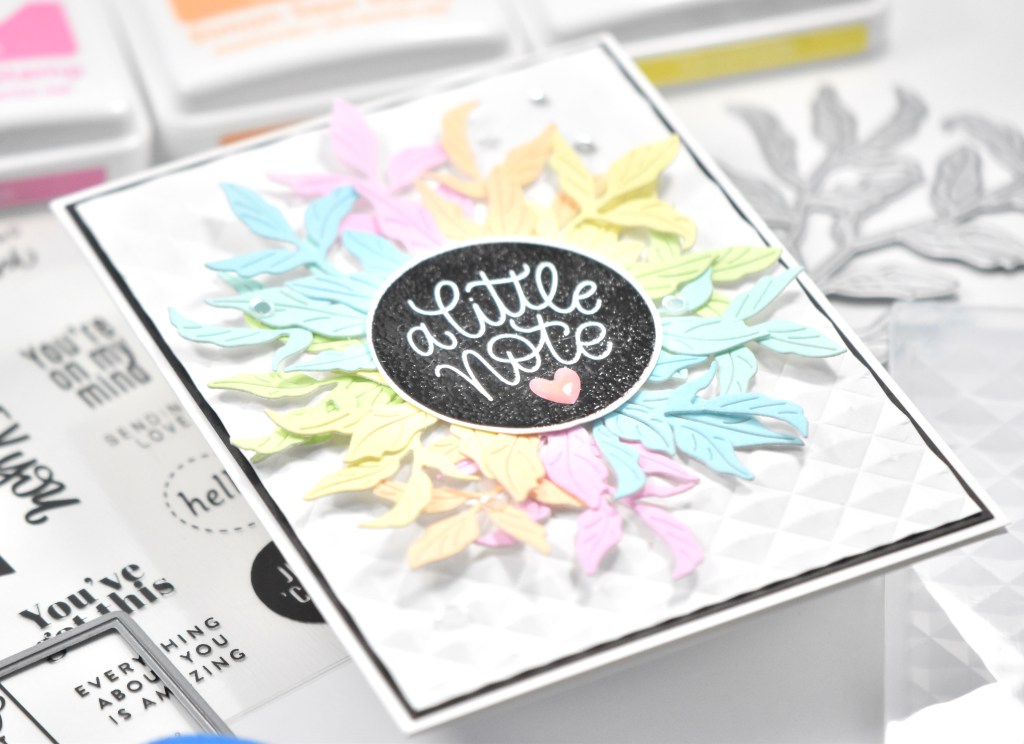
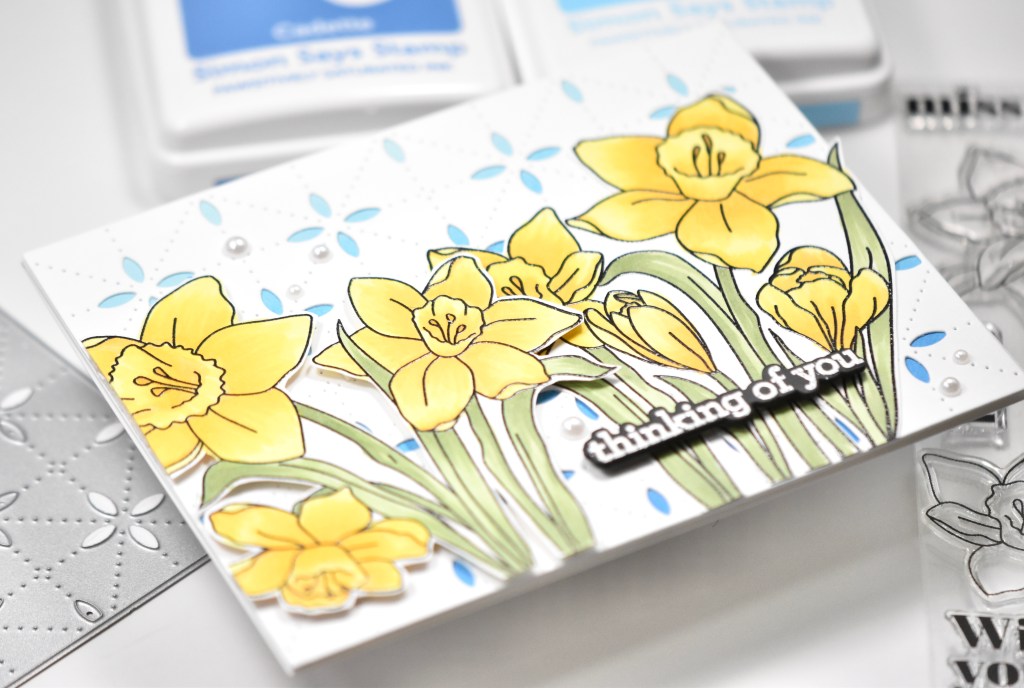
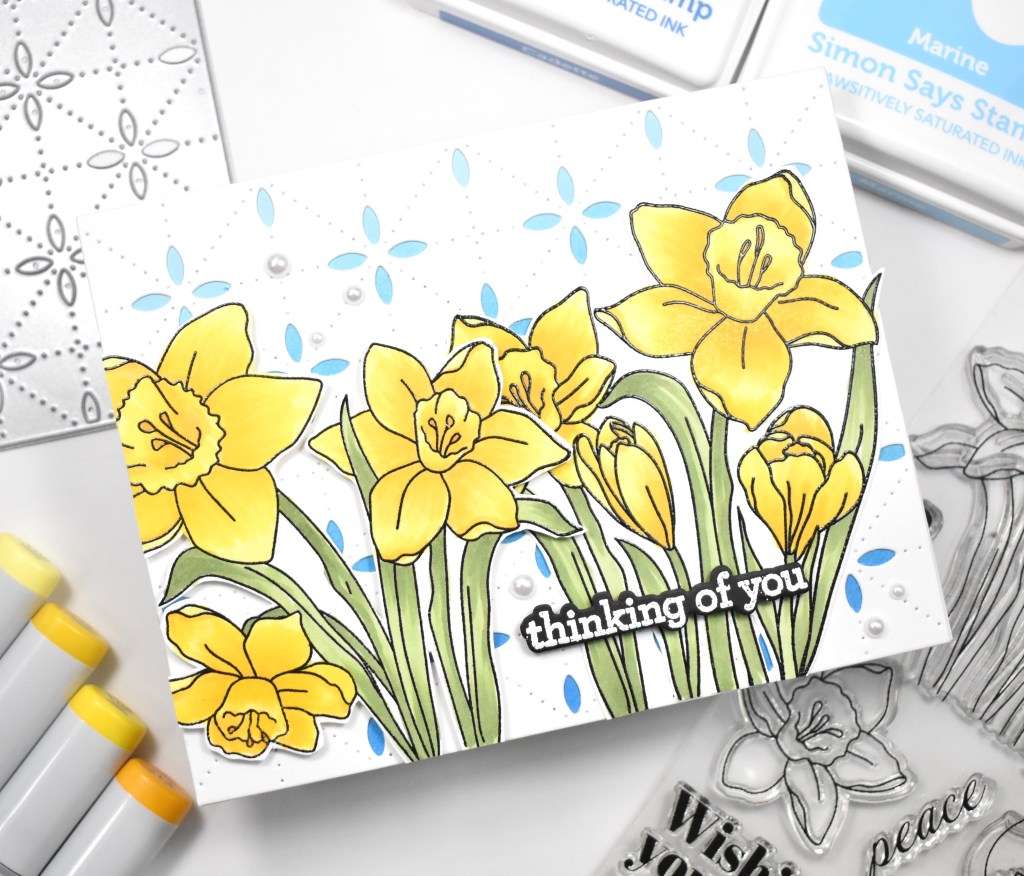
I began by stamping the floral image from the Lisianthus set on a panel of cold press watercolor paper using VersaMark Ink and heat embossing it using SSS Detail White Embossing Powder. Once that was done, I began to watercolor the image in a very loose manner.
The mediums used were Distress Ink ReInkers in Kitsch Flamingo and Mustard Seed. I also used Concord and 9th’s Oceanside liquid watercolor. When the painting was done, I used the PFS Diagonal Stitched Rectangles to trim it out.
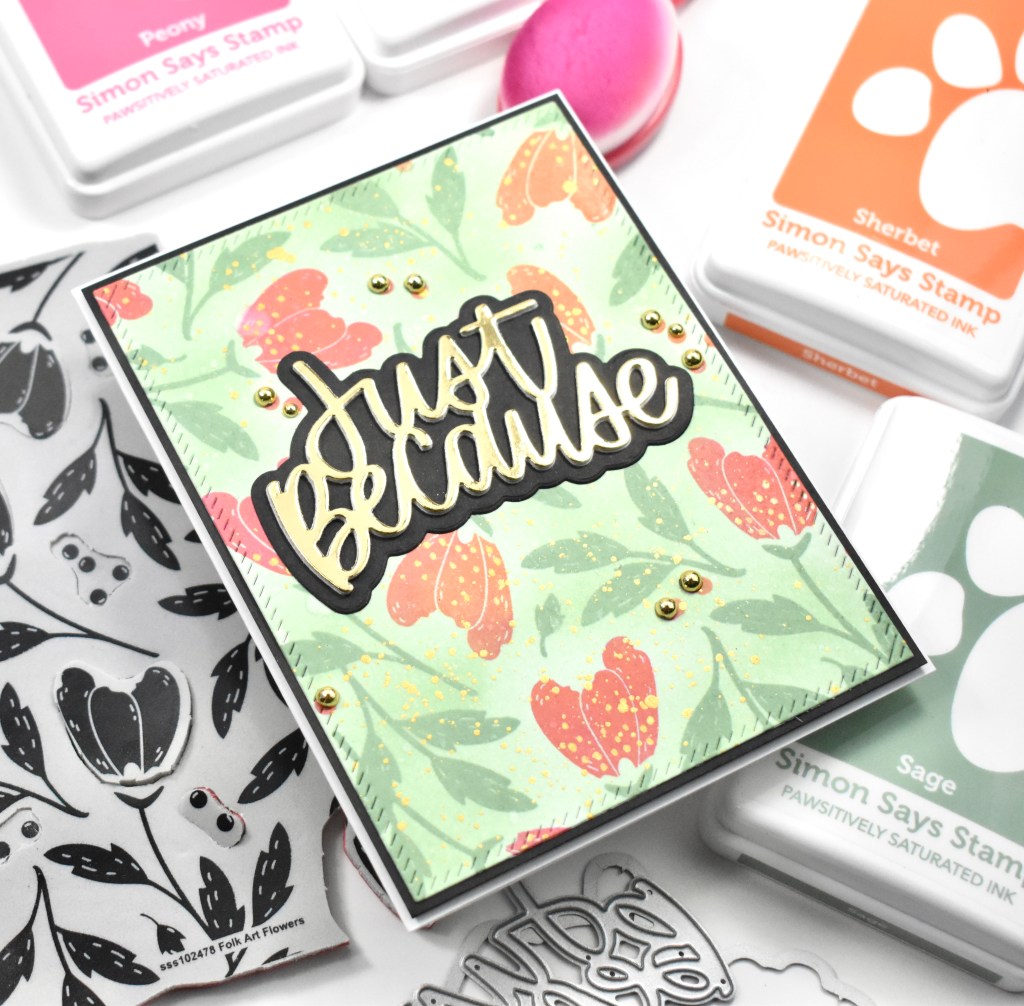
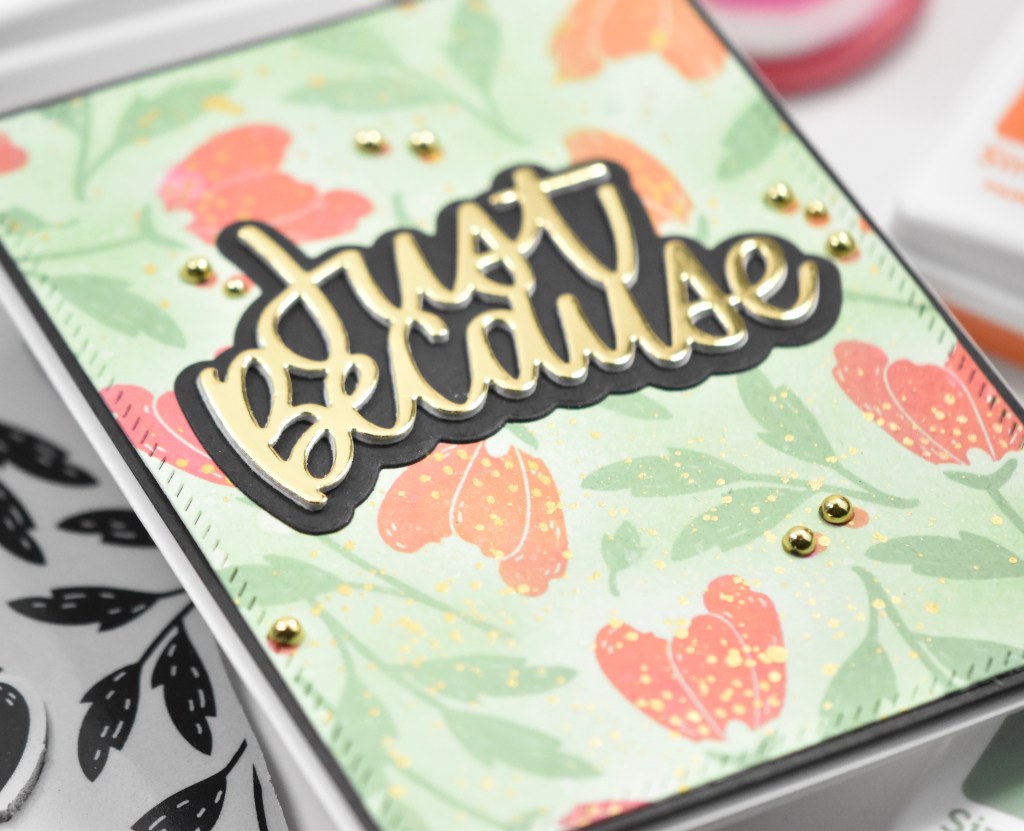
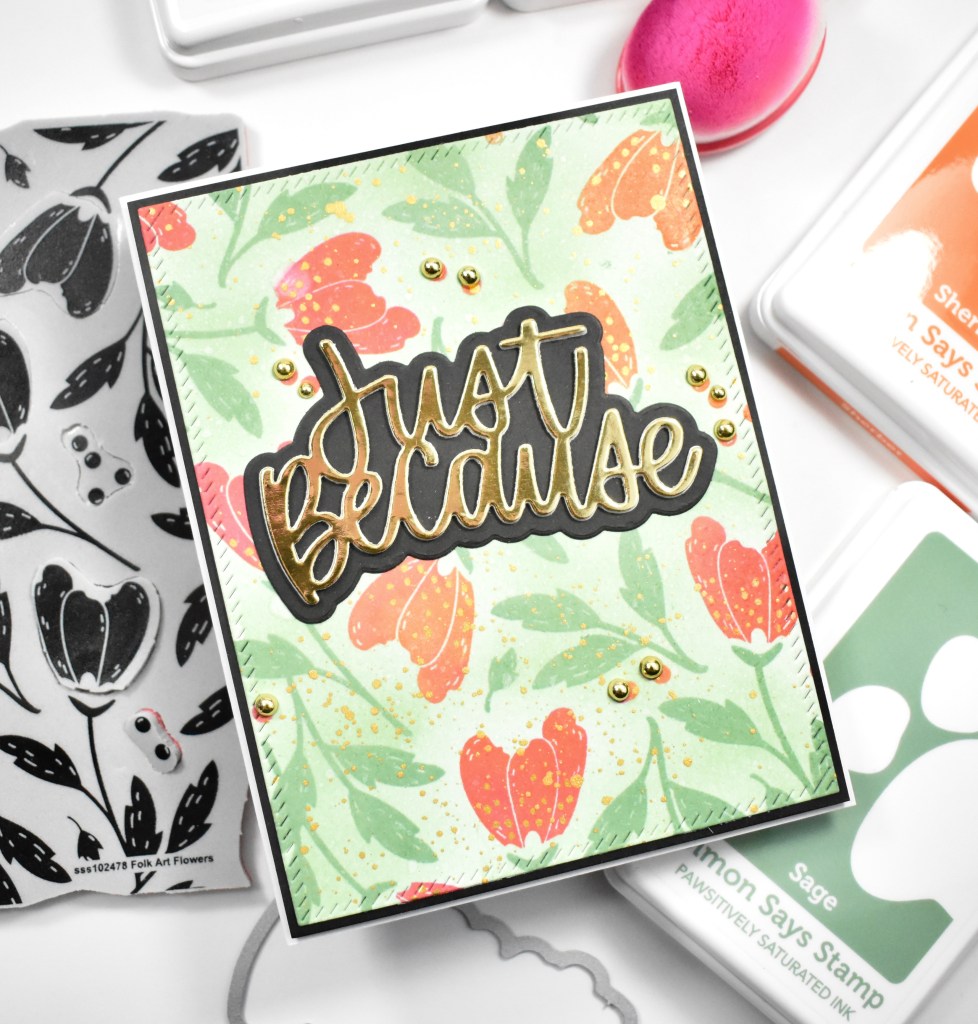
For the sentiment, I chose to use the SSS Take Care. I die cut the sentiment three times from black cardstock and adhered all of those together using liquid glue, and then glued it directly to the watercolored panel.

The panel was then adhered to black cardstock using foam tape. I opted to use foam tape to keep the panel from warping once it was on the card front. The panel was adhered to the card base using SSS Dot Tape Runner. To finish up, I added a few PFS Jewels to give it a little bling.
That does it for this project! Super simple, but I love the look of loose watercolors. I hope you enjoyed it and I hope it inspires you to get crafty! Have a wonderful day and don’t forget to stay awesome!
Supply List:
- SSS Lisianthus Stamp Set
- SSS Take Care
- SSS Detail White Embossing Powder
- SSS Dot Tape Runner
- SSS Triangle Trays
- PinkFresh Studio Diagonal Stitched Rectangle
- PinkFresh Studio Jewels
- Distress Ink ReInkers: Kitsch Flamingo, Mustard Seed
- Concord and 9th Liquid Watercolor: Oceanside
- VersaMark Ink
- Fluid Cold Press Watercolor Paper
- Neenah Classic Crest Solar White 110lb Cardstock
- Black Cardstock
- Bearly Art Glue
- 3M Foam Tape
- Studio Katia Embellishment Wand
- Anti-Static Powder Tool
- Misti
- Gemini Jr.
* Some affiliate links used at no cost to you. Thanks so much for your support!
Latest Posts
- Simon Says Stamp Grateful Heart

- Simon Says Stamp Braided Greetings

- Together By Design Color Cube Floral

- Simon Says Stamp Cute Duckling

- Simon Says Stamp Watercolor Wild Rose