Simon Says Stamp Spring Stems

Hello and welcome back! Thanks so much for stopping by to check out another project featuring the new Spring Stems stamp set from Simon Says Stamp’s newest release, Good Luck Charm! This release is so much fun, and I’ve loved playing with the goodies that I received! Let’s go through the details for today’s project!

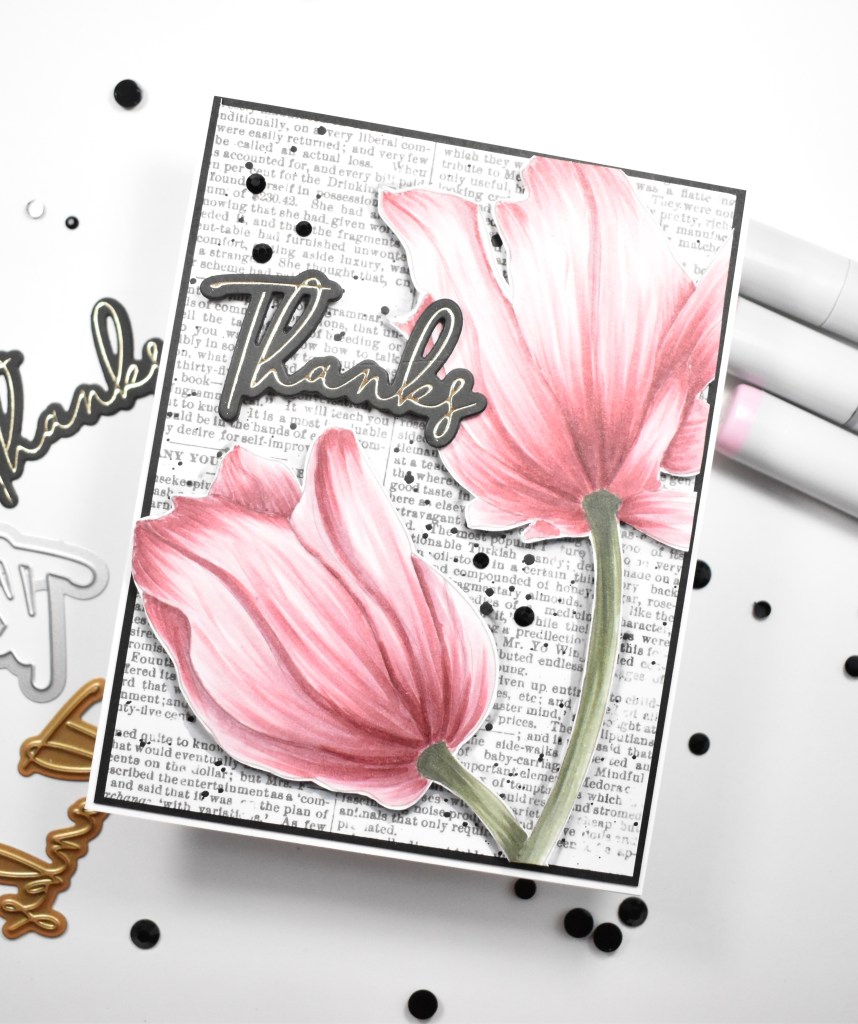
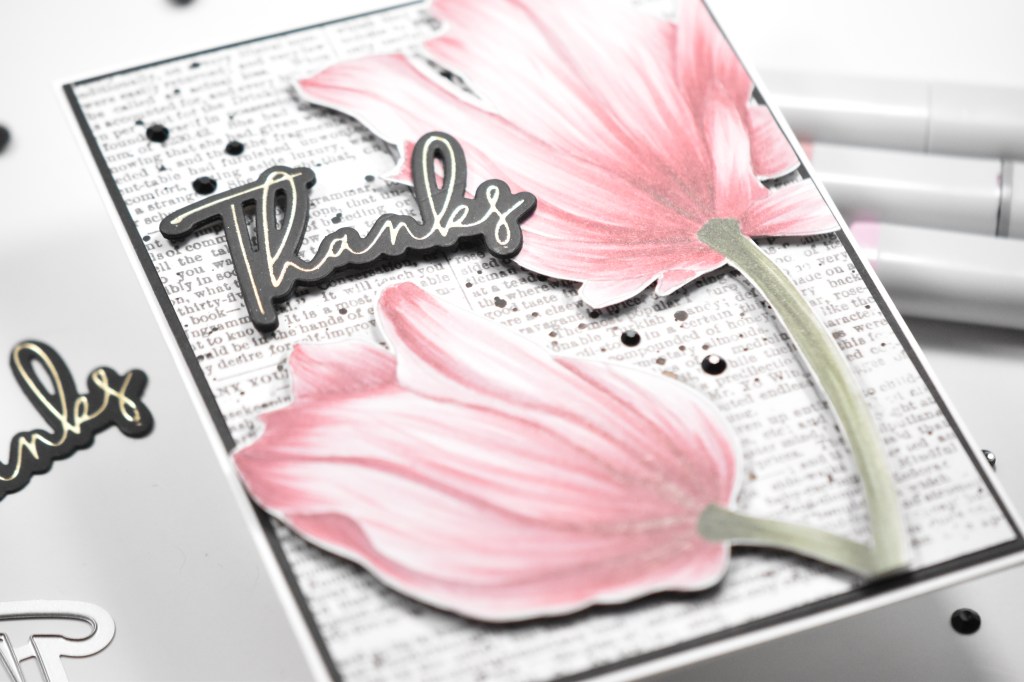
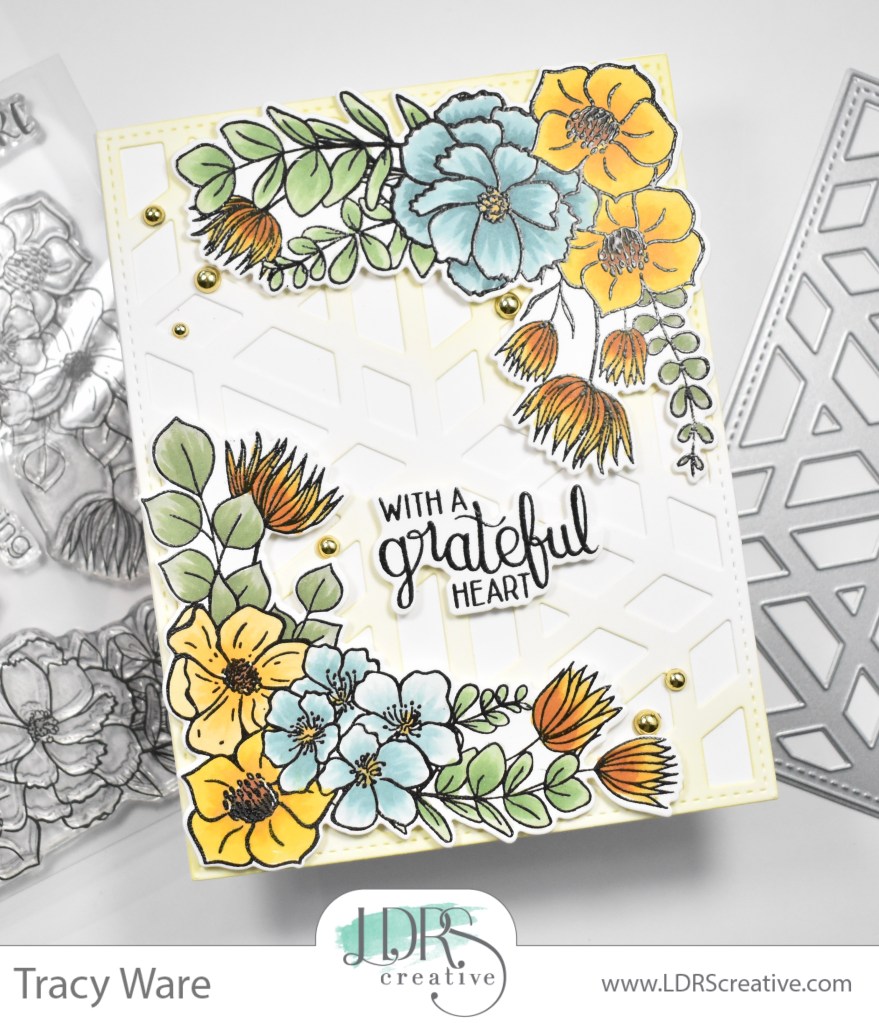
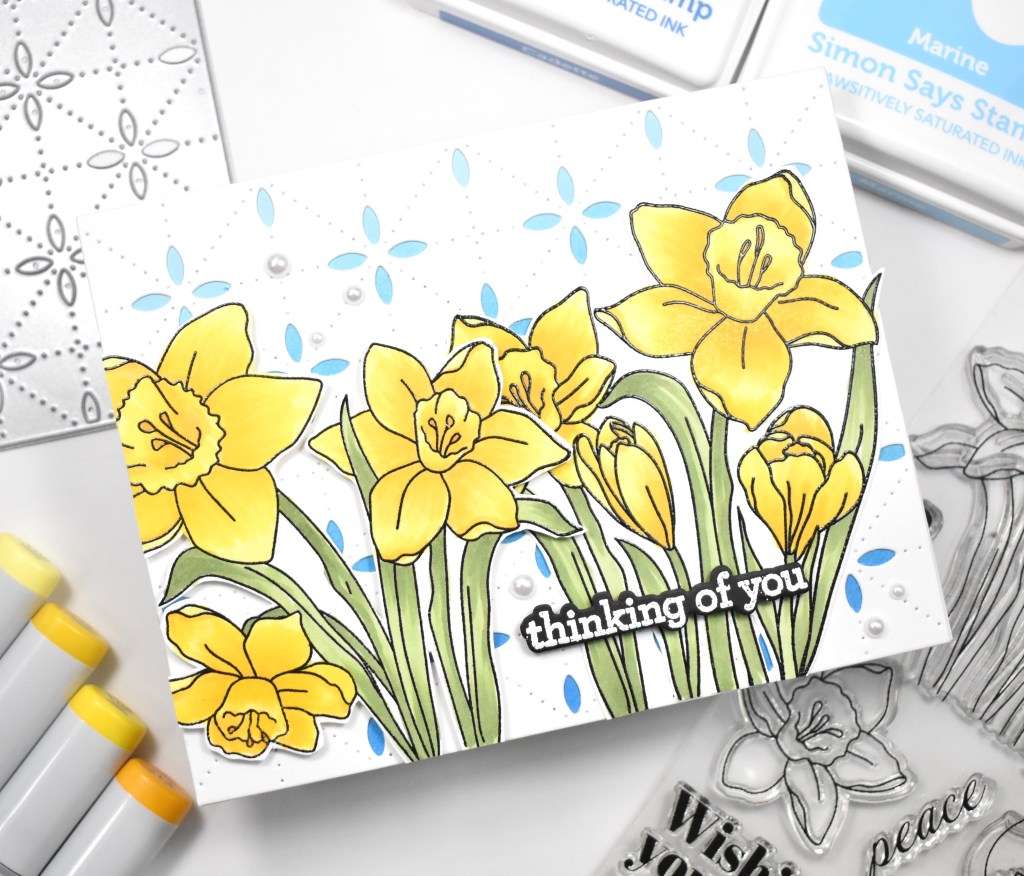
I began this project by stamping the floral images from the new SSS Spring Stems stamp set onto Neenah Classic Crest 110lb cardstock using VersaFine Onyx Black Ink and heat setting it using Ranger Clear Embossing Powder. I used Copic markers in Y02, Y08, Y15, Y17, YR24, G43 and G94 to add color to the flowers and leaves. Once that was done, I fussy cut the images and placed foam tape on the back of one of them.
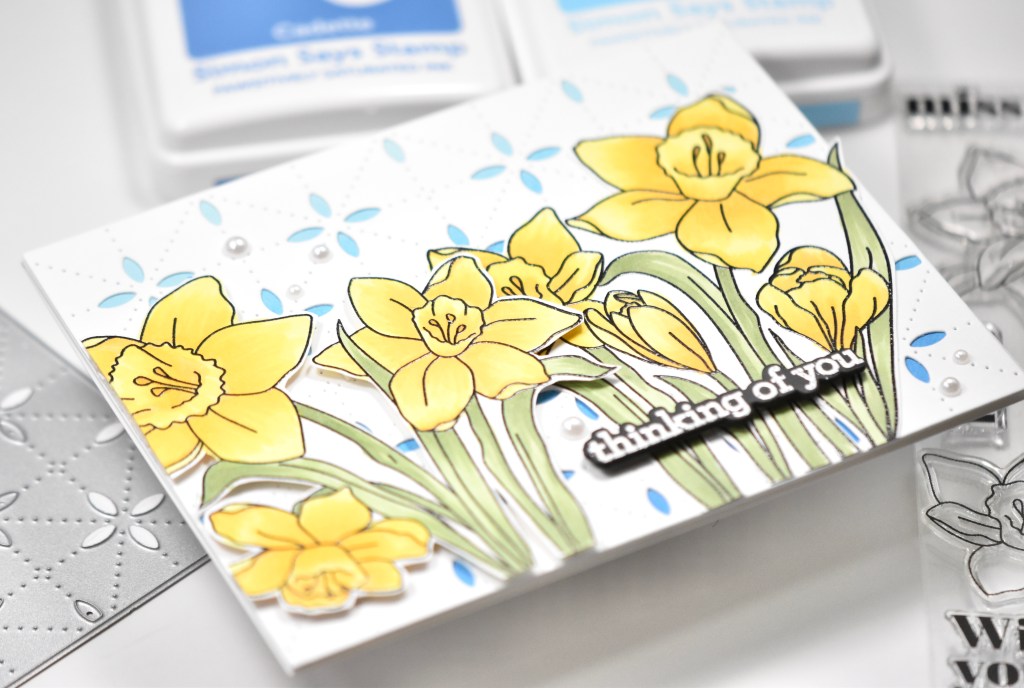
For the background, I used the SSS Detail Pincushion Plate and a panel of SSS blue cardstock. I wanted an ombre blue background, so I used SSS Pawsitively Saturated Ink in Marine and Cadette and did some ink blending on the blue cardstock. I adhered the pincushion panel to the blue panel using liquid glue.

For the sentiment, I used SSS Silhouette Sentiments stamp set. I stamped the thinking of you on black cardstock using VersaMark Ink and heat set that using SSS Detail White Embossing Powder, trimming that out with the coordinating die when finished.

I adhered one flower set directly atop the pincushion background using glue, while adhering the other with foam tape for dimension. I also placed foam tape on the sentiment and adhered that as well. Everything was then adhered to the card base using SSS Dot Tape Runner, and I added some pearls to finish it up!
I hope you enjoyed this project and I hope you’ll stop by and take a look at the entire Good Luck Charm release! Have a fabulous day and don’t forget to stay awesome!
Supply List:
- SSS Spring Stems Stamp Set, Die, Bundle
- SSS Detail Pincushion Plate
- SSS Silhouette Sentiment Stamp, Die, Bundle
- SSS Pawsitively Saturated Ink: Marine, Cadette
- SSS Blue Cardstock
- SSS Blender Brushes
- SSS Detail White Embossing Powder
- SSS Dot Tape Runner
- Copic Markers: Y02, Y08, Y15, Y17, YR24, G43, G94
- VersaFine Onyx Black Ink
- VersaMark Ink
- Ranger Clear Embossing Powder
- Neenah Classic Crest Solar White 110lb Cardstock
- Black Cardstock
- Little Things From Lucy’s Snowball Mix
- Bearly Art Glue
- 3M Foam Tape
- Studio Katia Embellishment Wand
- Anti-Static Powder Tool
- Tim Holtz Scissors
- Misti
- Gemini Jr.
* Affiliate links used at no cost to you. Thank you so much for your support!
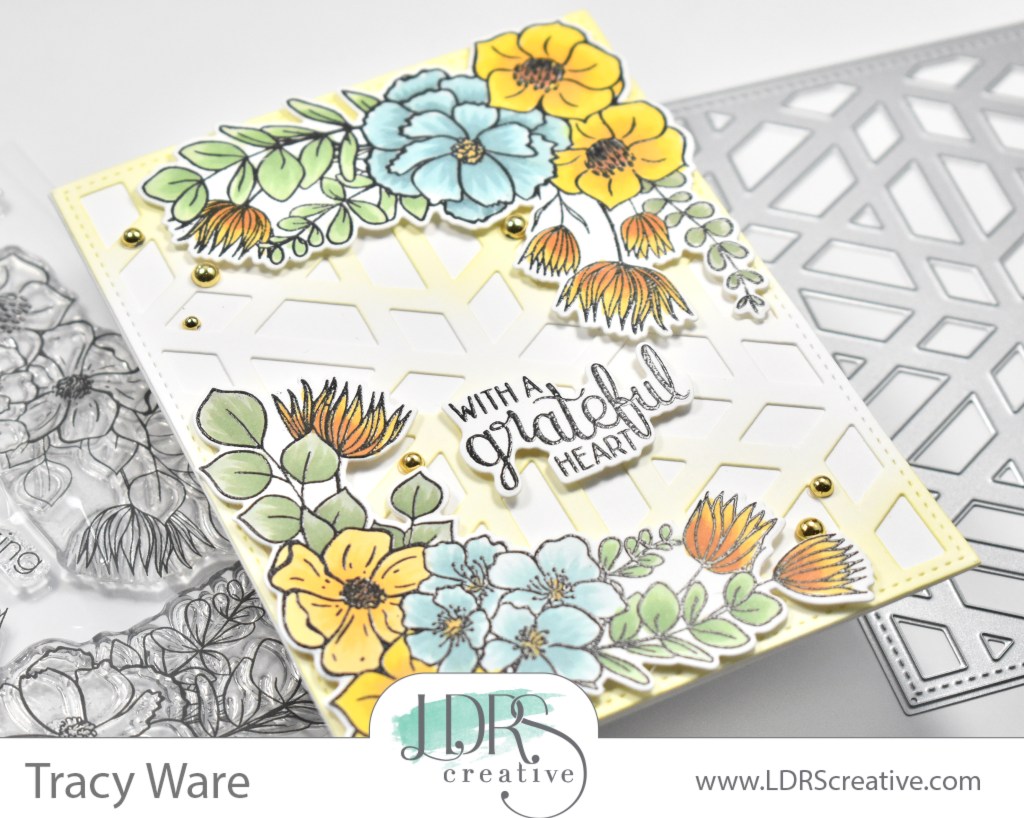
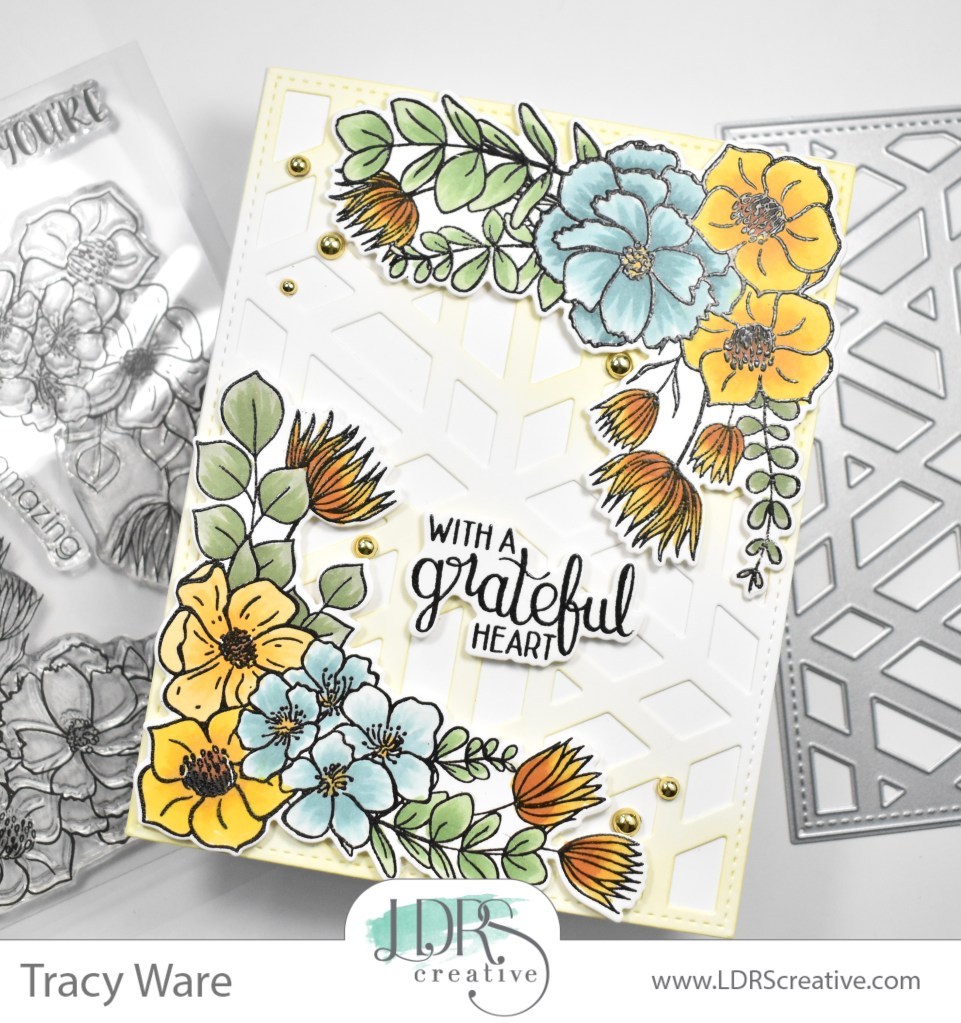
- Simon Says Stamp Grateful Heart

- Simon Says Stamp Braided Greetings

- Together By Design Color Cube Floral

- Simon Says Stamp Cute Duckling

- Simon Says Stamp Watercolor Wild Rose