Simon Says Stamp Birthday Background

Hello Crafty Friends and welcome to another Simon Says Stamp release! Good Luck Charm is live and ready for your viewing pleasure! My project today is featuring the new Basic Box Card Happy Birthday. Let’s run through the details, shall we?
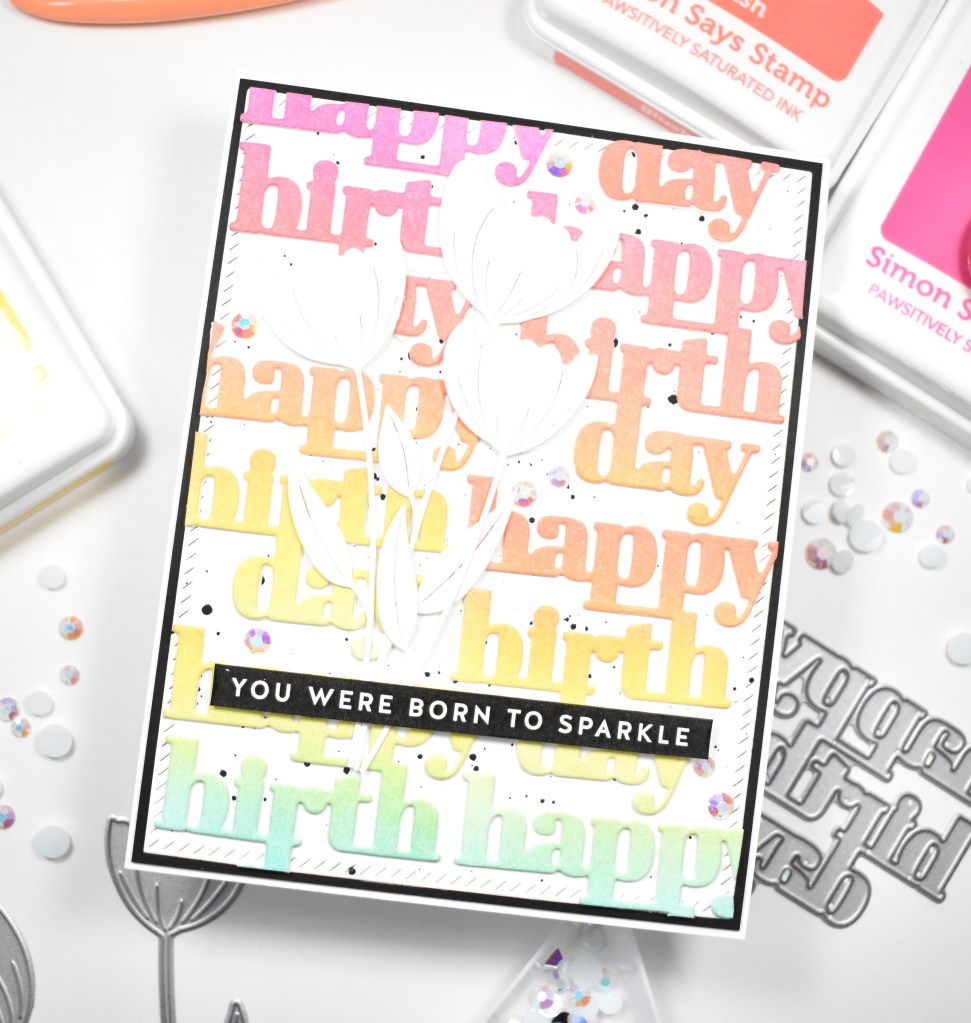
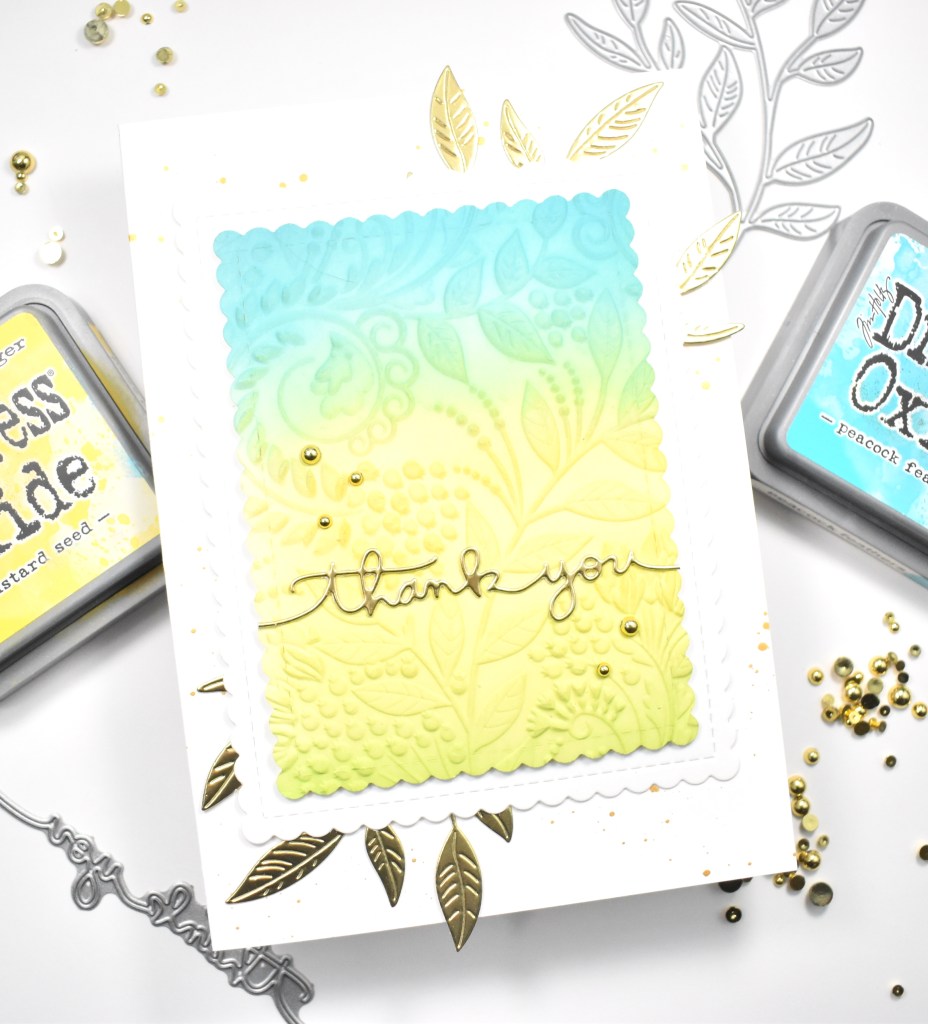
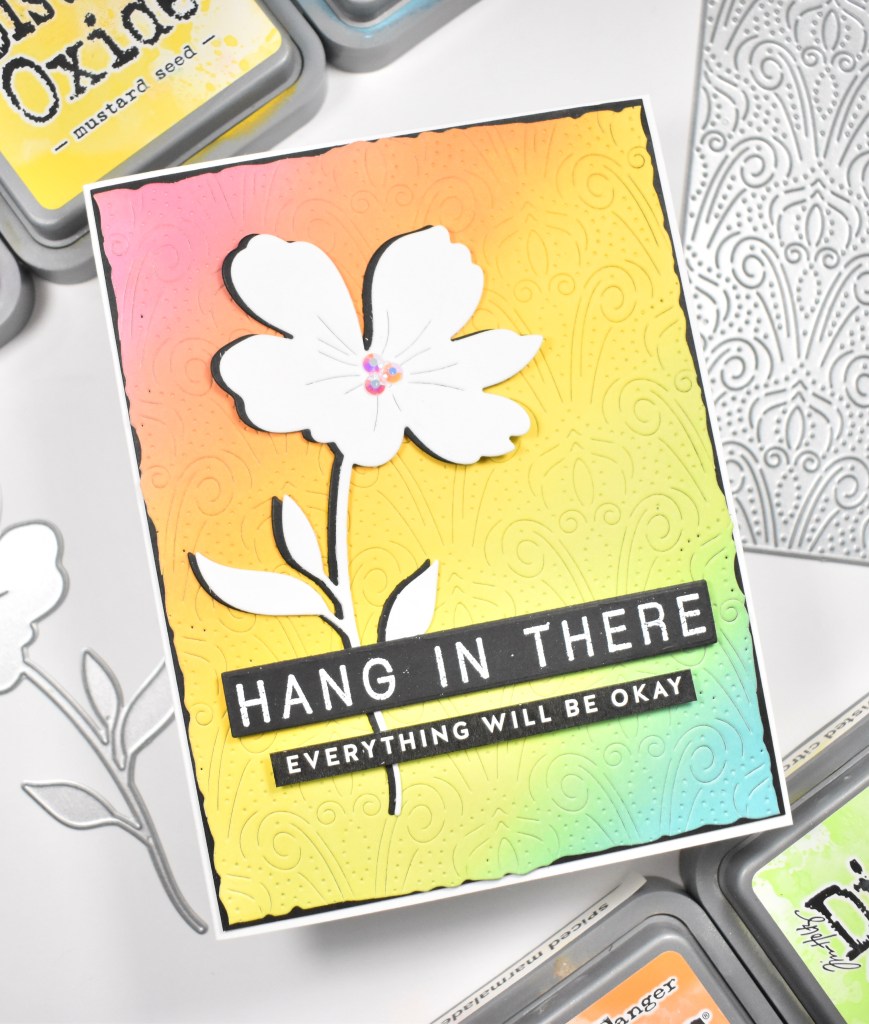
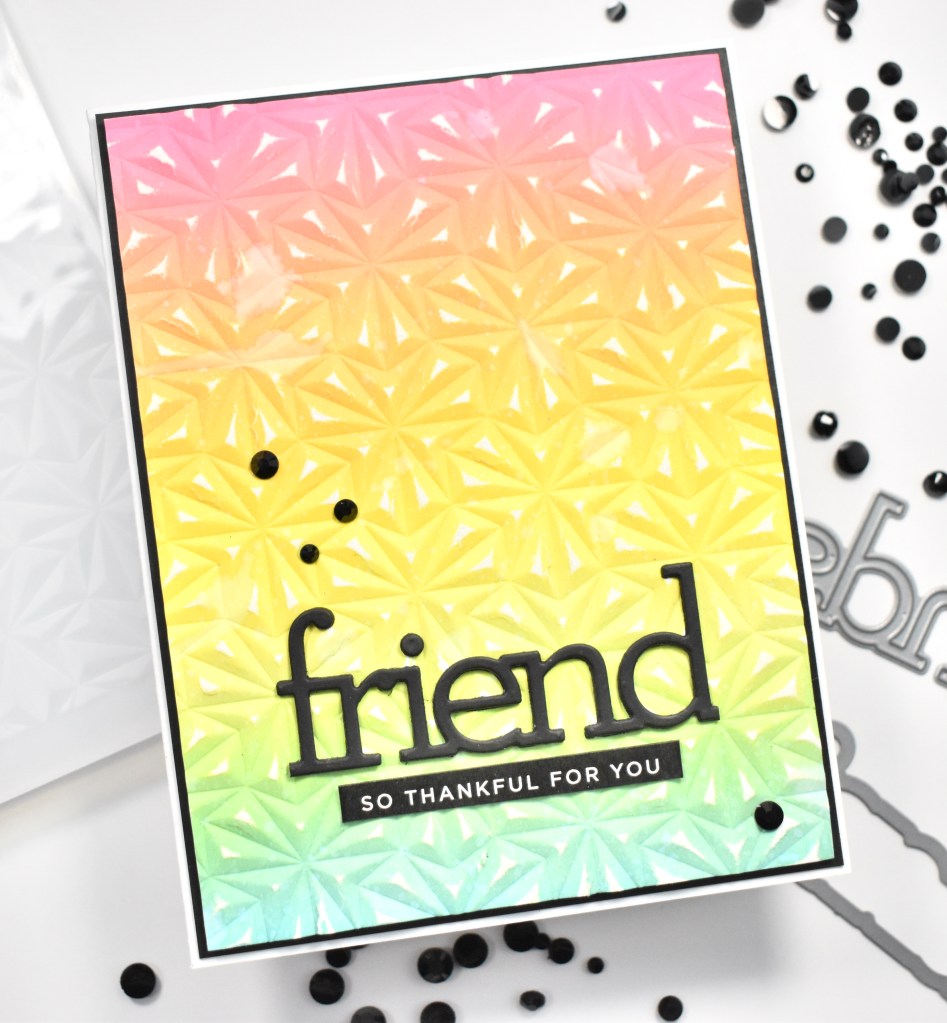
I’ve really enjoyed making backgrounds with sentiments lately, so I decided to hop on that bandwagon again for this one! It’s such a great way to stretch those sentiment dies, or even just stand alone dies! Anyhoo, I began this project by ink blending a large panel of Neenah Classic Crest 110lb cardstock using SSS Pawsitively Saturated Inks in Sweets, Blush, Sunshine and Surf. Once that was done, I die cut enough sentiments to cover an A2 card panel. I also cut them a second time for stacking purposes, and adhered them together using liquid glue.

I cut another panel of Neenah 110lb cardstock using the PFS Diagonal Stitched Rectangles and splattered that using Royal Talens Amsterdam Oxide Black Acrylic Ink. You guys know how much I love my black splatter! Once that panel was dry, I began adhering the sentiments in rainbow order using liquid glue.

Because the background was so colorful, I decided to downplay the floral elements by cutting the SSS Etched Crocus Stems from Neenah 110lb cardstock and leaving those white. I adhered the background panel to a black panel using SSS Dot Tape Runner and I adhered the flowers using glue. I found a coordinating SSS Sentiment Strip and adhered that over the stems using foam tape for dimension.
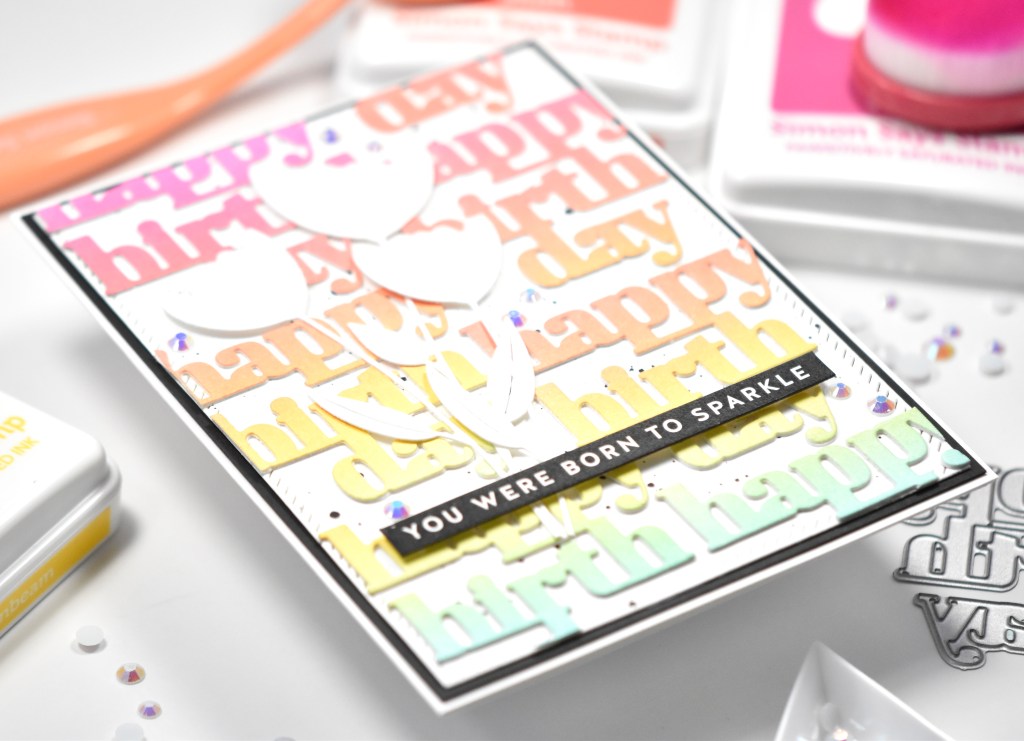
Everything was then adhered to the card base, and I added some PFS Jewels to finish it up with some bling.

I hope you enjoyed this project! Take a look at your dies and see what kind of background that you can make, and stretch those supplies! Stop by and check out the entire Good Luck Charm release and let me know your favorites! Have a wonderful day and don’t forget to stay awesome!
Supply List:
- SSS Basic Box Card Happy Birthday
- SSS Etched Crocus Stems
- SSS Pawsitively Saturated Inks: Sweets, Blush, Sunshine, Surf
- SSS Sentiment Strip
- SSS Blender Brushes
- SSS Dot Tape Runner
- PinkFresh Studio Diagonal Stitched Rectangles
- PinkFresh Studio Glacier Jewels
- Neenah Classic Crest Solar White 110lb Cardstock
- Black Cardstock
- Royal Talens Amsterdam Oxide Black Acrylic Ink
- Bearly Art Glue
- 3M Foam Tape
- Tim Holtz Scissors
- Studio Katia Embellishment Wand
- Gemini Jr.
* Affiliate links used at no cost to you. Thanks so much for your support!
- Simon Says Stamp Tattered Florals

- Simon Says Stamp Amazing Floral

- Simon Says Stamp Friendly Butterflies

- Simon Says Stamp Graceful Hugs

- Simon Says Stamp Hello Butterflies