Hello Crafty Friends and welcome back! I’m so glad that you stopped by! I’m still playing with goodies from the latest Simon Says Stamp release, Handmade Holiday. Today’s project is featuring the new Slimline Birch Trees Stencil. Even though this is a slimline stencil, I ended up making an A7 card. Let’s go through the details!

I began the project by ink blending a panel of Neenah Classic Crest 110lb cardstock using Distress Oxide Inks in Tumbled Glass, Faded Jeans and Chipped Sapphire. I did have to set that aside for a while to dry before proceeding with the stenciling. I positioned the stencil over my panel and used masking tape to hold it in place. I used a VersaMark Ink pad to smoosh the ink over a single tree and heat embossed it using SSS Detail White Embossing Powder.

I repeated this process several times to have multiple trees on the panel. Then, I splattered the panel using Royal Talens Titanium White Acrylic Ink to resemble falling snow. I cut some “hills” from Neenah 110lb cardstock and adhered the bottom hill to my panel using liquid glue, and adhered the top hill using foam tape for dimension.
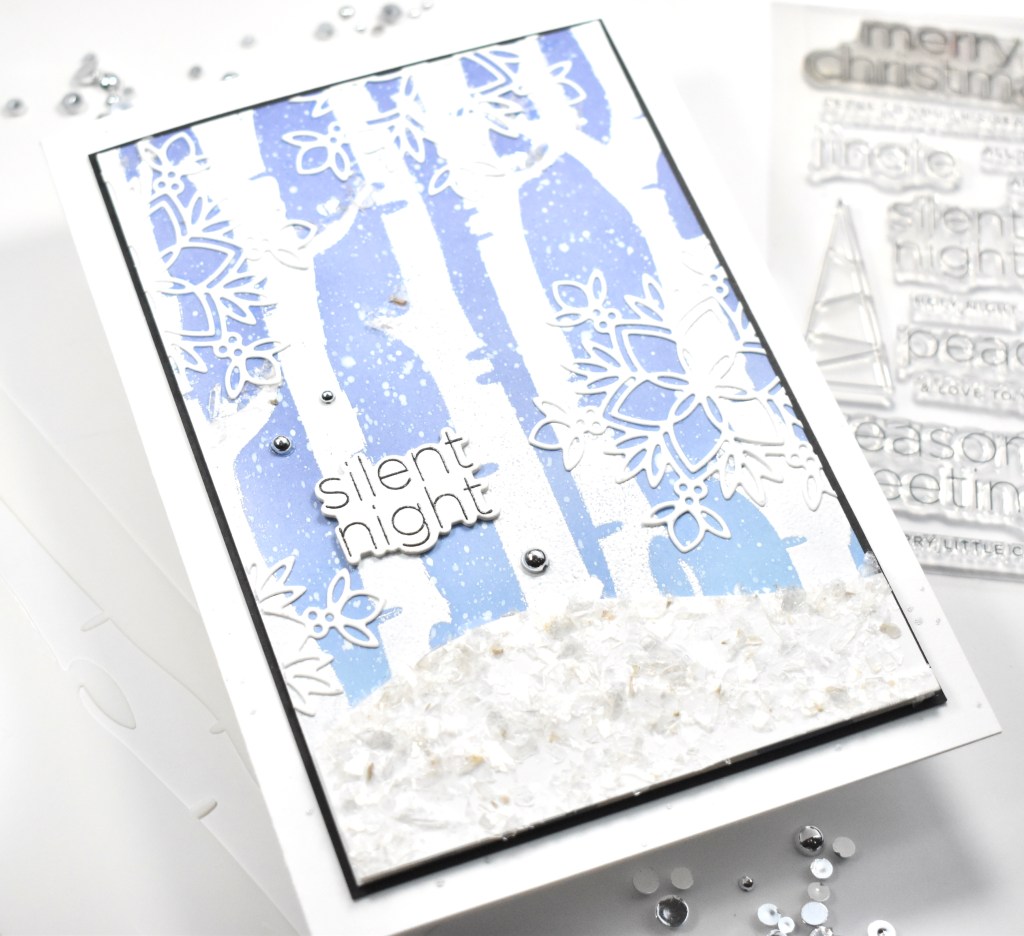
The hills were then smeared with liquid glue and sprinkled with Distress Mica Flakes. I also added a little bit of glue and mica flakes in the bend of the branches as well. I used the Silent Night sentiment from the SSS Clean Line Christmas set, and stamped that using VersaFine Onyx Black ink and heat embossed it using Ranger Clear Embossing Powder.
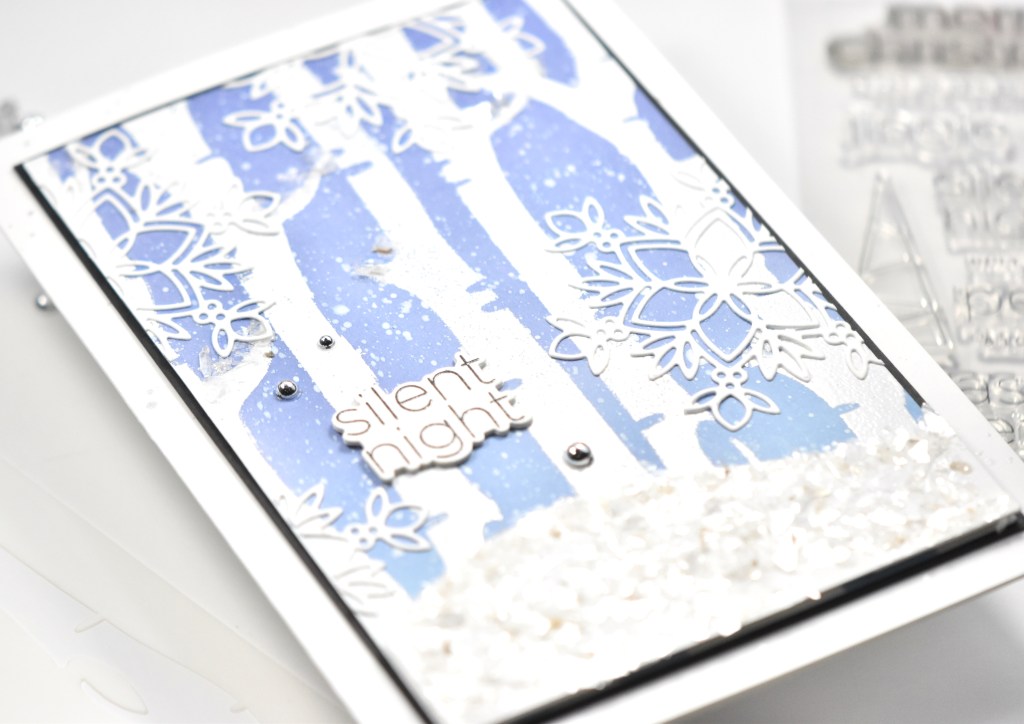
I used the coordinating die to trim the sentiment, and cut two other times and adhered all of those together using glue. The sentiment was then glued to the panel just above the hills. Something was missing though! I die cut the SSS Sophie Snowflake twice from Neenah 110lb and glued those to my panel, trimming of the excess as needed. The panel was adhered to a black panel before being adhered to the card base, which was also splattered with Liquitex Iridescent Bright Silver Acrylic Ink. For the finishing touches, I added a few PinkFresh Studio Silver Metallic Pearls.

That does it for this project! I hope you enjoyed it and I hope it provided you with a little bit of inspiration! Don’t forget to check out the entire Handmade Holiday release over at Simon Says Stamp! Have a fabulous day!
Supply List:
- SSS Slimline Birch Trees Stencil
- SSS Clean Line Christmas Stamp, Die
- SSS Sophie Snowflake
- SSS Detail White Embossing Powder
- Distress Oxide Inks: Tumbled Glass, Faded Jeans, Chipped Sapphire
- PinkFresh Studio Silver Metallic Pearls
- VersaMark Ink
- VersaFine Onyx Black Ink
- Ranger Clear Embossing Powder
- Distress Mica Flakes
- Neenah Classic Crest Solar White 110lb Cardstock
- Black Cardstock
- Royal Talens Titanium White Acrylic Ink
- Liquitex Iridescent Bright Silver Acrylic Ink
- Bearly Art Glue
- 3M Foam Tape
- Studio Katia Embellishment Wand
- Tim Holtz Scissors
- Anti-Static Powder Tool
- Masking Tape
- Misti
- Gemini Jr.
* Some affiliate links used at no cost to you. Thanks so much for your support!
- Simon Says Stamp Grungy Dewdrop Daisy

- Simon Says Stamp Pastel Birthday Wishes

- Simon Says Stamp Best Fish

- Simon Says Stamp Circle Thanks

- Simon Says Stamp Glowing Daisies