Spellbinders Beautiful Sentiment Vignettes

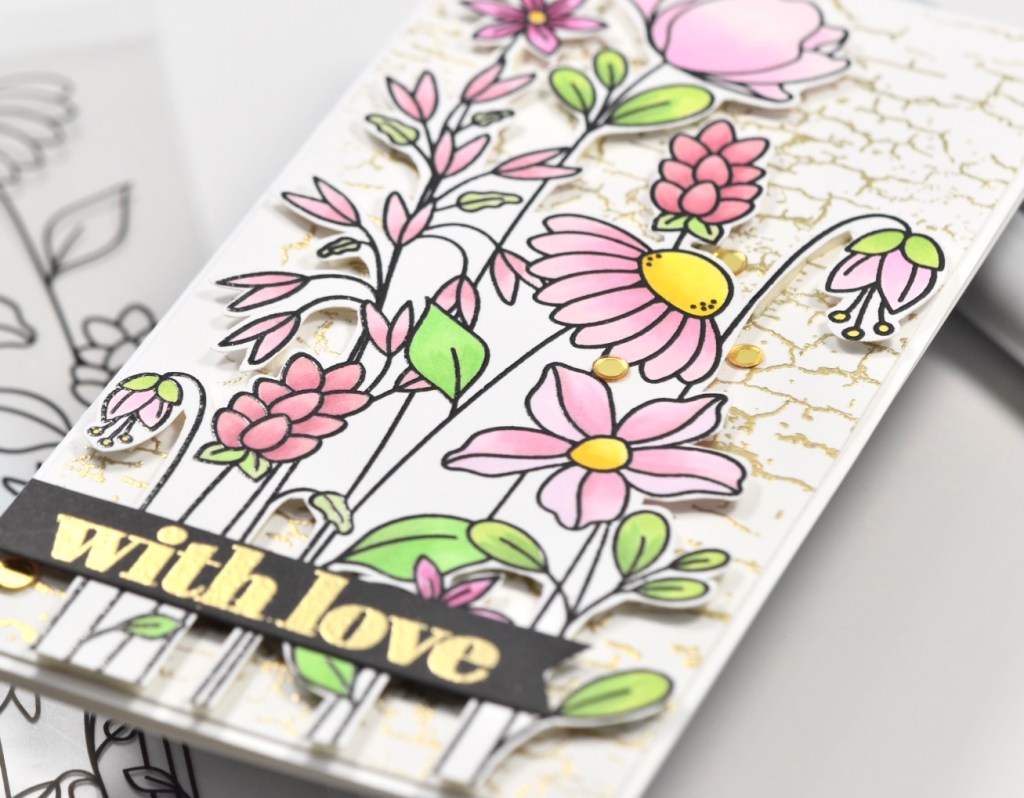
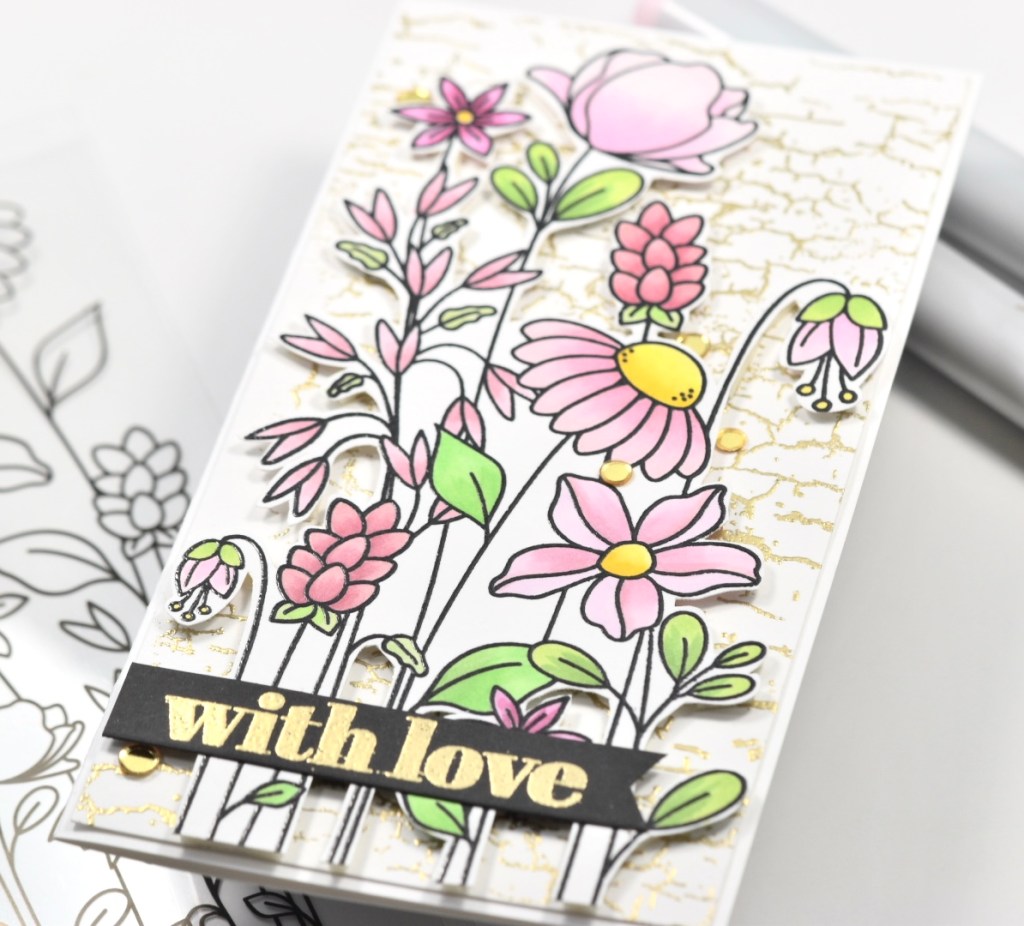
Hey Friends! So glad you stopped by today! I was super excited to play with products from the new Beautiful Sentiment Vignettes Collection by Becca Feeken from Spellbinders! Have you checked it out yet? For today’s project, I’m playing with the Beautiful Inside and Out Sentiments Stamp set! Let’s get into it!

To begin this project, I cut two pieces of Neenah Classic Crest 110lb cardstock and foiled the Spellbinders Glimmering Peony Hot Foil Plate using Champagne Foil. Champagne is my go-to color for foil! I just ordered a bunch of new to me colors, so I may find a new favorite in those, but who knows! While I already had the Glimmer machine going, I went ahead and foiled the Skinny Stripe Background using the same foil on another panel of Neenah 110. Anyhoo, I went to town coloring the foiled peonies using Copic Markers Y00, Y08, Y11, Y13, Y15, Y17, YG11, YG13 and YG17.

Once those were colored, I fussy cut them and placed foam tape on the back of both. I took the Skinny Stripe panel, trimmed it down and popped it in the Misti and stamped my sentiment from the Beautiful Inside and Out Sentiments, using VersaFine Onyx Black Ink. I removed the backing from the foam tape on the flowers and adhered those to my striped panel and trimmed off the excess.
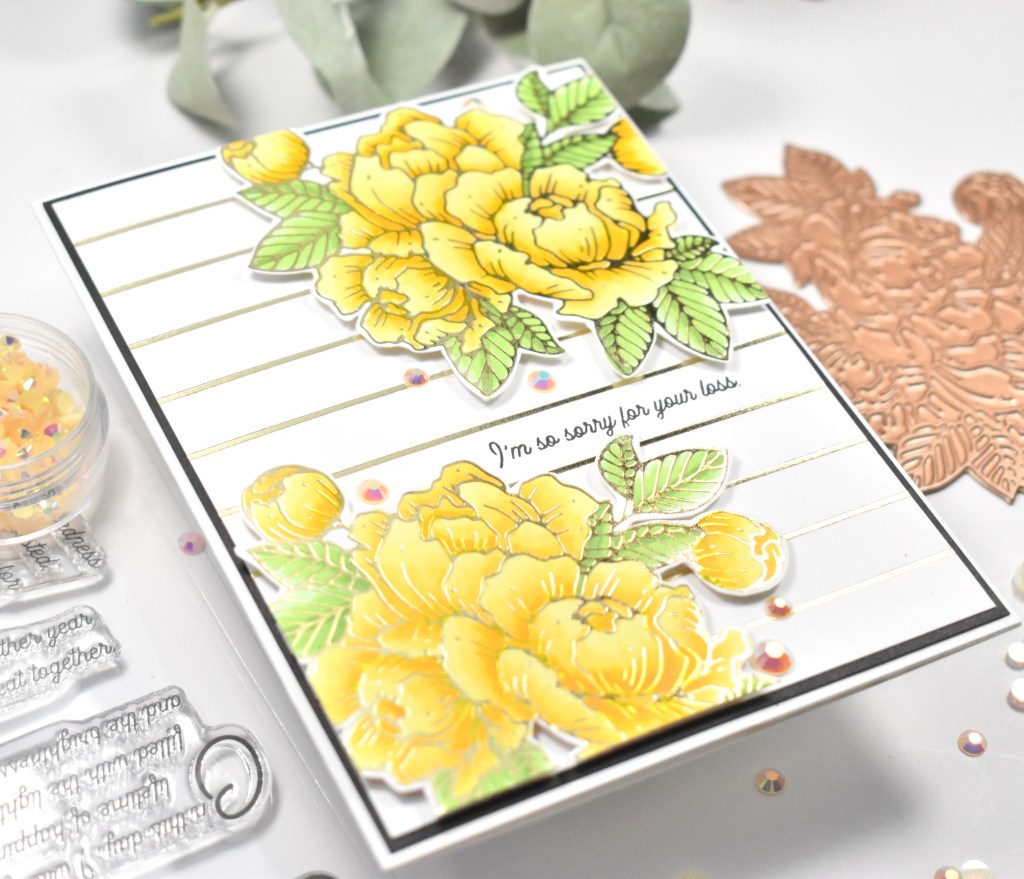
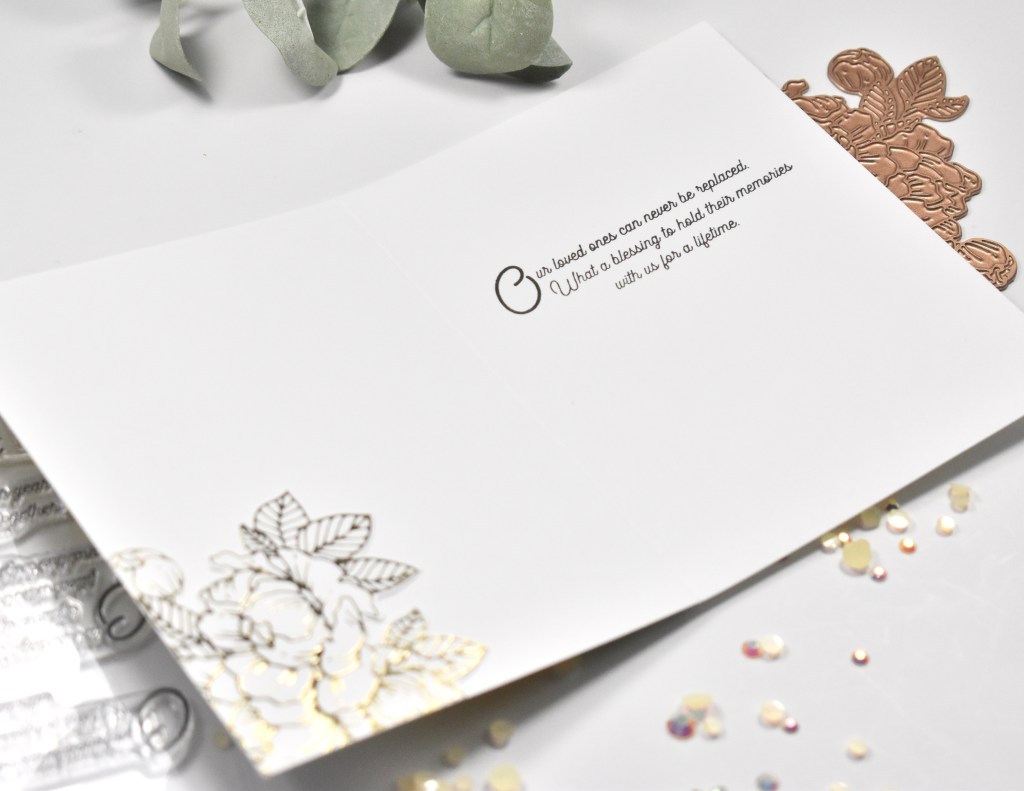
I adhered the striped panel to a black cardstock panel for some contrast and then adhered those to my card base, which is also Neenah 110lb. I decided to foil another peony and fussy cut that to adhere on the inside of the card where I stamped the other sentiment using the same VersaFine ink. To finish up the card, I added some PinkFresh Studio Jewels for some bling.

That does it for this card! I hope you like it, and I hope it inspires you to get crafty in your space! Hop over and check out the entire Beautiful Sentiment Vignettes Collection! Lots of fun things to look at!
Stay awesome my crafty friend!
Supply List:
- Spellbinders Beautiful Inside and Out Sentiments Stamp Set
- Spellbinders Glimmering Peony Hot Foil Plate
- Spellbinders Skinny Stripe Background Hot Foil Plate
- Spellbinders Champagne Foil
- Spellbinders Glimmer Hot Foil System
- Spellbinders Quick Trimmer
- Neenah Classic Crest 110lb Cardstock
- PinkFresh Studio Jewels Mix
- Copic Markers: Y00, Y08, Y11, Y13, Y15, Y17, YG11, YG13, YG17
- VersaFine Onyx Black Ink
- Black Cardstock
- Craft Tacky Glue
- 3M Foam Tape
- Misti
- Tim Holtz Scissors
*Affiliate links used at no cost to you. Thank you so much for your support!
- Simon Says Stamp Tattered Florals

- Simon Says Stamp Amazing Floral

- Simon Says Stamp Friendly Butterflies

- Simon Says Stamp Graceful Hugs

- Simon Says Stamp Hello Butterflies