Simon Says Stamp Dreamy Daisy Birthday

Hello Crafty Friends, and welcome back to my blog! Today’s card is featuring the new Painted Rainbow background stamp from Simon Says Stamp’s latest release, Dear Friend. This is such a fun release and I had lots of fun playing with different color combos using this stamp. Let’s get to the details!
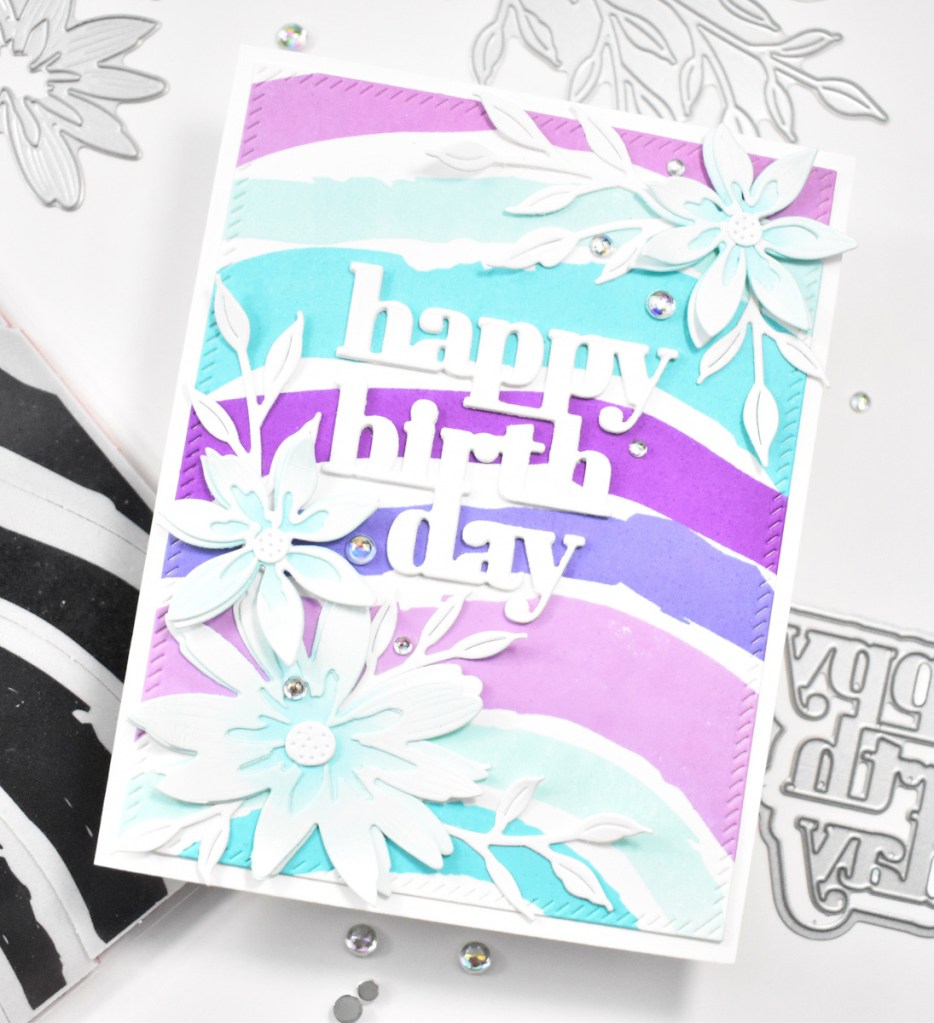
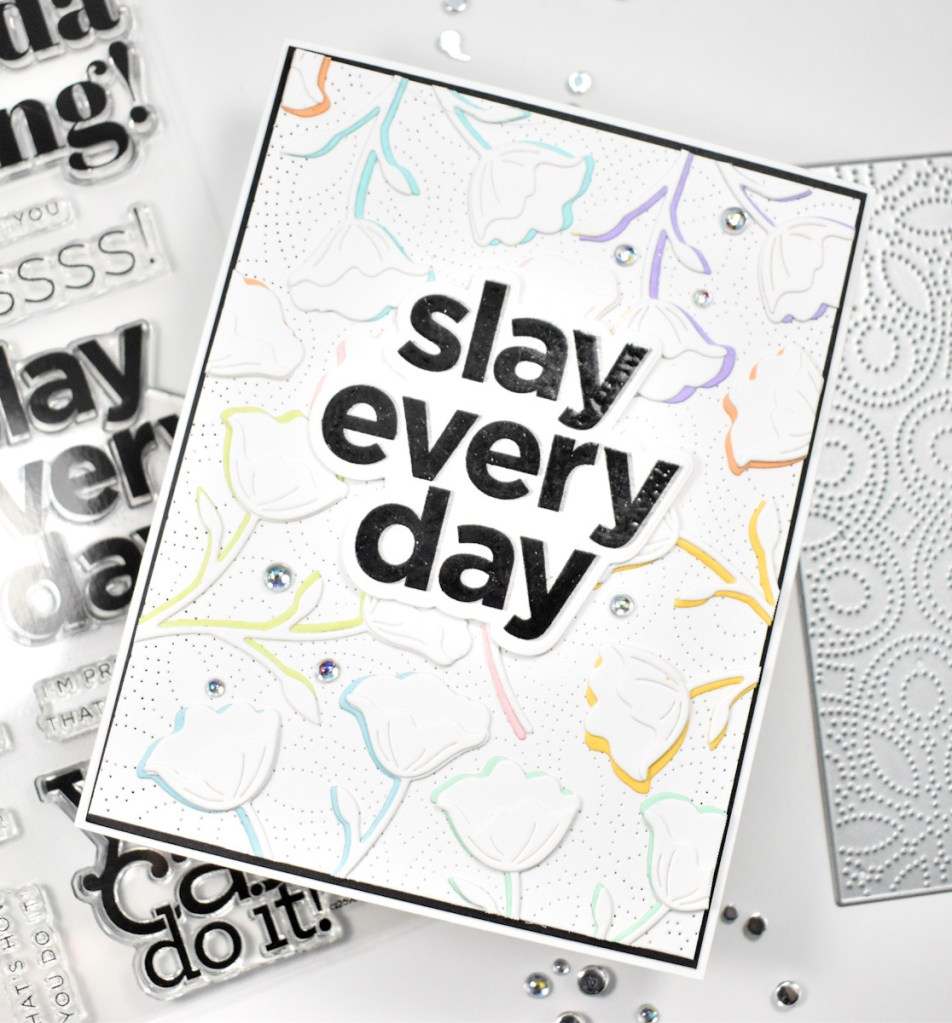
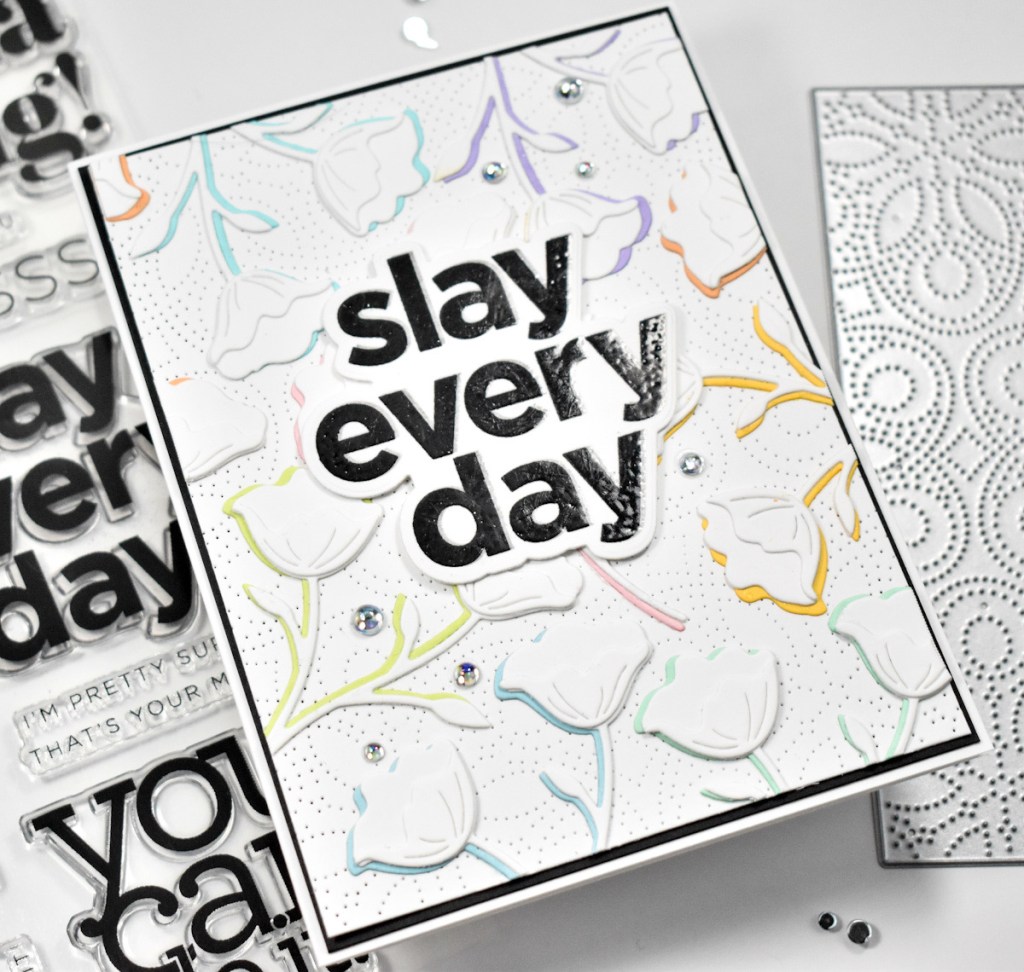
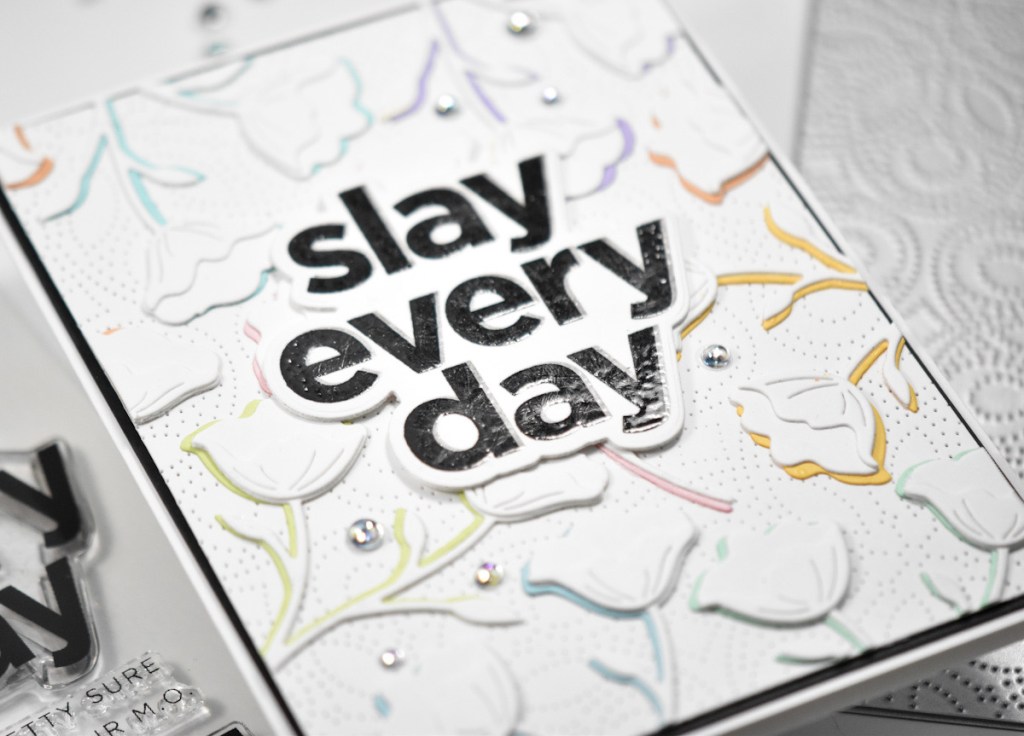
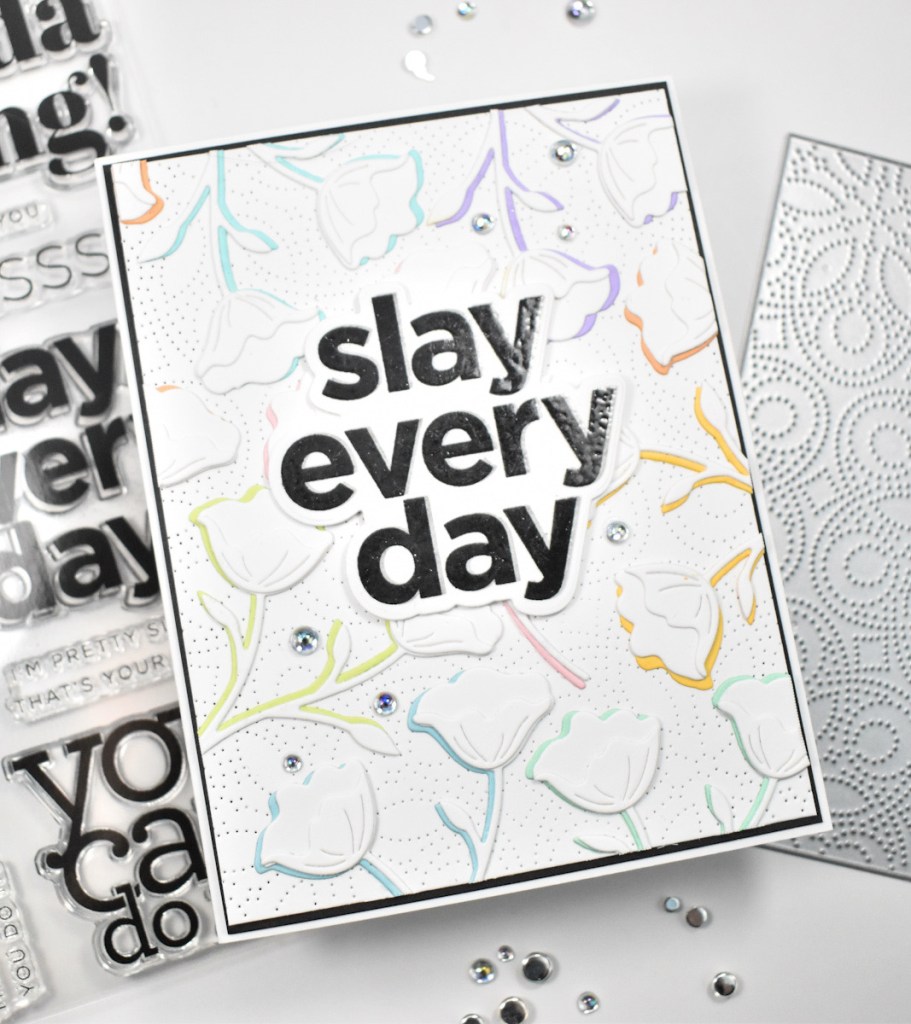
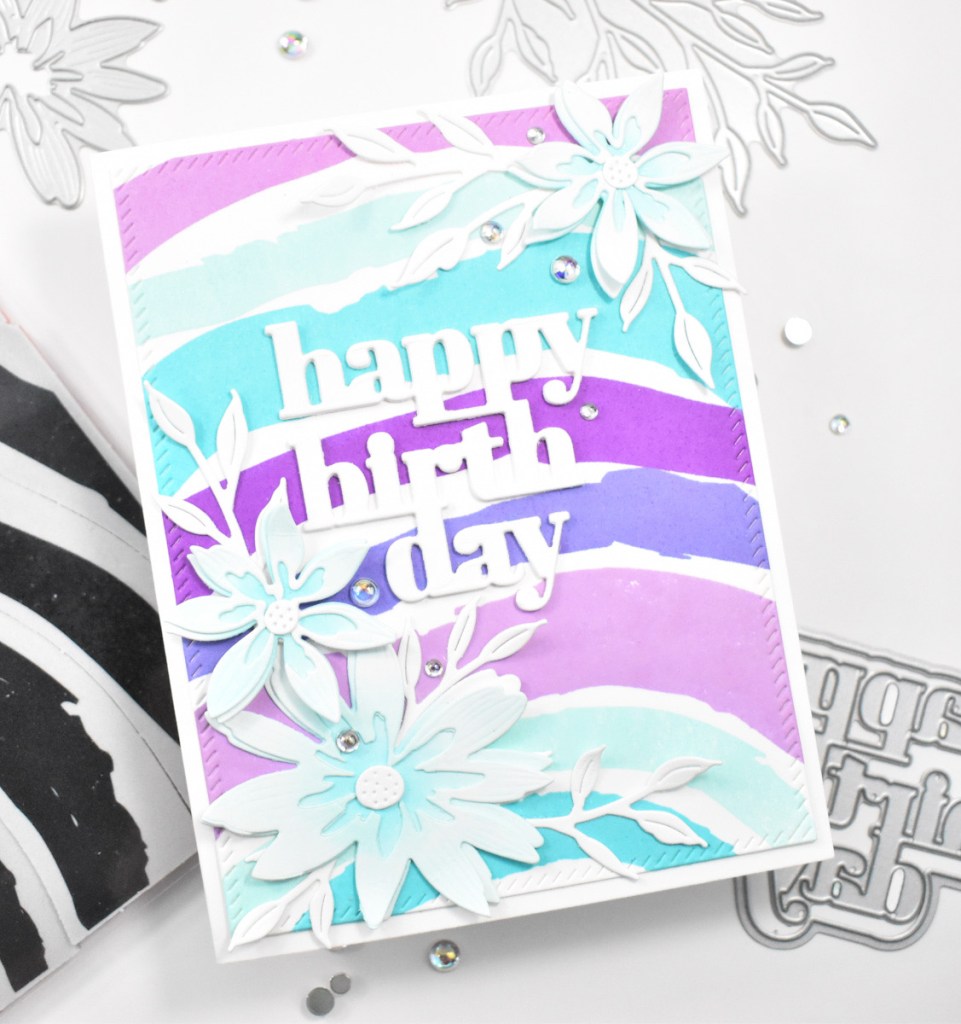
This is a pull apart stamp, so you can stamp the arches of the rainbow as close or as far apart as you’d like them. I did do a card that has the spacing as the stamp is put together, and you’ll see that another day. Anyhoo, I began by placing a panel of Neenah 110lb cardstock in the Misti and stamping the arches in the selected colors of SSS Pawsitively Saturated Ink, which are Seafoam, Surf, Violet, Amethyst and Lilac.
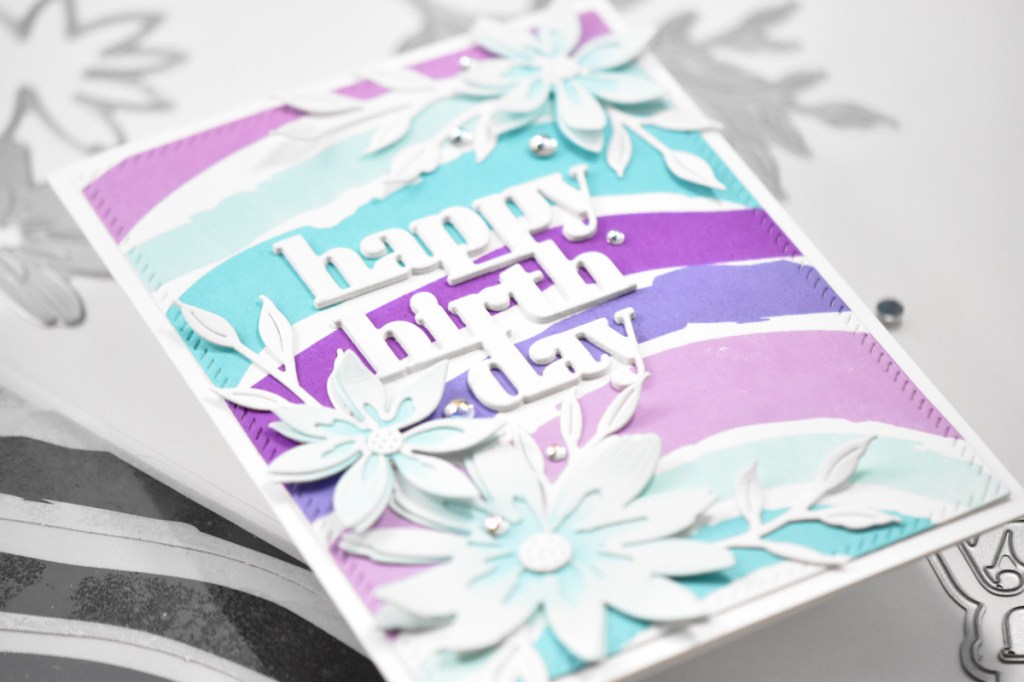
Once I had stamped enough to cover a panel, I trimmed it down using the PFS Diagonal Stitched Rectangles. I then cut several flowers using the SSS Dreamy Daisy Layers and did some light ink blending on them using the Seafoam ink. I also cut some leaves using the SSS Winsome Branch. I adhered the flowers together using Bearly Art Glue and set everything aside while I worked on the sentiment.

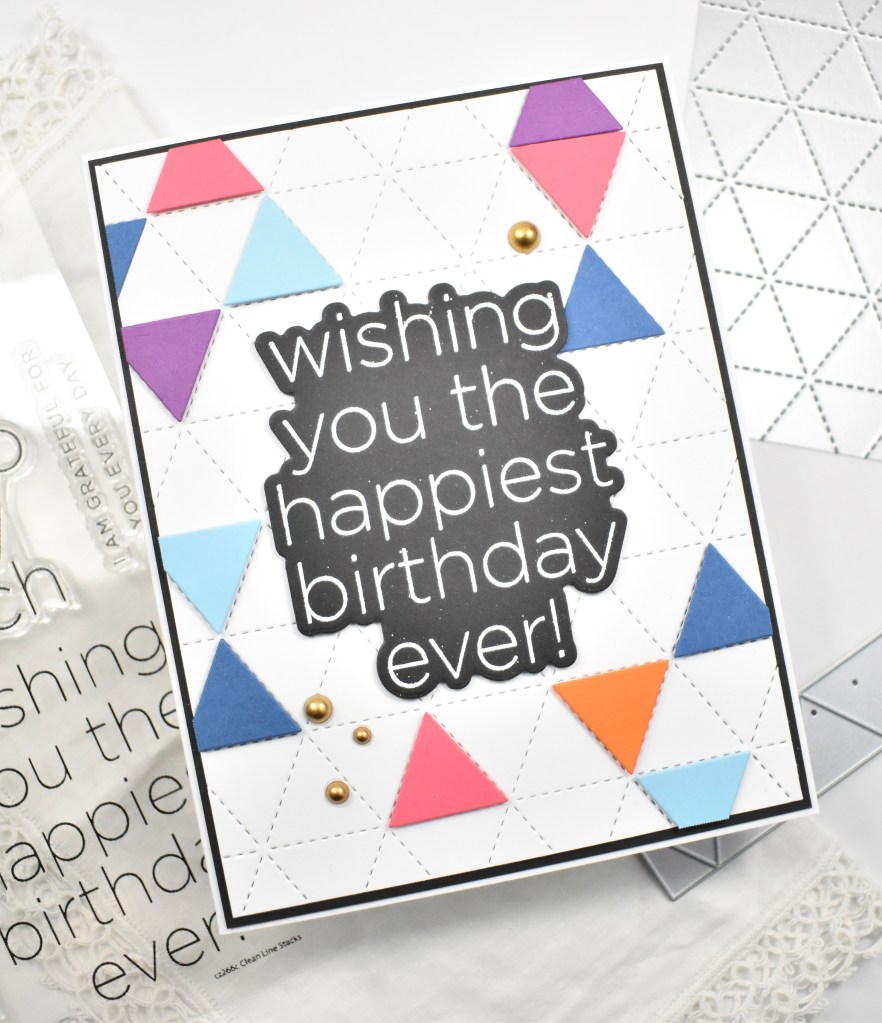
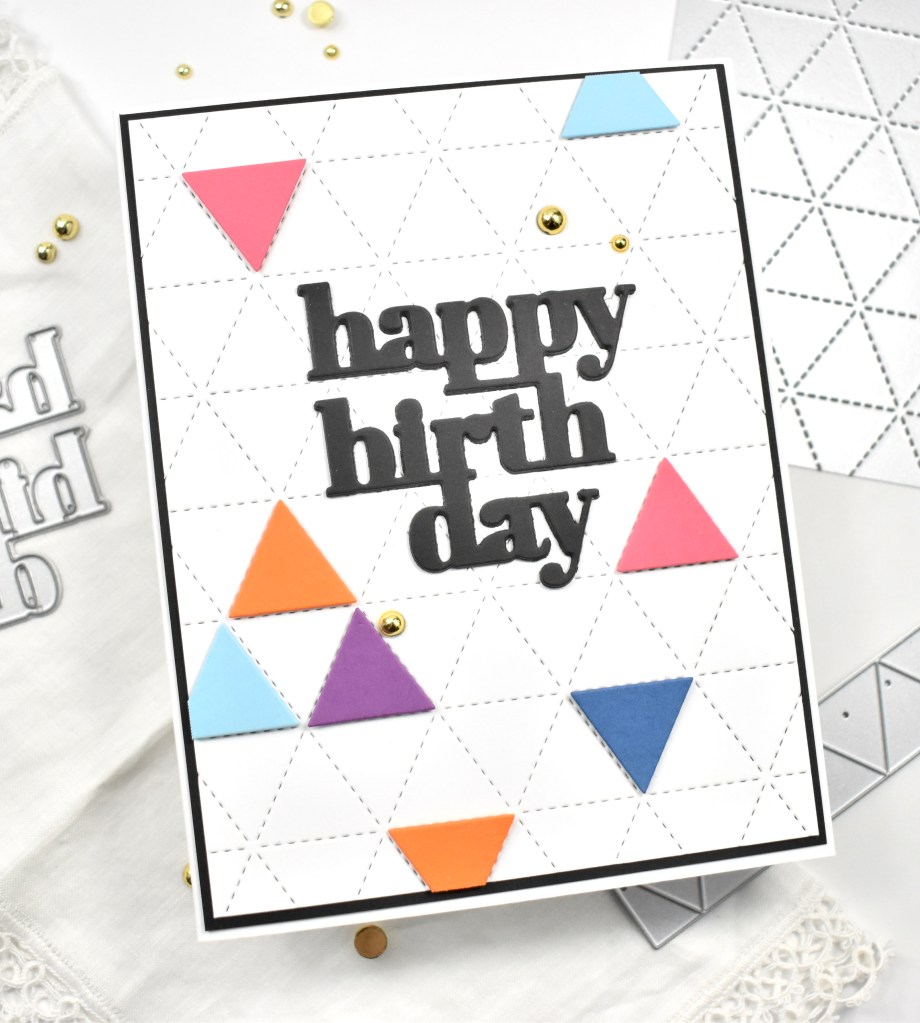
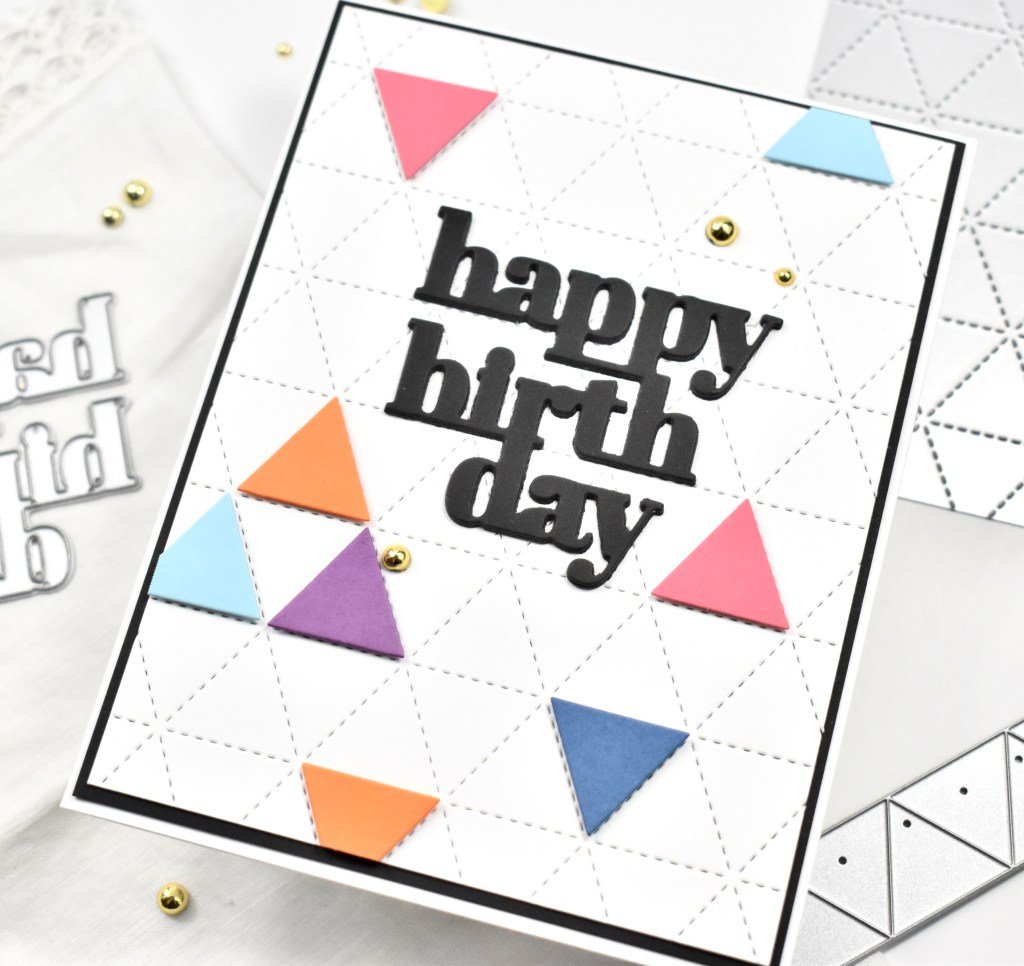
I’m running short on birthday cards, so I opted to use the SSS Basic Box Card Happy Birthday die and cut it three times, adhering all of those together for added dimension. I began the placement and assembly of the card by gluing the leaves under the flowers and gluing the larger daisy directly to the panel. The other two flowers were adhered using SSS 3D Foam Squares.
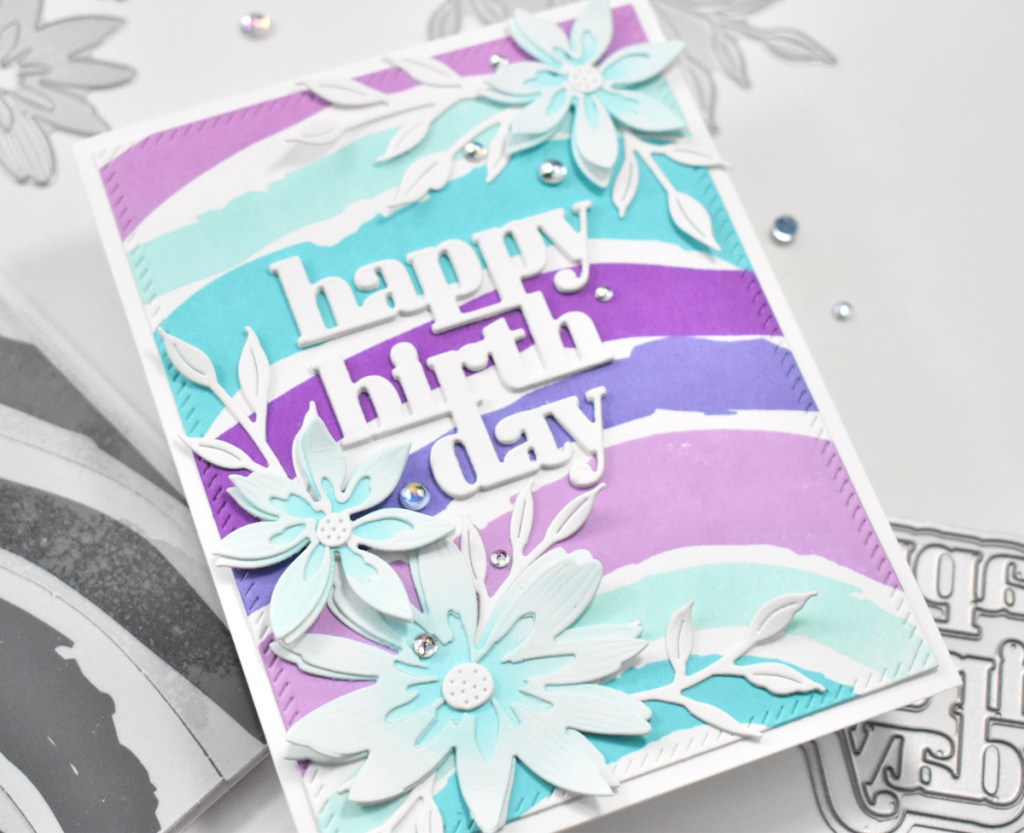
I nestled the sentiment in the middle using glue and added some PFS Iridescent Clear Drops for that little bit of bling and shine. Everything was then adhered to the card base, which is Neenah 110lb cardstock.
That does it for this project! I hope you enjoyed it, and I hope it inspires you to get crafty! Thanks so much for joining me, and my apologies for the extended break. Don’t forget to check out the entire Dear Friend release and let me know your favorites! Have a wonderful day and stay awesome!
Supply List:
- SSS Painted Rainbow Background Stamp
- SSS Dreamy Daisy Layers
- SSS Winsome Branch
- SSS Basic Box Card Happy Birthday
- SSS Pawsitively Saturated Ink: Seafoam, Surf, Violet, Amethyst, Lilac
- SSS 3D Foam Squares
- SSS Blender Brushes
- SSS Dot Tape Runner
- SSS T Square Ruler
- PFS Diagonal Stitched Rectangles
- PFS Iridescent Clear Drops
- PFS Embellishment Tool
- Neenah Classic Crest Solar White 110lb Cardstock
- Bearly Art Glue
- Tim Holtz Scissors
- Misti
- Spellbinders Platinum 6
* Affiliate links used at no cost to you. Thank you for your support!
- Spellbinders Trailside Birthday Raccoon

- Simon Says Stamp Grateful Heart

- Simon Says Stamp Braided Greetings

- Together By Design Color Cube Floral

- Simon Says Stamp Cute Duckling