PinkFresh Studio Brighter Days Floral

Hello Crafty Friends! I hope you’re having a wonderful day! Thanks so much for stopping by today! For months I’ve been buying new things from each PinkFresh Studio release and not using them .. my got up and go, got up and went, and took my creativity and motivation along with it. I think it was a combination of the studio being under renovation and not being able to be in there on a regular basis that took it’s toll! I’m hoping it’s back though! Anyhoo, today’s project is featuring the Brighter Days product suite, so let’s go through the details!
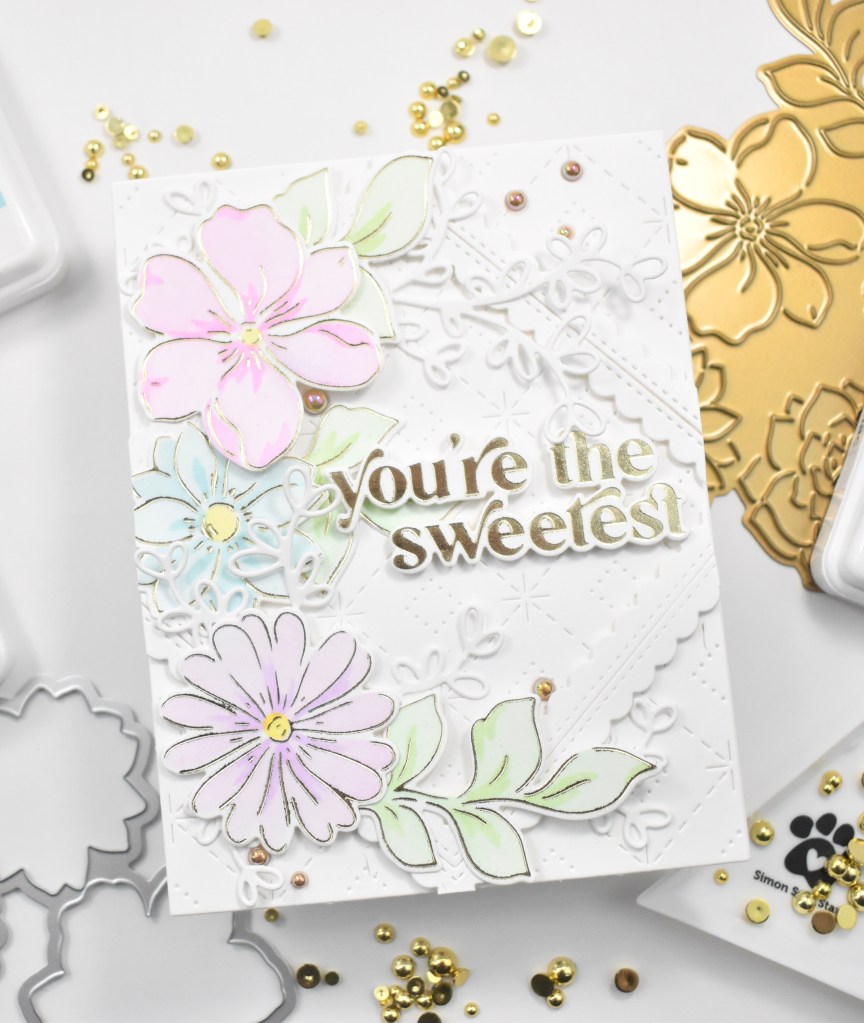
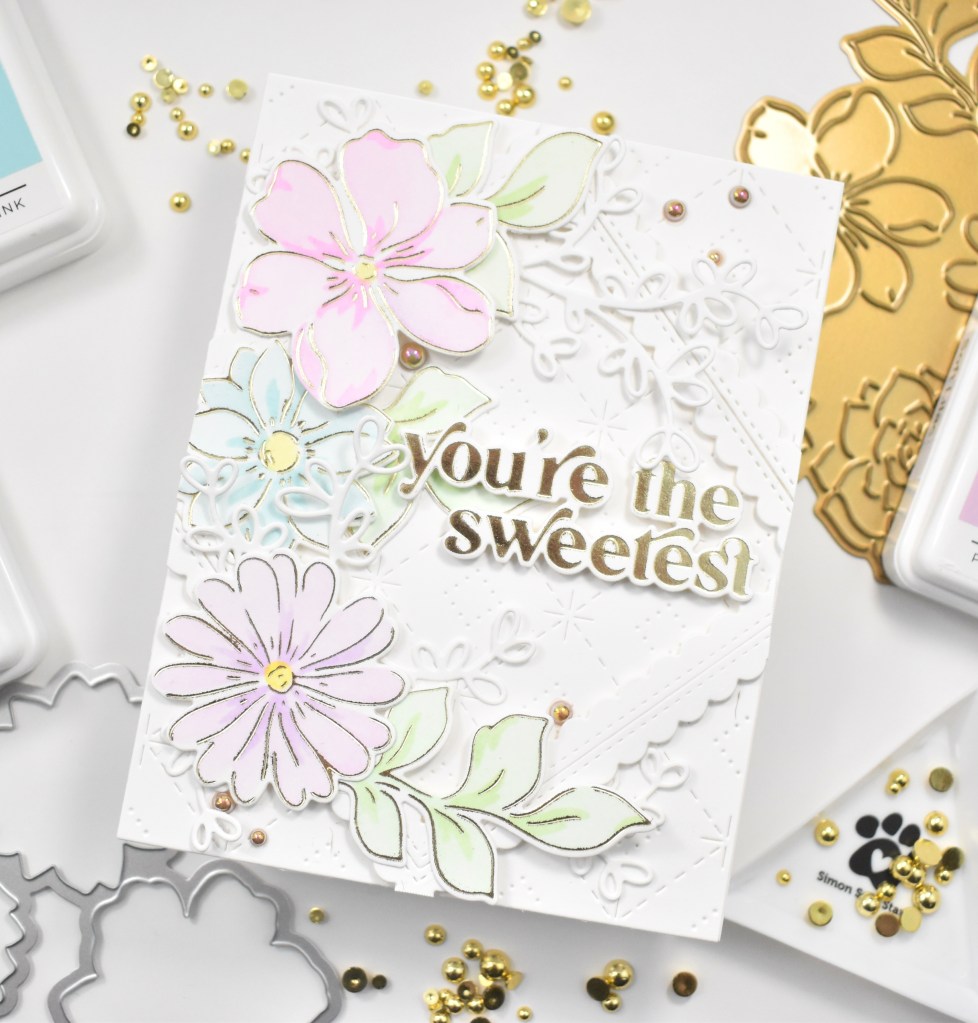
I ended up making two cards with the amount of flowers that I created, and I still had extras! So, I began by foiling the PFS Brighter Days Hot Foil Plate on a panel of Neenah Classic Crest 110lb cardstock, using Spellbinders Champagne hot foil. While the foil system is hot, I always like to go ahead and foil a few of whatever I happen to be working on.
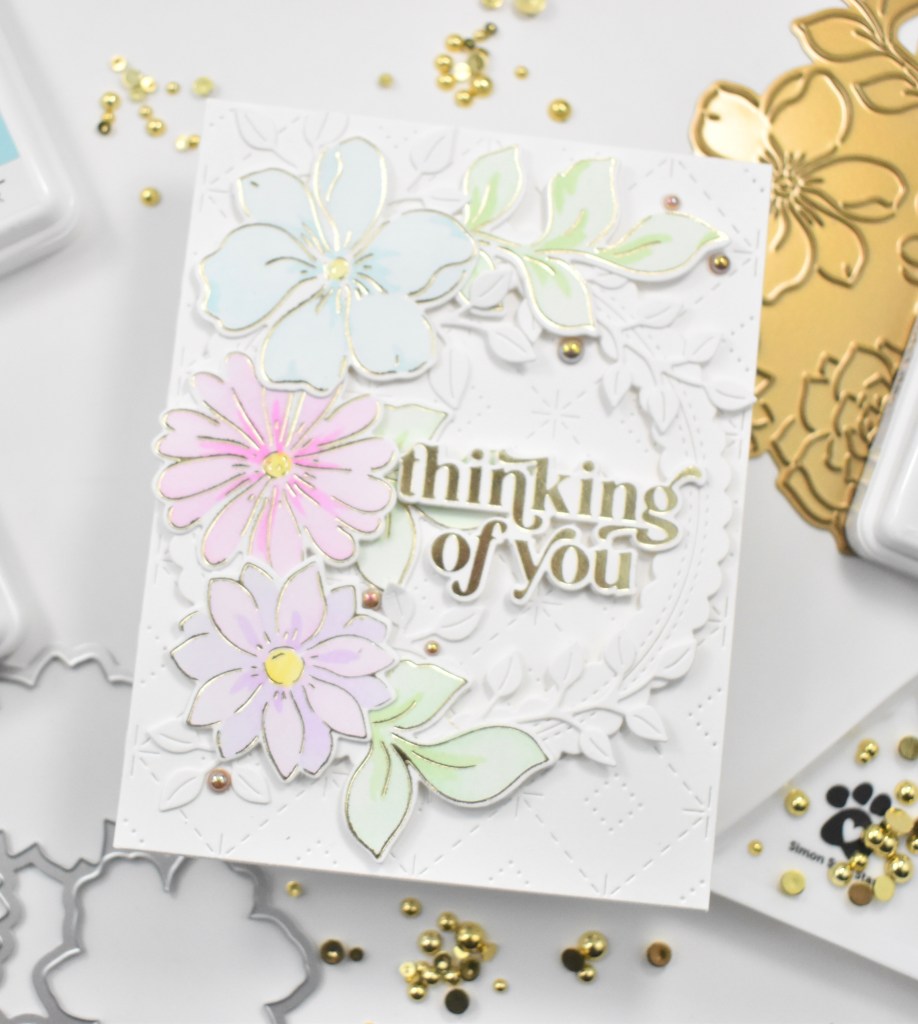
Once the foiling was complete, I used the PFS Brighter Days stencil set along with PFS inks in Sparkling Rose, Bubblegum, Sweet Mustard, Mint, Fresh Pear, Ocean Breeze, Aquamarine, Soft Lilac and Lavender to add color to these gorgeous flowers. I then used the coordinating die to cut them all out. I think that I ended up foiling five panels, so I had lots of flowers and leaves!

Next, I die cut two panels using the PFS Sparkling Diamonds, and I die cut one PFS Stitched Scallop Square and one PFS Stitched Scallop Circle using the same Neenah 110lb. Those were then adhered to the background panel using foam tape for dimension. I began arranging the flowers and leaves atop the frames to determine placement. In doing so, I decided that I need some additional white leaves for filler. I die cut the PFS Curvy Foliage a couple of times, as well as, the PFS Leafy Branch.

The sentiments used are from the PFS Celebrating You product suite. There were hot foiled using the same Spellbinders Champagne Hot Foil, and die cut three times and stacked together for dimension. I absolutely love stacking sentiments! I just love the detail and height that it adds!
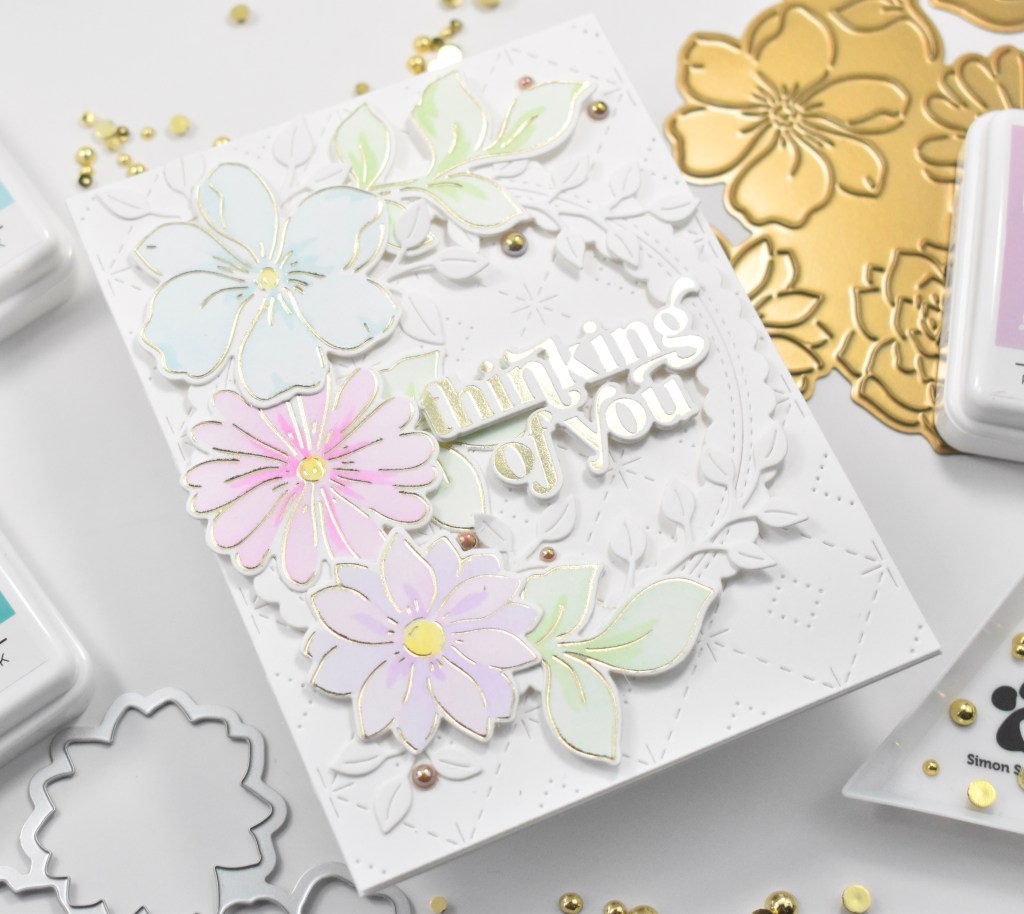
Now that I have all of the components for the cards, it’s time to start assembling. The frames were already adhered to the background panel, so I began tucking and adhering the white leaves first using liquid glue. Next came the green leaves, and finally the flowers. All of these were glued in place since I already had dimension from the frames. I didn’t want the cards to end up too bulky! I adhered the sentiments using foam tape, added some PFS Sparkling Champagne Pearls to both cards, and attached everything to the card base using SSS Dot Tape Runner.
That finishes up these cards! I hope you like them, and I hope they inspire some creativity on your part! Thanks again for stopping by! Have a wonderful day and don’t forget to stay awesome!
Supply List:
- PFS Brighter Days Product Suite: Hot Foil Plate, Stencil, Die
- PFS Celebrating You Hot Foil Plate, Die
- PFS Stitched Scallop Square
- PFS Stitched Scallop Circle
- PFS Sparkling Diamonds Die
- PFS Curvy Foliage
- PFS Leafy Branch
- PFS Inks: Sparkling Rose, Bubblegum, Sweet Mustard, Mint, Fresh Pear, Ocean Breeze, Aquamarine, Soft Lilac, Lavender
- PFS Sparkling Champagne Metallic Pearls
- Spellbinders Champagne Hot Foil
- Spellbinders Glimmer Hot Foil System
- Spellbinders Platinum 6
- SSS Blender Brushes
- SSS Triangle Trays
- Neenah Classic Crest Solar White 110lb Cardstock
- Studio Katia Embellishment Wand
- Bearly Art Glue
- 3M Foam Tape
* Affiliate links used at no cost to you. Thanks so much for your support!
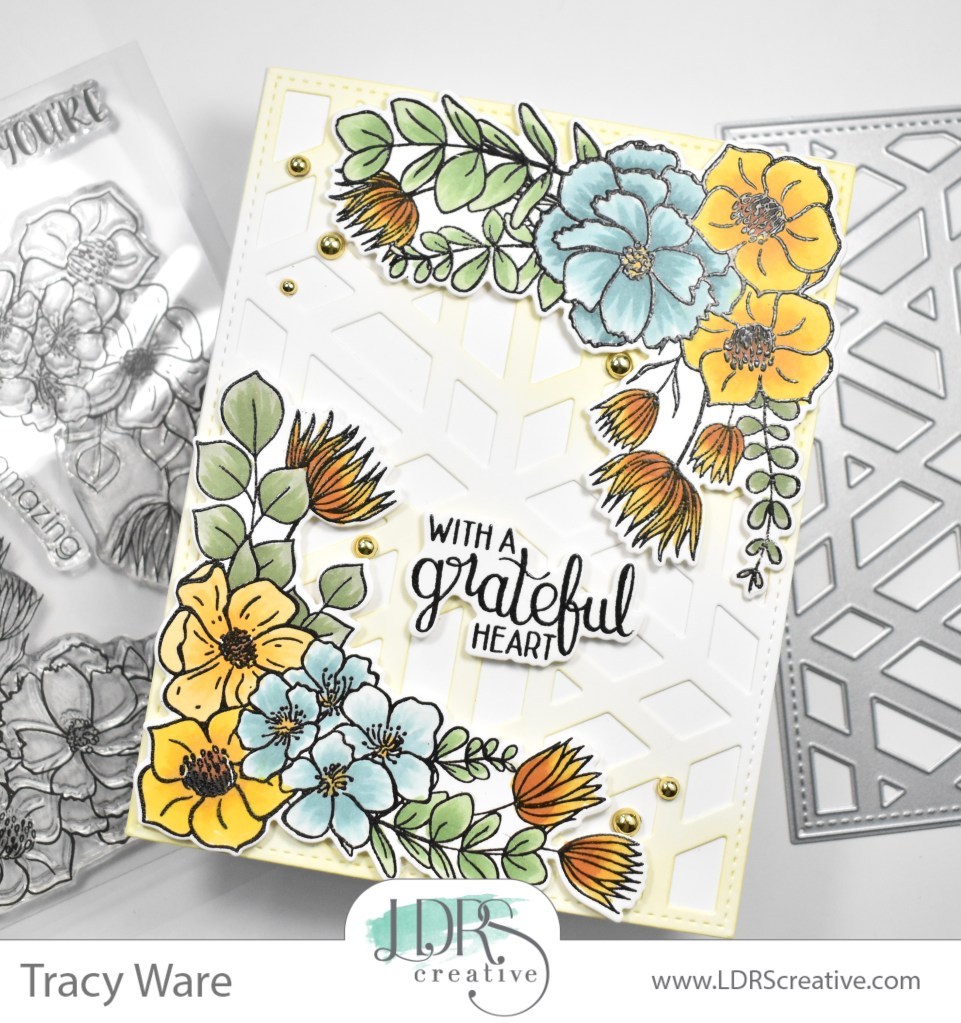
- Simon Says Stamp Grateful Heart

- Simon Says Stamp Braided Greetings

- Together By Design Color Cube Floral

- Simon Says Stamp Cute Duckling

- Simon Says Stamp Watercolor Wild Rose