Simon Says Stamp Beachy Horizon

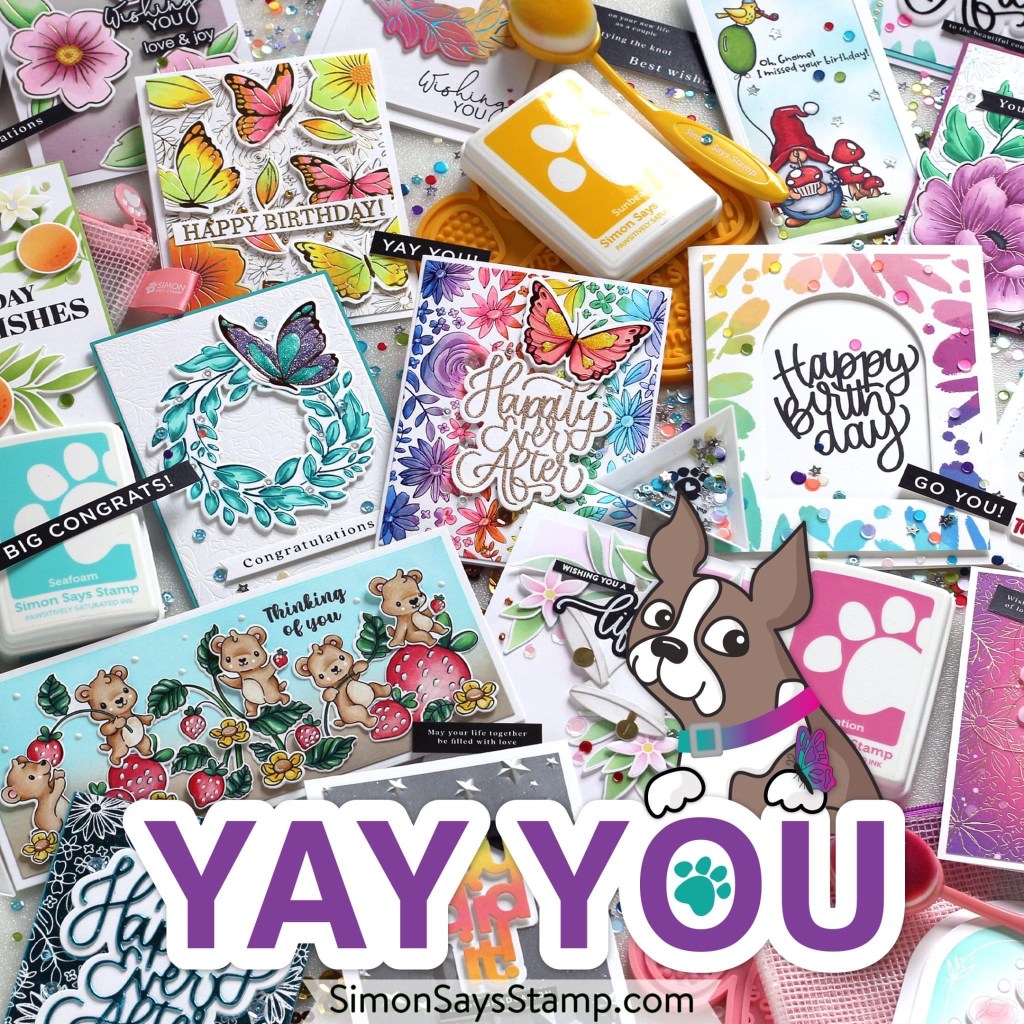
Hello Crafty Lovelies and welcome back! I’m so glad that you’re here! The latest Simon release, Dream Big, is now available and it’s a beauty! Today’s project is featuring the new stamp set, On the Horizon. So let’s get to the deets!

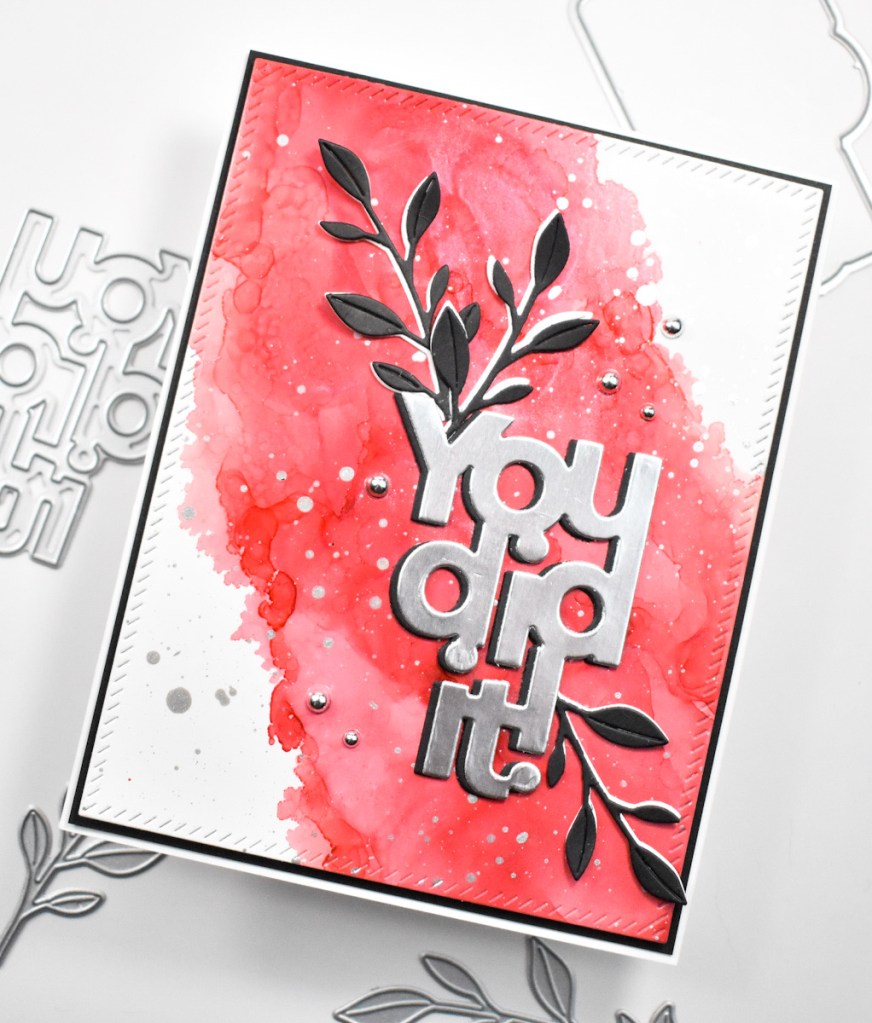
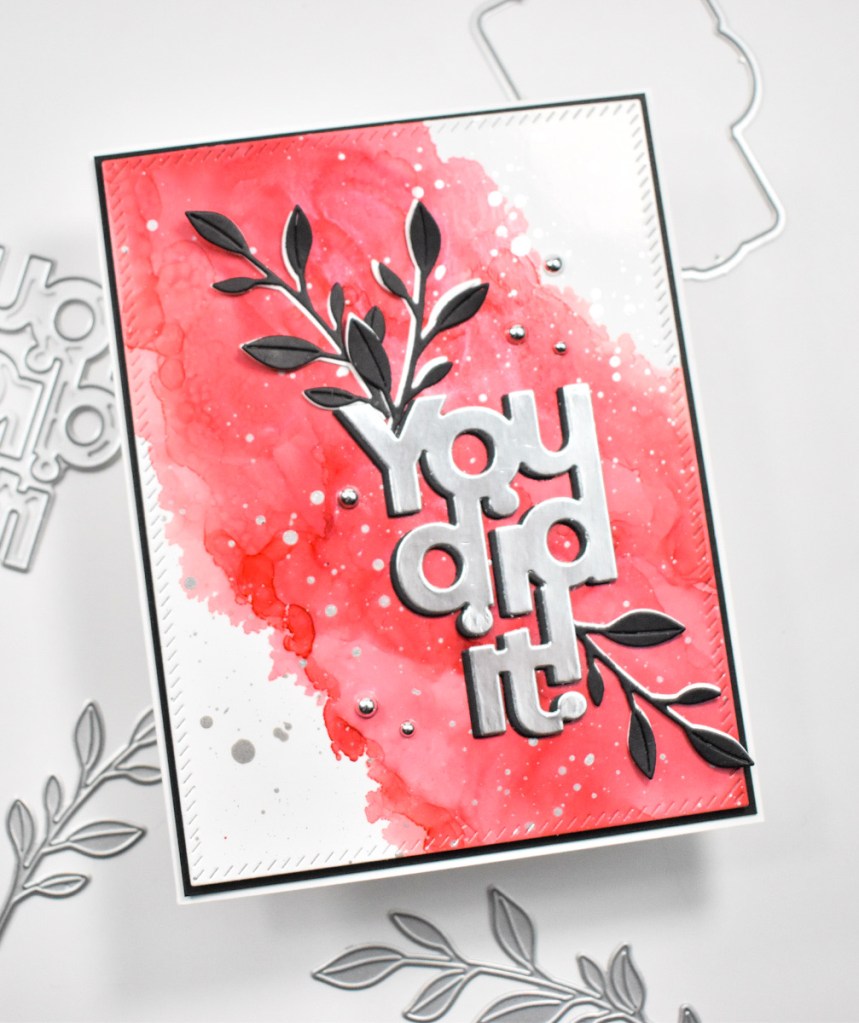
To begin, I ink blended a panel of Neenah Classic Crest 110lb cardstock using Distress Oxide inks in Scattered Straw, Tattered Rose and Spun Sugar. I thought these colors gave me the beach sunset vibe that I was looking for. Once the ink blending was complete, I used the PFS Diagonal Stitched Rectangles to trim it down and spritzed it with water.

I then stamped some of the beachy elements from the SSS On the Horizon set using VersaFine Onyx Black ink and heat embossed it using Ranger Clear Embossing Powder. I ended up heat embossing it twice to get a smoother finish.
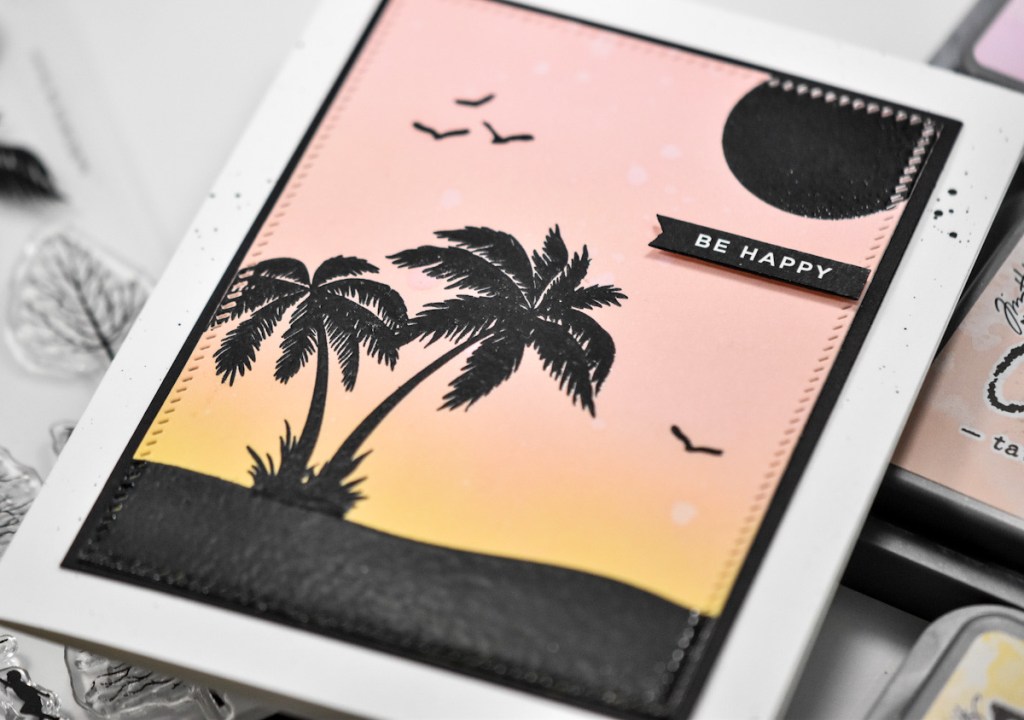
The stamped panel was then adhered to a black panel using SSS Dot Tape Runner and the SSS Sentiment Strip was adhered using foam tape for a little bit of dimension.

Before adhering everything to the card base, I did splatter it using Royal Talens Oxide Black Acrylic Ink.

I’m not going to lie, I did have to redo the ink blending on a second panel, because I smudged black ink on the first one during the stamping process. Don’t you just hate it when stuff like that happens? Ugh, it drives me bonkers! Anyhoo, that finishes up this project. I hope you’ll stop by and take a look at the entire Dream Big release. Have yourself a wonderful day and don’t forget to stay awesome!
Supply List:
- SSS On the Horizon
- SSS Reverse Happy Sentiment Strip
- SSS Dot Tape Runner
- Distress Oxide Inks: Scattered Straw, Tattered Rose, Spun Sugar
- VersaFine Onyx Black Ink
- Ranger Clear Embossing Powder
- PFS Diagonal Stitched Rectangles
- Neenah Classic Crest Solar White 110lb Cardstock
- Black Cardstock
- Royal Talens Oxide Black Acrylic Ink (Not an affiliate link)
- 3M Foam Tape
- Anti-Static Powder Tool
- Misti
- Gemini Jr.
* Affiliate links used at no cost to you. Thanks so much for your support!
Latest Posts
- Spellbinders Trailside Birthday Raccoon

- Simon Says Stamp Grateful Heart

- Simon Says Stamp Braided Greetings

- Together By Design Color Cube Floral

- Simon Says Stamp Cute Duckling