Simon Says Stamp Floral Garden Watercolor

All the Feels Release
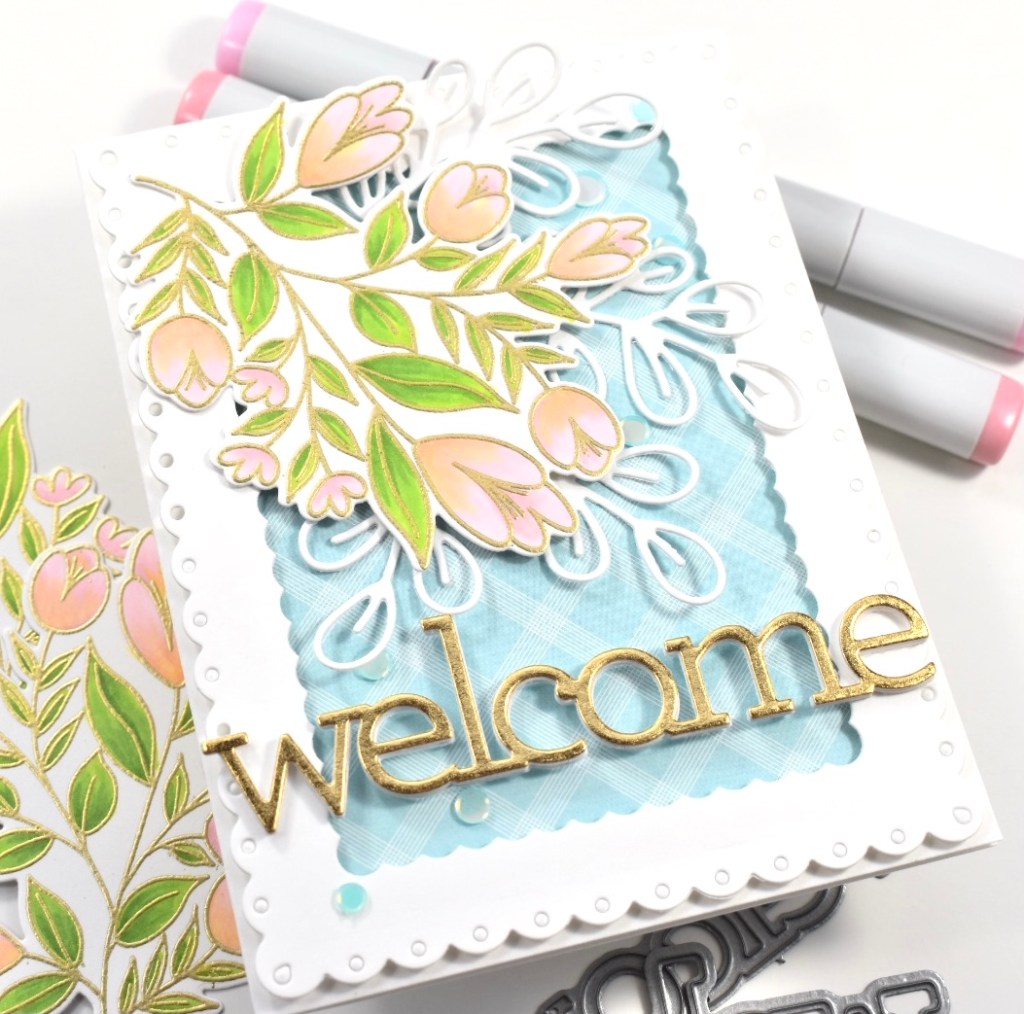
Hello Crafty Friends! Simon Says Stamp new release, All the Feels, release is live! I’m playing with the Floral Garden stamp set today, and this is such a beautiful stamp, and really, a beautiful release! I’ve had so much fun coloring and watercoloring different versions of this stamp!

I had to put my Karin Brushmarkers to work on today’s project. To begin, I stamped the Floral Garden image on a piece of Fluid Hot Press Watercolor Paper with VersaFine Onyx Black ink and heat embossed it using Ranger Clear Embossing Powder. I taped my image down to a board using masking tape to prevent warping. My board just happens to be a $2.19 clipboard from Target .. but hey, it gets the job done!

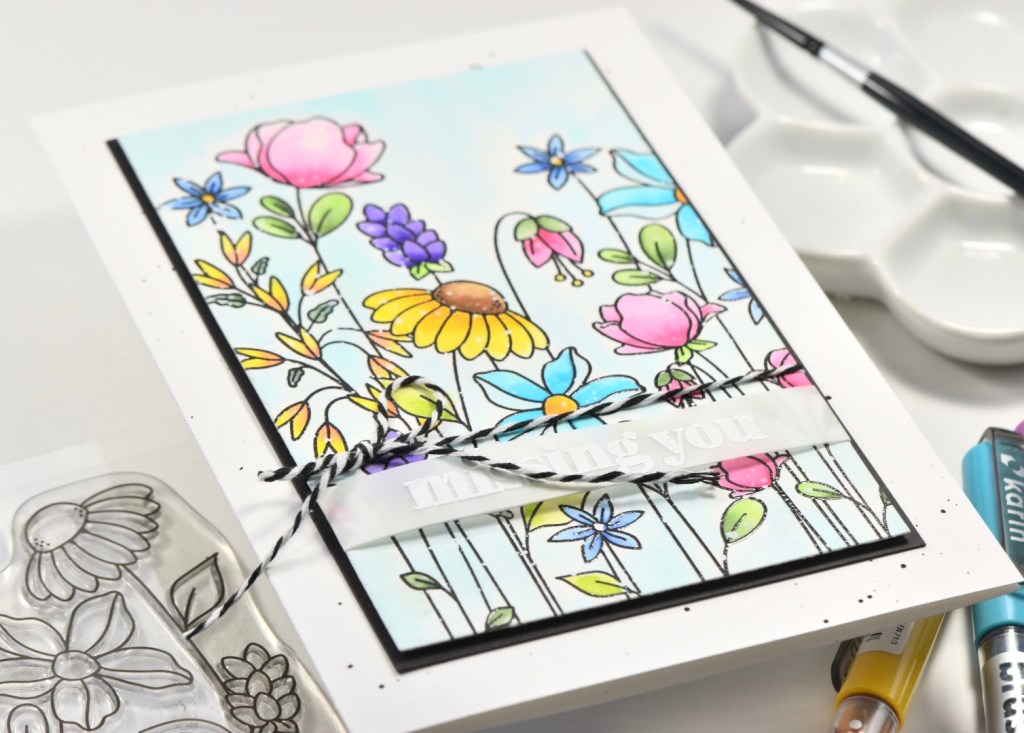
I have to be the world’s slowest colorer! It doesn’t matter if it’s markers or watercolors .. I’m SLOW! That’s just all there is to it. I got my Karin markers down off the shelf and brushed them off and got busy. I ended up using a Black Velvet Silver No. 2 brush for this project. The small brush helps me to have more control over the amount of water and ink .. and Mama needs control!
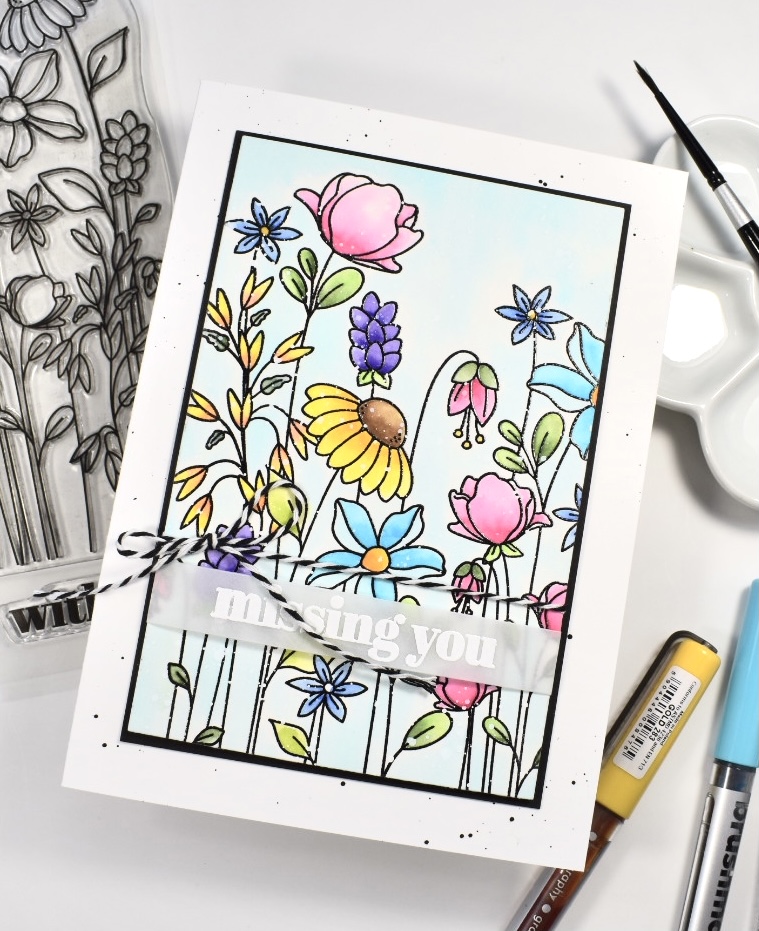
Once my image was completely dry, I trimmed it down and did some white splatter using Royal Talens Titanium White Acrylic Ink. I love this ink for splatter because the consistency is PERFECT! I have some in gold as well, and it’s pretty dang awesome too! Need to get some in black! While that was drying, I worked on my sentiment. I chose the Missing You sentiment from the Floral Garden stamp set and stamped that on vellum with VersaMark ink and heat embossed it using Simon Says Stamp Detail White Embossing Powder. I die cut the sentiment using the Simon Says Stamp Sentiment Labels Die. I actually die cut another piece of vellum so that I could double them up.

I wrapped my vellum sentiment around my floral panel and adhered it to the back using Craft Tacky Glue. I also tied a piece of black and white twine around the panel as well. I adhered my floral panel to a black cardstock panel using 3M Foam Tape, because I really like the contrast that it provides. I then adhered my panel to my card base, which is Neenah Classic Crest 110lb, that I had previously lightly splattered with thinned black acrylic paint.
I didn’t want to waste the leftover piece of my watercolor panel, so I decided to just make it into a super cute bookmark! I added an eyelet and some tassels, along with the word Read. I used the Simon Says Stamp Rounded Alphabet Small to die cut the letters three times from Neenah 110lb and adhered those together using glue. I think it turned out kind of cute!
That’s it for this project. I hope you enjoyed it, and I hope it inspires you to get crafty! You can check out the entire All the Feels release HERE. Thanks for stopping by!
Don’t forget to stay awesome!
Supply List:
- Simon Says Stamp Floral Garden stamp
- Simon Says Stamp Sentiment Labels Die
- Simon Says Stamp Detail White Embossing Powder
- Simon Says Stamp Vellum
- Simon Says Stamp Rounded Alphabet Small
- Fluid Hot Press Watercolor Paper
- Black Velvet Silver No. 2 Paintbrush
- Karin Brushmarkers
- VersaFine Onyx Black Ink
- Ranger Clear Embossing Powder
- VersaMark Ink
- Royal Talens Amsterdam Titanium White Acrylic Ink
- Clipboard
- Neenah Classic Crest 110lb Cardstock
- 3M Foam Tape
- Craft Tacky Glue
- Black Cardstock
- Royal Talens Amsterdam Oxide Black Acrylic Ink
- Misti
- Anti-Static Powder Tool
- Gemini Jr.
*Affiliate used at no cost to you. Thank you for your support!
- Simon Says Stamp Leafy Thank You

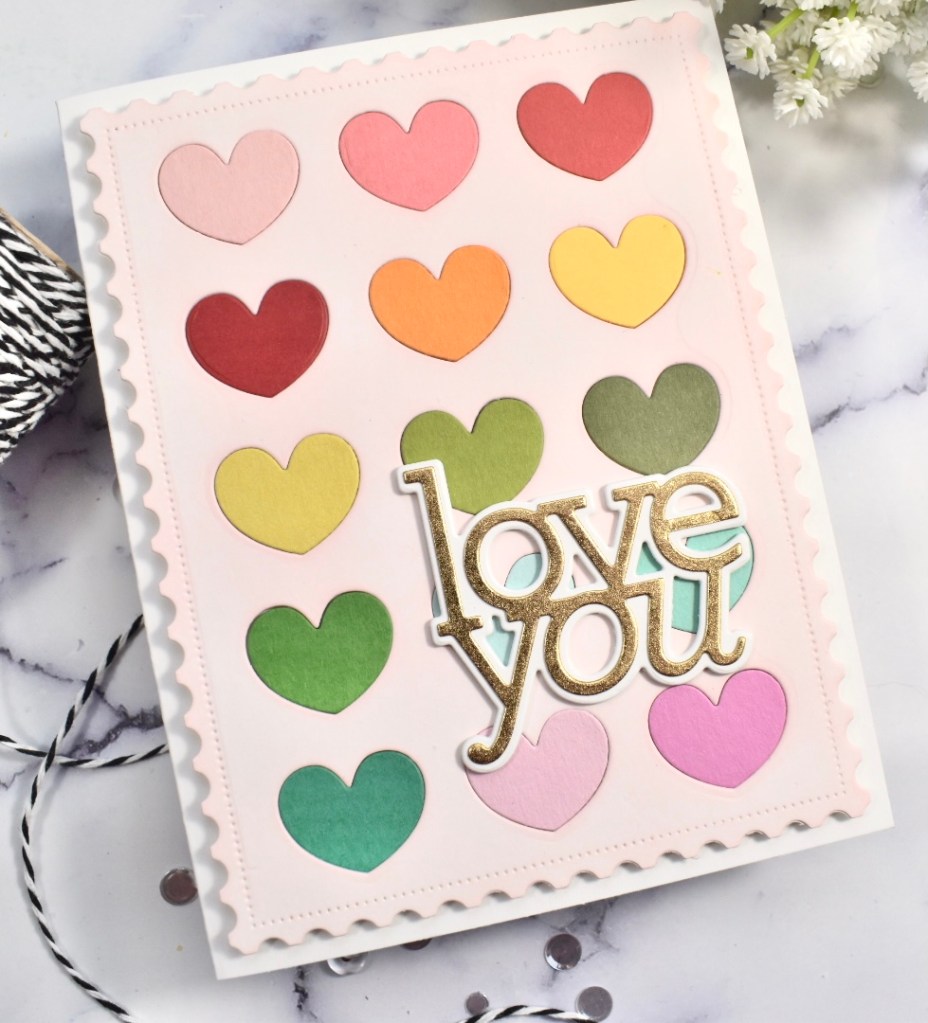
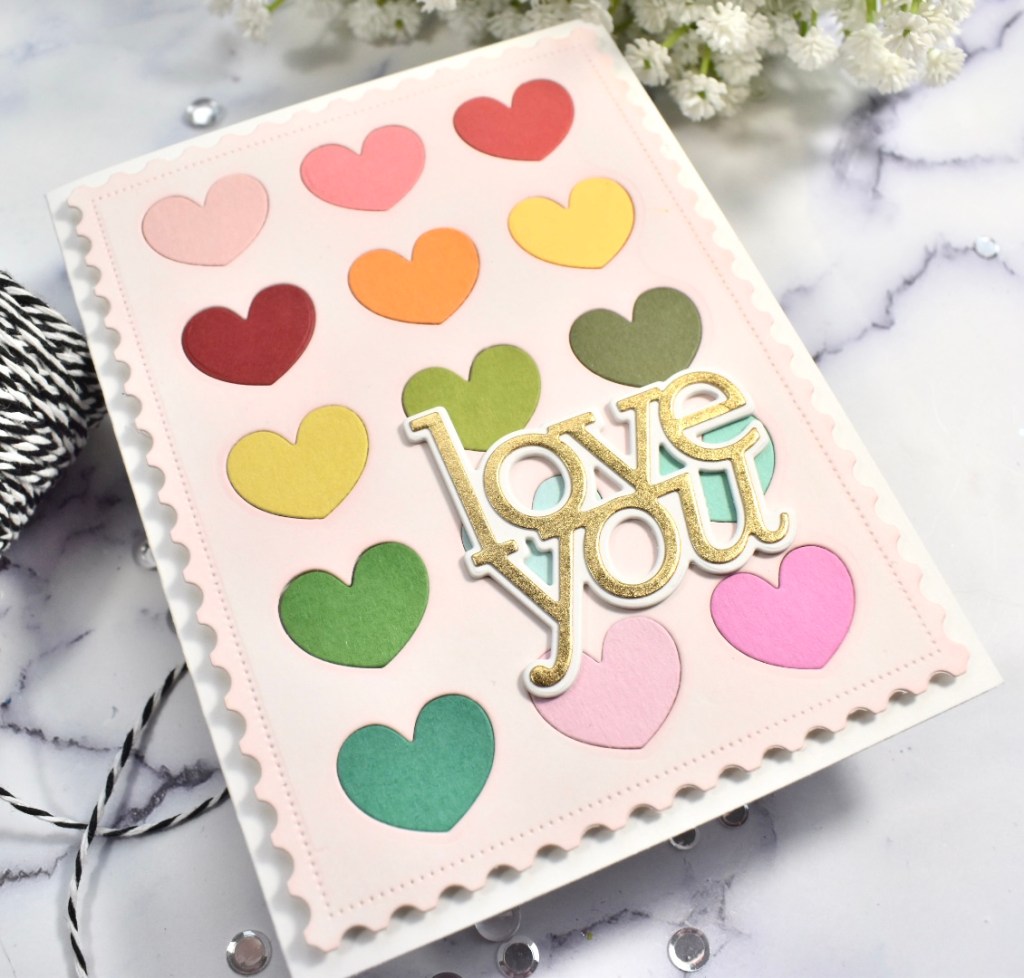
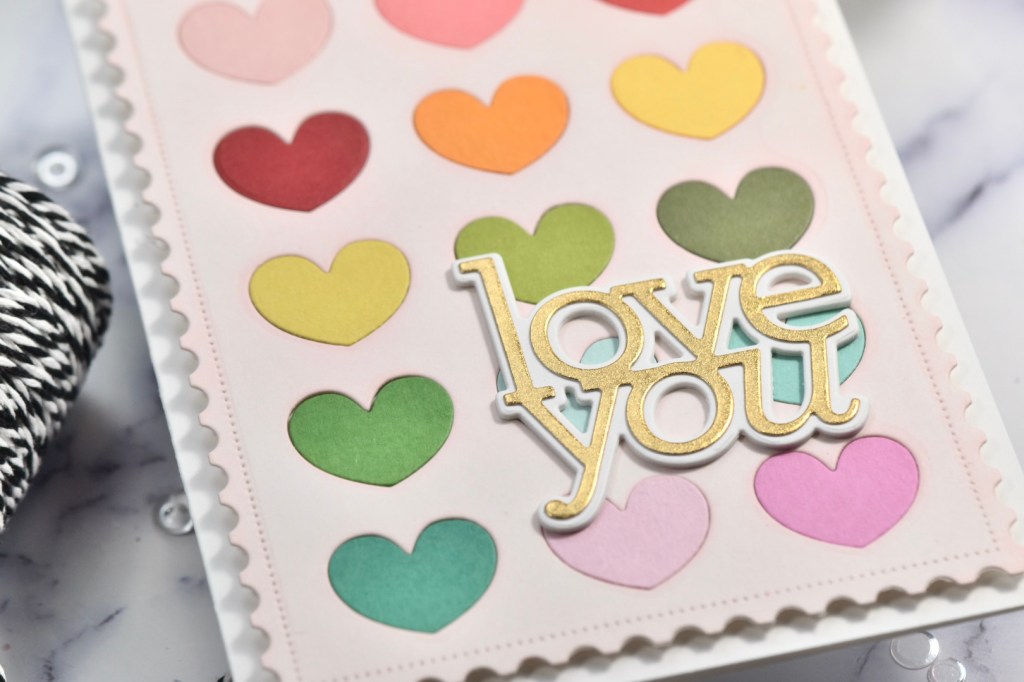
- Simon Says Stamp Love You Watercolor Hearts

- Simon Says Stamp Just Because Daisies
- Simon Says Stamp Love You Jumbled Hearts

- Together By Design featuring Kristina Werner with Concord and 9th