Simon Says Stamp Magnetic Friend

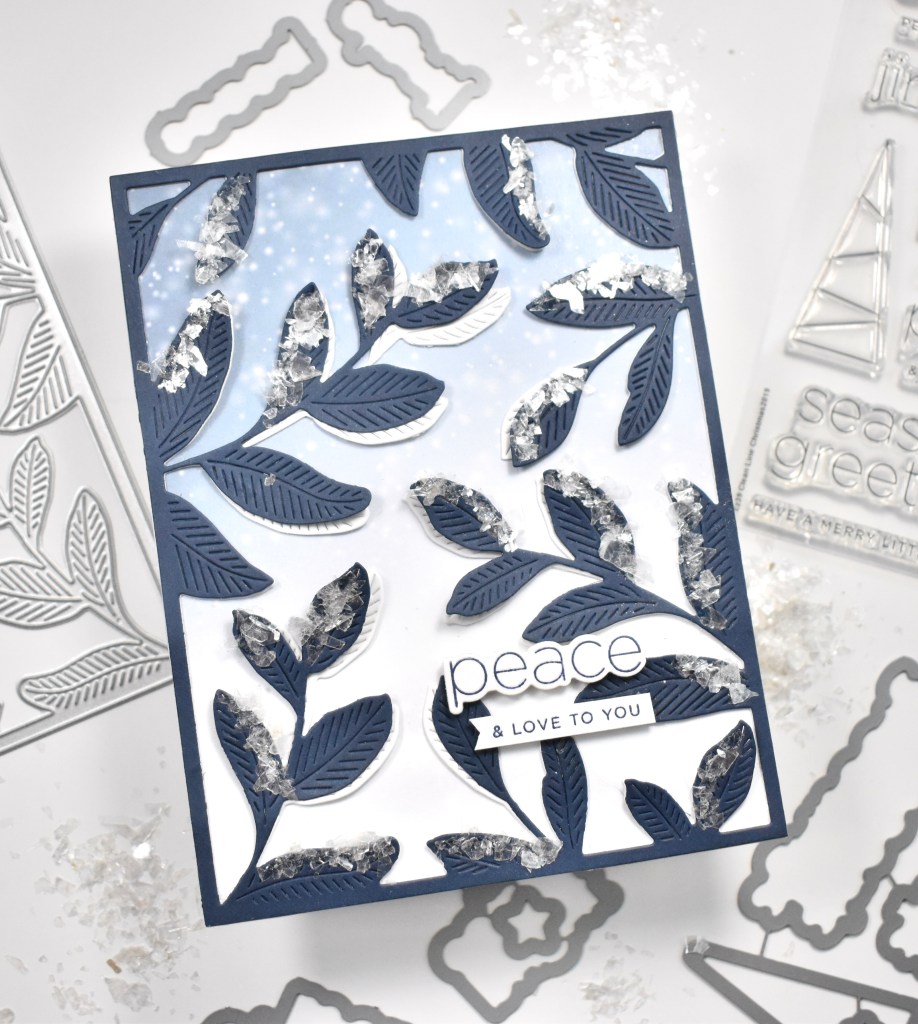
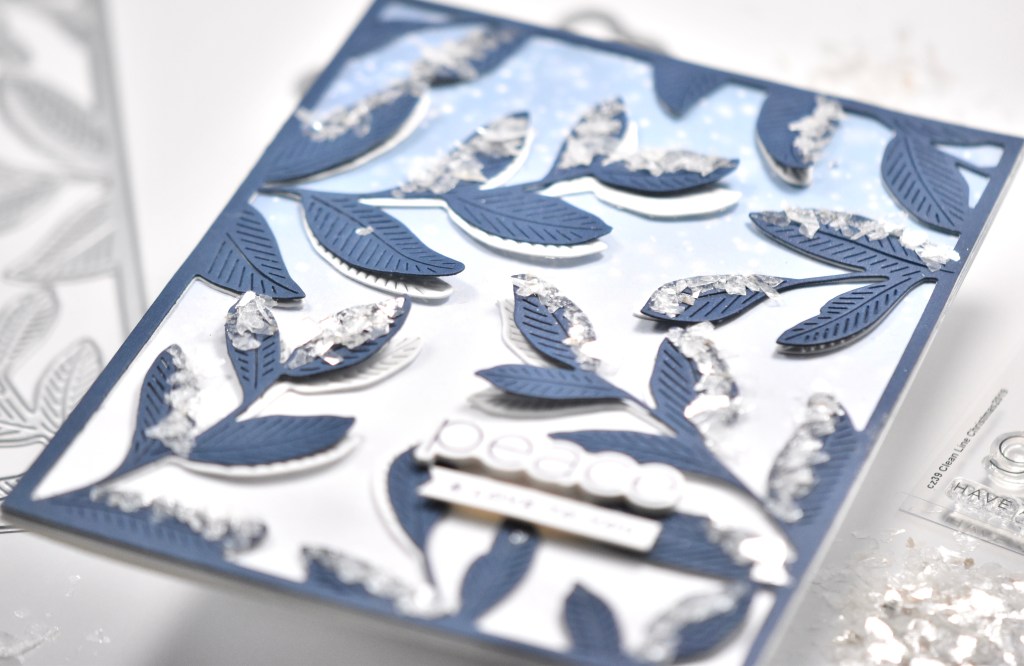
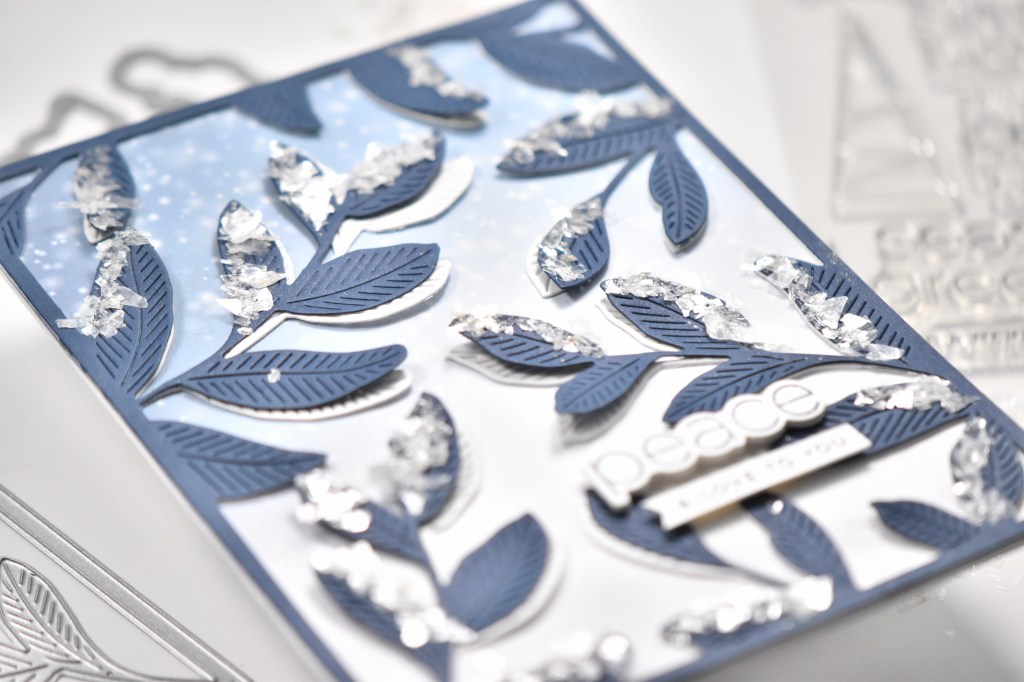
Hello Lovelies, and thanks for stopping by today! I’m thoroughly enjoying Simon Says Stamp’s new release, Peace on Earth! Today’s project is featuring the new, super cool, Magnetic Embossing Folder! So let’s hop right into the details for this one!
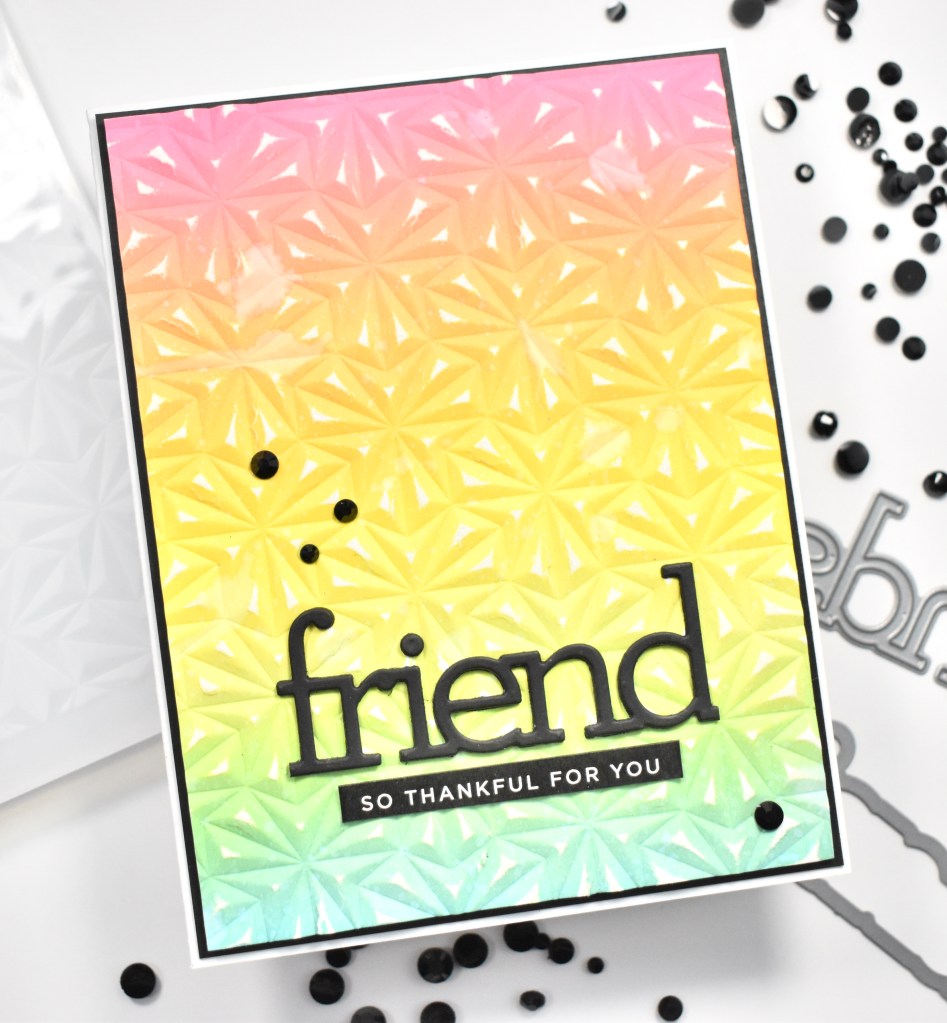
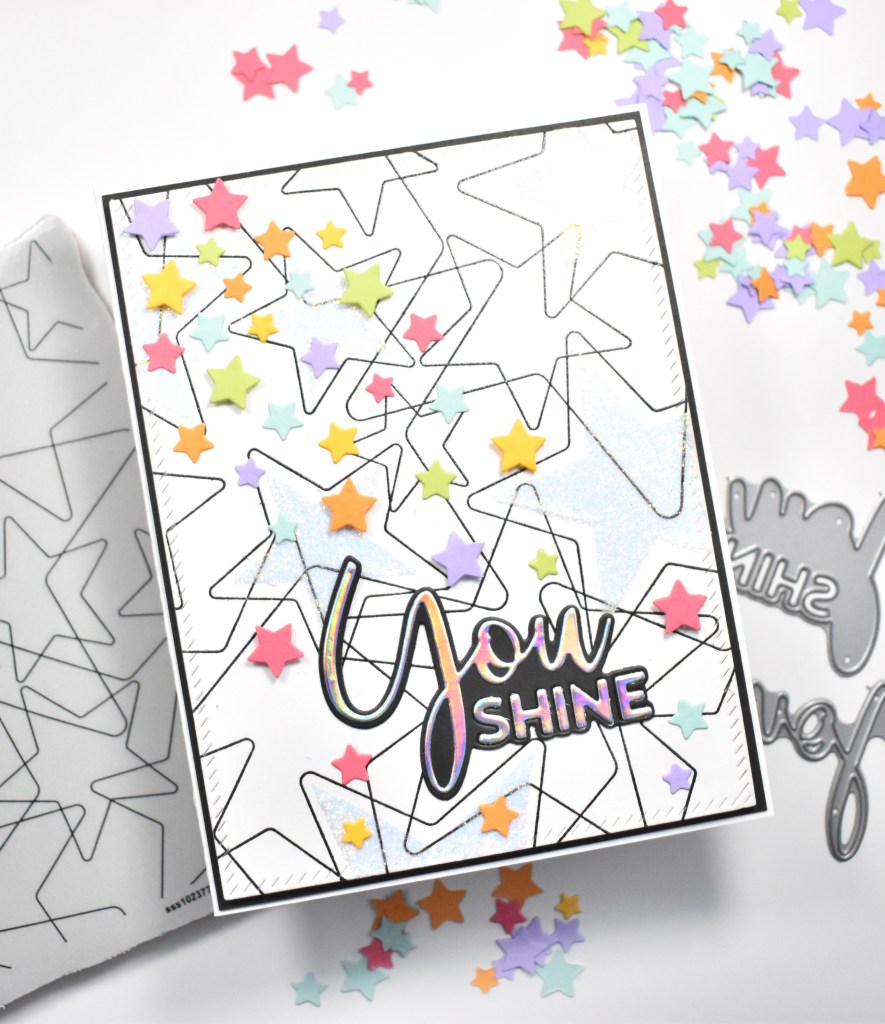
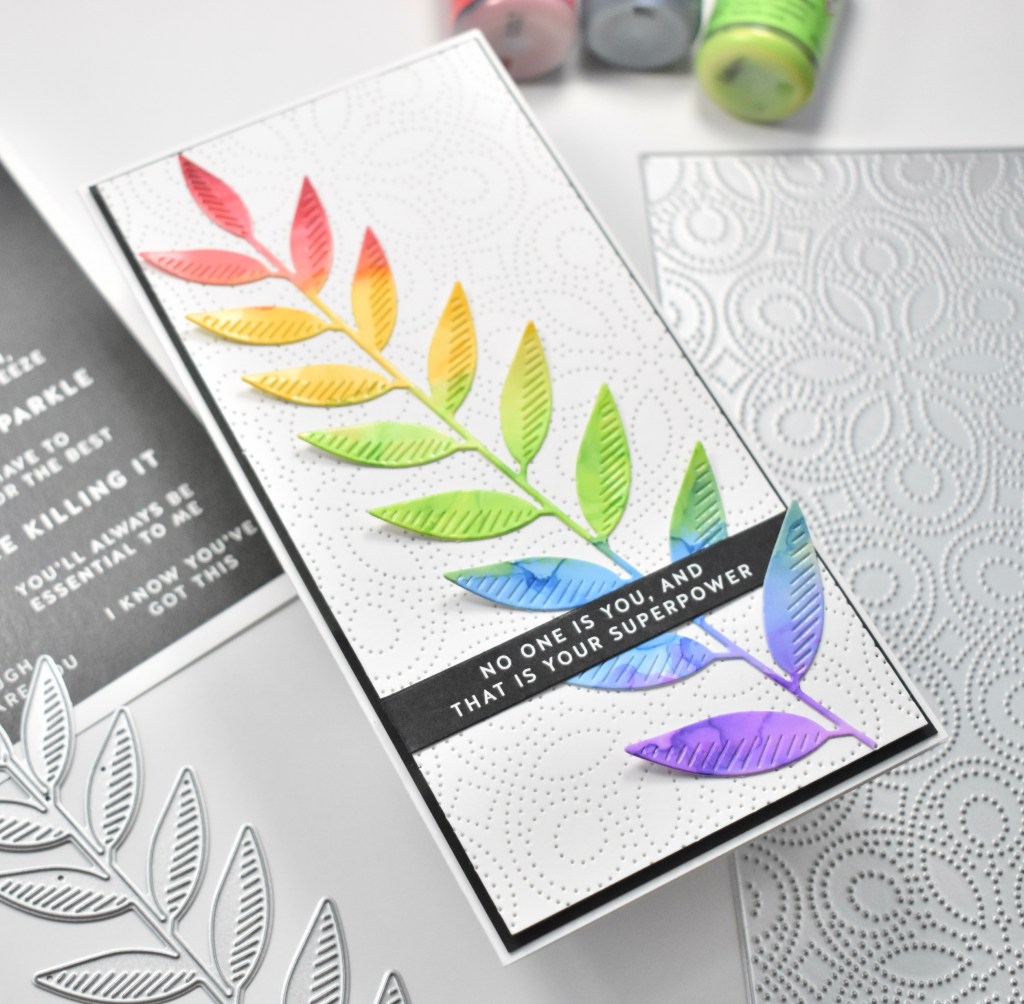
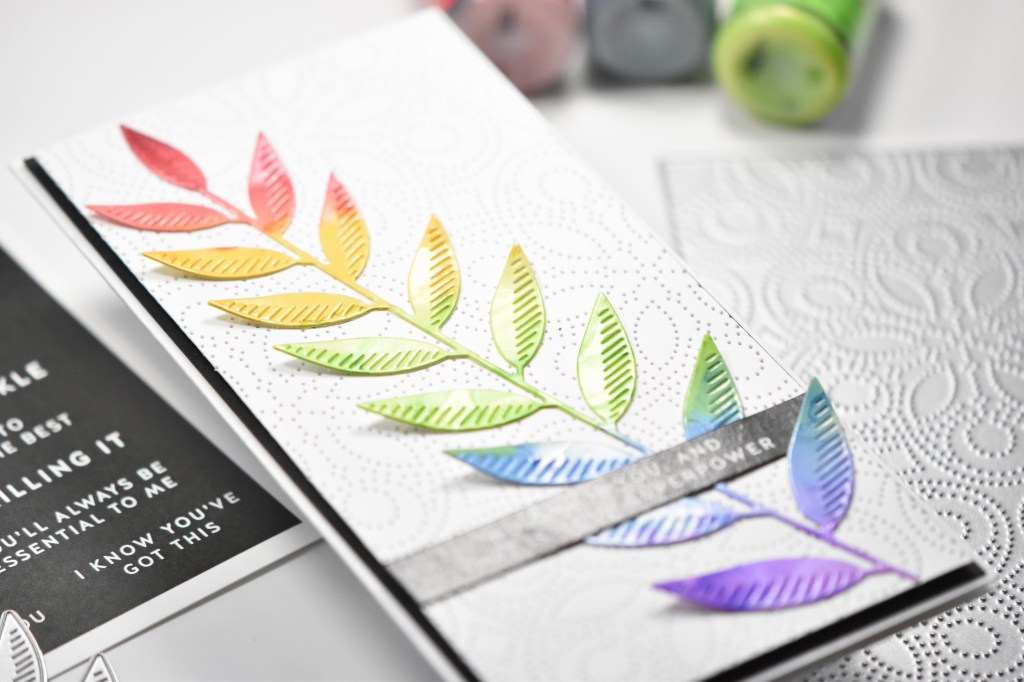
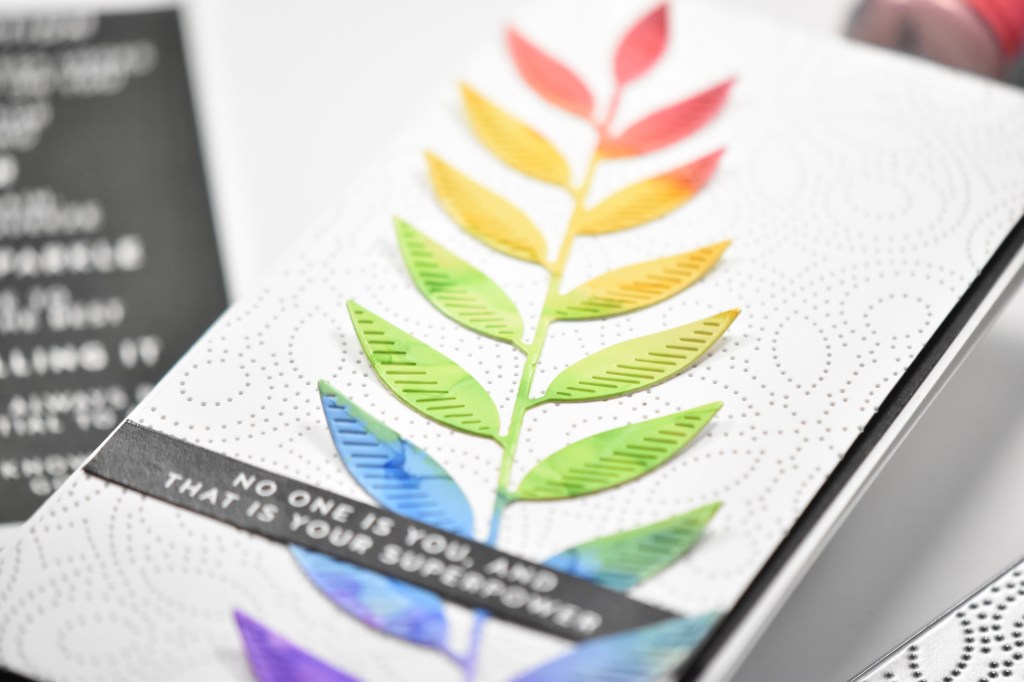
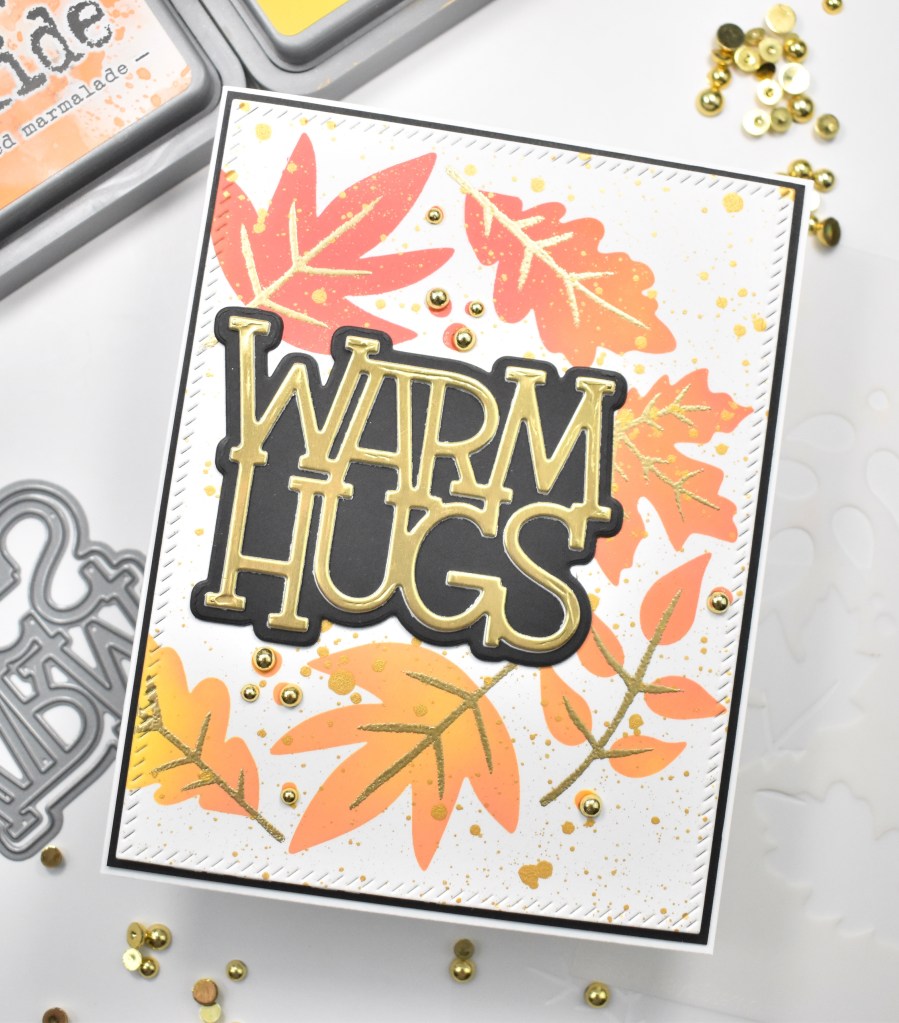
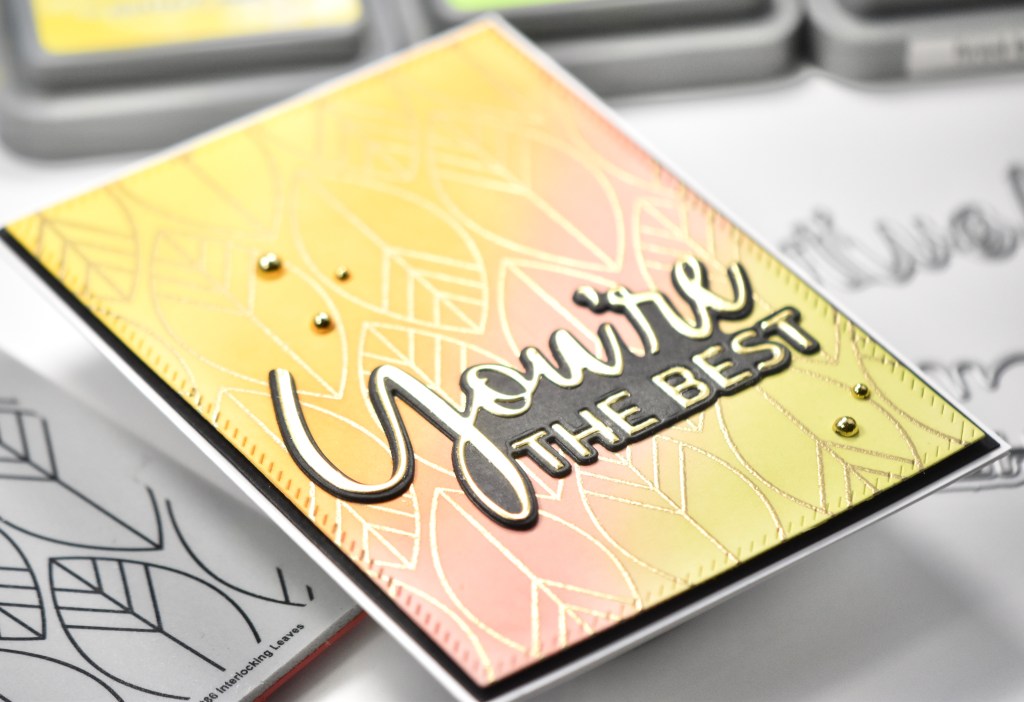
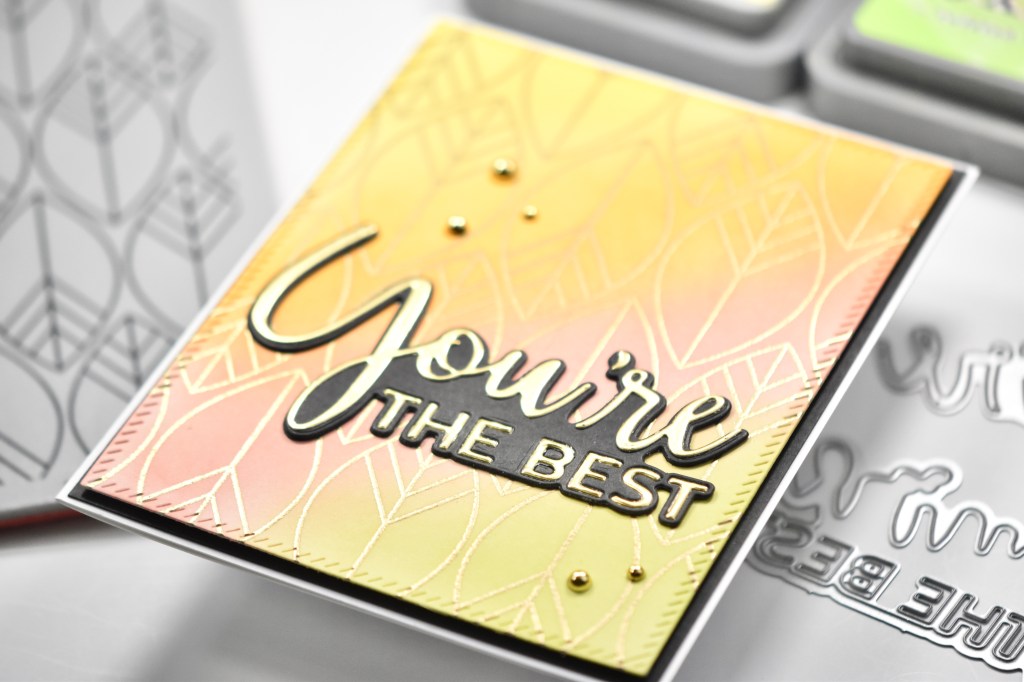
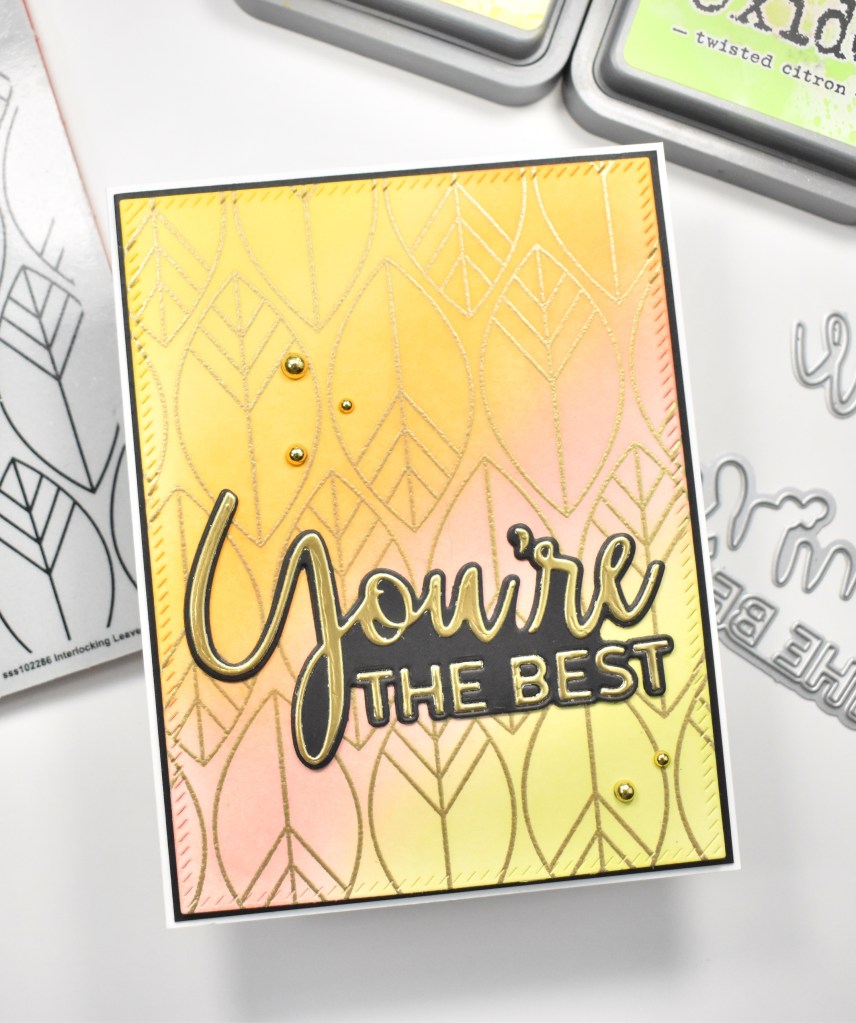
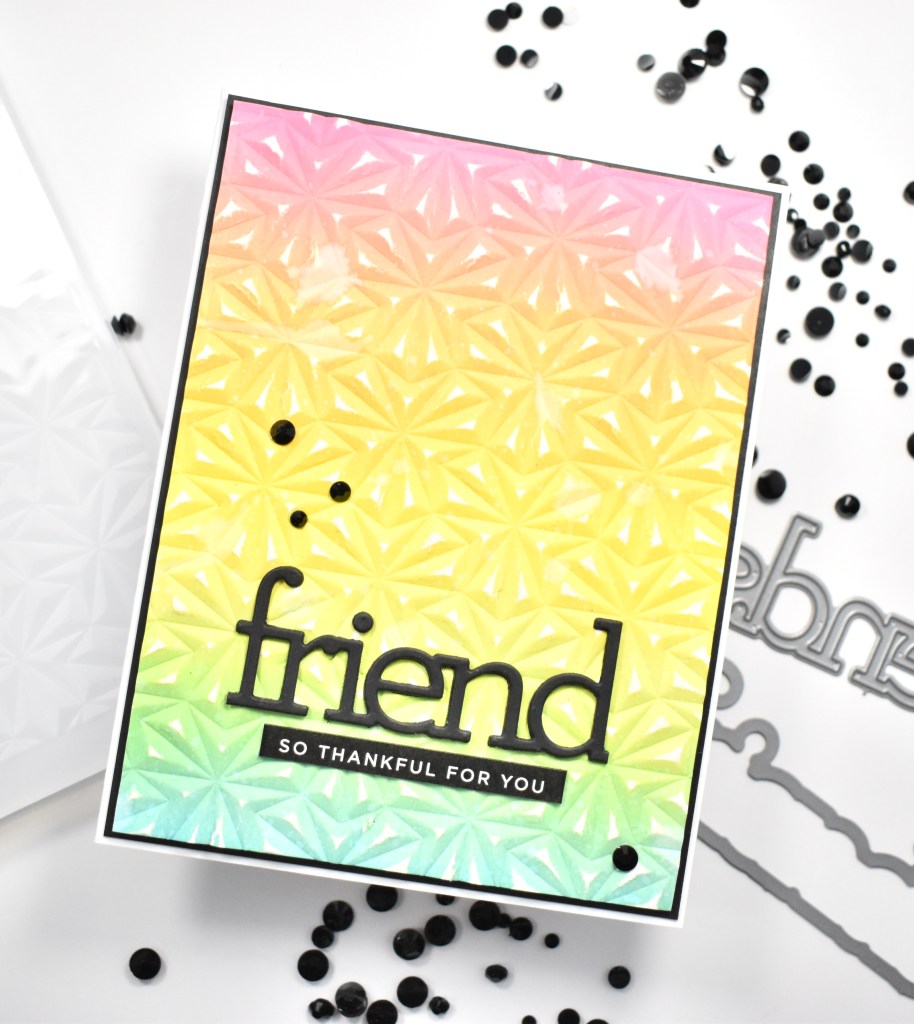
I began by trimming an A2 panel of Neenah Classic Crest 110lb cardstock and did some ink blending using Distress Oxide, Picked Raspberry, Spiced Marmalade, Mustard Seed, Twisted Citron and Broken China. This is my favorite rainbow color combo! Once the ink blending was done, I ran the panel through in the SSS Magnetic Embossing Folder.

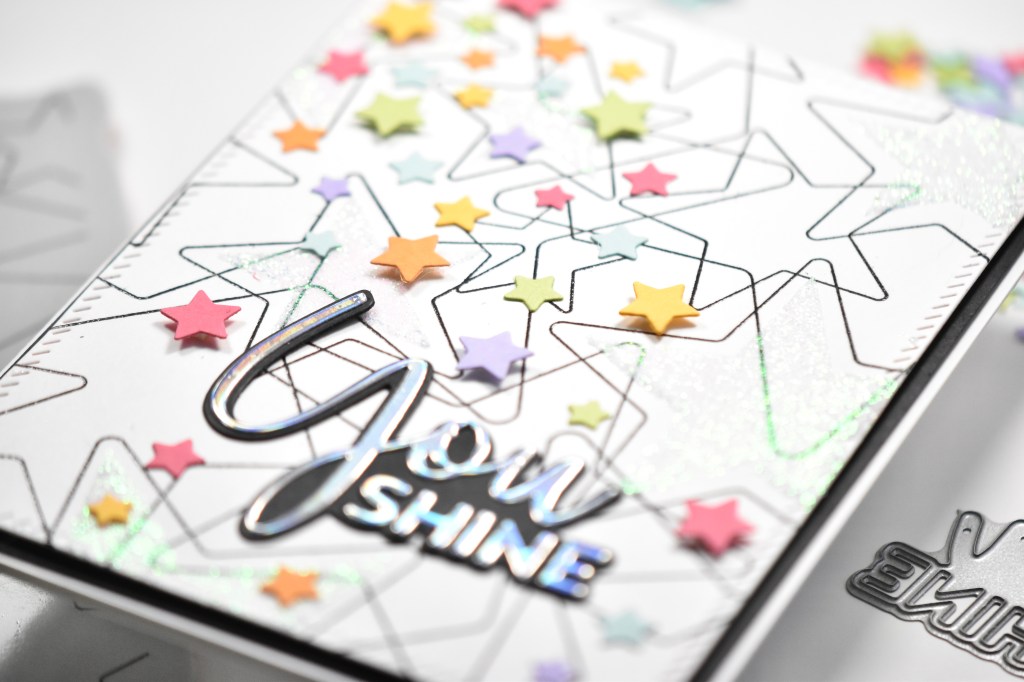
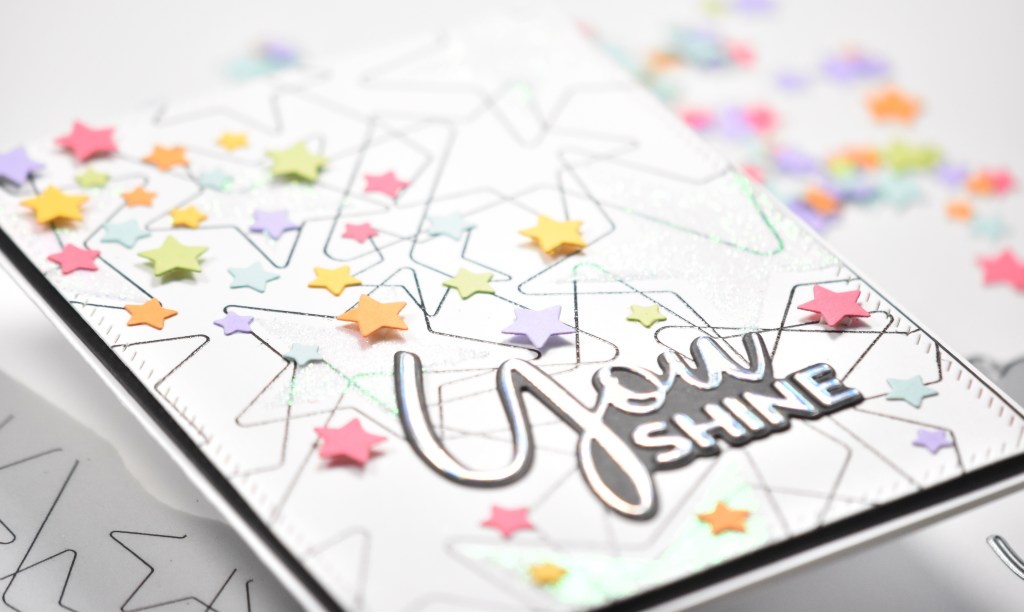
To be completely honest, my paper cracked while running it through with the embossing folder, so to remedy the situation and cover up those boo-boos, I pulled out a nail buffer that I use in the craft room. I just rubbed that over the top of the panel and distressed it a little more, revealing the white underneath. Voila, crisis averted!

I die cut the SSS Friends Die three times from black cardstock and adhered those together using liquid glue. I did trim off the “s” from Friends to suit my purposes. I also rummaged through my SSS Sentiment Strips to find an appropriate sub-sentiment for this card. Both of the sentiment were glued directly to the panel.

The panel was then trimmed down to just smaller than an A2 size so that I could layer it atop a black panel using foam tape. I always love incorporating black into my cards! That was then adhered to the card base, which is Neenah 110lb. I added a few Studio Katia Onyx Crystals to finish it up.
That does it for this card! I hope you like it and I hope it inspires you to get crafty! Have you checked out the Peace on Earth release yet? What are your favorites? I was just thinking that I need to start my Christmas Cards because I usually start them in October. When do you start yours? Anyhoo, have a wonderful day and don’t forget to stay awesome!
Supply List:
- SSS Magnetic Embossing Folder
- SSS Friends Die
- SSS Sentiment Strip Gratitude
- Distress Oxide Ink: Picked Raspberry, Spiced Marmalade, Mustard Seed, Twisted Citron, Broken China
- Neenah Classic Crest Solar White 110lb Cardstock
- Black Cardstock
- Studio Katia Onyx Crystals
- Studio Katia Embellishment Wand
- Blender Brushes
- Bearly Art Glue
- 3M Foam Tape
- Gemini Jr.
* Affiliate links used at no cost to you. Thank you so much for your support!
- Spellbinders Dear Santa Floral Letter

- Simon Says Stamp Grungy Dewdrop Daisy

- Simon Says Stamp Pastel Birthday Wishes

- Simon Says Stamp Best Fish

- Simon Says Stamp Circle Thanks