PinkFresh Studio Happy Heart Sentiments

Hello Crafty Friends! How’s your day going? I appreciate you stopping by! Today’s project is featuring some products from PinkFresh Studio and Simon Says Stamp. Super simple, but I love the completed card! Let’s get into the details!

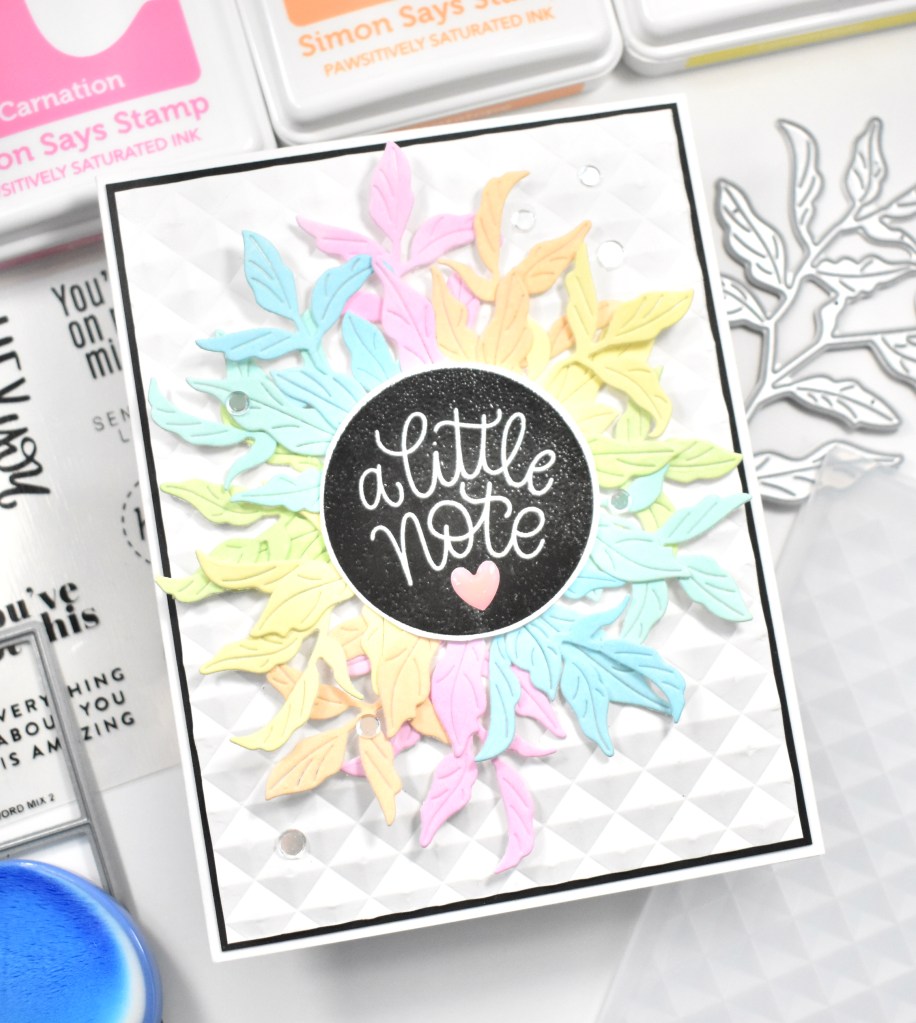
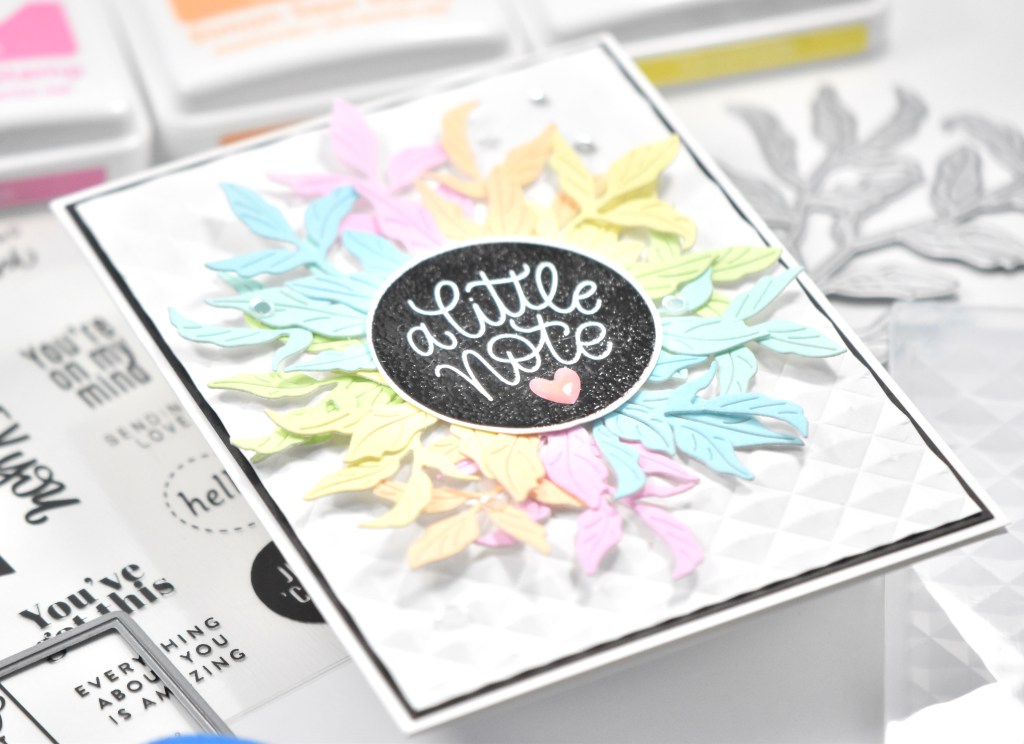
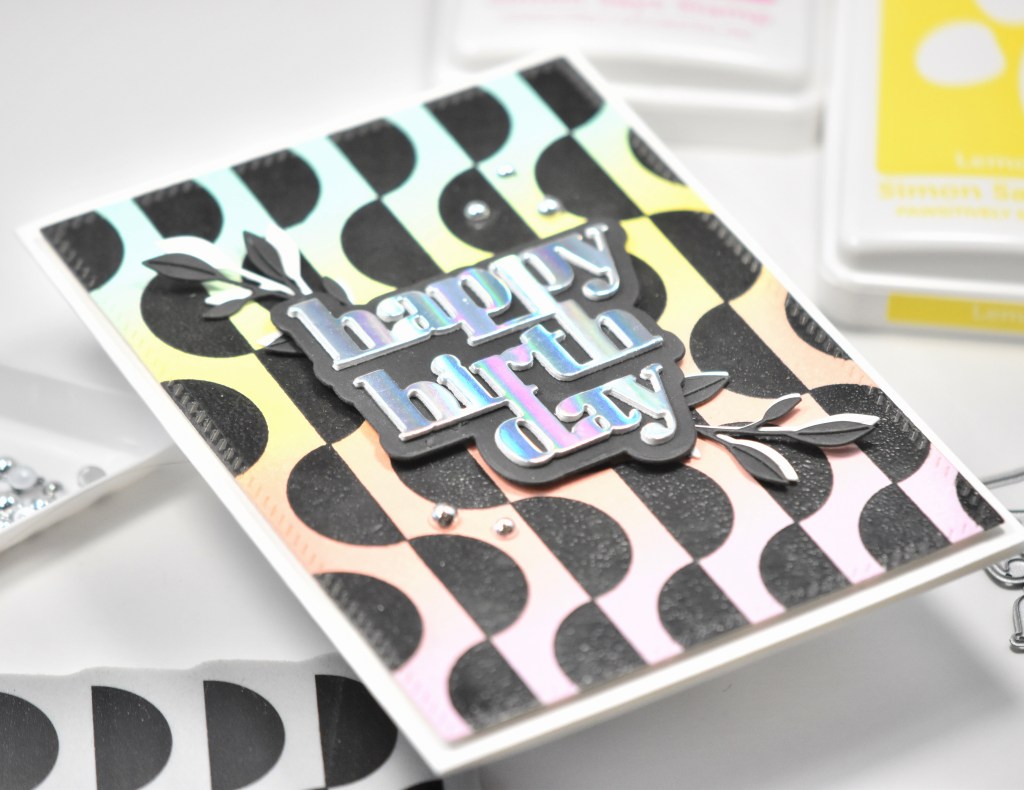
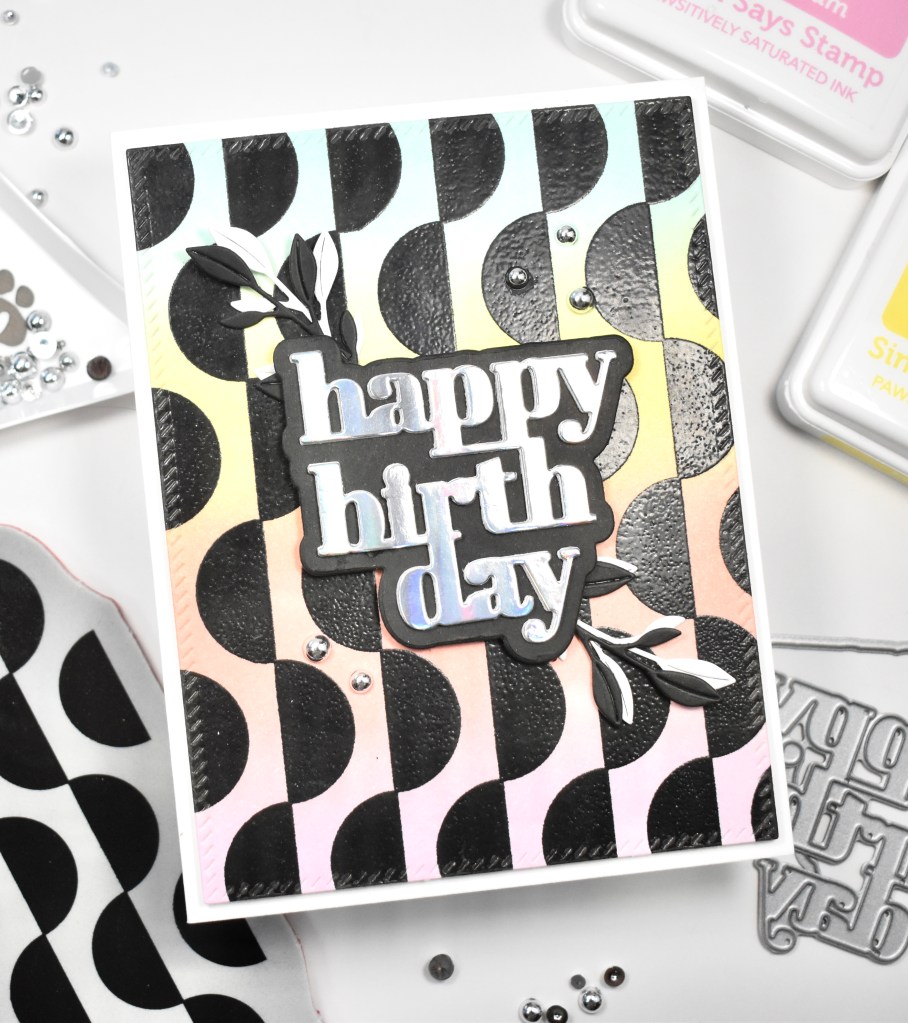
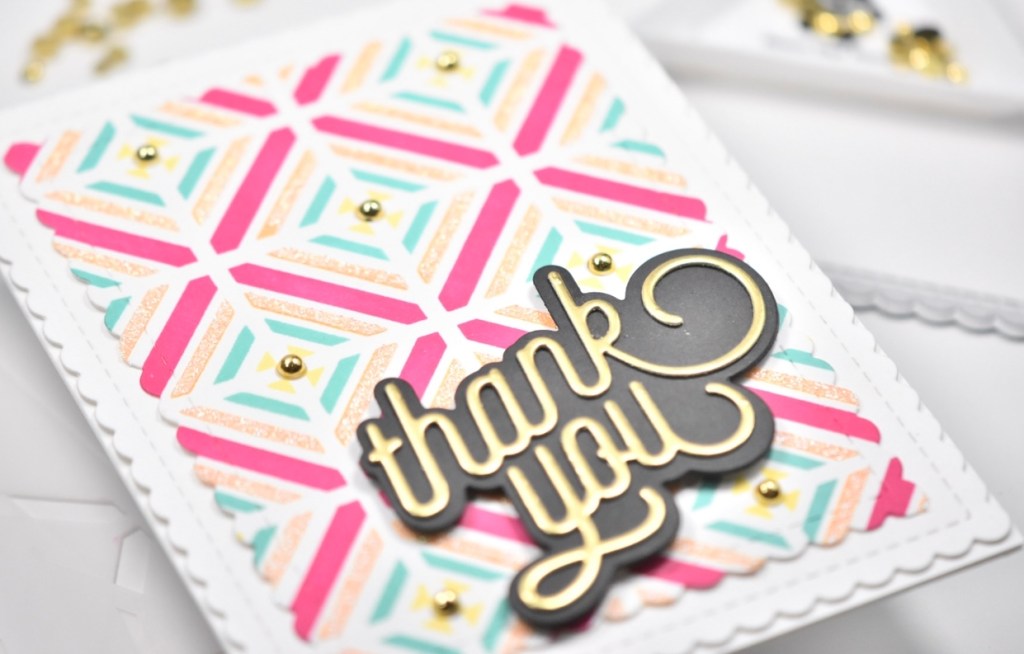
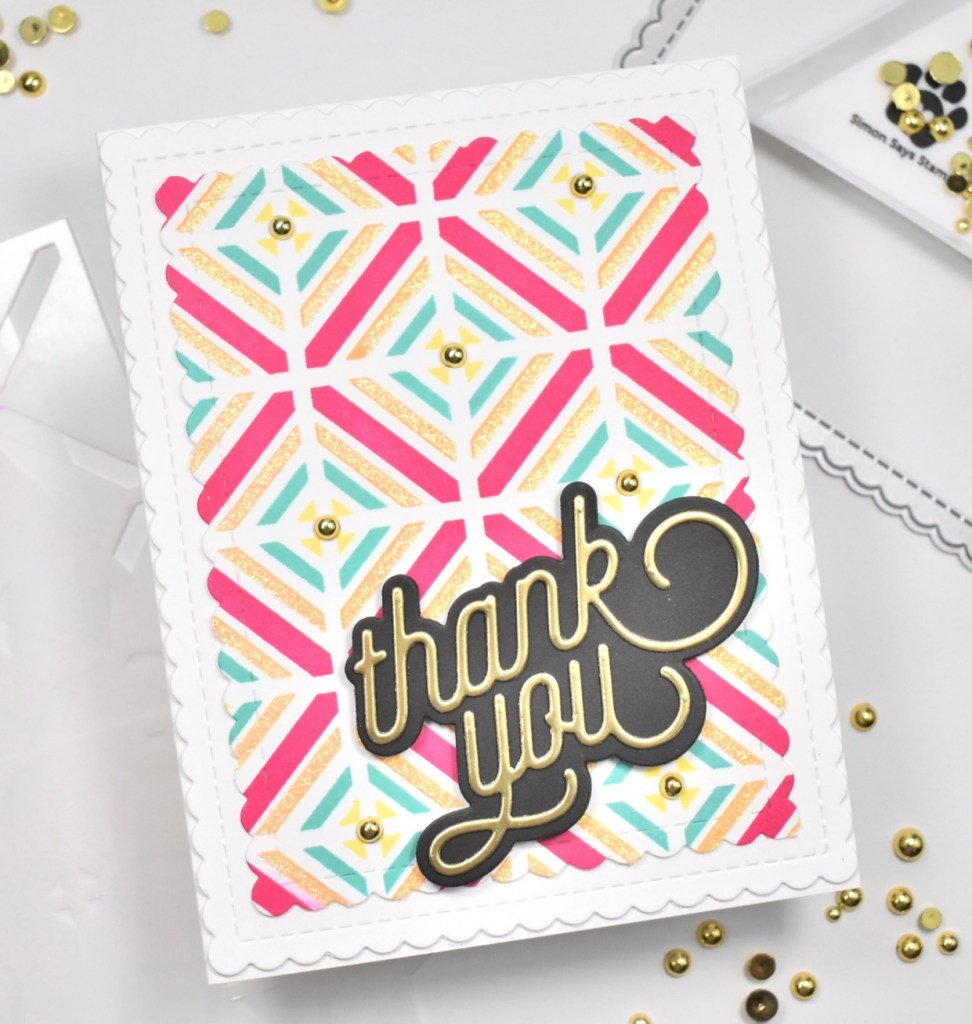
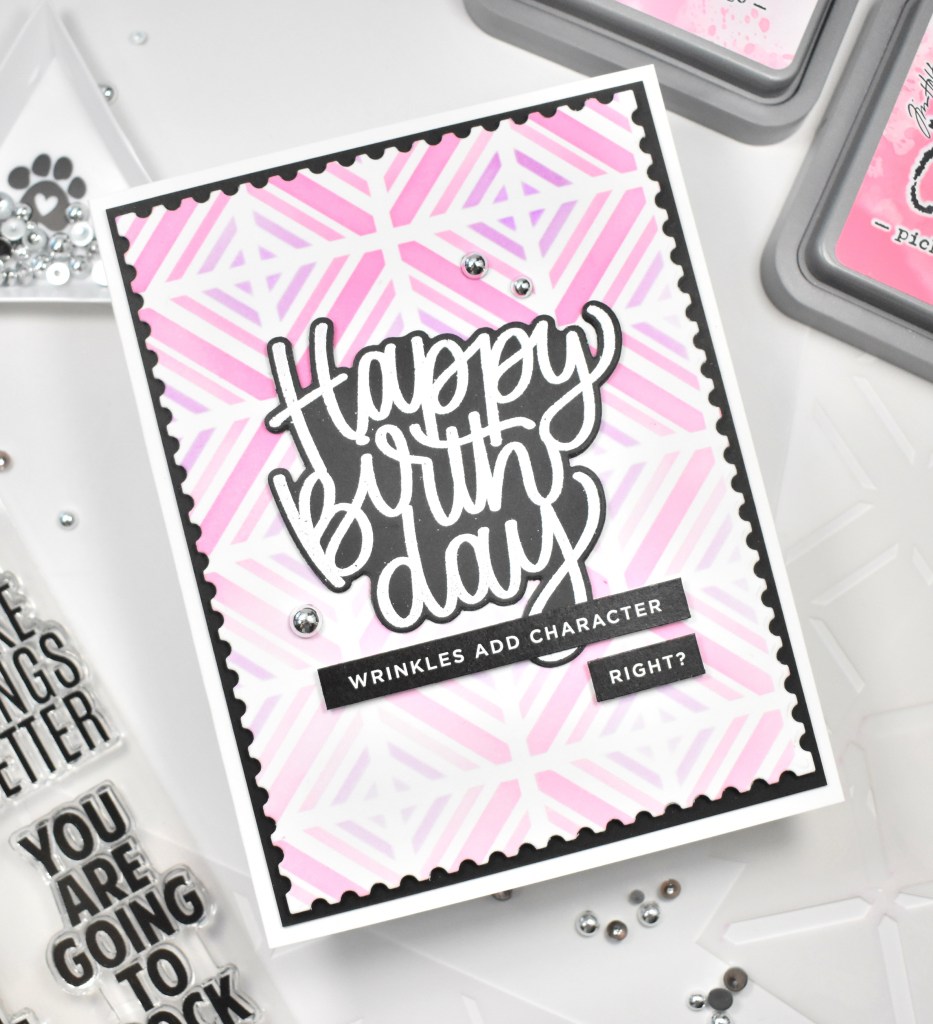
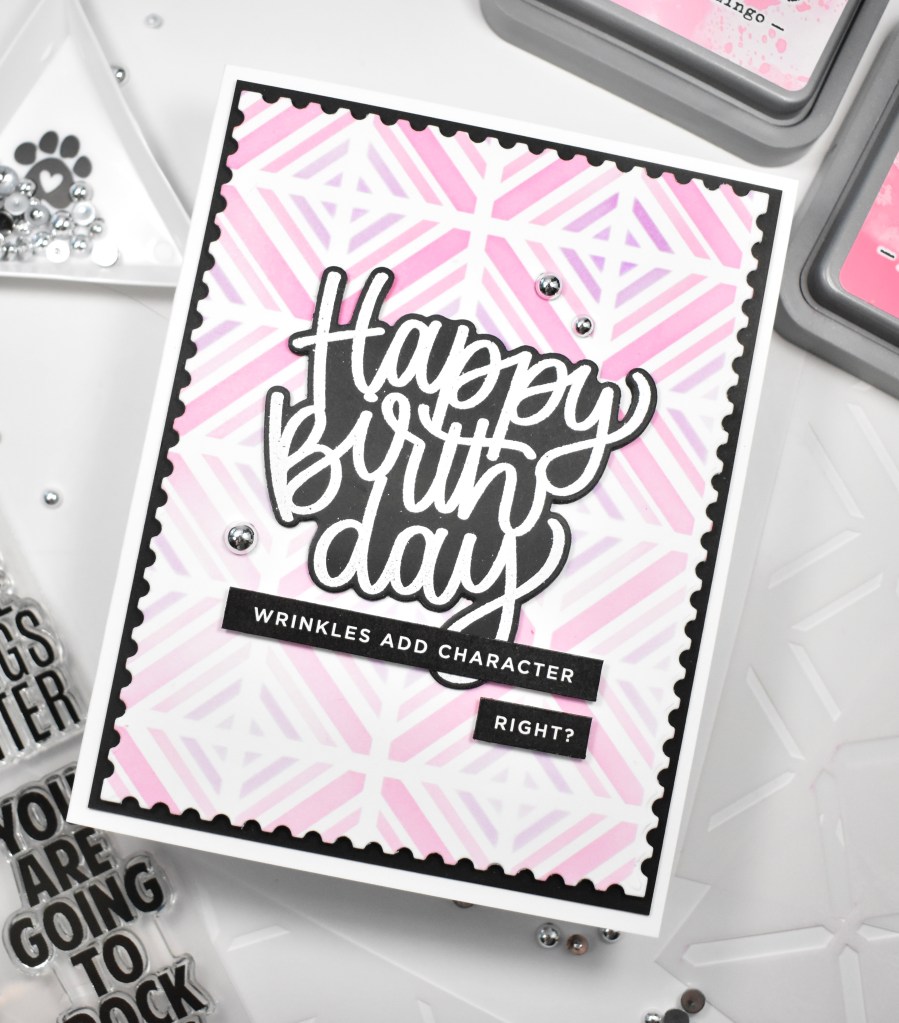
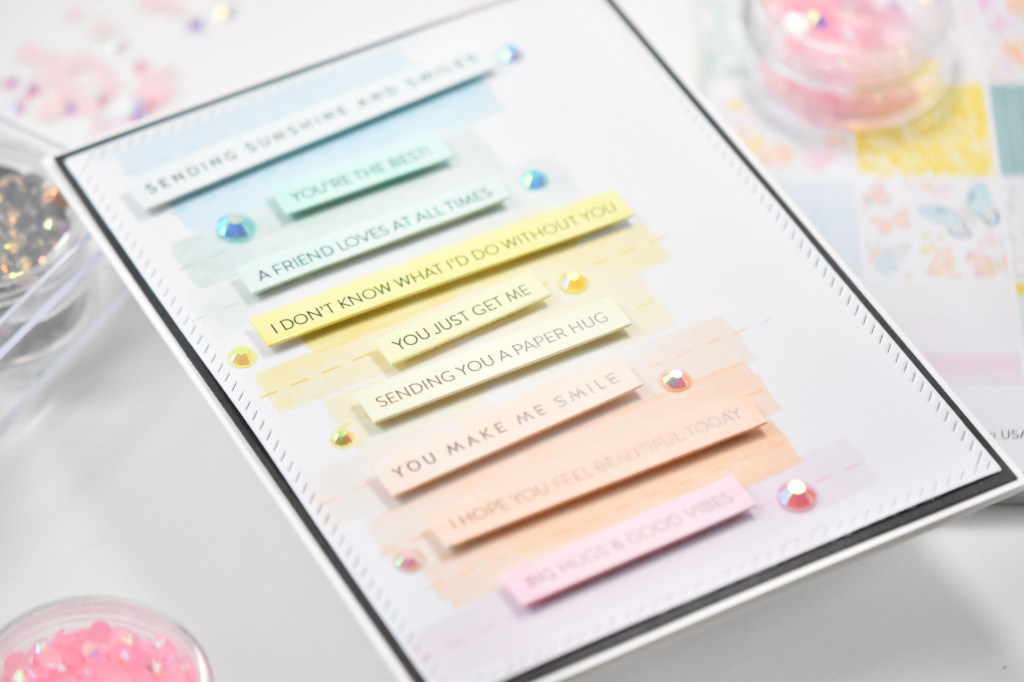
There are so many gorgeous papers in the new PinkFresh Studio Happy Heart paper pad! When I saw this paper that I chose, I saw color coordinated sentiments on the color blocks, so that’s where I went! I began by trimming the 6×6 sheet down using the PFS Diagonal Stitched Rectangles.

I then scoured through my abundance of SSS Sentiment Strips to find some that I thought would work well together. All of these came from lots of different sets, so just find some that work for you! You could even find sentiments to stamp, and those would work wonderfully as well. Once I found a few sentiments that I liked, I pulled out some Copic markers and colored over them to coordinate with the colors on the paper. If you’re interested, the markers that I used were B0000, BG10, BG11, RV10, Y00, Y02, YR000, and YR01.

I adhered the sentiments using foam tape for dimension and I also added a few PFS Jewels in coordinating colors as well. The panel was then adhered to a black panel for contrast using a SSS Dot Tape Runner, before being adhered to the card base.

See, super simple card, but I think it’s so cute! Anyhoo, I hope you like it, and I hope it inspires some creativity on your part! I have so much patterned paper, and I’m always thrilled to find a good project for some of it. Have a wonderful day and don’t forget to stay awesome!
Supply List:
- PinkFresh Studio Happy Heart 6×6 Paper
- PinkFresh Studio Diagonal Stitched Rectangles
- PinkFresh Studio Jewels Mix
- SSS Sentiment Strips
- SSS Dot Tape Runner
- Copic Markers: B0000, BG10, BG11, RV10, Y00, Y02, YR000, YR01
- Neenah Classic Crest Solar White 110lb Cardstock
- Black Cardstock
- Bearly Art Glue
- 3M Foam Tape
- Tim Holtz Scissors
- Fiskars Trimmer
- Studio Katia Embellishment Wand
- Gemini Jr.
* Affiliate links used at no cost to you. Thanks so much for your support!
- Simon Says Stamp Grateful Heart

- Simon Says Stamp Braided Greetings

- Together By Design Color Cube Floral

- Simon Says Stamp Cute Duckling

- Simon Says Stamp Watercolor Wild Rose