LDRS Poinsettia Joy

Hello Lovelies and welcome back! Thanks for stopping by today to check out my project featuring these gorgeous Layered Poinsettia dies from LDRS. I’ve had so much fun with these! Let’s get right to the details, shall we?
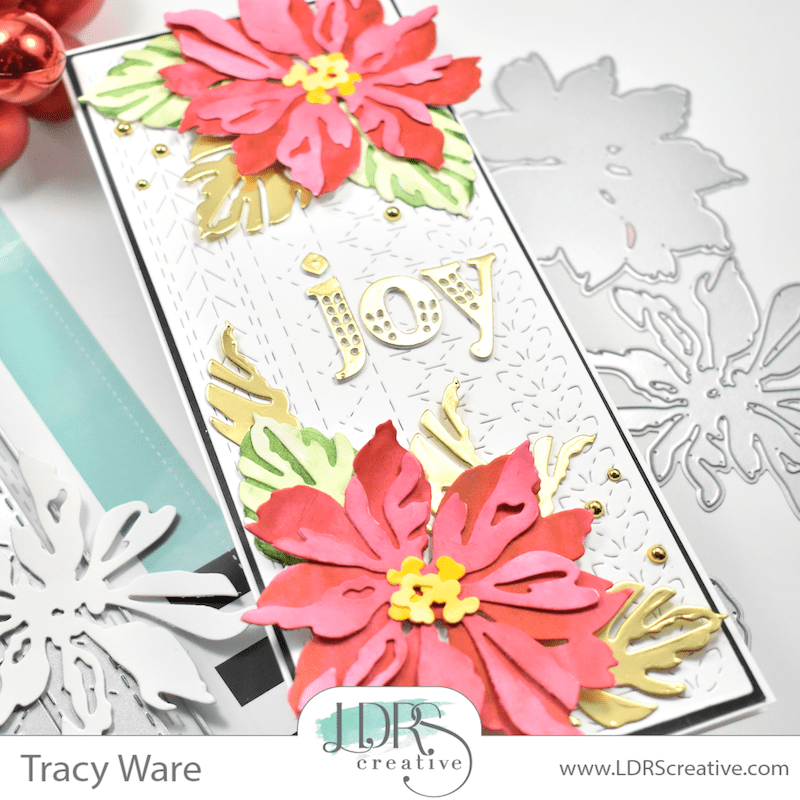
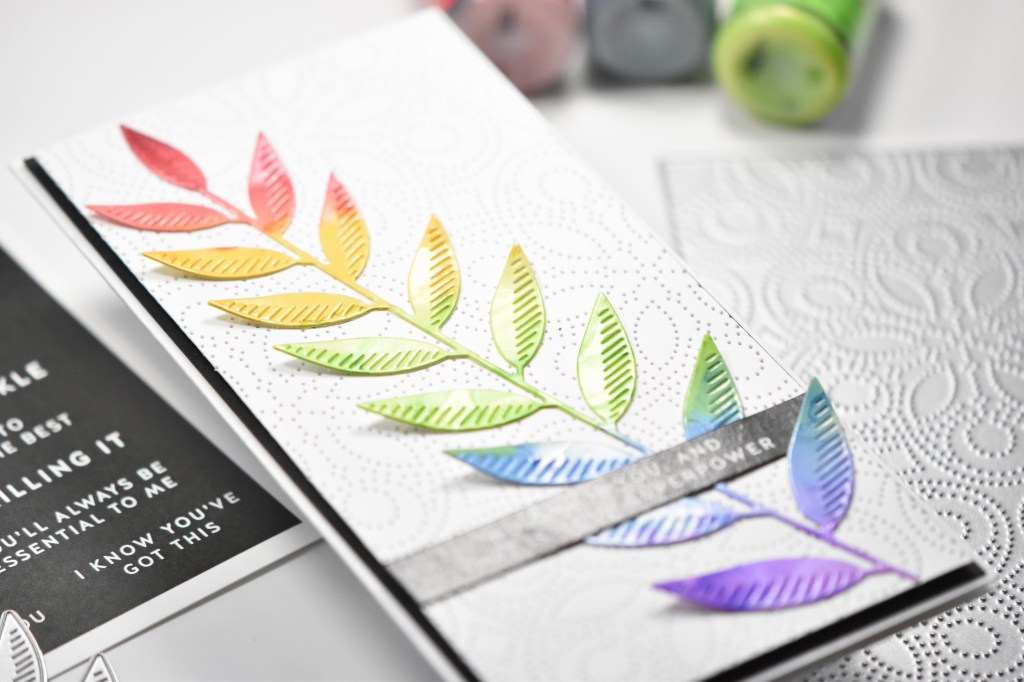
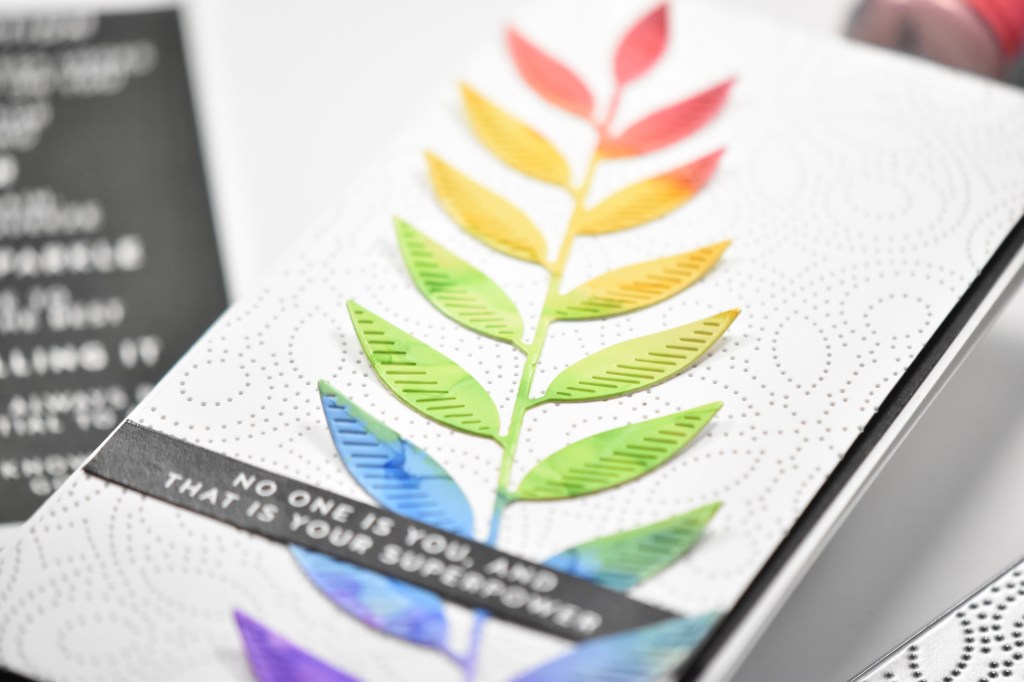
I began my project by die cutting the LDRS Layered Poinsettia dies a couple of times from watercolor paper. I pulled out my watercolors and a water brush and added the color. To do this, I saturated the flowers with water and just dropped in the color, adding more to achieve the darker colors.

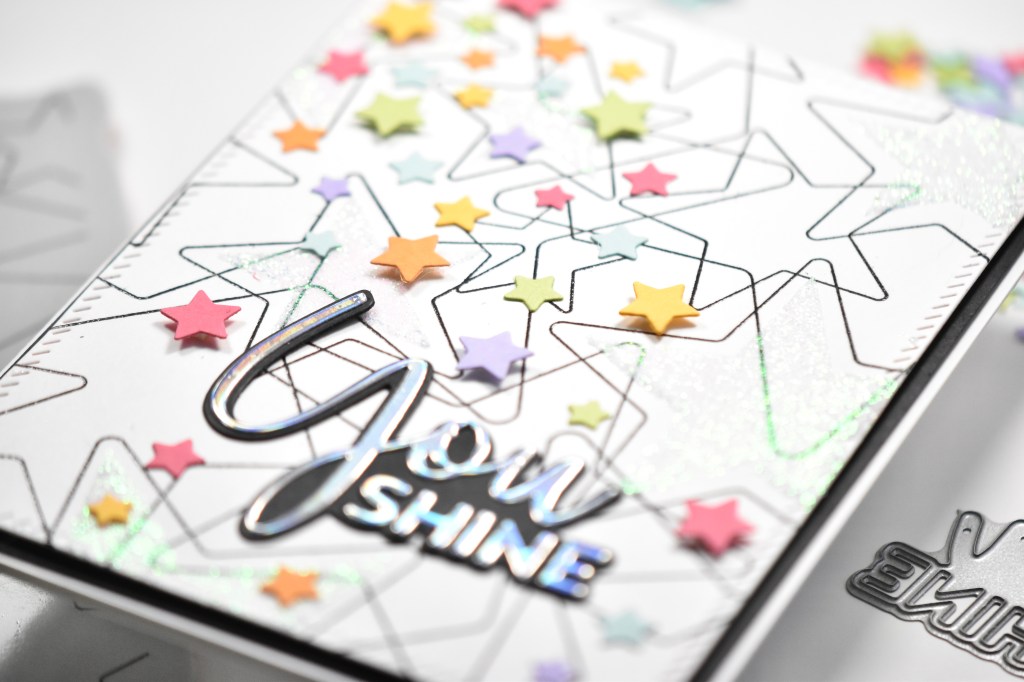
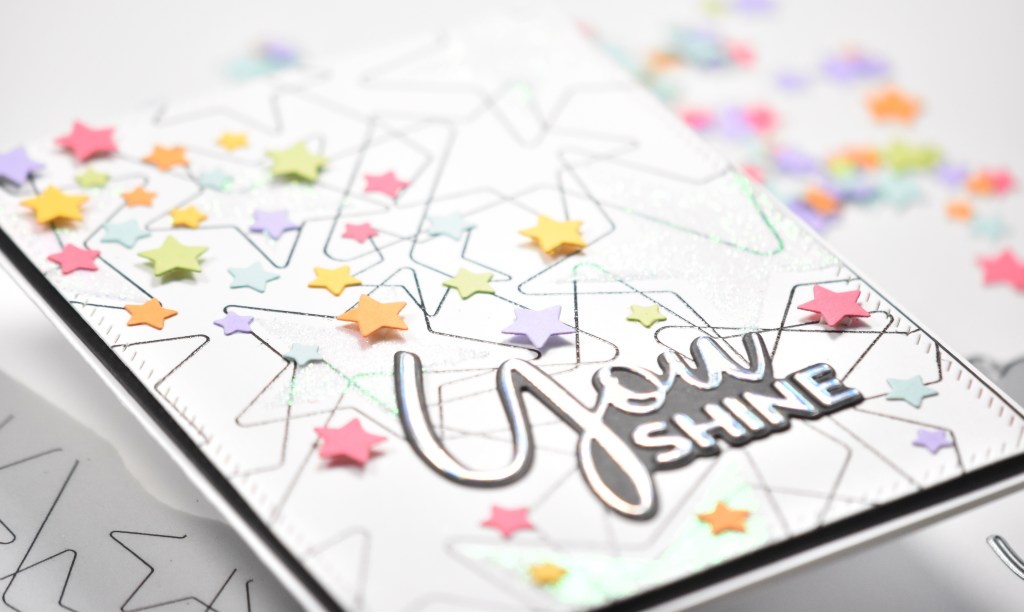
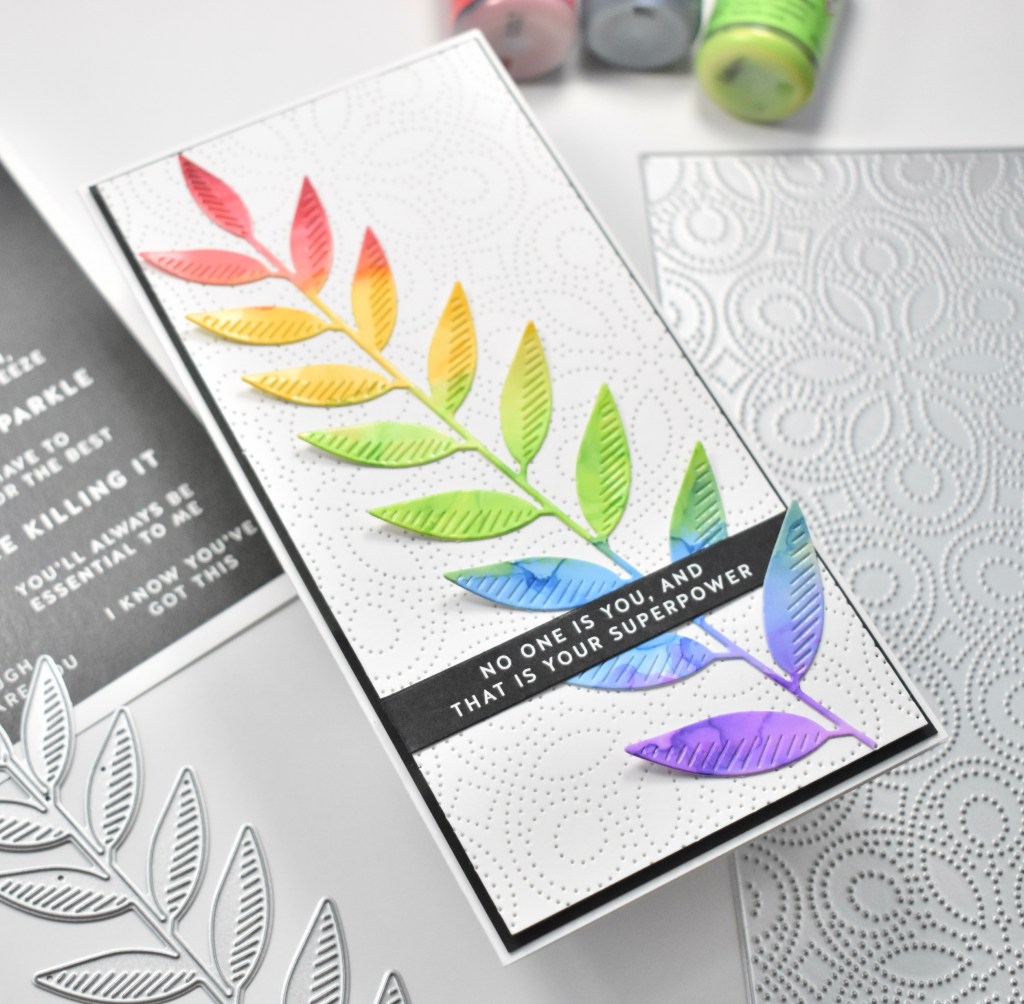
Once I was finished with those, I set them aside to dry while I worked on the rest of the card. For the background panel, I used the LDRS Background Stitches Slimline 1 dies. I cut a slimline panel of Neenah Classic Crest 110lb cardstock and taped the dies in place before running it through the die cutting machine. Look at all that gorgeous texture and detail!

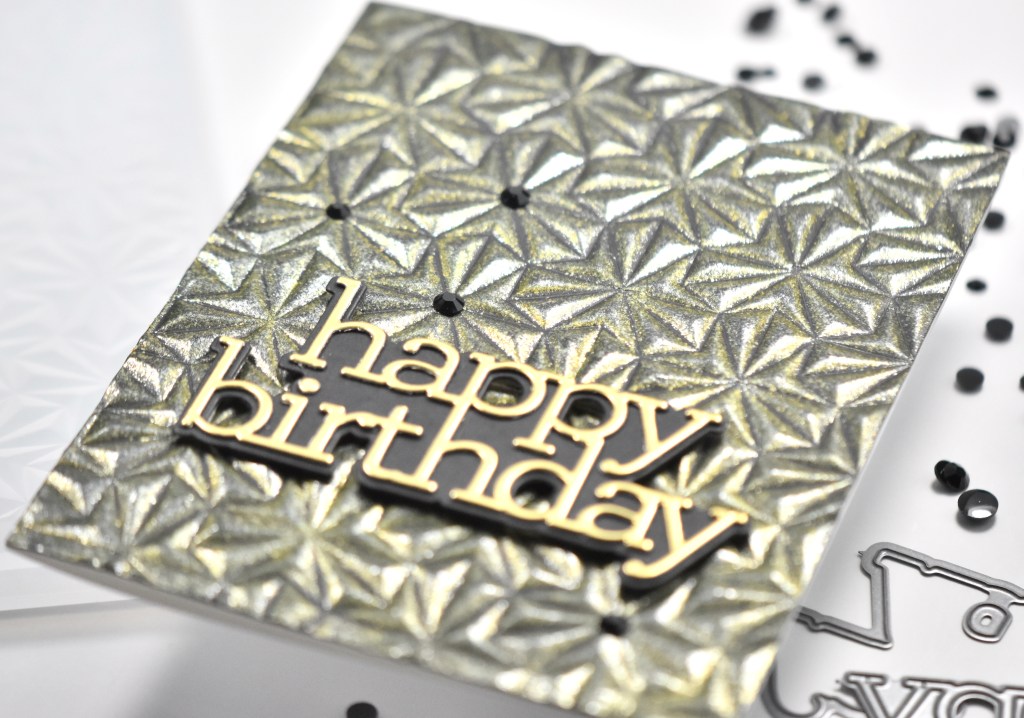
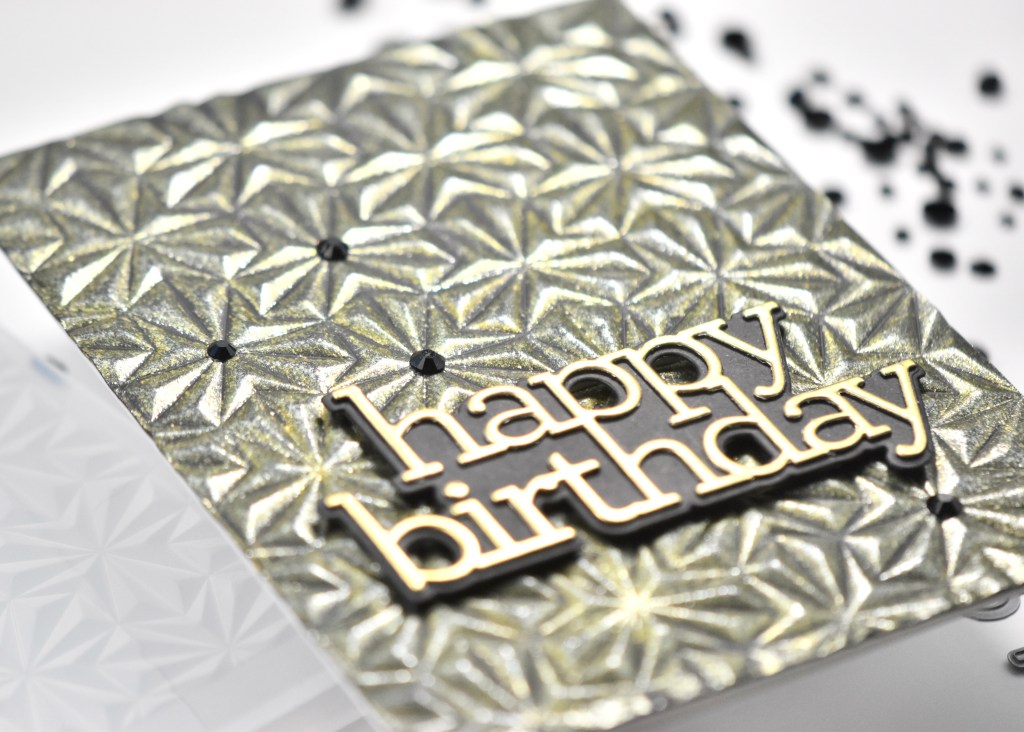
While I was die cutting, I went ahead and cut the joy sentiment once from mirror gold cardstock using the LDRS Chloe Alpha Lowercase. I also cut it another time from Neenah 110lb, and adhered all of those pieces together with liquid glue for dimension. I die cut some of the poinsettia leaves from this same mirror gold cardstock, because it would tie the gold elements together and make for a beautiful addition.
I assembled my poinsettias and glued my watercolor leaves and the gold leaves directly to the stitched panel. The poinsettias were then added using foam tape. I positioned the sentiment between the flowers and glued that in place as well.

I then added some PinkFresh Studio Gold Metallic Pearls before adhering the panel to a black cardstock panel, and then to the card base, which is Neenah 110lb.
That does it for this project! I hope you enjoyed it and I hope it inspires you to get crafty! I love these layered dies so much, and I hope you’ll check them out! Have a wonderful day and don’t forget to stay awesome!
Supply List:
- LDRS Layered Poinsettia Dies
- LDRS Background Stitches Slimline 1 Dies
- LDRS Chloe Alpha Lowercase
- Watercolor Paper
- Neenah Classic Crest Solar White 110lb Cardstock
- Black Cardstock
- Mirror Gold Cardstock
- Mission Gold Watercolors
- PinkFresh Studio Gold Metallic Pearls
- Bearly Art Glue
- Water Brush
- 3M Foam Tape
- Gemini Jr.
* Affiliate links used at no cost to you. Thank you so much for your support!
- Spellbinders Trailside Birthday Raccoon

- Simon Says Stamp Grateful Heart

- Simon Says Stamp Braided Greetings

- Together By Design Color Cube Floral

- Simon Says Stamp Cute Duckling