Simon Says Stamp You Shine Fading Hearts

Hello there crafty friends! Hope you are doing well and enjoying your day! I’m seriously enjoying this new Fading Hearts Stencil from the latest SSS release, Rainbows! I’ve had so much fun using my pastes and gels with this one! So, let’s hop right into today’s project!

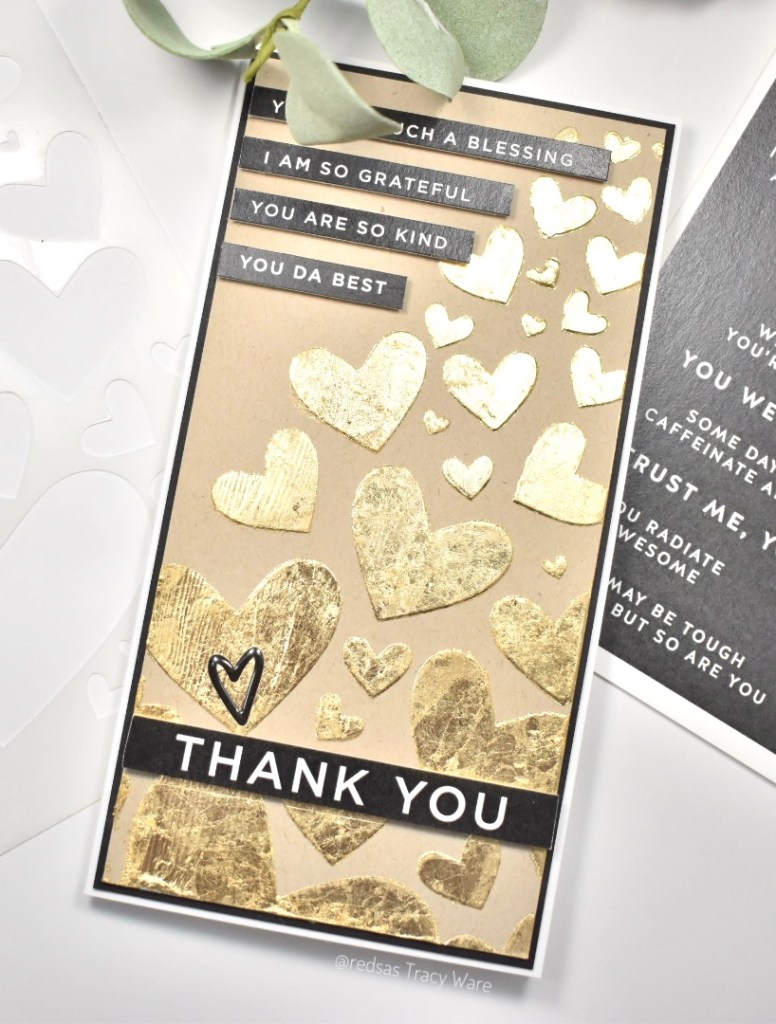
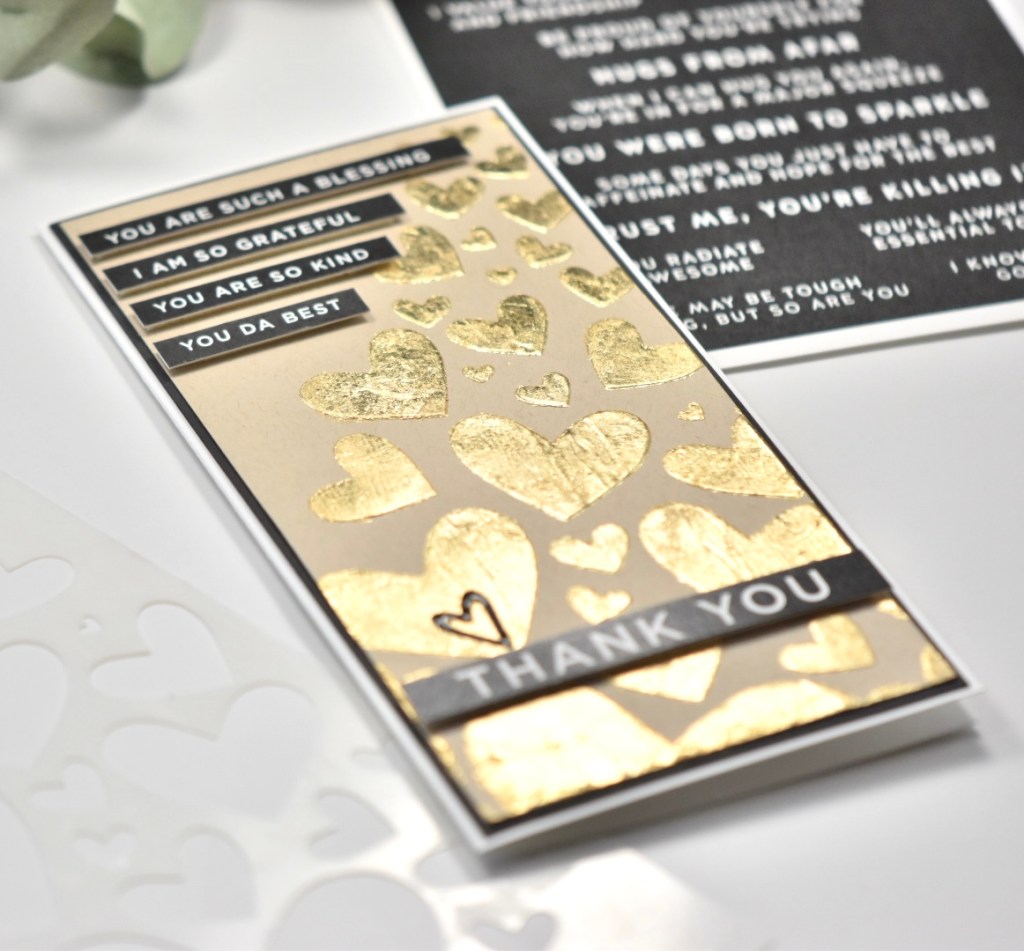
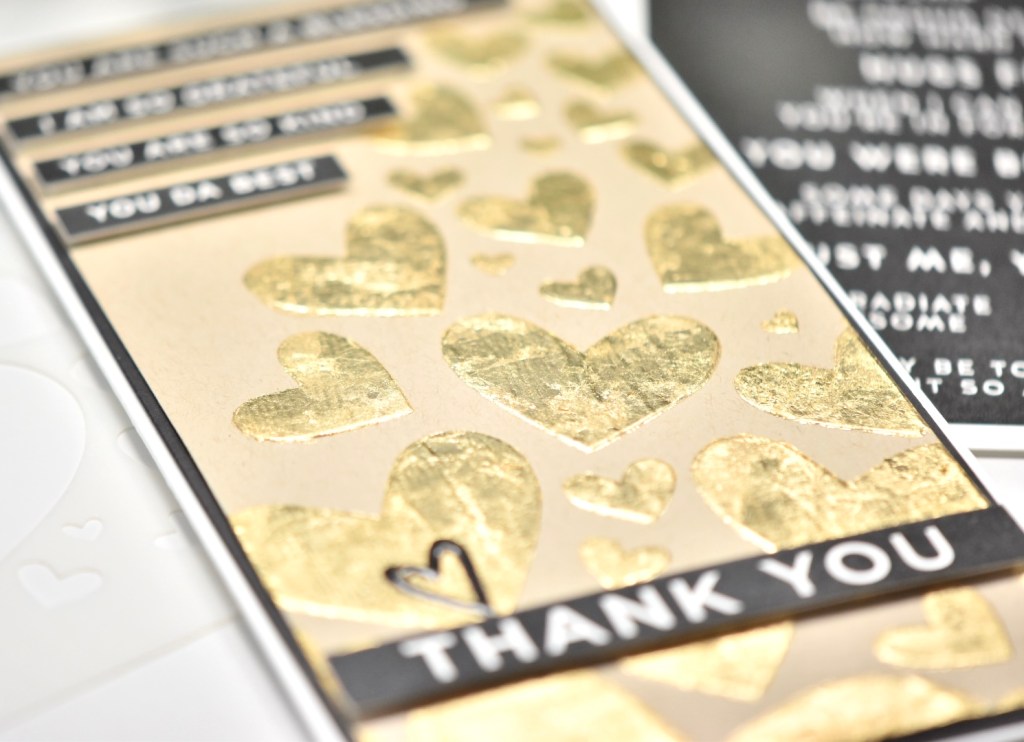
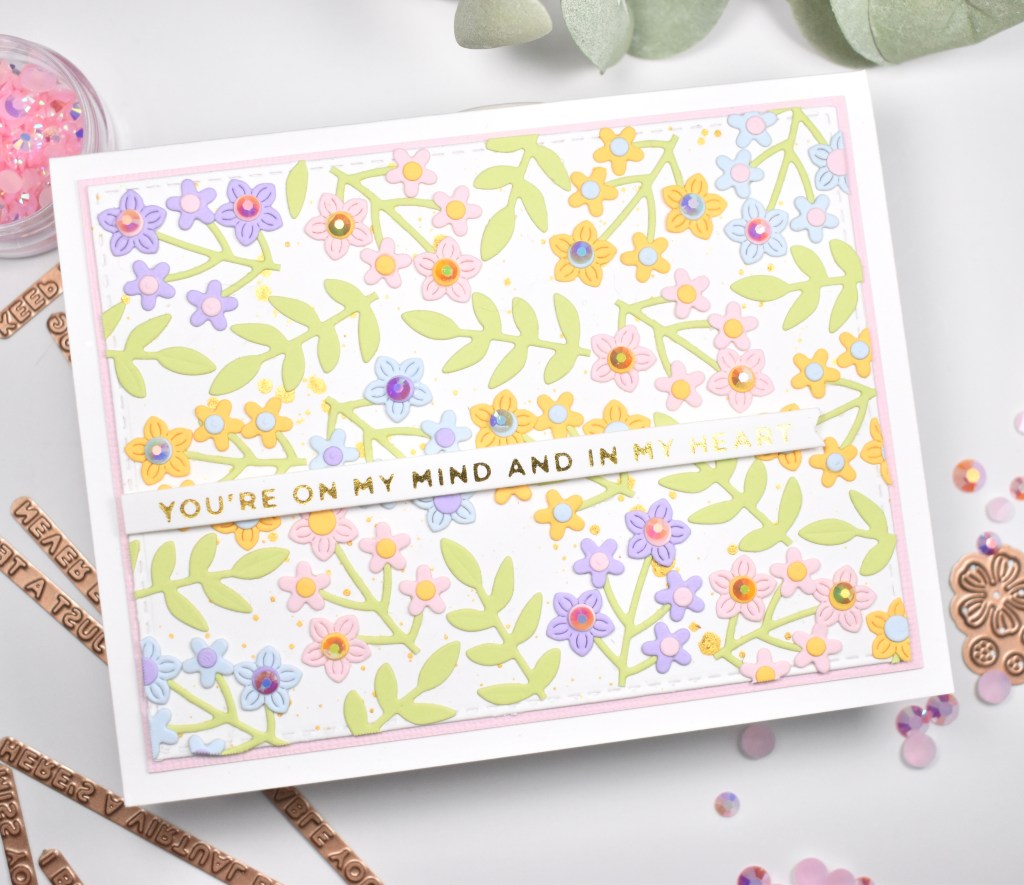
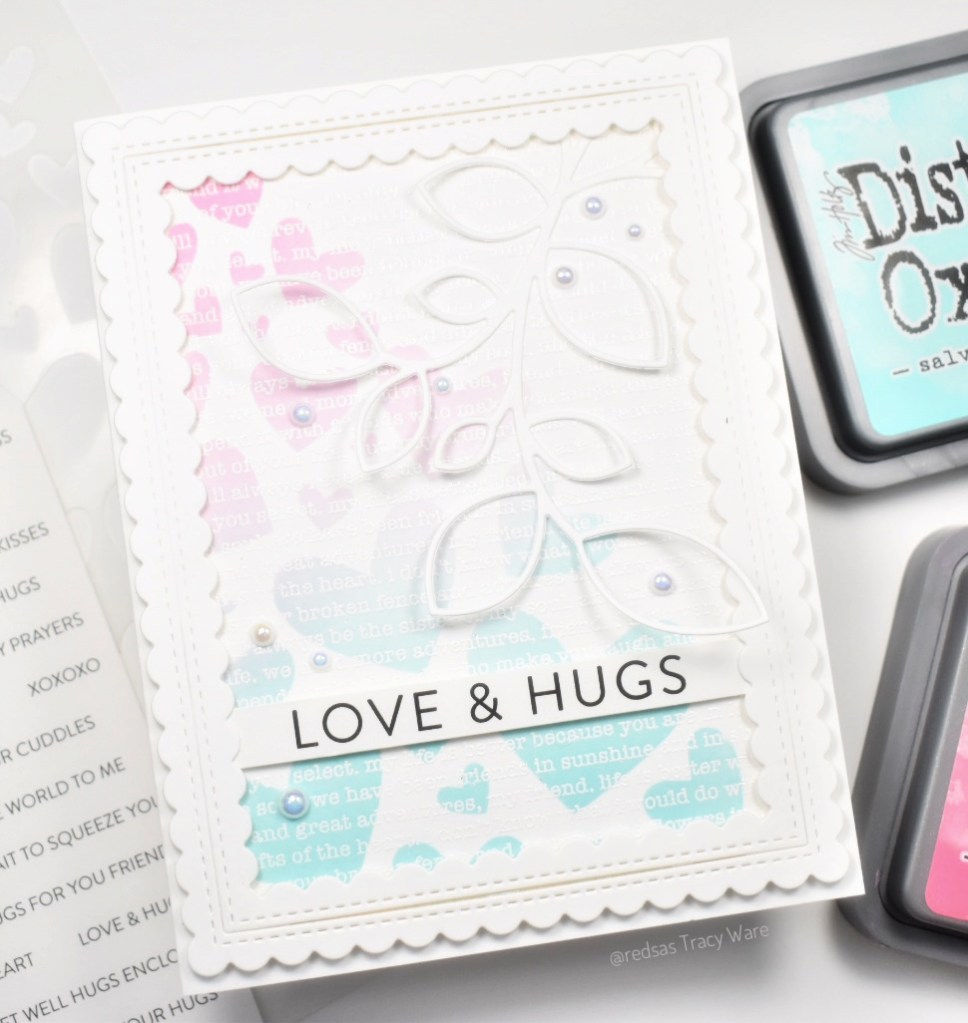
To begin, I cut a slimline panel of Neenah Classic Crest 110lb cardstock and adhered my stencil to it using masking tape. I then got to town ink blending over those hearts using Distress Oxide Picked Raspberry, Fossilized Amber, Twisted Citron, Peacock Feathers and Seedless Preserves. I think this combination of colors makes a super pretty rainbow! Anyhoo, moving on, I spread some iridescent Gina K Glitz Glitter Gel over my ink blended hearts and set that aside to dry. In hindsight, I should have let those inks dry before applying the gel, but live and learn, ya know!
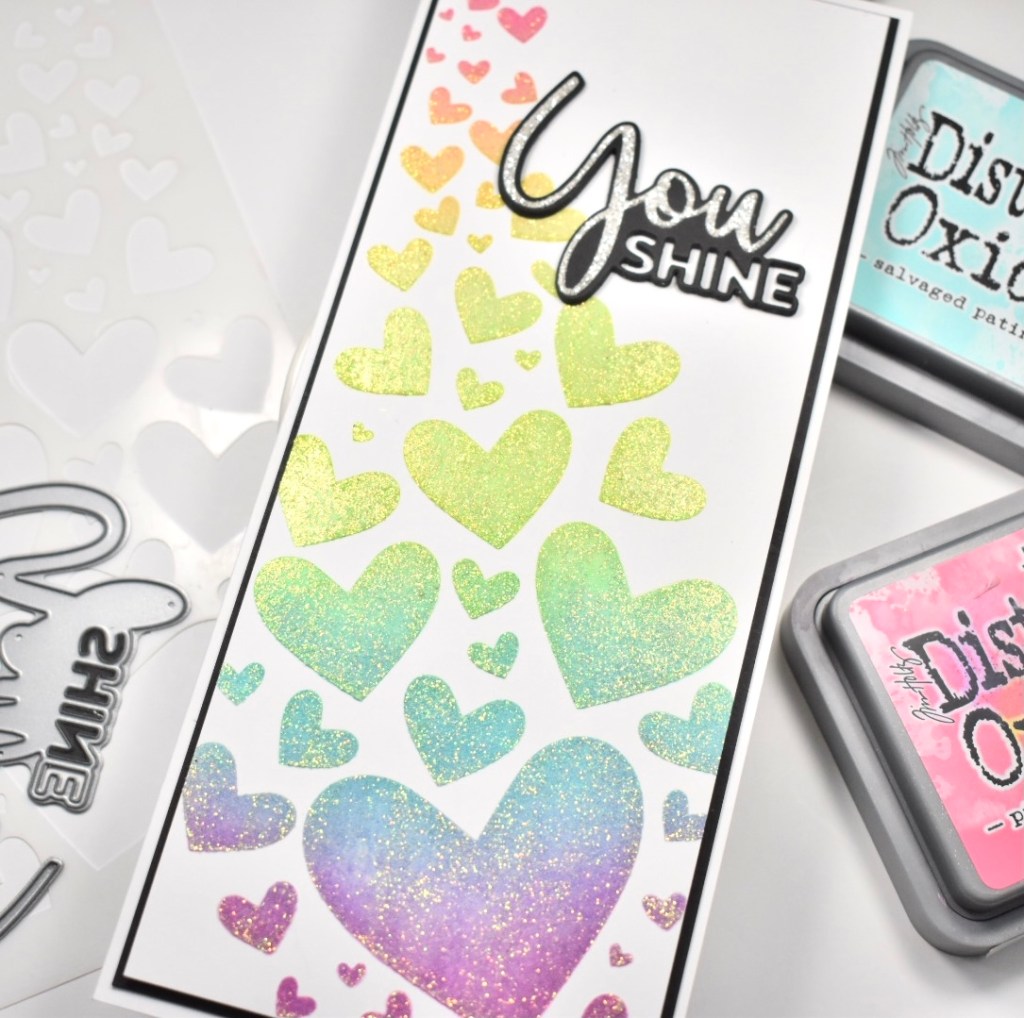
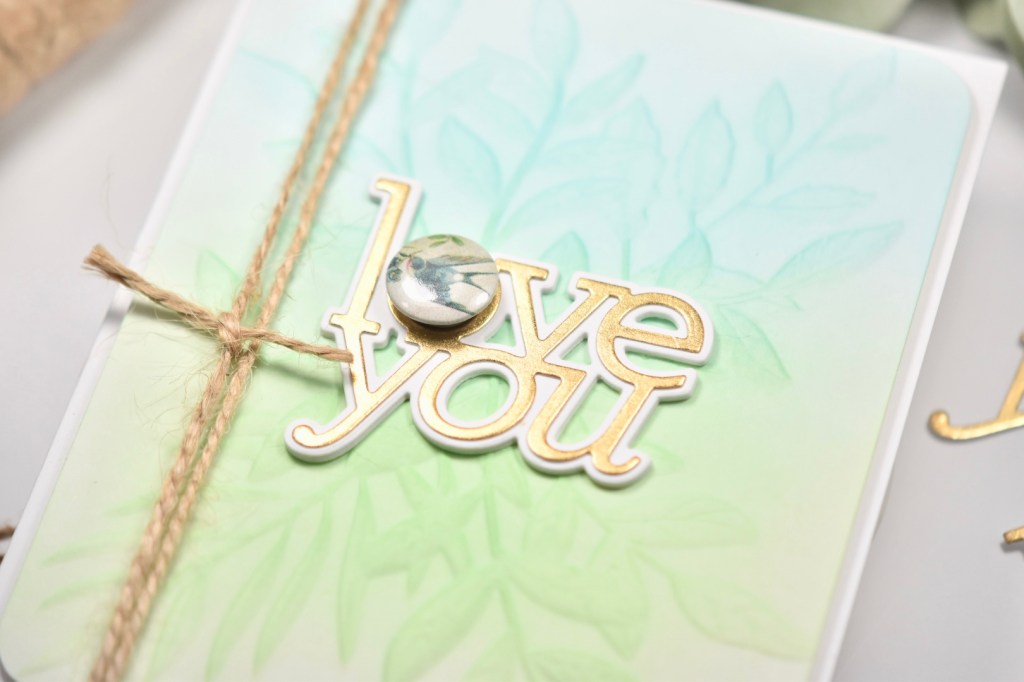
While that was drying, I worked on my sentiment. I opted for the SSS You Shine die cut, because my hearts are glittery, shiny, sparkly and it just seemed fitting! I die cut the shadow portion of the sentiment three times from black cardstock, and die cut the you portion once from glitter cardstock and adhered all of those together using Craft Tacky Glue.

I glued my sentiment directly to my heart panel, and adhered that to a black panel using double-sided tape. That was then taped to my card, which is also Neenah 110lb, using 3M Foam Tape.

There you have it! A super simple, yet beautiful slimline card! I hope you’ll stop by and check out the entire Rainbows release! Let me know your favorite products in the comments! Have a wonderful day, and don’t forget to stay awesome!
Supply List:
- SSS Fading Hearts Stencil
- SSS You Shine Die
- Distress Oxide Ink: Picked Raspberry, Fossilized Amber, Twisted Citron, Peacock Feathers, Seedless Preserves
- Neenah Classic Crest 110lb Cardstock
- Gina K Glitz Glitter Gel – Iridescent
- Black Cardstock
- Glitter Cardstock
- Craft Tacky Glue
- 3M Foam Tape
- Double-Sided Tape
- Masking Tape
- Blender Brushes
- Spatula
- Gemini Jr.
*Affiliate links used at no cost to you. Thank you so much for your support!
- Simon Says Stamp Grateful Heart

- Simon Says Stamp Braided Greetings

- Together By Design Color Cube Floral

- Simon Says Stamp Cute Duckling

- Simon Says Stamp Watercolor Wild Rose