
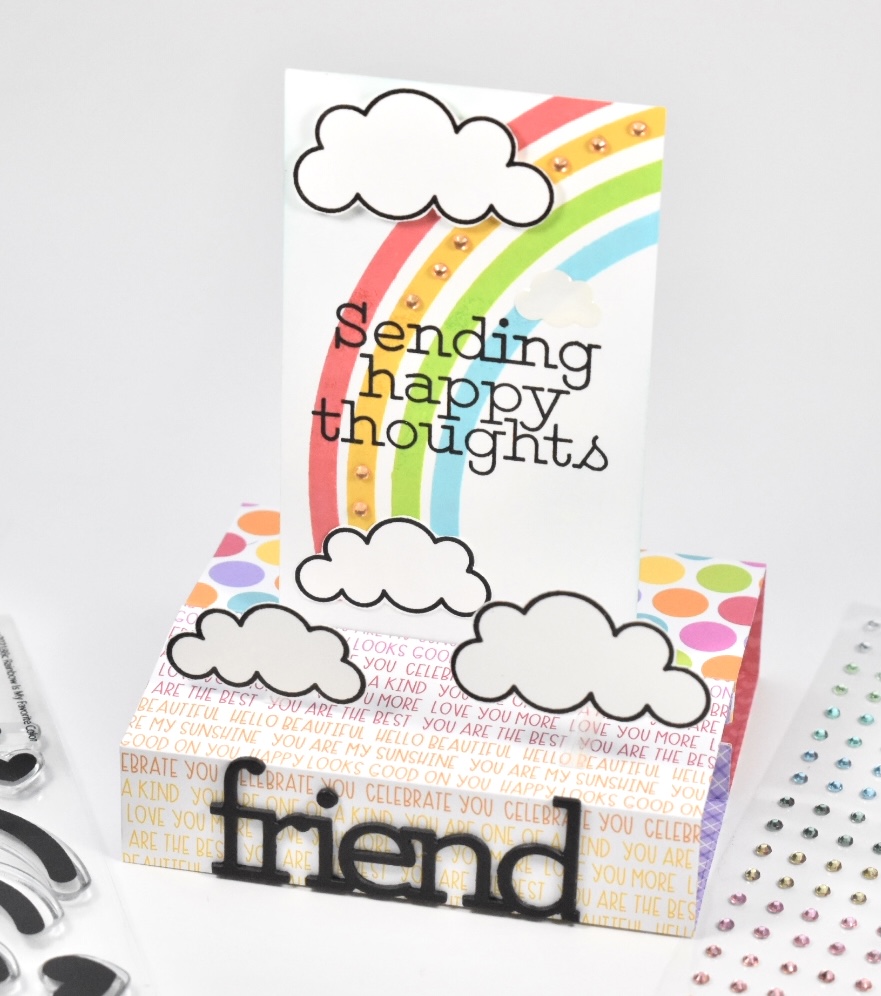
Hello, hello crafty friends! Hope you are doing well! Thank you for stopping by! Simon Says Stamp’s new Rainbows release is live! Have you checked it out yet? What are your favorites? Today, I’m sharing a card that I created using the new 3D Card Die, and I think that it turned out super cute! I don’t often say that about my own cards, by the way. Anyhoo, let’s get into today’s project.
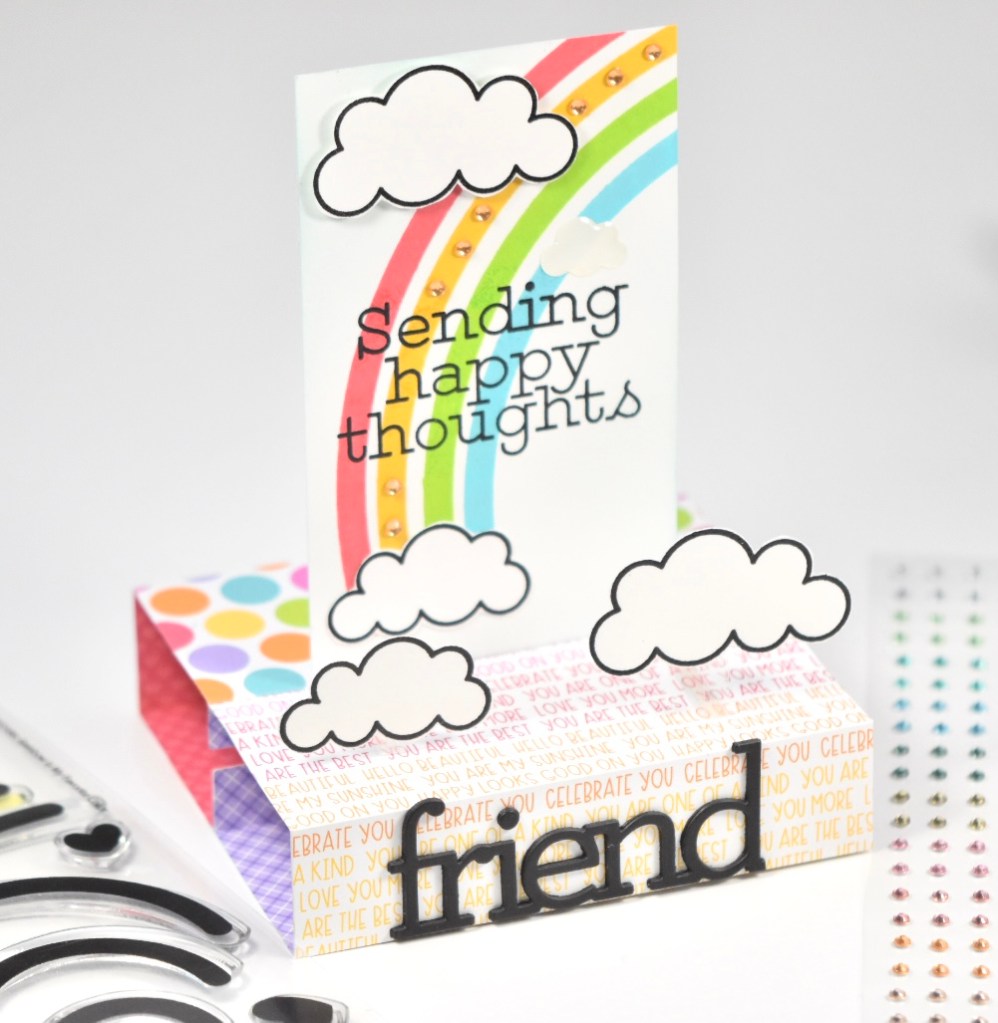
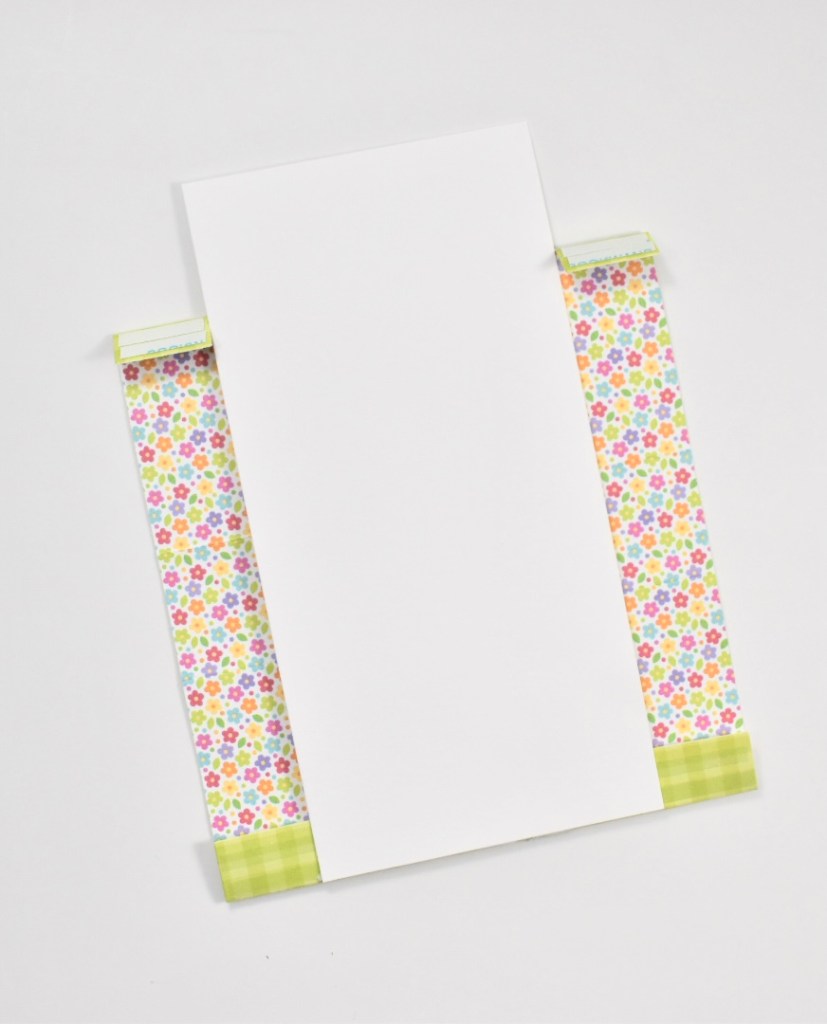
For this project, I put my Simon Says Stamp June Card Kit to work! To begin, I used the 3D Card Die to cut two pieces of the patterned paper from the Doodlebug Design Custom Rainbow 2021 that were included in the kit. For this die, you need to cut a piece of cardstock to 2 3/4″ x 5 1/2″ that will eventually slip down into the slots on the 3D card. I decorated this piece of cardstock using the rainbow strips from the SSS Rainbow is my Favorite Color stamp set, along with the included ink cubes Jellybean, Sunshine, Hot Lips and Audrey Blue. Once the panel was stamped, I lightly ink blended PinkFresh Studio Sky Blue ink over the panel. I then stamped the Sending Happy Thoughts sentiment from the SSS XL Greetings 2 using VersaFine Ink and heat embossed it using Ranger Clear Embossing Powder.
I also stamped some of the clouds from this same set in VersaFine Ink, heat embossed them using the same clear embossing powder, and fussy cut them. The top cloud is adhered with 3M Foam Tape. You have to be careful making anything on this type of card dimensional, because it could hinder the closing of the card. Hence, why this cloud was placed at the very top of the panel, with space available to tuck the closed card under it. My second cloud was adhered directly to the panel using Craft Tacky Glue. Be sure to measure an approximate area for the bottom cloud .. You don’t want to glue it too low, or you won’t be able to see it, as the very bottom of the panel will be inside the “box.” I’m going to include some process pics to help visualize the assembly of this card. You can also check out this video from SSS that is super helpful, https://www.youtube.com/watch?v=Qbe0xlfGC5I.
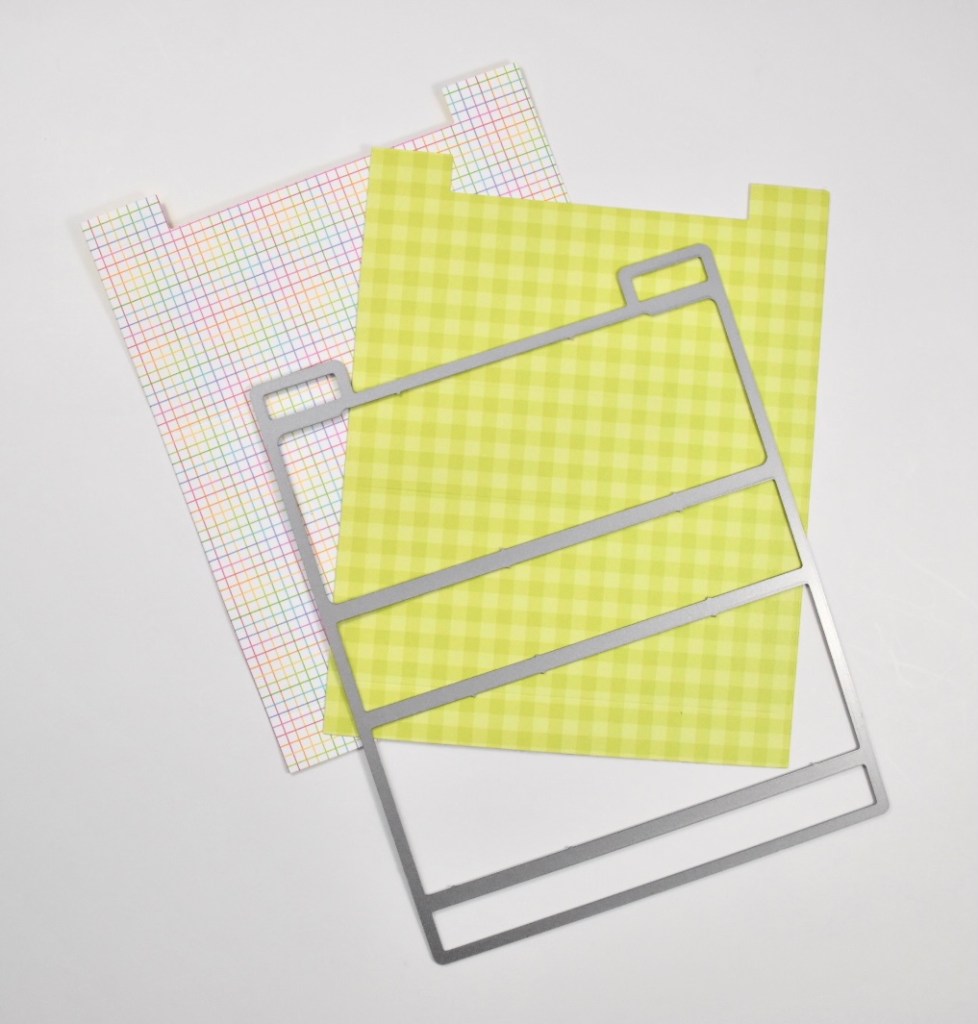
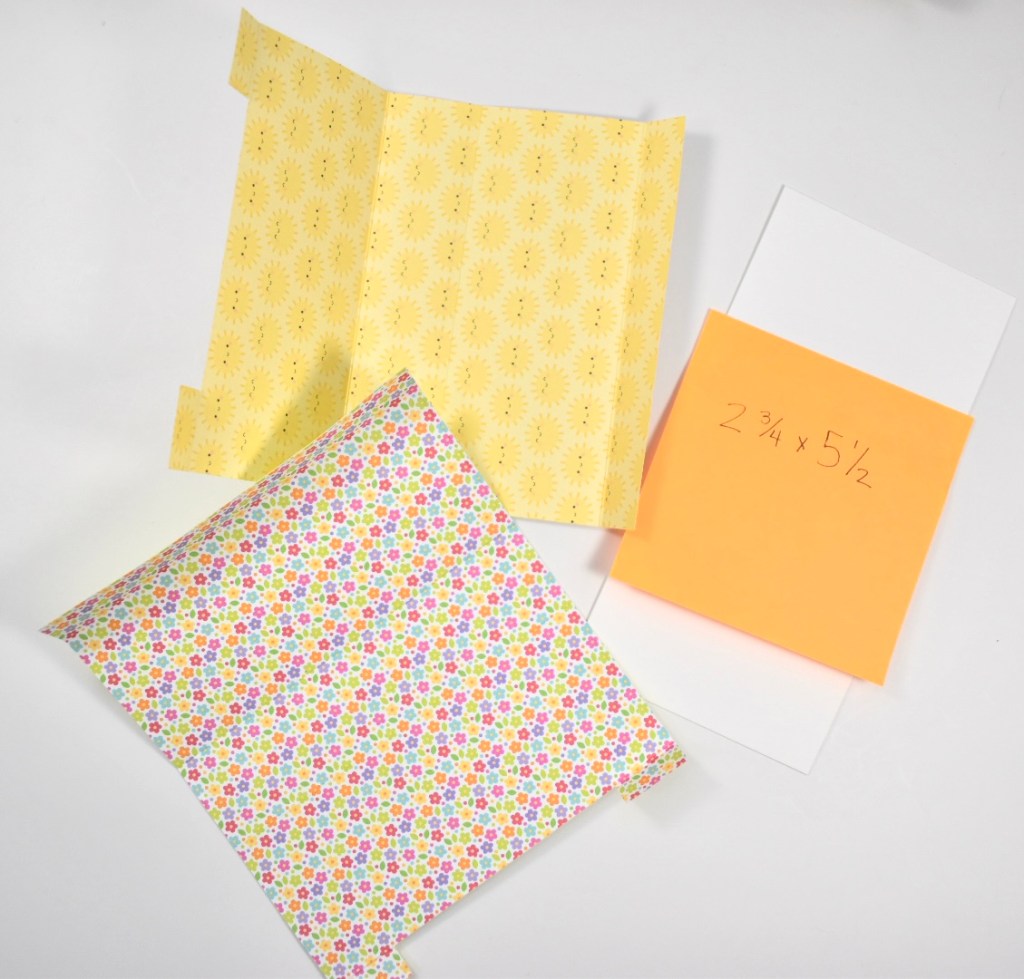
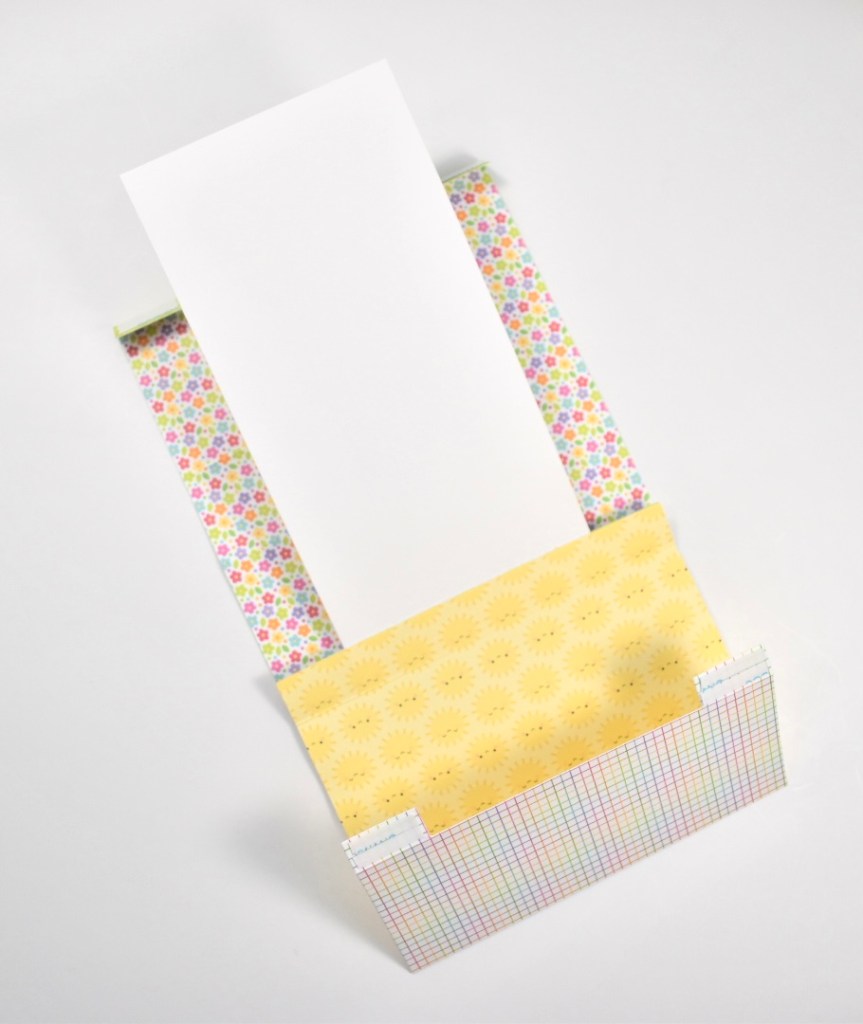
To assemble this card, fold all of the score lines that the die creates for you on the 3D Card Die. I used 1/8″ Scor-Tape to place on the flap of the smallest fold at the bottom of both panels, and on all four of the small tabs at the top. The Scor-Tape will be placed on the side that will be the OUTSIDE of your “box” so to speak. Remove the release tape on the bottom portion and fold the panel so that the decorated cardstock panel fits inside of the notched area and adhere it using that Scor Tape. Then place the other panel atop and the other side. Remove the release tape on the tabs and match those up.


Once my card was assembled, I attached some orange gems from the Memory Box Fairy Jewels, which are also include in the June Card Kit. I also attached one of the clouds from the DoodleBug Design Chasing Rainbows Shape Sprinkles. I attached the last of my fussy cut clouds to the top of the card using acetate and Scor-Tape. Using the acetate to attach these clouds makes them appear to be floating, which I kinda liked. It added an interesting element to this card.
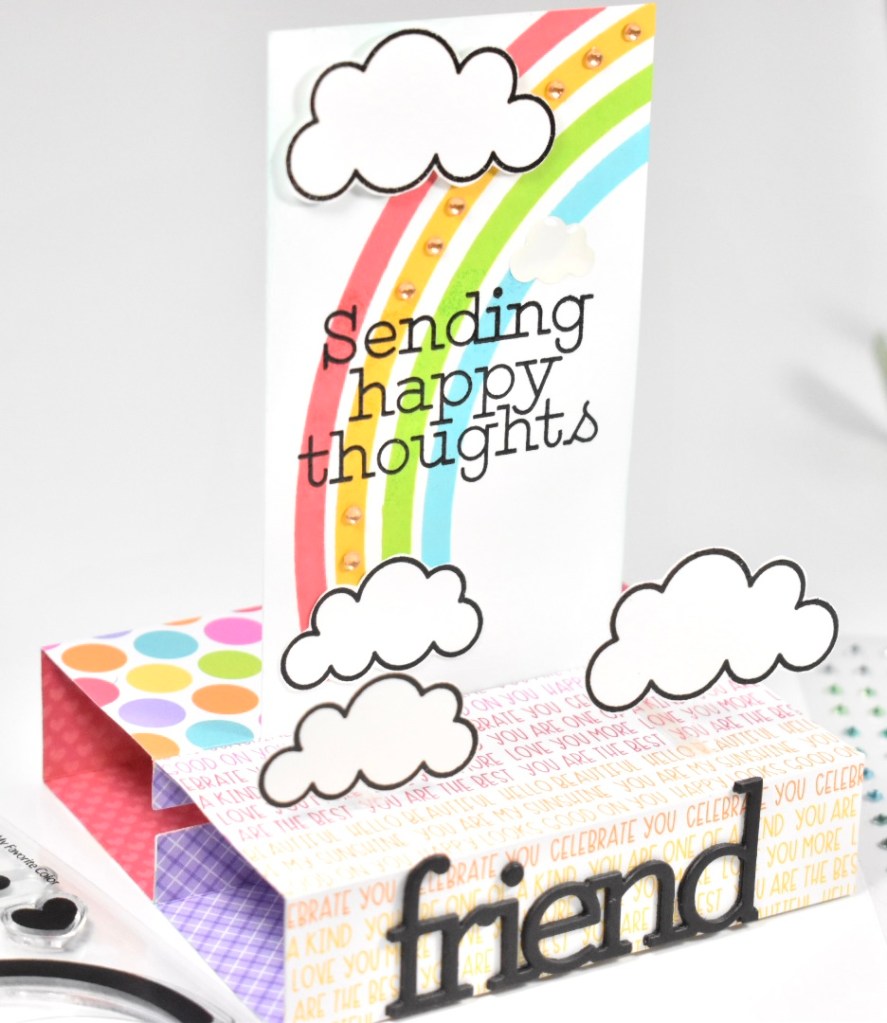
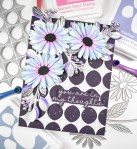
To finish up this card, I die cut the SSS Friends sentiment three times from black cardstock and adhered those together, trimmed off the “S”, and glued it to the front of the card as shown.
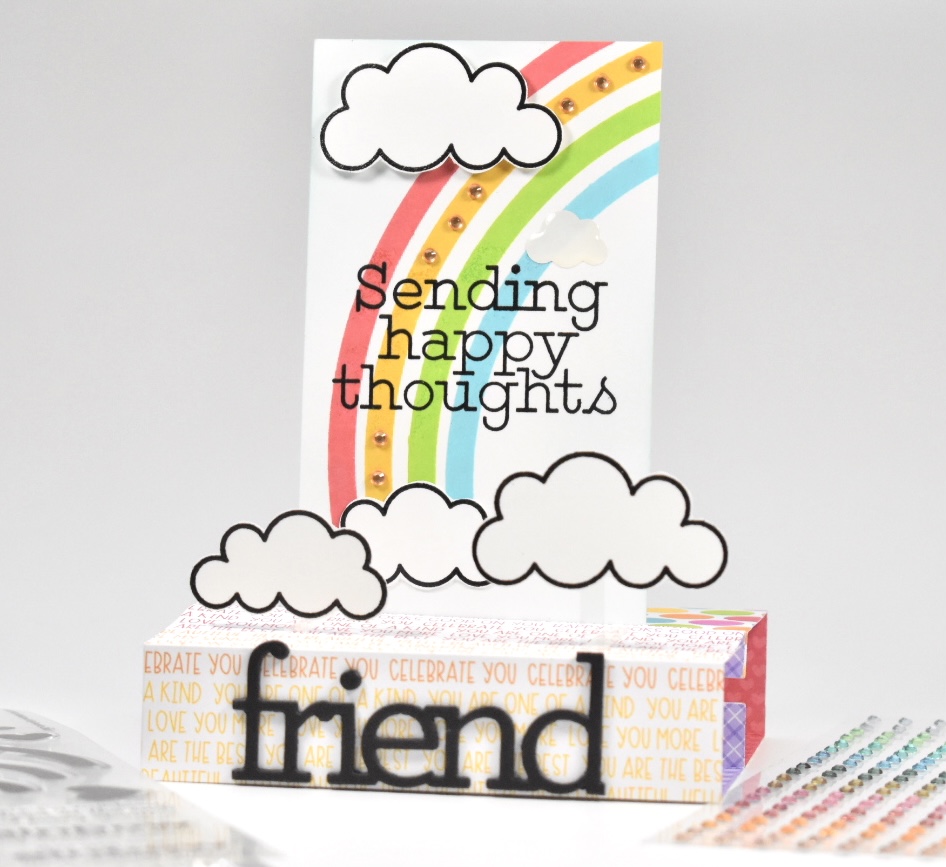
I hope you enjoyed this project, and I hope it inspires you to get crafty! I had so much fun making this card, and I love the unexpected clouds on the acetate to give it even more of a 3D feel. Don’t forget to check out the entire Rainbows release! There’s so much good stuff!
Stay awesome friends!
Supply List:
- SSS 3D Card Die
- SSS XL Greetings 2
- SSS Rainbow is my Favorite Color Stamp Set
- SSS Friends Die
- SSS Ink: Jellybean, Sunshine, Hot Lips, Audrey Blue
- Doodlebug Design Custom Rainbow 2021 6×6 Paper
- Doodlebug Design Chasing Rainbows Shape Sprinkles
- Memory Box Fairy Jewels
- PinkFresh Studio Sky Blue Ink
- VersaFine Ink
- Ranger Clear Embossing Powder
- Acetate
- Scor-Tape 1/8″
- Craft Tacky Glue
- 3M Foam Tape
- Misti
- Gemini Jr.
- Tim Holtz Scissors
*Affiliate links used at no cost to you. Thank you so much for your support!
- Simon Says Stamp Grungy Dewdrop Daisy

- Simon Says Stamp Pastel Birthday Wishes

- Simon Says Stamp Best Fish

- Simon Says Stamp Circle Thanks

- Simon Says Stamp Glowing Daisies

natashavacca
This is so cute! Love it ❤️🌈❤️🌈❤️
LikeLike
tracyware333
Thanks Natasha! These 3D cards are actually kinda fun to make!
LikeLiked by 1 person
swanlady21
So cute!
I’m still trying to get my head around how you glued the clouds & acetate to the base without us seeing any “glue”. Did you fold the acetate? It looks like it is half way along that panel.
LikeLike
tracyware333
Thank you! My apologies for a terrible explanation. It was quite hard to explain things and them make sense! Yes, I did fold the acetate into an “L” shape and glued the clouds to the top and glued the bottom to the box base. On my next 3D card, I ended up using 1/8″ Scor-Tape, which worked lovely as well. I hope that makes more sense! If not, just let me know and I’ll try to explain better. Or send me a direct message over on IG and I could probably send you some pics if you needed. Thanks again, and have a wonderful day!!
LikeLike