LDRS Grateful Heart

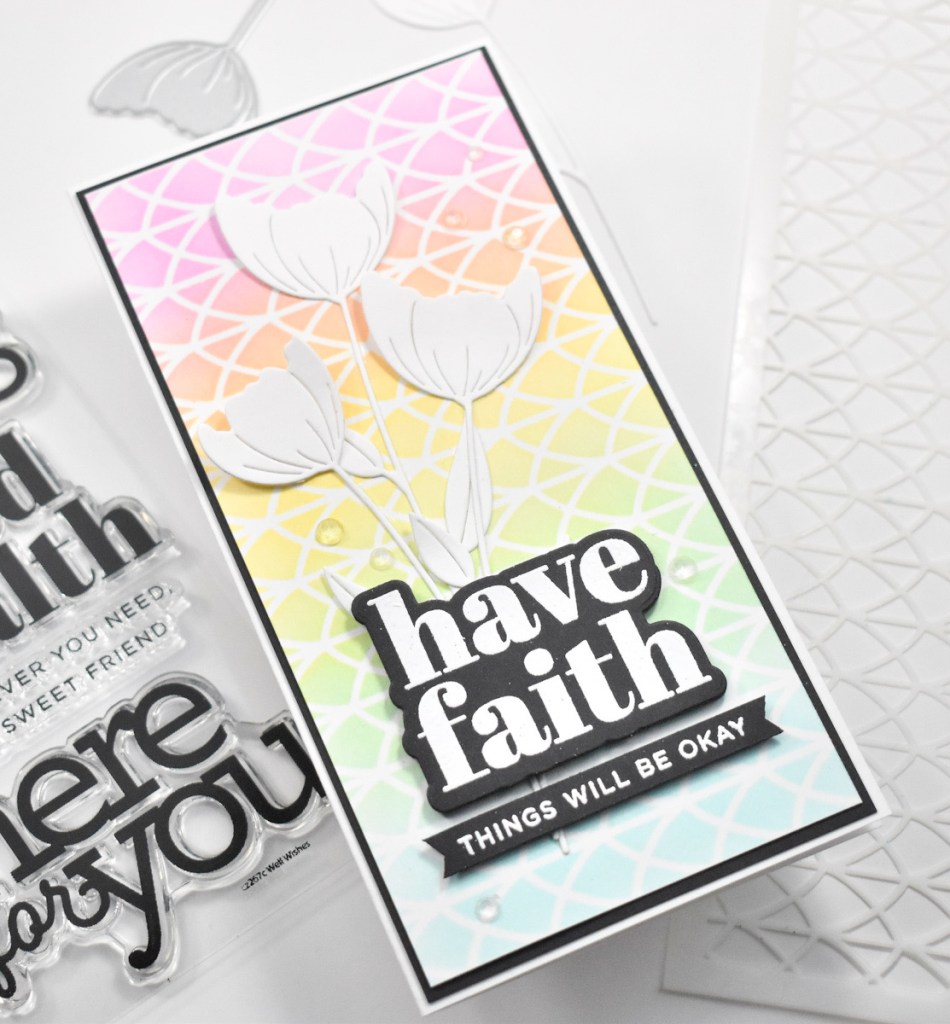
Hello Crafty Friends and thanks for joining me! Today’s project is featuring a couple of new products from the latest LDRS October Collection, the Modern Trellis Coverplate and the Thankful Flowers Slimline set. Let’s get right into the details!

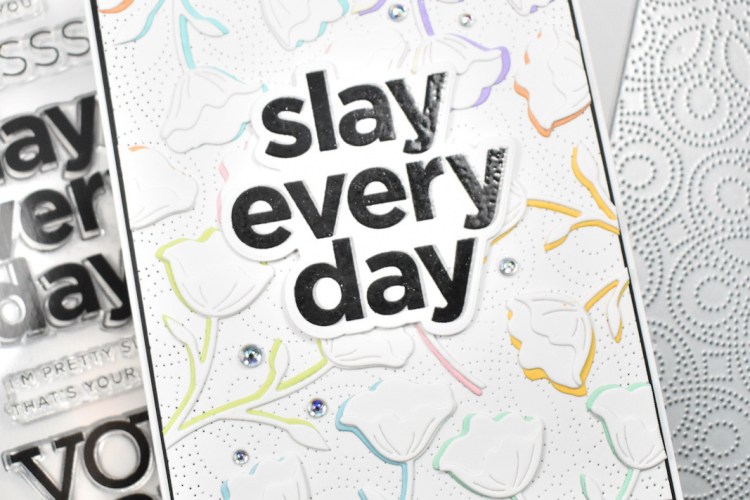
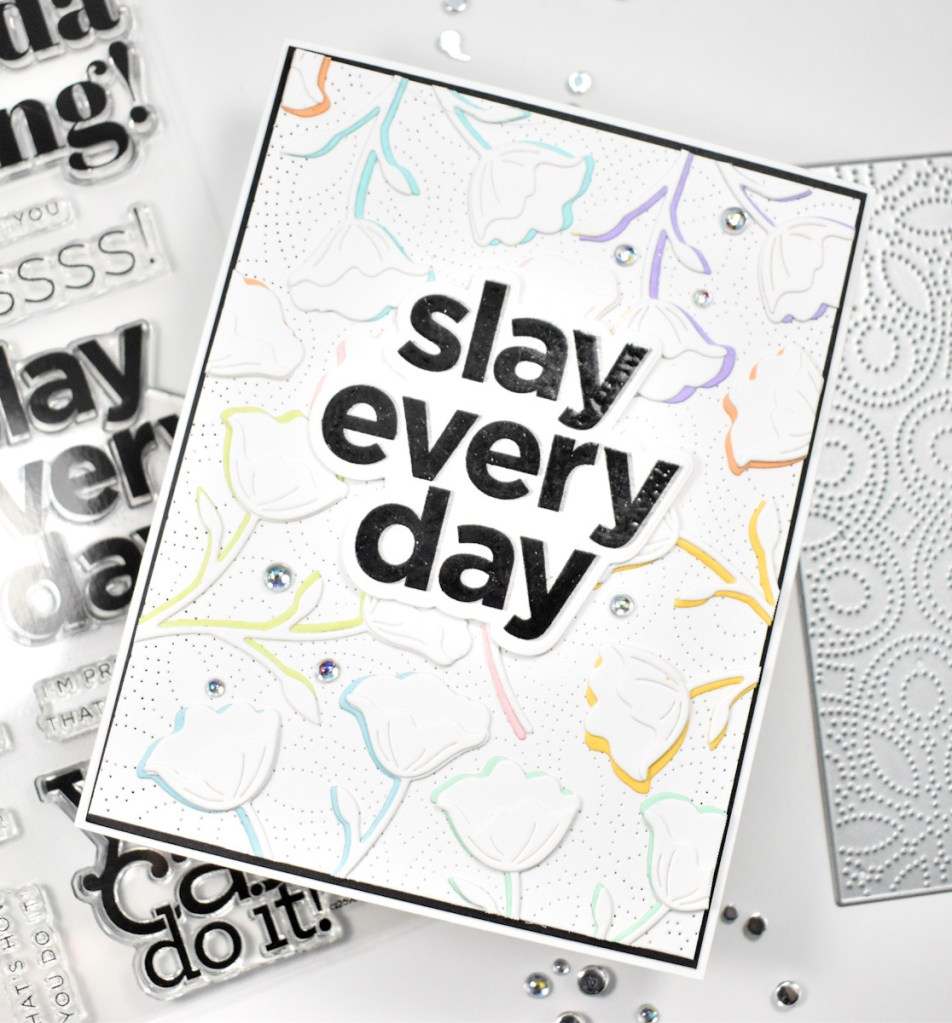
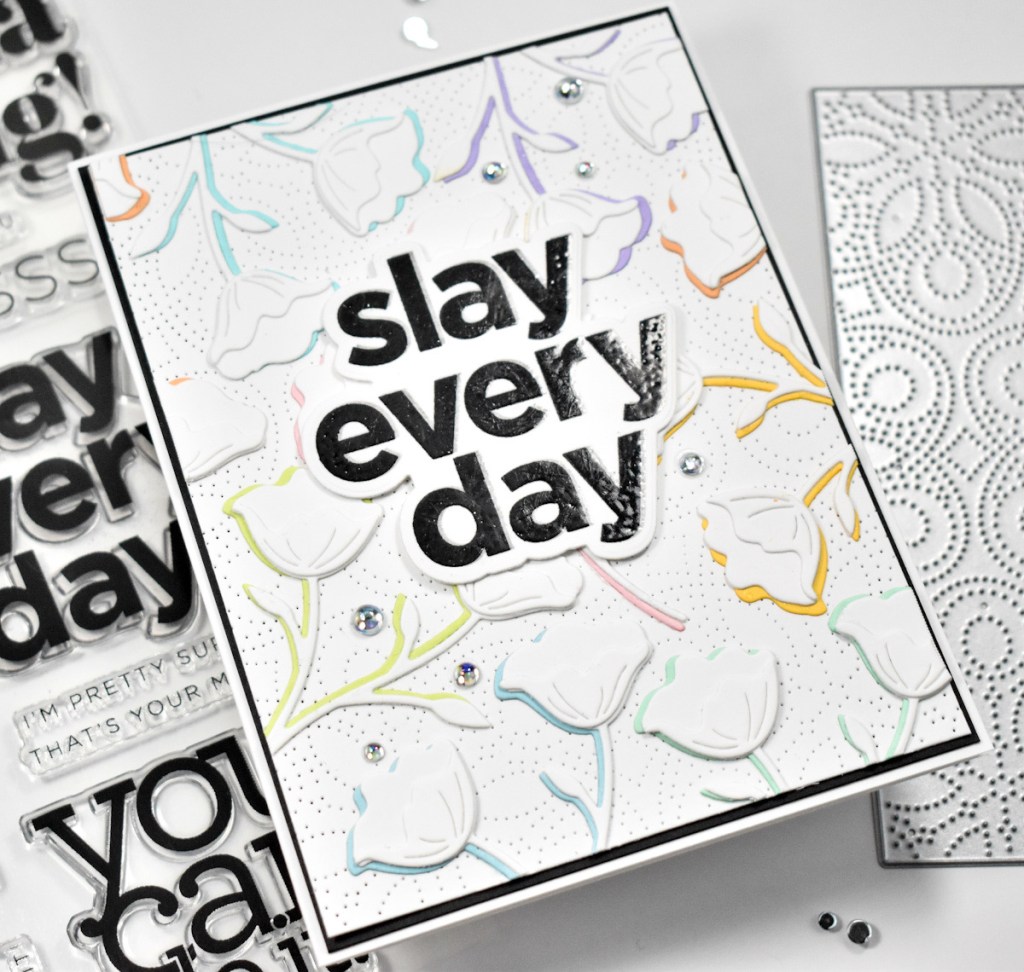
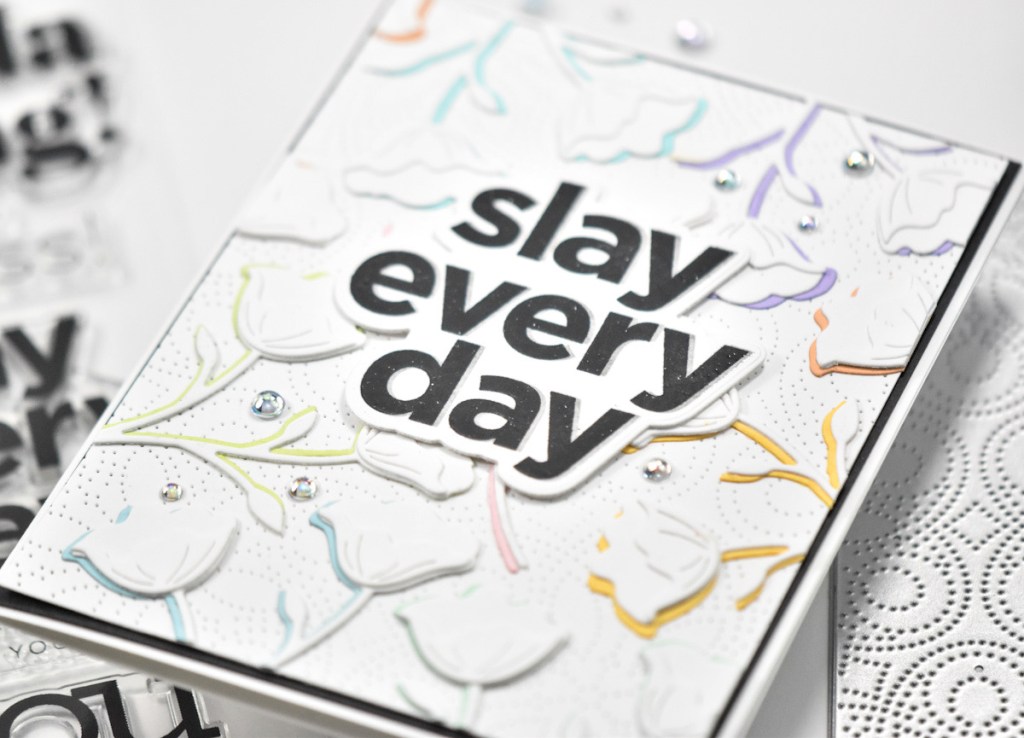
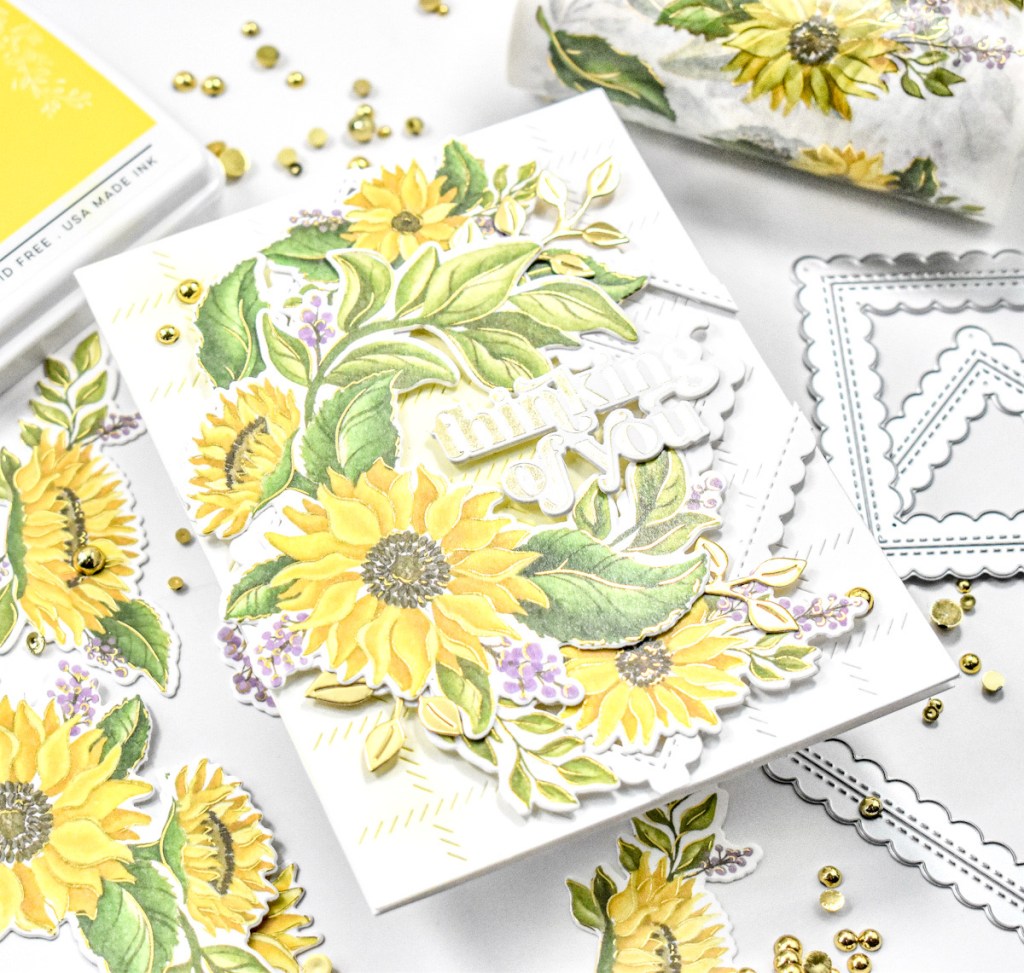
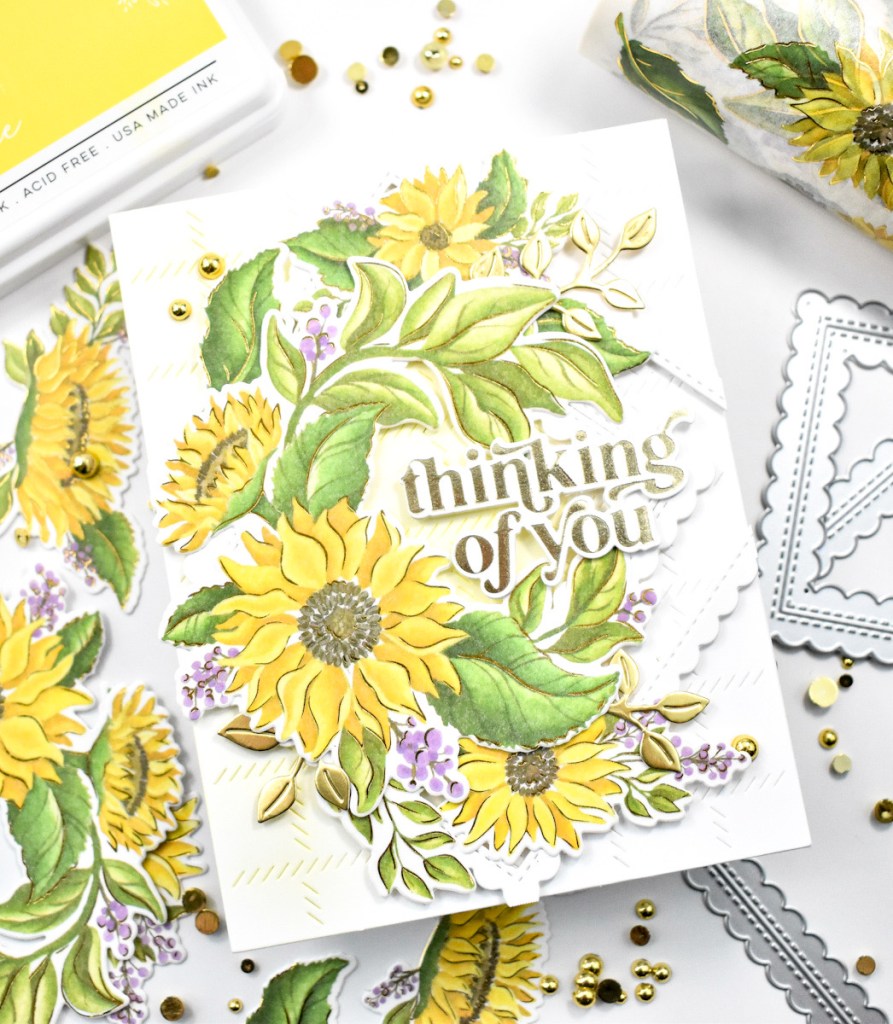
To begin this project, I stamped the florals from the LDRS Corner Garden set on Neenah Classic Crest 110lb cardstock, using VersaFine Onyx Black Ink and heat set that using Ranger Clear Embossing Powder. I then colored the images using Copic markers. Unfortunately, I did not write down the specific colors used, which is unlike me, but sometimes things happen. So I apologize about that.

Once everything was colored, I used the LDRS Corner Garden Die set to trim those images out. While I was die cutting, I went ahead and die cut the LDRS Modern Trellis Coverplate from Neenah 110lb, and did some light ink blending, using LDRS Dan-D-Lion ink, on the corners where I intended to put the florals.

I decided on this sentiment from the new LDRS Thankful Flowers Slimline set because I loved it so much. I love die cut sentiments, so I’m thrilled to see some coordinating dies for the sentiments in the sets! Anyhoo, I stamped the sentiment with the same VersaFine Onyx Black Ink and heat set it using the same embossing powder. Once that was done, I used the coordinating die to trim it out.
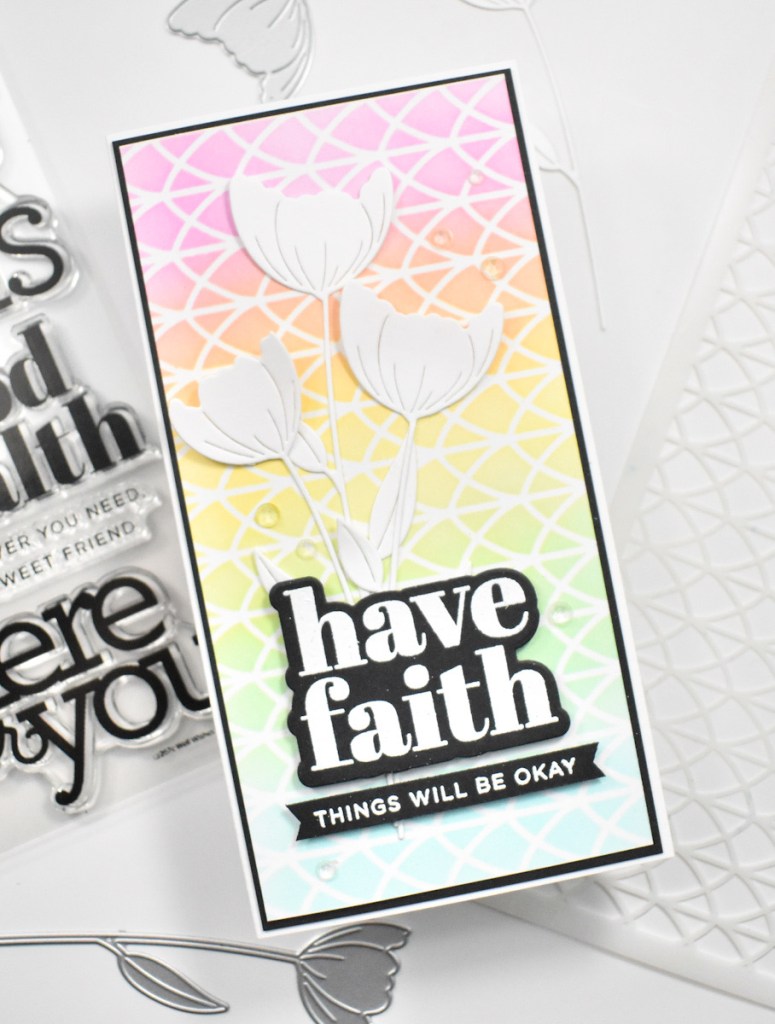
To assemble the card, I adhered the trellis to the card base, which is also Neenah 110lb, using liquid glue, and adhered the florals to the ink blended corners using foam tape. I nestled the sentiment between those and adhered that with foam tape as well. To finish up, I added a few PinkFresh Studio Gold Metallic Pearls for some added bling!

That does it for this project! I hope you enjoyed it, and I hope it inspires you to get crafty as well! Stop by and check out all of the new October Collection goodies over at LDRS! Have a wonderful day and don’t forget to stay awesome!

Supply List:

* Affiliate links used at no cost to you. Thanks so much for your support!

Latest Instagram Posts

Simon Says Stamp Rainbow Berry Branch

Hello and welcome back! The new Simon Says Stamp release, Handmade Holiday, is in full swing and I’m loving it! Once again, for today’s post, I’m featuring the new SSS Etched Berry Branch. Can I just say that I love this die so much?! I’m a sucker for leaves and flowers though! Let’s go over the details for today’s project, shall we?

I began this project by cutting a panel of Neenah Classic Crest 110lb cardstock and running it through the die cutting machine using the SSS Kaleidoscope Embossing Folder. This added some much needed texture and interest for the background.

Next, I used the SSS Etched Berry Branch along with some rainbow cardstock pieces from my stash and made a bunch of branches. I arranged them atop the embossed panel, adhering only the stems with liquid glue.

I decided on this SSS Large Joy sentiment and die cut it once from mirror gold cardstock and once from white cardstock. I also cut the shadow portion of the die twice from black cardstock and glued all of those pieces together.

I glued the sentiment to the bottom portion of the panel and added PinkFresh Studio Gold Metallic Pearls for the berries. All of this was then adhered to a black cardstock panel using foam tape before being adhered to the card base, which is also Neenah 110lb.

Simple project for today, but I love the way that it came out. Who doesn’t love rainbow leaves?! Thanks for joining me today, and I hope you’ll stop by and check out the entire Handmade Holiday release! Let me know your favorites. Have an beautiful day and don’t forget to stay awesome!

Supply List:

* Affiliate links used at no cost to you. Thanks so much for your support!

Latest Instagram Posts

Simon Says Stamp Calm & Bright Berry Branch

Hello Lovelies, and happy release day! The new Simon Says Stamp release, Handmade Holiday, is live and ready for your viewing (and shopping) pleasure! I know that I say this every single time, but once again, it’s a gorgeous release, and you’ll definitely want to check it out! For today’s card, I’m featuring the brand new Etched Berry Branch, so let’s get right to the details!

First off, I made a striped panel using green cardstock from Concord & 9th. I used the PinkFresh Studio Slim Stripes die to cut all of the stripes and adhered them diagonally on a panel of Neenah Classic Crest 80lb cardstock using liquid glue. I used the PinkFresh Studio Diagonal Stitched Rectangles to cut two panels of Neenah 110lb cardstock.

I positioned the Etched Berry Branch in the top half of the panel, taped it in place, and ran it through the die cutting machine, making sure to save the branch. I positioned the branch die again on the lower half of the panel, and ran that through the machine again. Remember that I said that I cut two panels? I wanted a double layer of the negative panel for dimension without using foam tape. I lined up both panels, taped them together and placed the branch die back into the negative piece, taping it down, and running it through the machine again. It did not cut through the second panel, which I knew would be the case, but it did leave enough of an indentation that I could position the die on the second panel and cut through that one completely.

Once both of those negative panels were cut, I adhered them together using liquid glue. I once again used glue to adhere those panels to my striped panel. Now, to stop here was kind of boring, so I took the positive pieces of the berry branch and adhered those to the front of the card wherever they would fit, overlapping some as needed.

I used the calm & bright sentiment from the SSS Clean Line Christmas set, and stamped it using VersaMark ink and heat set it using Ranger Princess Gold Embossing Powder. Once that was done, I used the coordinating die to trim out the sentiment, and that was then adhered to my card using foam tape.

For even more added interest, I added some PinkFresh Studio Gold Metallic Pearls where the berries would be. Because that panel is two layers, they nestled down in there quite well. Everything was then adhered to a matching dark green panel before being adhered to the card base, which is Neenah 110lb.

That does it for this project! I had a lot of fun making this one! It’s a little bit outside of my norm, but I enjoyed it! I hope you’ll swing by and check out the entire Handmade Holiday release from Simon Says Stamp. You won’t be disappointed! Have a wonderful day and don’t forget to stay awesome!

Supply List:

* Affiliate links used at no cost to you. Thanks so much for your support!

Latest Instagram Posts

Simon Says Stamp Peace and Love to You

Hello Crafty Friends! Thanks so much for stopping by! There’s a new Simon release coming very soon, but today, we are having an IG Hop over on Instagram using products from the latest Peace on Earth release. I hope you’ll head over there to check it out. But for now, let’s go through the details of my card.

I don’t always like or love my own cards, but I do like this one! I began this project by using the PinkFresh Studio Diagonal Stitched Rectangles to cut a panel of Neenah Classic Crest 110lb cardstock. I then used the SSS Peace, Joy, Hope, Love Stencil along with the some Iridescent Gina K Glitz Glitter Gel to create this background panel. Super simple, yet so pretty!

For the sentiment, I opted to use the SSS Clean Line Christmas set. I’ve used this set over and over again! It ends up being my go-to set when I need a simple holiday sentiment. Anyhoo, I stamped the sentiments using VersaFine Black Onyx ink and heat embossed them using Ranger Clear Embossing Powder. I used the coordinating die to trim out the peace sentiment and just trimmed the sub-sentiment using my paper trimmer.

I used the SSS Delicate Leafy Branch and die cut it once from black cardstock, once from glitter cardstock and once from silver cardstock. I adhered all of those together, but only applying glue on the base part of the stems. By doing that, the leaves and part of the stem are “free-flowing,” which adds interest in my opinion.

To assemble the card, I glued the branch to the top corner and adhered the sentiments just below that using foam tape. I adhered the panel to black cardstock before adhering it to the card base.

That does it for this project! I hope you enjoyed it, and I hope you’ll stop by Instagram to check out the hop! Have a wonderful day and don’t forget to stay awesome!

Supply List:

* Affiliate links used at no cost to you. Thank you so much for your support!

Latest Instagram Posts

LDRS Poinsettia Joy

Hello Lovelies and welcome back! Thanks for stopping by today to check out my project featuring these gorgeous Layered Poinsettia dies from LDRS. I’ve had so much fun with these! Let’s get right to the details, shall we?

I began my project by die cutting the LDRS Layered Poinsettia dies a couple of times from watercolor paper. I pulled out my watercolors and a water brush and added the color. To do this, I saturated the flowers with water and just dropped in the color, adding more to achieve the darker colors.

Once I was finished with those, I set them aside to dry while I worked on the rest of the card. For the background panel, I used the LDRS Background Stitches Slimline 1 dies. I cut a slimline panel of Neenah Classic Crest 110lb cardstock and taped the dies in place before running it through the die cutting machine. Look at all that gorgeous texture and detail!

While I was die cutting, I went ahead and cut the joy sentiment once from mirror gold cardstock using the LDRS Chloe Alpha Lowercase. I also cut it another time from Neenah 110lb, and adhered all of those pieces together with liquid glue for dimension. I die cut some of the poinsettia leaves from this same mirror gold cardstock, because it would tie the gold elements together and make for a beautiful addition.

I assembled my poinsettias and glued my watercolor leaves and the gold leaves directly to the stitched panel. The poinsettias were then added using foam tape. I positioned the sentiment between the flowers and glued that in place as well.

I then added some PinkFresh Studio Gold Metallic Pearls before adhering the panel to a black cardstock panel, and then to the card base, which is Neenah 110lb.

That does it for this project! I hope you enjoyed it and I hope it inspires you to get crafty! I love these layered dies so much, and I hope you’ll check them out! Have a wonderful day and don’t forget to stay awesome!

Supply List:

* Affiliate links used at no cost to you. Thank you so much for your support!

Latest Instagram Posts

Simon Says Stamp Thankful Laurel Leaves

Hello Crafty Friends! Thanks so much for stopping by today to check out my post featuring the brand new Laurel Leaves Background Plate from Simon Says Stamp’s new release, Peace on Earth! What a beautiful plate, and what a beautiful release! Let’s go through the details for today’s project!

I first die cut the SSS Laurel Leaves Background Plate from Sunshine cardstock and did a little bit of ink blending using Distress Oxide inks in Mustard Seed, Spiced Marmalade and Walnut Stain. I just wanted to give the leaves a little bit of color and depth.

Next, I found a piece of patterned paper that I thought would work good with this design. This piece happens to be from Simple Stories Cozy Days set, and was in a Simon card kit last fall. I adhered the laurel leaves panel to the patterned paper using liquid glue, while only applying glue to the outer edges and stems of the leaves.

I die cut the SSS Thankful 1 die once from mirror gold cardstock and cut the shadow three times from black cardstock and glued all of those together. I wanted to add a sub-sentiment, so I rummaged through my SSS Sentiment Strips to find one that worked.

Once I found the sentiment strip, I ran it through the Minc using gold foil. I trimmed it down to size and adhered it to the card panel using foam tape, and glued the thankful sentiment just above it.

To finish up, I added the panel to the card base, which is Neenah Classic Crest 110lb cardstock and added a few PinkFresh Studio Gold Metallic Pearls to pull it all together! I like the gold with the Sunshine cardstock and that added interest with the patterned paper! There are so many beautiful things in this Peace on Earth release, and I hope you’ll stop by and check them out! Have a wonderful day and don’t forget to stay awesome!

Supply List:

* Affiliate links used at no cost to you. Thank you so much for your support!

Latest Instagram Posts

Simon Says Stamp Laurel Peace

Hello Crafty Friends! It’s time for another awesome Simon Says Stamp release, Peace on Earth! For today’s post, I’m featuring the new Laurel Leaves Background Plate, and let me just say, this is a beautiful plate! So let’s get right into the details.

I began this project by die cutting the SSS Laurel Leaves Background Plate once from Neenah Classic Crest 110lb cardstock and once from a navy cardstock that I had in my stash. I adhered those together using liquid glue, off-setting the blue top layer slightly. I then trimmed off the excess white underneath from the off-set.

I remembered that I had some snowy patterned paper left over from a winter SSS Card Kit, so I went through those to find it. The background paper is from Whimsy Stamps Blurry Flurries paper set. I adhered the laurel leaves to the patterned paper using glue again.

After looking at the panels, I decided that it would be super beautiful if I added some “snow” to the leaves, so I did just that! I added a little bit of liquid glue to the leaves and sprinkled Ranger Distress Mica Flakes on them. And I just love the way it looks! I guess it looks more icy than snowy, but I love it just the same!

For the sentiment, I pulled out the SSS Clean Line Christmas stamp set and stamped both sentiments using Distress Oxide Blueprint Sketch. I then cleaned the stamps and re-inked them using VersaMark Ink and then heat embossed them using Ranger Clear Embossing Powder. I used the SSS Clean Line Christmas Dies to trim out the Peace sentiment and trimmed down the sub-sentiment using the paper trimmer. Those were then adhered using foam tape. Everything was then adhered to the card base, which is Neenah 110lb.

That does it for this project! I hope you enjoyed it and I hope you’ve checked out the entire Peace on Earth release! So many great things in this release! Thanks so much for stopping by, have a wonderful day, and don’t forget to stay awesome!

Supply List:

* Affiliate links used at no cost to you. Thank you so much for your support!

Latest Instagram Posts

Simon Says Stamp Leaf Spray Rainbow

Hello Lovelies and welcome back! Thanks for stopping by today! I just received my StampTember order and had to use some of the goodies right away! Today’s card is featuring the new Etched Tall Leaf Spray and the Detail Bohemian Slim Plate. Both of these are absolutely gorgeous! So let’s jump right into the details!

This was a super simple card by the way, because I used an alcohol ink panel that’s been sitting around in my stash forever! I love it when I can finally find a home for something that I’ve had a while. So the products used on the alcohol ink panel were Yupo Paper, Ranger Alcohol Ink Pearls in Deception, Sublime and Villainous along with regular alcohol ink in Lemonade and Denim. I also used the Tim Holtz Air Blower.

I die cut the SSS Etched Tall Leaf Spray from the alcohol ink panel and trimmed some Neenah Classic Crest 110lb cardstock to a mini slim line size and ran it through the die cutter using the SSS Detail Bohemian Slim Plate.

I adhered the rainbow leaf spray to the bohemian panel using liquid glue, but only applying glue to the stem and the base of the leaves. I decided on a sentiment strip from the SSS Reverse Encouraging Words, and trimmed that out and glued it over the leaf spray.

The panel was then adhered to a black panel using foam tape for dimension. This was then adhered to the card base, which is also Neenah 110lb.

Like I said, super simple card, but I love how it came out. I hope you enjoyed it and I hope it inspires you to get crafty! Have you gotten your StampTember order yet? What did you get, inquiring minds want to know!?! Hope you have a wonderful day and don’t forget to stay awesome!

Supply List:

* Affiliate links used at no cost to you. Thank you so much for your support!

Latest Instagram Posts

Spellbinders Give Thanks

Hello Crafters and welcome back! I’m so glad that you stopped by today! For today’s project, I’m featuring the Spellbinders Falling Leaves Embossing Folder, as well as, the Mini Fall Blooms die set. These tiny blooms and leaves were so much fun to work with! So, let’s just jump right into the details!

To begin the project, I trimmed a panel of Neenah Classic Crest 110lb cardstock to just smaller than an A2 card and placed it in the Falling Leaves Embossing Folder and ran it through the die cutter. I then began cutting the blooms and leaves using a variety of Concord and 9th cardstock.

I also cut the centers for the flowers and parts of the sprigs with mirror gold cardstock, and adhered the gold pieces using liquid glue. I stamped the sentiment, which is from the Fun Stampers Journey Fall Thanks stamp set, using VersaMark Ink and heat embossed it using Ranger Princess Gold Embossing Powder. I repeated that process again for a smoother embossed look.

I used the Fun Stampers Journey Fall Thanks Die set to trim out the sentiment and cut it a second time from plain cardstock and adhered those together for dimension. I placed the sentiment atop the embossed panel and began adhering the leaves and sprigs around and underneath it using glue. Once all of the leaves were adhered, I glued the sentiment on top of those.

The flowers were placed around the sentiment using foam tape. I also added some Spellbinders Fashion Gold Embellishments for that added bit a bling that the card needed. The embossed panel was then adhered to a black panel before being adhered to the card base, which is also Neenah 110lb.

That finishes up this project! I hope you enjoyed it, and I hope it inspires you to get crafty! This was a fun set to work with, but I really do love working with all of the tiny leaves and bloom sets that Spellbinders has to offer! Have a wonderful day and don’t forget to stay awesome!

Supply List:

* Affiliate links used at no cost to you. Thank you so much for your support!

Latest Instagram Posts

Waffle Flower Leafy Smile

Hello Crafters and welcome back! Waffle Flower has monthly challenges and I’m super excited to be co-hosting week one with my special friend Rachel! This week’s theme is Leaves, which is just perfect for the upcoming fall weather. You can head over to Waffle Flower for all the challenge details! So let’s get into my project!

For my project, I opted to use the Fall Leaves Die set, along with a couple of other Waffle Flower products. I began by cutting the solid leaf dies from watercolor paper twice. I got out a water brush and my Karin Brushmarkers to do a little bit of watercoloring on them. Very quick and simple technique of adding water to the leaves and dropping in color from the markers. Once satisfied with the colors, I set them aside to dry.

While those were drying, I went ahead and cut the leaf detail for all of the leaves from mirror gold cardstock. I also went ahead and cut the Triple Line Diamond Panel Die from Neenah Classic Crest 110lb cardstock, and placed foam tape strategically on the back of it.

I adhered the gold leaf detail to the solid leaves using liquid glue. Now that I had the panel cut and the leaves ready to do, I needed to decided on a sentiment. The Oversized Smile Word Die fit within the space that I had to work with, so I cut it once from that same mirror gold cardstock and three more times from Neenah 110lb cardstock and glued all of those together.

I began adhering the leaves to the die cut panel using glue, creating a row at the top and the bottom. Once those were all done, I trimmed off the stems. Since I had previously put foam tape on the back of the die cut panel, I went ahead and adhered that to the card base, which is Neenah 110lb as well.

The only thing left to do was glue the sentiment in the center of the panel. I didn’t even add bling to this card! Can you believe that? I can’t, actually! I hope you enjoyed this project, and I hope you’ll join us in the challenge! Leaves is such a great theme for this month! Have a wonderful day and don’t forget to stay awesome friend!

Supply List:

* Affiliate links used at no cost to you. Thank you for your support!

Latest Instagram Posts