Simon Says Stamp July Card Kit Inspiration

Hello Crafty Friends! How’s your week going? So far, mine is going pretty well. I just received my SSS July Card Kit in the mail the other day and had to jump right in to make a card because it’s such a beautiful kit!
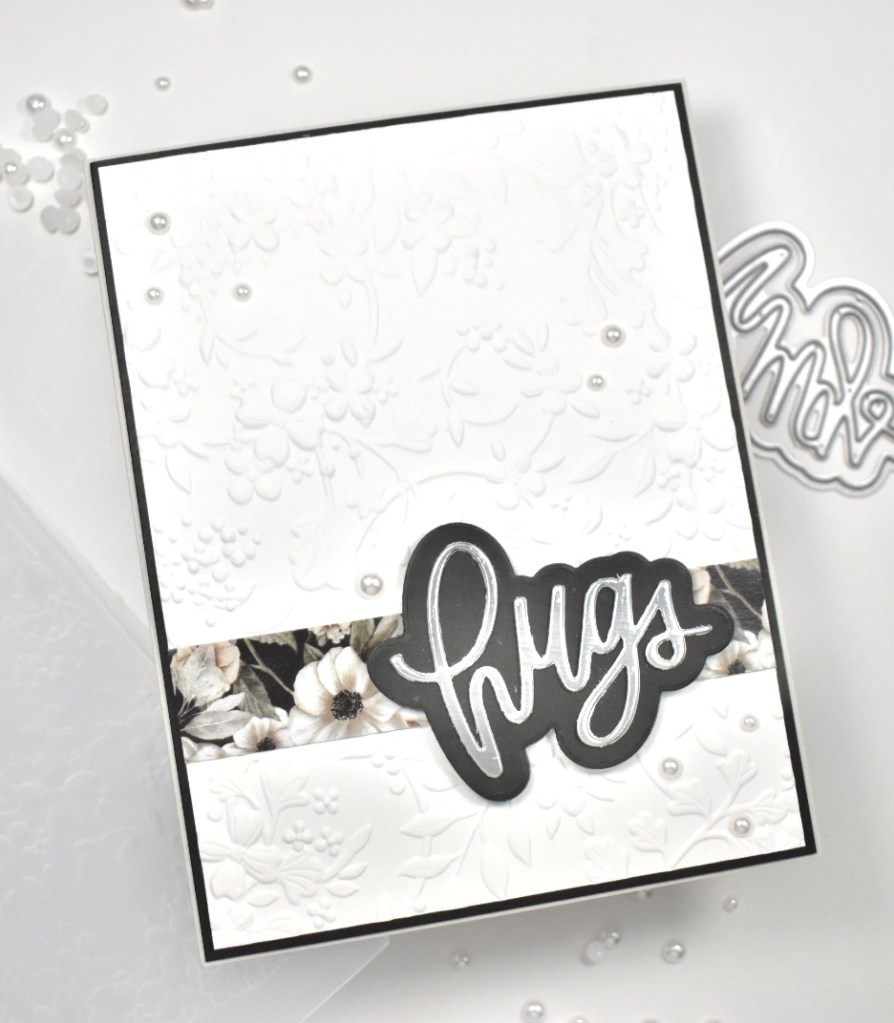
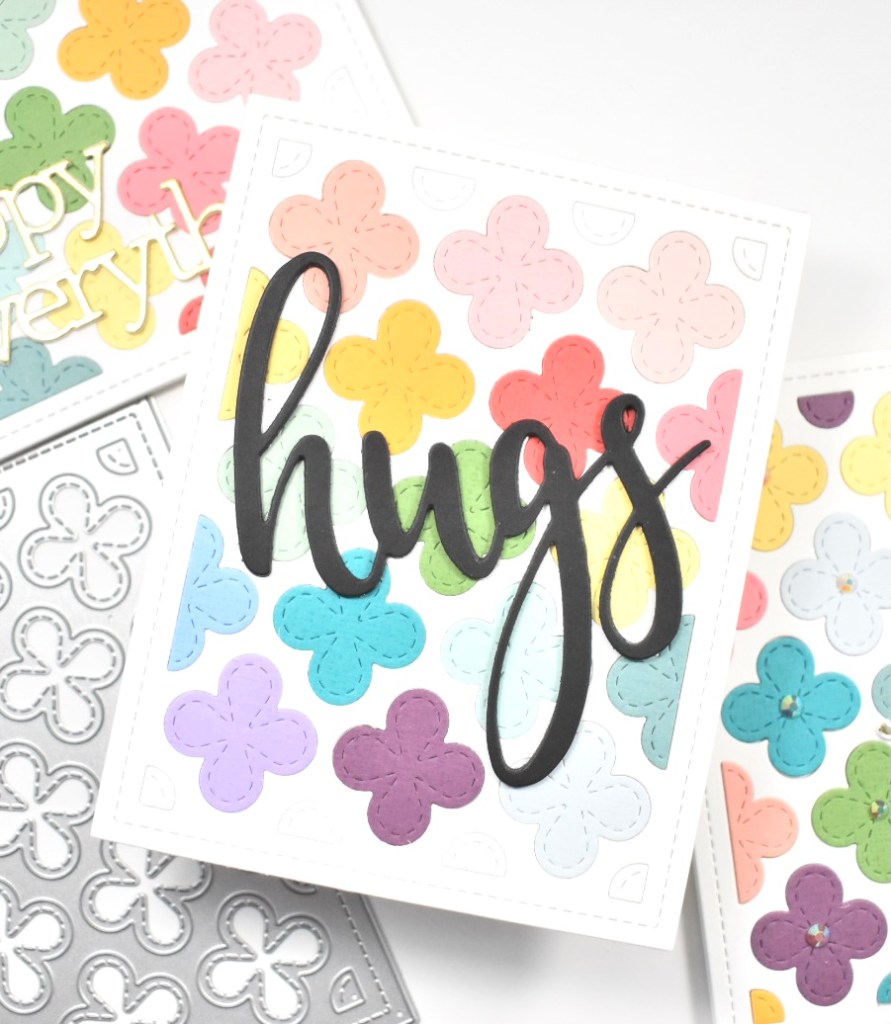
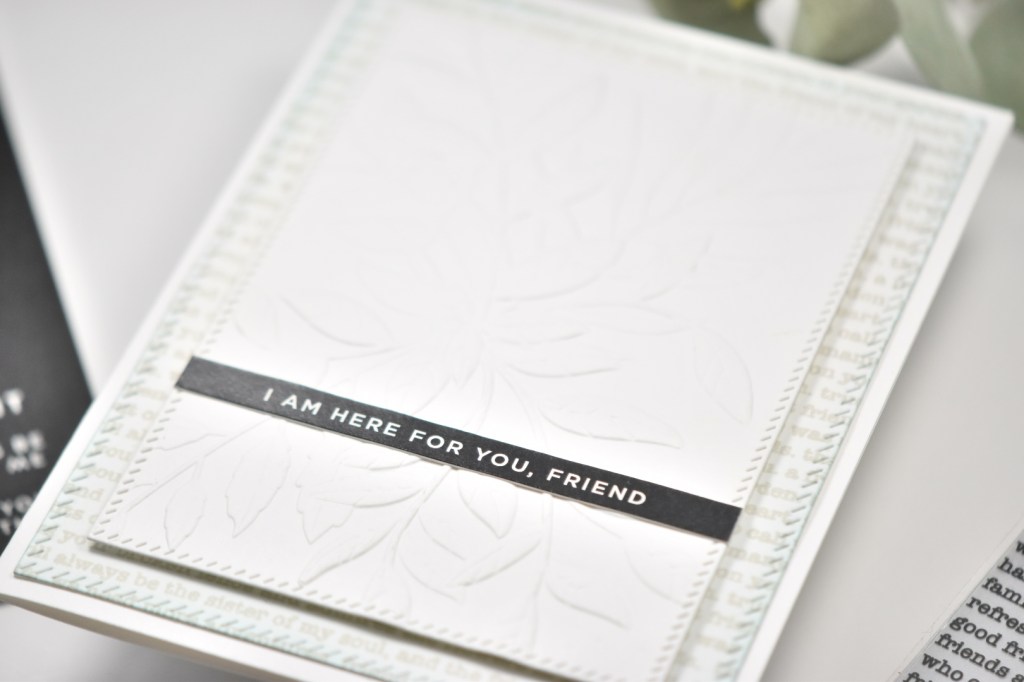
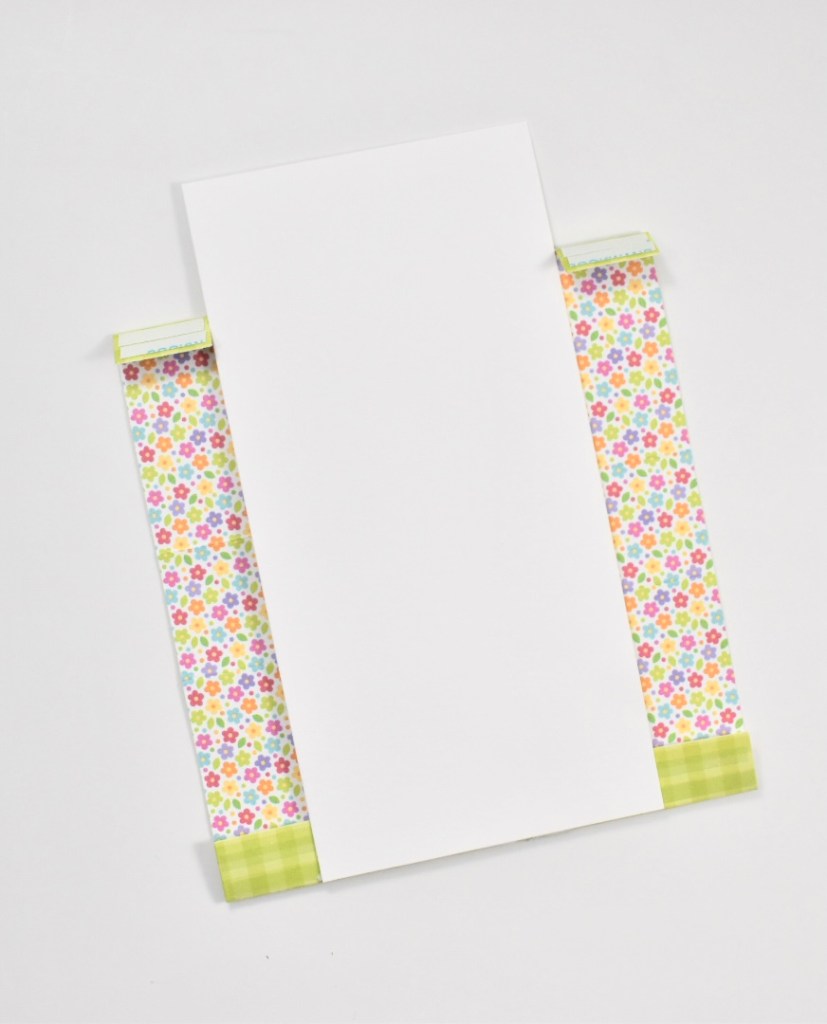
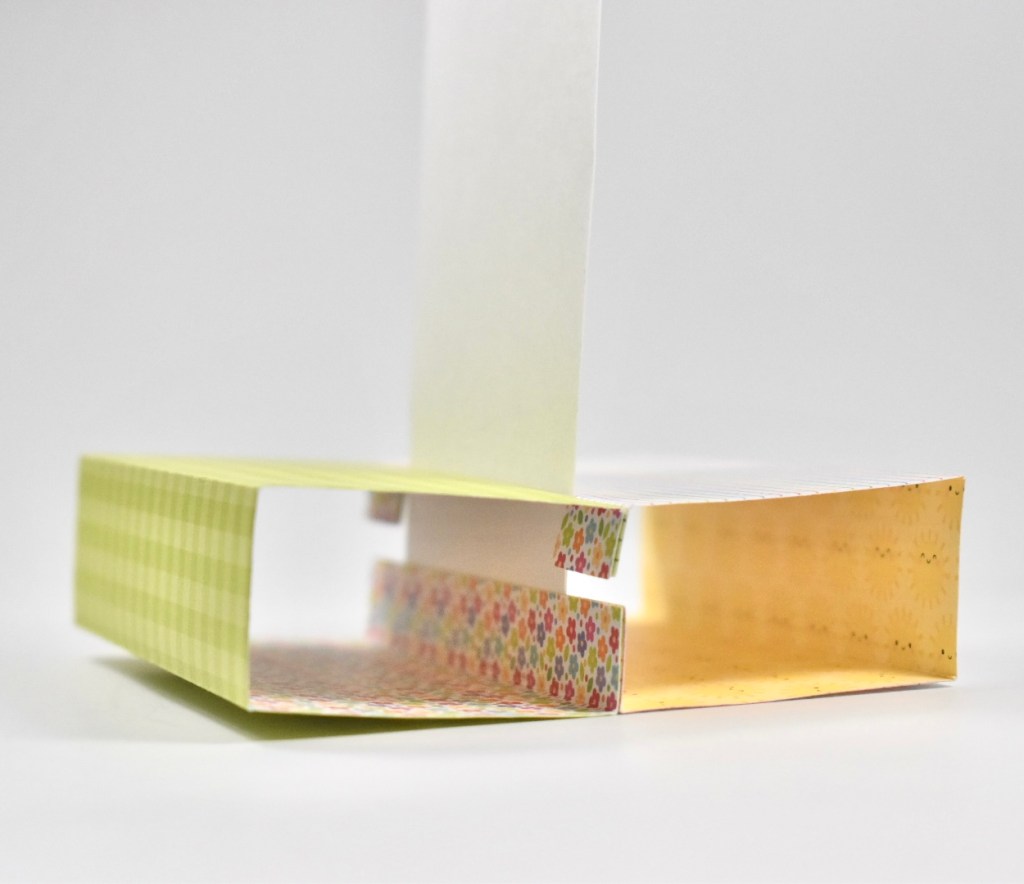
For today’s project, I’m going with less is more! Sometimes you just need a super quick card, and that’s exactly what this card is! I began this project by cutting a panel of Neenah Classic Crest 110lb cardstock, placing it in the SSS Blossom Field embossing folder and running it through my die cutting machine. I then trimmed it down to 4 x 5.25”. This is my preferred size, because I almost always will mat my panels on black cardstock.
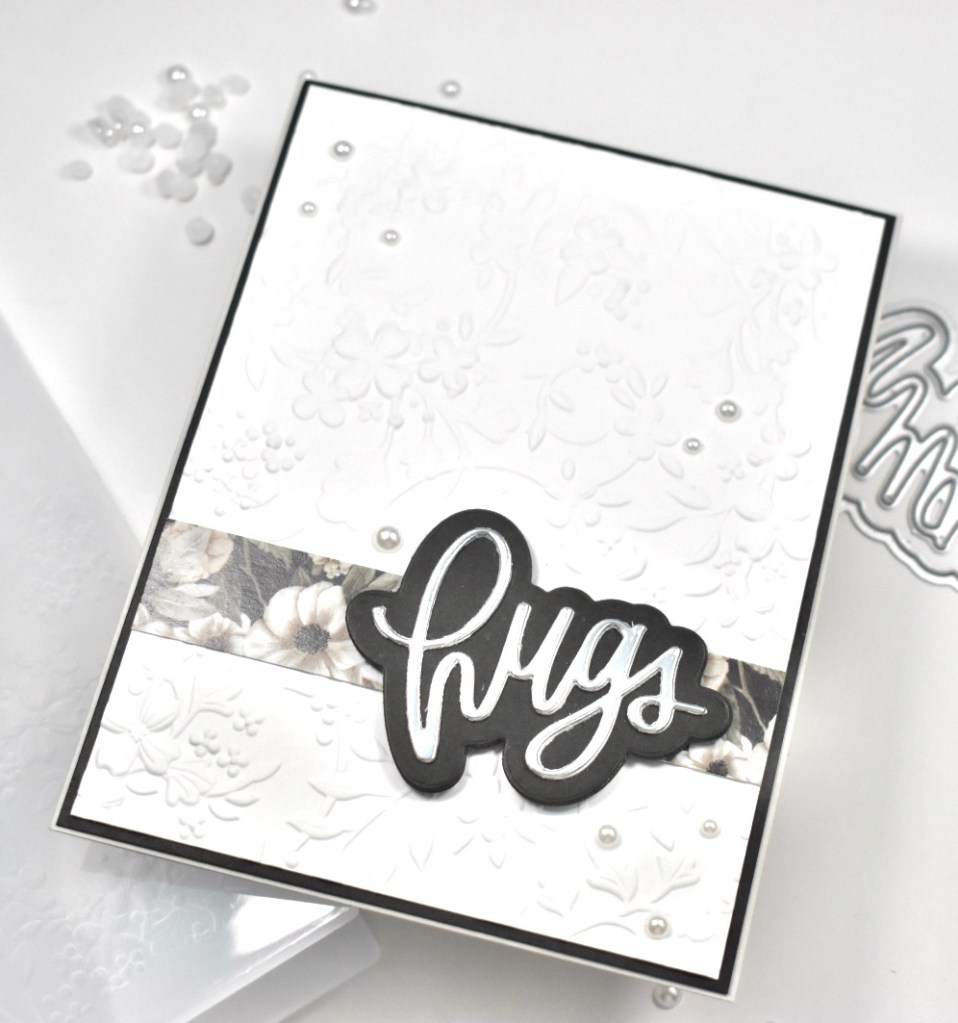
I chose a piece of patterned paper from the Paper Rose Forever set that’s included in the kit, trimmed a strip that measures 3/4” and glued it to my embossed panel using Craft Tacky Glue. I then cut the included Big Scripty Hugs sentiment once from Neenah 110lb, once from SSS Holographic cardstock, and I cut the shadow twice from black cardstock, adhering all of those together using the same glue.
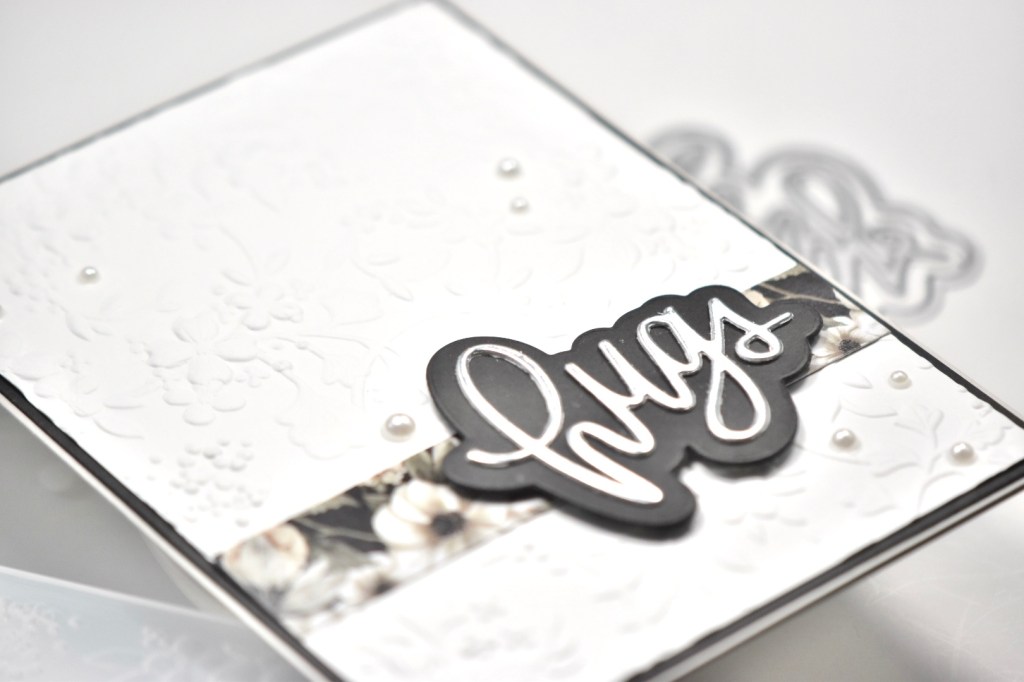
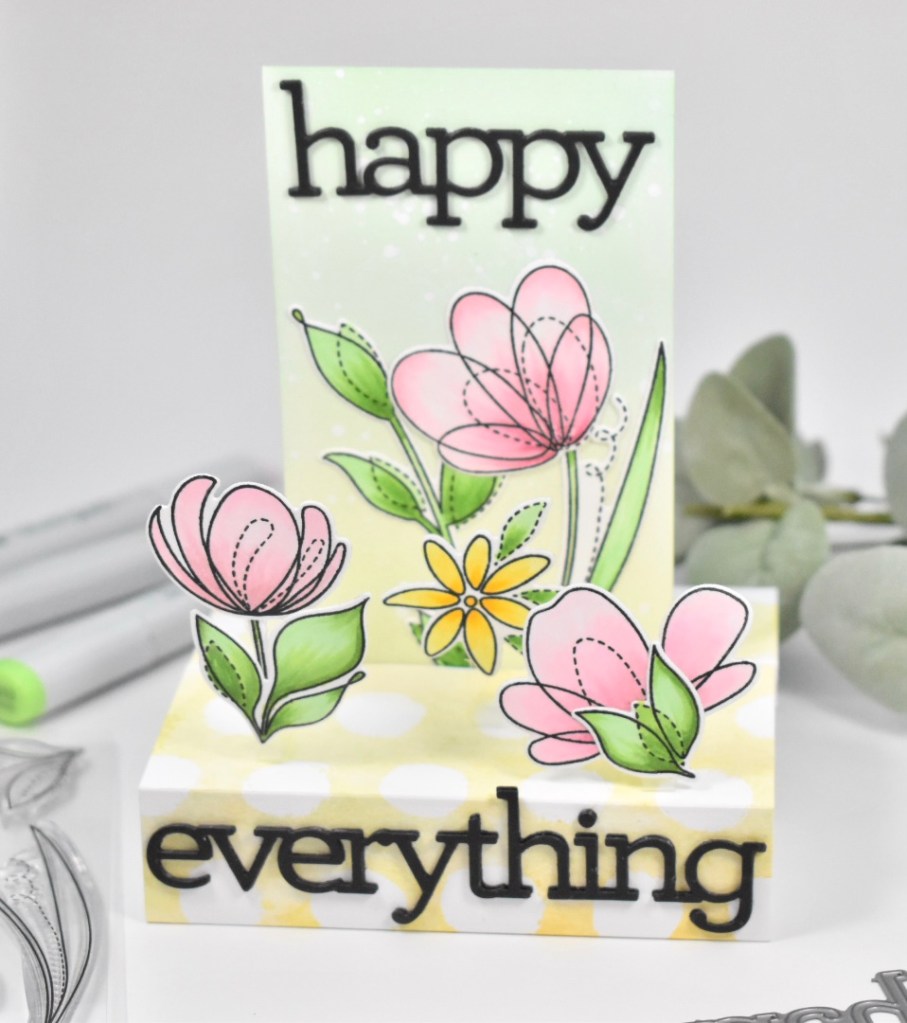
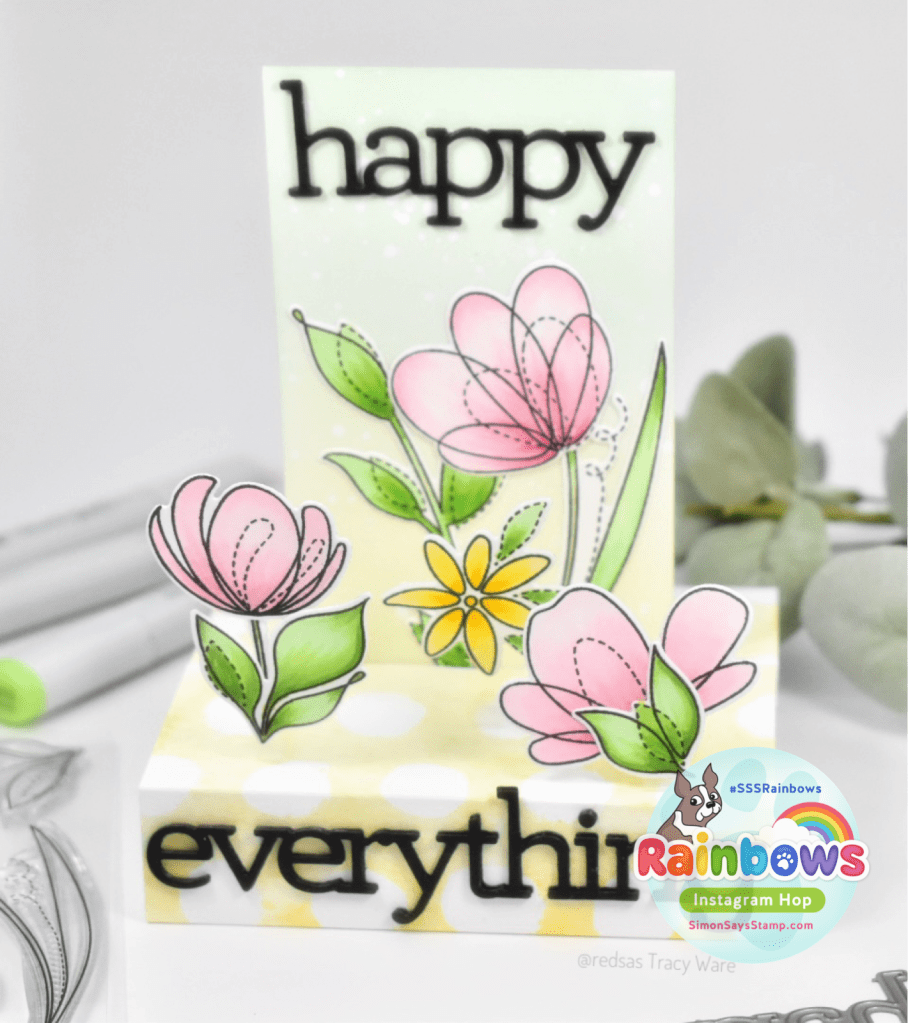
I adhered the hugs sentiment atop the patterned paper strip using foam tape, and then adhered my panel to some black cardstock. Those were then adhered to my card base, which is also Neenah 110lb.
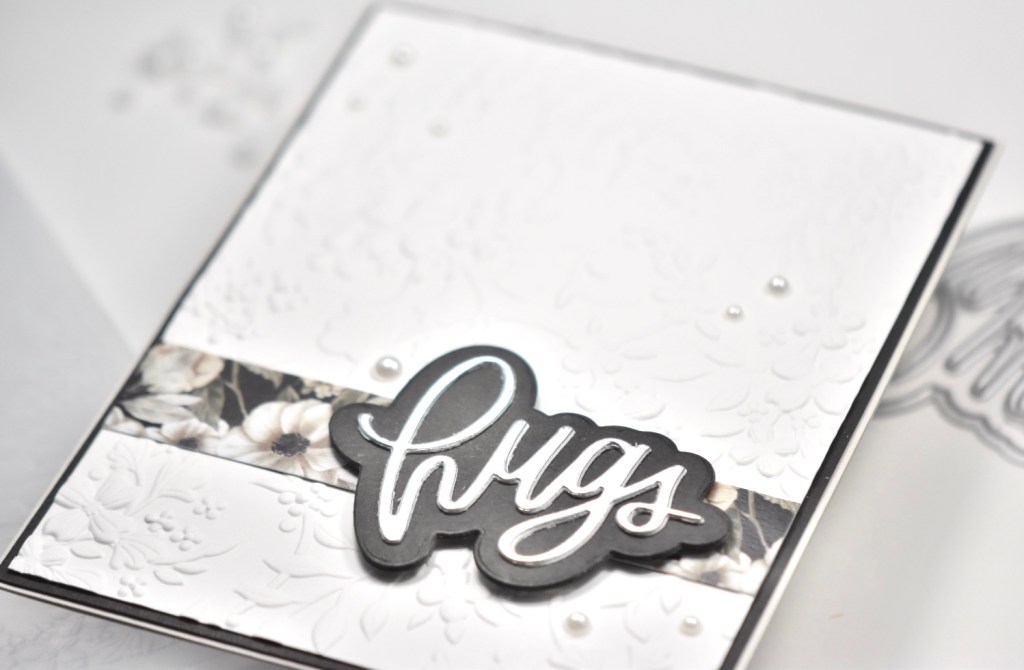
To finish this project, I added some Soft Snowball Pearls from Little Things From Lucy’s Cards. Super simple and quick project today! That’s the wonderful thing about embossing folders, they provide a nice background or focal point, depending on what you’re going for, with minimal effort!

I hope you enjoyed this project, and I hope it inspires you to get crafty .. and to possibly drag out some of your long forgotten embossing folders!
Have a wonderful day and don’t forget to stay awesome!
Supply List:
- SSS July Card Kit
- SSS Blossom Field Embossing Folder
- SSS Big Scripty Hugs Die
- SSS Holographic Cardstock
- Paper Rose Forever 6×6 Paper
- Neenah Classic Crest 110lb Cardstock
- Little Things from Lucy’s Cards Soft Snowball Pearls Mix
- Black Cardstock
- Craft Tacky Glue
- 3M Foam Tape
- Gemini Jr.
- Marvy Jewel Picker
* Affiliate links used at no cost to you. Thank you so much for your support!
- Spellbinders Trailside Birthday Raccoon

- Simon Says Stamp Grateful Heart

- Simon Says Stamp Braided Greetings

- Together By Design Color Cube Floral

- Simon Says Stamp Cute Duckling