Simon Says Stamp Sketched Rose Faith

Hello Crafty Friends! Thanks for stopping by! I’m still playing with goodies from the newest, To the Moon release, from Simon Says Stamp! What a fun release this is! Today’s project is featuring the new Sketched Rose Trio. I’m really enjoying working with these foil plates and matching dies! Let’s get right into the deets for this project!

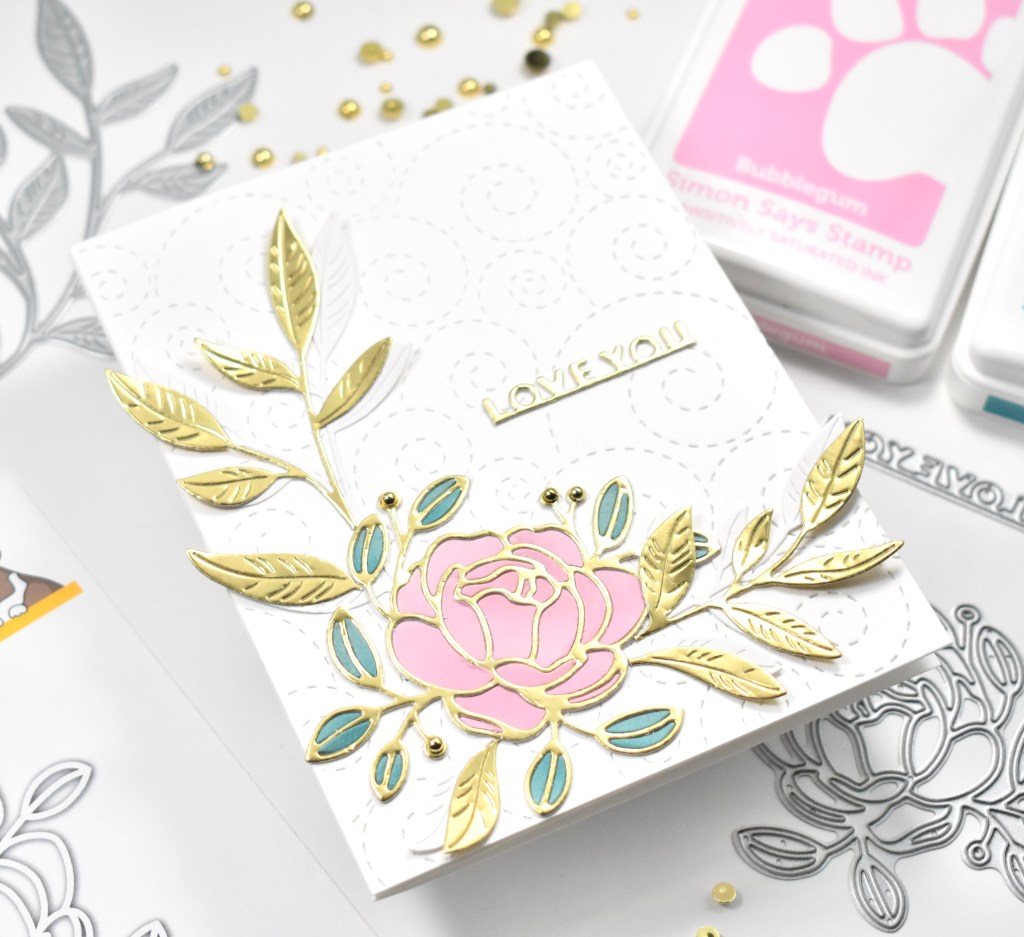
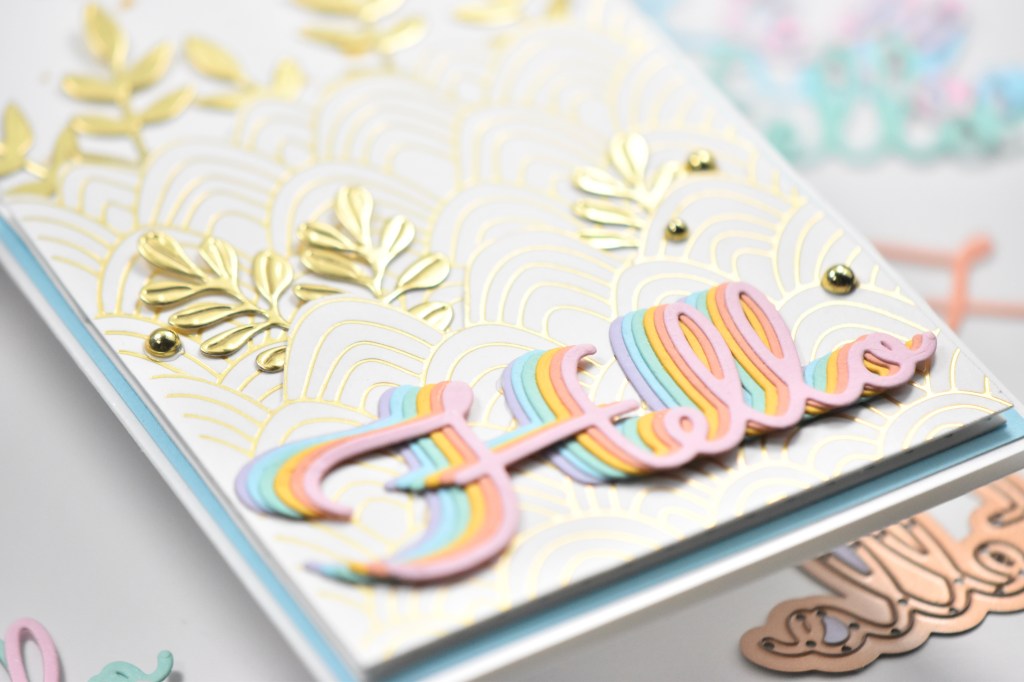
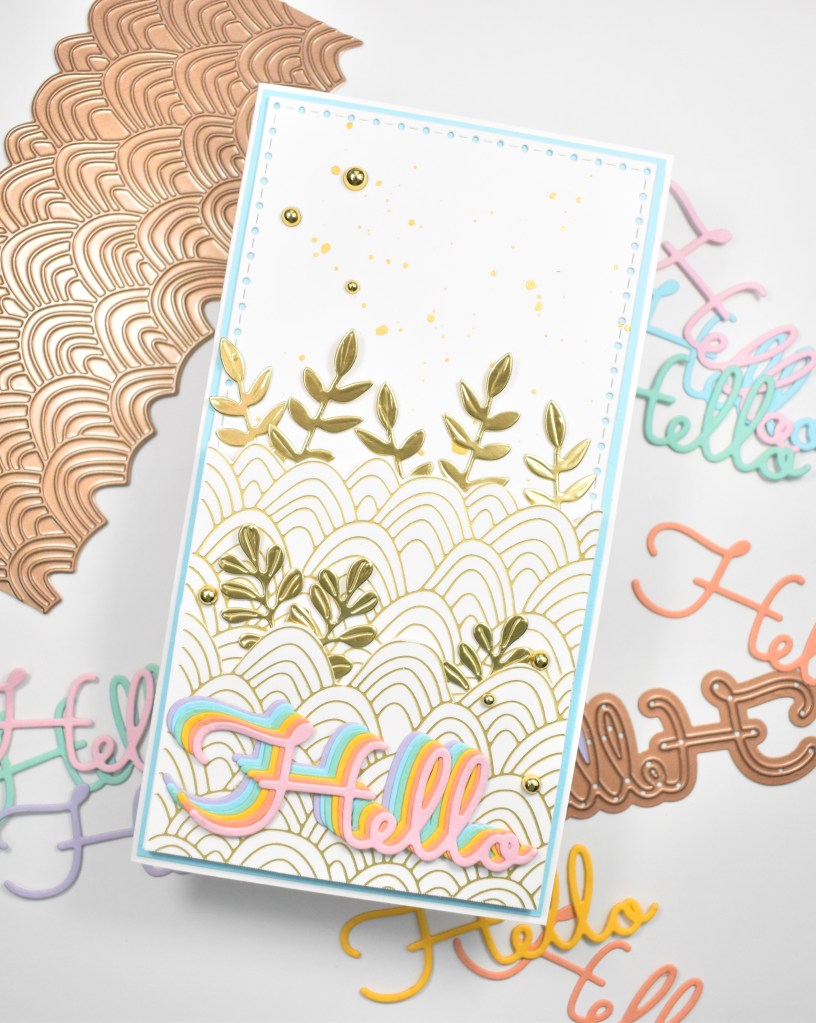
I began by foiling the Sketched Rose Trio twice on Neenah Classic Crest 110lb cardstock using Spellbinders Aura foil. I used Copic Markers G82, YG61, Y08, Y13 and Y15 to color these before using the included die cut to trim them out.

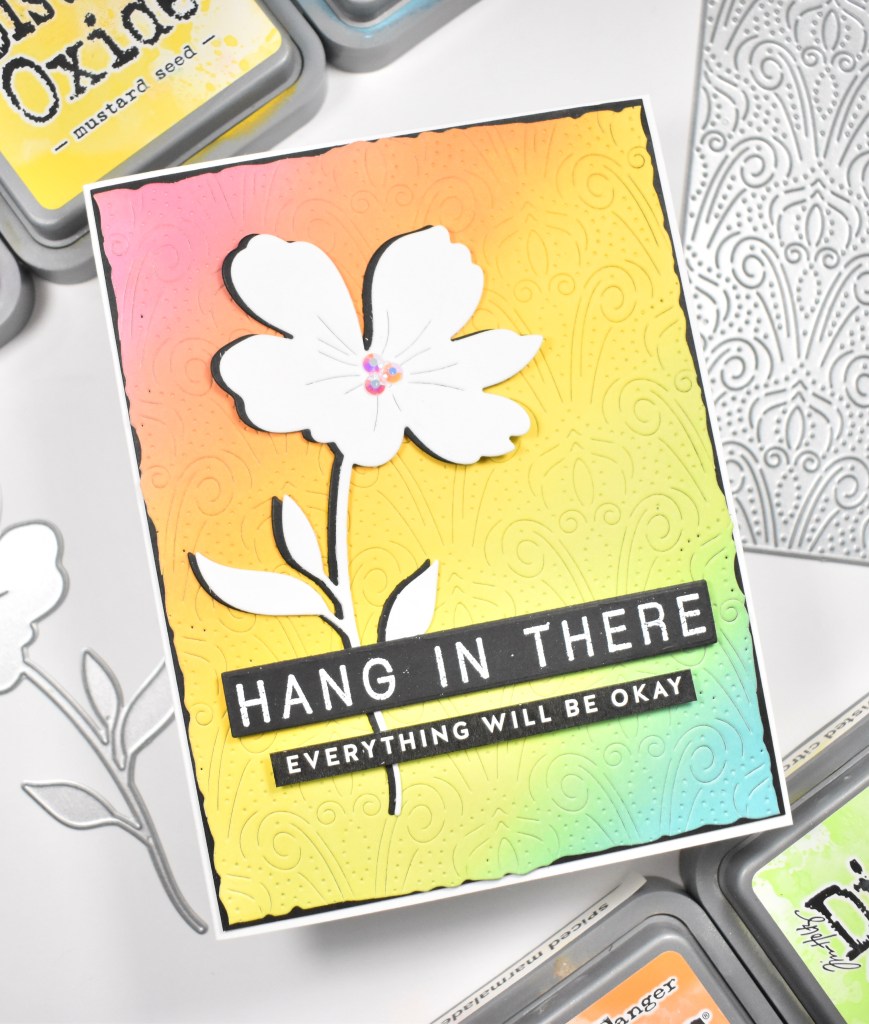
For the background, I trimmed a panel using the SSS Detail Petal Plate. Such an easy way to add interest and texture without distracting from the main focal point! I played with the arrangement and decided that I wanted some additional leaves and opted for the SSS Etched Meadow Flower and Leaves, and I think these ended up being the perfect addition.

To assemble the card, I adhered the white leaves first using liquid glue, and then I glued in the green leaves atop those. The bottom three flowers were glued directly to the panel, while the top two flowers were adhered using foam tape for dimension. I chose a SSS Sentiment Strip that would complement the card nicely and glued that across the flowers. To finish up, I added some PinkFresh Studio Gold Metallic Pearls and adhered my panel to the card base, which is also Neenah 110, using foam tape again.

That does it for this one! Have you checked out the new To the Moon release yet? I always enjoy seeing what new products Simon will release! Have a wonderful day and don’t forget to stay awesome!
Supply List:
- SSS Sketched Rose Trio
- SSS Sentiment Strip
- SSS Etched Meadow Flower and Leaves
- SSS Detail Petal Plate
- Spellbinders Aura Foil
- Copic Markers: G82, YG61, Y08, Y13, Y15
- PinkFresh Studio Gold Metallic Pearls
- Neenah Classic Crest Solar White 110lb Cardstock
- Bearly Art Glue
- 3M Foam Tape
- Studio Katia Embellishment Wand
- Gemini Jr.
- Spellbinders Glimmer Hot Foil System
* Affiliate links used at no cost to you. Thanks so much for your support!
- Simon Says Stamp Rainbow Oak Leaf

- Spellbinders Dear Santa Floral Letter
- Simon Says Stamp Grungy Dewdrop Daisy

- Simon Says Stamp Pastel Birthday Wishes

- Simon Says Stamp Best Fish